
Do you want to shade a space outside but aren't sure how to correctly install a shade sail? Well, we looked into it and came up with a long comprehensive guide for you.
Following is the step-by-step procedure for attaching shade sail to a house:
- Spread out the shade sail in the allotted area.
- Select the location for the shade's attachment.
- Mark the locations of post placement.
- Choose the desired height for the shade's corners.
- Dig holes on the post-placement mark.
- Create a solid base on the hole.
- Screw in coach bolts on the posts.
- Place the posts into the holes.
- Pour concrete into post holes.
- Install attachment hardware at the desired height for hanging the sails.
- Attach the sail's turnbuckles and snap hooks.
- Hook the sail’s turnbuckles to the post's eye attachments.
- Stretch the tension strap on the last corner of the sail.
In this article, we’ll thoroughly discuss the aforementioned steps. We’ll also share with you how to choose the right sail shade for your house. So keep on reading.

How To Attach A Shade Sail To A House?
A do-it-yourself (DIY) shade sail installation is a practical method to add shade to your patio or deck on a tight budget. You can finish this beginner-friendly DIY project with the following instruction below:
We sometimes add affiliate links and content that was curated and created by our team with the help of advanced ai tools to help showcase the best design styles.

1. Spread Out The Shade Sail In The Allotted Area
Spreading the fabric out will give you a far better picture of what it will look like after it is placed than simply measuring. You can move it around and position it anywhere you want.
Remember that you can install the shade sail at an angle from the ground depending on you angle it, which will diminish the breadth or length of the shade.
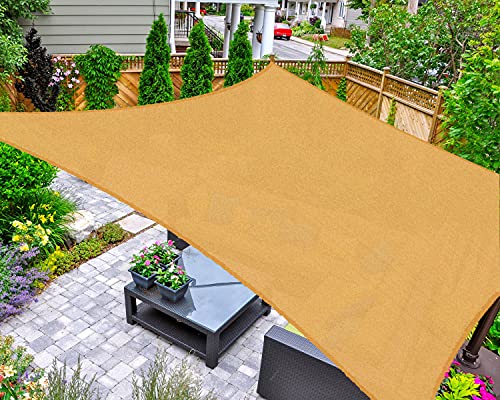
Check out this shade sail on Amazon.
2. Select The Location For The Shade's Attachment
A shed, house, or even a strong tree branch are suitable places to attach your shade. However, you'll need poles to attach the shade if none of these alternatives is available. Make sure they fit where you want them to be.
Try 6” x 6” pressure-treated wood posts that are 120” long. Steel poles measuring 5” x 5” are another option. Steel is more expensive and will endure longer.
The shade will require a somewhat greater space than the fabric seems when it is simply set out. The shade will expand out as a result of the tension you'll create when you attach it.
You also need to leave additional room at the ends, where the shade hardware will be used to secure the shade to the posts. You'll require a room that is roughly 10% larger than the shade itself. For instance, if your shade has a side that is 72” long, the space between each corner should be around 7.2” wide.
3. Mark The Locations Of Post Placement
On grass, you can designate the area with spray paint. Alternatively, you might use a small spade to draw an "X" in the earth to mark the location so you can come back to it. Another choice is to place rocks where you intend to place the posts.
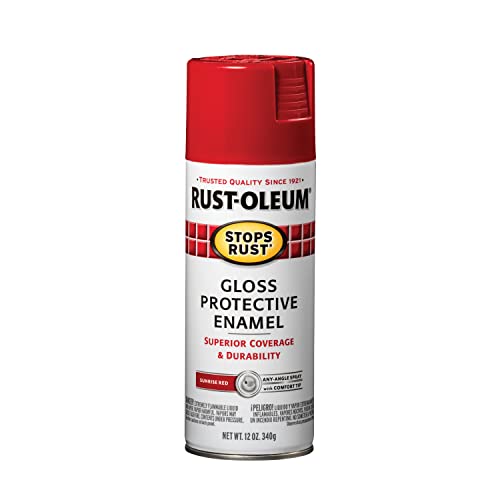
Check out this spray paint on Amazon.
4. Choose The Desired Height For The Shade's Corners
If you wish, you may just stretch the shade so it is the same height throughout the yard. Additionally, you can adjust the height slightly so that it is higher at one end and lower at the other.
Everything is up to personal preference. The shade might offer some wind protection by angling it. In order to have posts that are the right size, you must make height decisions right away.
5. Dig Holes On The Post-Placement Mark

Using a post-hole digger is the simplest method for digging holes. But any method will do as long as the holes are wider in diameter than your posts.

Check out this post-hole digger on Amazon.
While it's preferable to make the holes ⅓ the length of the pole, they should be dug at least 36” deep. Therefore, if your posts are 144” tall, you need to dig down around 48”.
6. Create A Solid Base On The Hole
Fill the hole with gravel until it is about 4” deep. On top of the gravel, add another 4” or more of concrete. By laying down a sturdy foundation with this mixture first, you can balance the posts with less difficulty.
7. Screw In Coach Bolts On The Posts
The coach bolts provide the posts leverage, which helps keep them in place. The coach bolt's size should match the drill bit you choose.
Create holes for the coach bolts by drilling into the metal or wood. Screw them in place and to secure them further, use a washer. If you're using metal posts, washers will undoubtedly be necessary.

Check out these coach bolt screws set on Amazon.
8. Place The Posts Into The Holes
Drop the posts firmly down the holes. To make them stand straight, use pieces of wood as supports. Utilizing a level, make sure the posts are standing up straight. The side with the coach bolts should fit into the hole from the bottom.
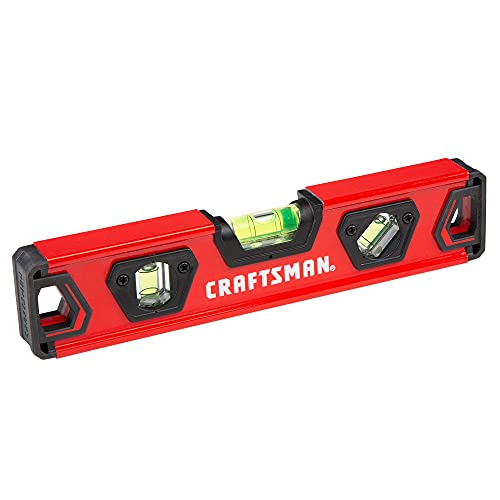
Check out this level on Amazon.
9. Pour Concrete Into Post Holes
Pour the concrete with a shovel as evenly as possible around the post holes. To ensure that it is packed down tightly and free of air spaces, stab the concrete in the hole with your shovel. Don't insert any dry concrete in your post hole as it will create weak spots.

Check out this shovel on Amazon.
After that, smooth out the top surface using a concrete spatula or trowel. If you relocated the braces to pour the cement, put them back to support the post while it dries. The concrete will need at least a day to dry. Better yet, leave it for two days.

Check out this trowel on Amazon.
10. Install Attachment Hardware At The Desired Height For Hanging The Sails
Use eye bolts and eye lag screws for metal and wood posts, respectively. Drill a hole into the post using the same size drill bit as your eye bolts or eye lag screws. Right after, tighten them.

Check out these eye bolts on Amazon.
You might need a ladder to get to the area where you want to install the hardware. If you're using eye bolts, add a washer on the back.
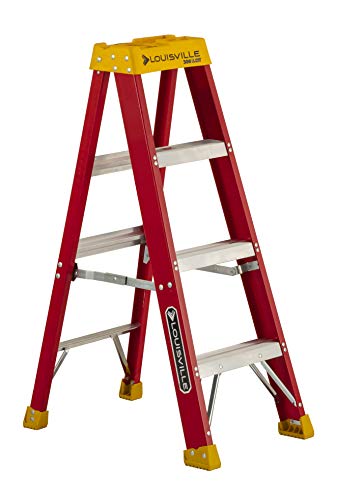
Check out this ladder on Amazon.
If you're using other attachment points, install the hardware there as well. It needs a fascia support bracket if you're fastening it to your house.
11. Attach The Sail's Turnbuckles And Snap Hooks
Grommets or steel rings are usually installed at the corners of the shade sail. Simply fasten the snap hook or carbines to the turnbuckle and then insert it over the shade's corner. In other cases, a tension strap works better for one corner than a turnbuckle.

Check out this snap hook on Amazon.
Check out this turnbuckle on Amazon.
12. Hook The Sail’s Turnbuckles To The Post's Eye Attachments
While you hook that attachment hardware and adjust the tension on the other corners, leave one unhooked. Increase the tension on the connecting corners by turning the turnbuckle. If a corner is too short and you're having difficulties connecting it, you can lengthen it by adding a few carabiner hooks.
13. Stretch The Tension Strap On The Last Corner Of The Sail
Instead of a turnbuckle, the final corner should contain a tension strap. Because of the tension you've previously generated, it will be more difficult to place than other corners. Stretch the shade out and attach it to the final eyelet.
To visualize how the process is done, a video on YouTube is shown below.
How to Choose a Shade Sail?
When selecting a shade sail, you must pick a shape, size, and color that go with the exterior of your property. We'll go over these factors in great detail below.
Shape
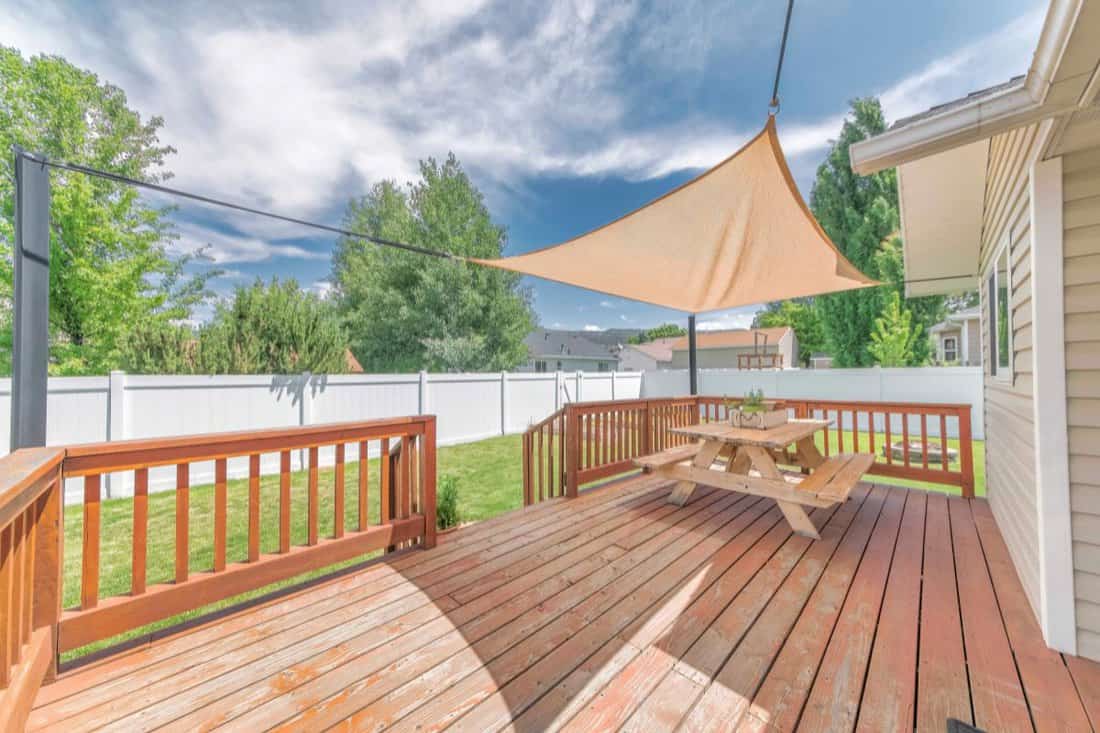
Most shade sails are available in square, rectangular, or triangle shapes. Select the shape that will best fit the area you want to cover. For instance, a square deck has 200” x 200” dimensions. Therefore, a square shade sail may appear as a logical choice.
However, if you intended to leave the area of the deck closest to the house exposed. Because you might want enough sunlight for the kitchen window and patio door. This prompted you to select a right-angled triangular shade that covers half of the deck.
As a reminder, sun shades are not completely square, rectangular, or triangle-shaped. Each side of the form has concave curves that aid in pulling the shade sail taut.
Size
You must first decide where the shade sail will be mounted in order to establish the proper size. Find out the distance between each mounting point. You may use a measuring tape or string twine in measuring from point to point for an accurate estimate.
Purchase a shade sail that is smaller than the total dimensions once you have them measured. Additionally, you must provide at least 8” to 12” between the mounting point and the sail.
The ideal size will therefore conform by substructing the allowance between the mounting point and the sail to the distance between mounting posts. Before making a purchase, make sure to verify this distance as it may vary depending on the shade sail.
Color
Personal choice will determine which shade of sail color is ideal. You can choose any colors and below are a few of them:
- Clay Red: to get attention.
- Teal or Aqua: placed over a pool or poolside terrace.
- Forest Green: blend into the natural surroundings.
Conclusion
Upgrade to a shade sail if a patio umbrella is inadequate. Using shade sails to cover your patio, deck, or other areas is a great, economical choice. Plus with the guidelines mentioned above, you will able to install this kind of project successfully.
Before leaving, check out some interesting installations we have below.