
Steel Beams, while heavy, are strong practical options to bear weight in residential construction. Perhaps you are in the process of framing a new home that includes a steel beam, or maybe you are adding a remodel that requires attaching framing to a steel beam. Either way, you are wondering how best to attach that wood framing to the steel beam. In this post, we use up-to-date research to answer your question thoroughly.
There are several different ways to attach wood framing to a steel beam. However, affixing wood to the top of the beam with lag bolts and then using top mount joist hangers for the framing is the easiest and most efficient. To accomplish this, follow these general steps.
- Cut the top board
- Choose lag bolt size
- Drill holes through the steel beam
- Attach the wood board to the top of the steel beam
- Hang top-mount hangers on the wood
- Affix rafters/floor joists to hangers
Read the rest of this post for detailed direction for each of the above steps. These steps specifically apply to hanging rafters or floor joists onto a steel beam, so we also advise on how to amend these directions for other applications. Further, we mention a few other less optimal techniques for attaching wood framing to a steel beam. To conclude, we provide the answers to several related questions.
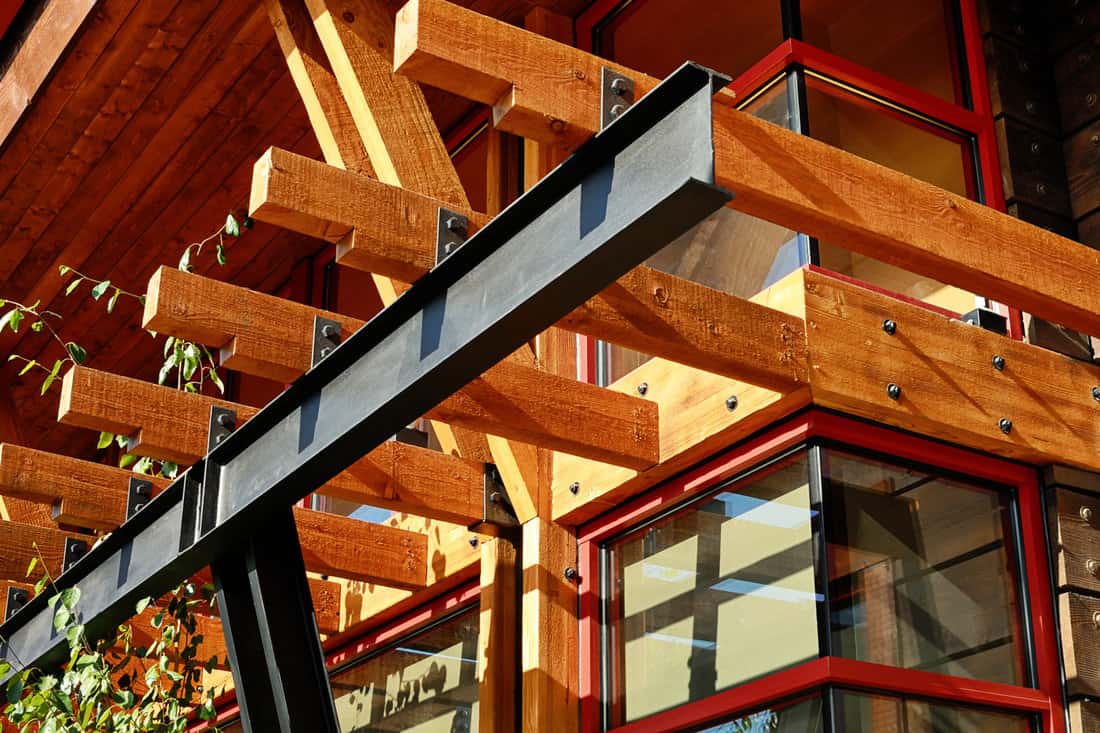
![Steel I beam with exposed wood joists, How To Attach Wood Framing To A Steel Beam [6 Steps To Follow]](https://homedecorbliss.com/wp-content/uploads/2021/05/Steel-I-beam-with-exposed-wood-joists-How-To-Attach-Wood-Framing-To-A-Steel-Beam-6-Steps-To-Follow.png)
How to attach rafters or floor joists to a steel beam
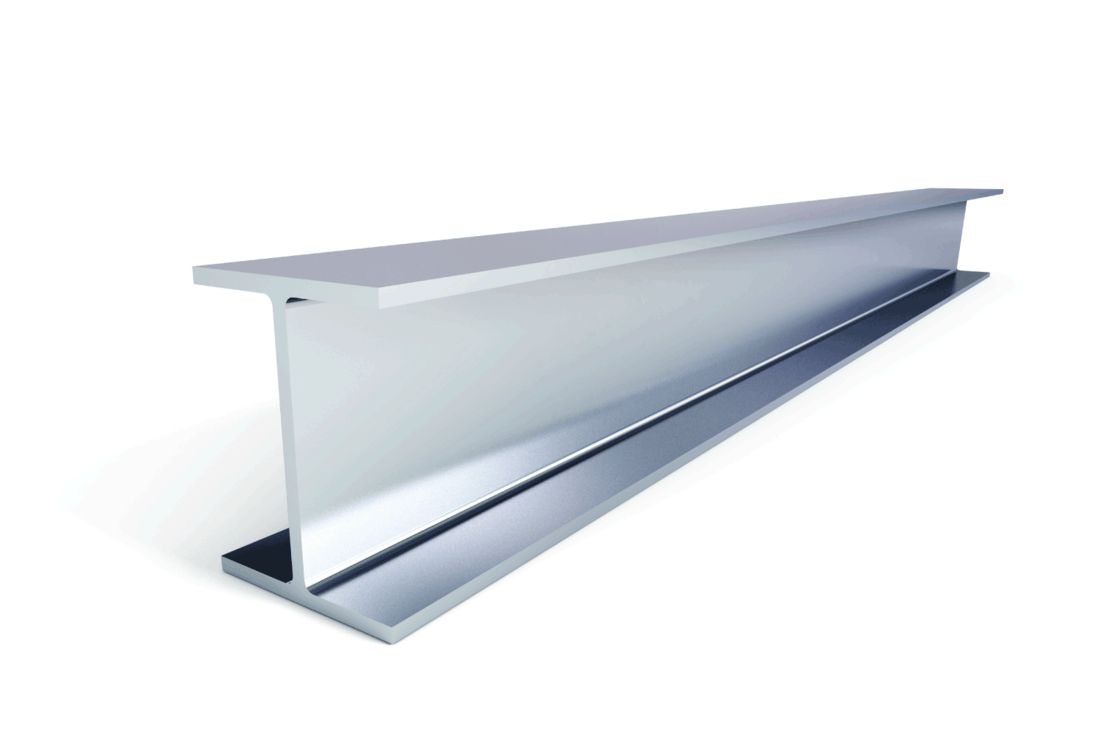
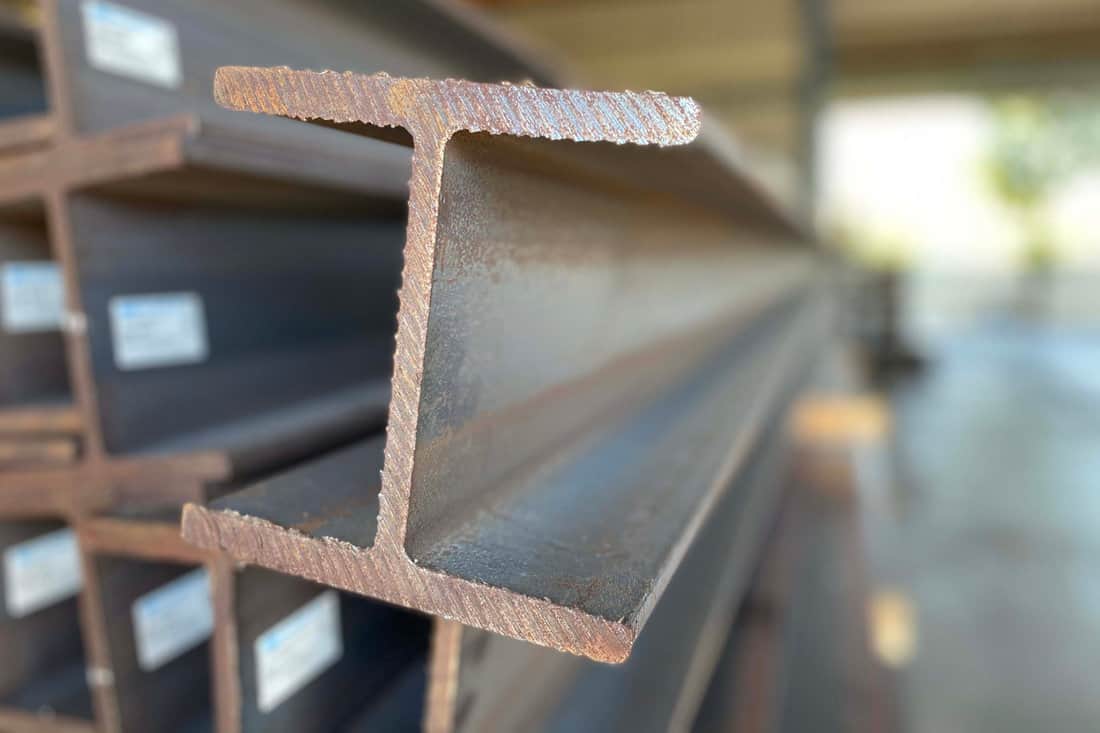
Steel beams usually come in an "I" shape, so they are known as I-beams. The top of the I provides an area of thin-ish steel that can be drilled out for lag bolts. This allows for a simple location to attach wood to the steel. Then, that wood makes for an easy attachment point for additional framing.
We sometimes add affiliate links and content that was curated and created by our team with the help of advanced ai tools to help showcase the best design styles.
1. Cut the top board
The top board is designed to rest on the beam and match it both lengthwise and widthwise. Use a piece of dimensional 2x lumber that matches the width of the I-beam (usually 2" x 6" or 2" x 8"). You might need to rip the lumber or use more than one piece.
2. Choose lag bolt size

Click here for lag bolts of the correct size from Amazon.
Usually, carpenters use 1/4-inch by 1 1/2-inch lag bolts. These look and act more like large screws with hex heads. It is possible to use thicker bolts for higher sheer strength, but bolts of any greater length require a thicker board. Choose the size of your lag bolts first, so you ensure that the holes in the steel are the correct size.
3. Layout lag bolt location
Drill holes through the beam every 12-inches or so. Unfortunately, steel beams are very difficult to drill through. While it is possible to drill the necessary holes on the job site, it is not ideal. If possible, order the beam will pre-drilled holes.
If the beam is a special order, the fabrication shop should have no problem adding holes wherever you want them. However, take the time to figure out your desired lag bolt locations, so you are ready when you place the beam order.
2. Drill holes through beam

Click here for a set of steel drill bits from Amazon.
If you are drilling the holes yourself, you will need a steel drill bit and a drill. Given the hardness of steel beams, it might be worth grabbing an extra bit to use once the first bit dulls. Further, it is usually easier to drill the holes while the beam is still on the ground.
3. Attach wood framing element to the top of steel beam
Now use the lag bolts to attach the board to the top of the beam. You can save yourself some effort by pre-drilling the board. However, make sure that you do not drill too wide. You want to make sure that the threads of the bolts fully bite into the wood. Tighten the lag bolts using a hex-head driver bit or a ratchet.
4. Hang top-mount hangers-on wood
Top-mount hangers are designed to hang onto the top of a piece of framing or wood. Thus, they easily attach to the board you have just affixed onto the steel beam. Use joist hanger nails (commonly called tico-nails) to make sure the hangers are properly attached. Be sure you carefully layout the hangers before nailing.

Click here for 2 x 8 top-mount hangers from Amazon.
Take the time to identify and purchase a hanger with as many holes as possible in locations that will hit the wood of the board on top of the I-beam. The more connecter points you have between the hanger and the board, the better. Also, make sure your hangers fit the dimension of framing you intent to use next (so 2 x 4, 2 x 6, etcetera).
5. Affix rafters/floor joists to hangers

Now it is time to put the horizontal framing into the hangers. Cut the framing to the desired length and set it in the hangers. Nail off the framing using as many joist hanger nails as possible on the I-beam side and however you would normally nail off the framing on the other side.

Click here for joist hanger nails from Amazon.
The joist-hangers provide significant vertical support to the framing elements. However, the hangers are at risk of allowing the joists to twist. To avoid this, either block between the hung framing near the beam or run a metal strip along the bottom of the beam.
Using Metal Straps

Click here for a spool of metal strap from Amazon.
These approximately 2-inch galvanized steel straps are available in most home-improvement stores. Secure them along the bottom of all the rafters/floor joists near the hangers on the steel I-beam. If you buy pre-cut staps, you might have to offset every other strap by an inch or so. If you use a spool of strapping, you will need steel cutting snips to cut the strapping when needed.
Use joist hanger nails to affix the straps to the framing. The steel strap along the bottom of the framing provides tension to stop the framing from buckling or twisting.
Using Blocking
Cut scrap lumber to the exact width between each framing joist/rafter. For best results, use scrap that matches the dimensions of the framing elements. Nail the blocks in place with hand nails or a nail gun. Blocking is a cheap way to ensure that the rafters/joists do not twist or buckle.
How to amend this technique for other framing elements (not rafters/floor joists)
Usually, horizontal framing elements are what you want to attach to your beam. However, sometimes you might also want to attach vertical framing elements like walls and stairs. The general guidelines outlined here work for these other types of framing as well.
How do you attach a stud wall to a steel beam?
For instance, you can drill holes in the bottom of the steel I-beam to attach the top plate of a wall. Just use the same strategy and lag bolt schedule outlined in the above steps. However, you usually only need to attach a piece of lumber that fits the size of your wall rather than the width of the beam. Once you have the top plate attached, frame in the rest of the wall under the beam.
How to atypical framing elements to a steel beam?
For non-continuous on non-typical framing, like stairs, a dropped ceiling, or backing for drywall/cabinets, you might have to get creative in your attachment point. However, the general steps outlined above work for almost all situations.
Using holes through the beam, and lag bolts into the framing, you should be able to attach wood to the steel in almost any situation. Sometimes, you might need to drill through the central (and therefore thicker) part of the steam I-beam. However, avoid this due to the increased difficulty and because you can usually always use the top or bottom of the I-beam.
Other ways to attach framing to a steel beam
Other ways to attach framing to a steel beam include welding hangers onto the beam and sandwiching the beam with wood and bolts. Each of these techniques works but is more difficult or requires additional tools.
Welding Hangers to the Steel Beam
If you have the welding equipment, it might be best to weld hangers onto the steel beam to use as framing attachment points. However, since most contractors or homeowners do not have the experience and equipment necessary the lag bolt technique is instead recommended.
Be sure that before you attempt this technique, you are fully versed in attaching metal solidly and which welding practice to use. Take the time to do thorough research, or hire an experienced welder to do the work for you.
Sandwiching the Steel Beam
It was once common practice to drill holes through the thickest part of the I-beam and then sandwich wood on both sides. Usually, the wood would need to be doubled up to fill all the space between the top and the bottom of the beam.
Contractors used a very long bolt with washers on both sides and one nut to tighten the wood in place. This technique did provide a lot of area to attach framing to but requires drilling through the thickest, most difficult part of the beam. Also, this technique requires two to four times the amount of lumber.
How do you attach wood framing to a metal building?

To attach wood framing to a metal building, bolt framing wood to the building. Drill holes through the building and the wood, and use nuts and bolts to secure it in place. Be sure to use wide enough washers, so the contact points do not bend or wear through the metal building. Alternatively, bolt wood on both sides of the metal wall to spread the force of the bolts out over a greater area.
To make it easier to affix additional wood to the original piece of backing, countersink the bolt heads into the wood. After this relatively simple step, you should be ready to frame the rest of your structure off of your new attachment point.
Can you screw into a steel beam?
Yes, you can. There are special screws designed for screwing directly in hardened steel like that of a steel beam. These screws usually have a self-drilling tip that helps auger out the steel. For some situations, using these self-drilling screws might be just the ticket.
How do you attach wood to metal without screws?
Without using screws, you can attach wood to metal using bolts, by welding, or by using special wood to metal adhesive. Adiseal is a well-respected product that is designed specifically to attach wood to metal. However, for areas that will receive significant force (like framing), use screws, bolts, or welding rather than just glue.
In Closing
![Metal-beam-and-tape-measure.-How-To-Attach-Wood-Framing-To-A-Steel-Beam-[6-Steps-To-Follow]](https://homedecorbliss.com/wp-content/uploads/2021/05/Metal-beam-and-tape-measure.-How-To-Attach-Wood-Framing-To-A-Steel-Beam-6-Steps-To-Follow-1024x683.png)
![Metal details for a false ceiling, How To Attach Wood Framing To A Steel Beam [6 Steps To Follow]](https://homedecorbliss.com/wp-content/uploads/2021/05/Metal-details-for-a-false-ceiling-How-To-Attach-Wood-Framing-To-A-Steel-Beam-6-Steps-To-Follow.png)