
Whether you're planning for a bathroom renovation project or anything that involves tile installation, you will most probably end up using a cement board in your project. These boards are sheets made of cement and cellulose fibers, and it is a very sturdy material. With these qualities, many people wonder if cement boards can get wet, particularly because this material is always favored for tile installations. We've researched this to find an answer for you.
Technically, cement boards are not waterproof, but it is a water-resistant material, allowing cement boards to get wet. The water-resistant properties of cement boards prevent the board from disintegrating when exposed to water, which makes these boards perfect to use in areas with moisture.
Cement boards are one of the things you will need to get that tiling project up and running. Knowing that these materials can get wet, you may be wondering if there are other things that need to be considered when using cement boards. Do continue reading because we've come up with answers to some of these questions.
Can Cement Board Get Wet?
Cement boards are sturdy boards mainly used as a sub-surface for tiling. Ideally, these boards are used for areas that are going to be tiled, such as bathrooms, shower stalls, or tiled countertops. All of these surfaces are prone to moisture or constantly getting wet.
We sometimes add affiliate links and content that was curated and created by our team with the help of advanced ai tools to help showcase the best design styles.
Now that you know that cement boards are generally used for tiling projects, one question that is always often asked is if cement boards can get wet. The quick answer to this question is yes; cement boards can get wet because they are water-resistant and have excellent drying capabilities. It absorbs moisture well and will not disintegrate when exposed to water.
But while cement boards do have these qualities, the material is not waterproof, so a barrier or sealant needs to be applied to prevent moisture from seeping underneath. If your cement boards do get wet, they will be fine. However, the substrate to which you have installed your cement board will weaken because of moisture.
What Are The Benefits Of Using Cement Board?

There are a lot of benefits to using cement boards as backing for your project. Aside from being inexpensive and long-lasting, here are some benefits you will get from using cement boards:
1. Holds up to moisture
One of the things that makes cement boards a choice material for humid rooms is their ability to hold up to moisture better than drywall. The materials used in creating cement boards are also less susceptible to mold, rot, and decomposition, common in high moisture environments.
2. Adds stability to your structure
The materials used to create cement boards are very sturdy so they make excellent backing materials for your projects. Cement boards also do not crack as easily, therefore giving your structure a much higher load capacity than other backing materials.
3. Easy to Install
Cement boards are readily available in most hardware stores, and they are pretty easy to install. The easiest way to do this is to simply score, cut, and place your cement boards, and you should be able to finish your project in no time.
4. Does not warp or shrink
One of the best qualities of cement boards is the unlikelihood of warpage or shrinkage as time goes on. Of course, there may be other factors that can cause these issues, but cement boards are generally stable and are unlikely to shift during or after installation.
Can Cement Board Be Used Outside?
While cement boards are typically used in projects that are indoors, such as bathrooms and kitchen counters, this material is also an excellent choice for outdoor use. Because of their water-resistant quality, they can also be used in areas outdoors that need to be tiled, provided that the cement boards are prepped correctly.
A lot of contractors have used cement boards on outdoor projects like pools, hot tubs, and outdoor showers. They've chosen this material because of its sturdiness and because it is not prone to mold buildups, which cause many problems in the long run.
Basic How-Tos on Installing Cement Board
Cement boards are easy to install on your own. It only requires a few basic tools, and you should be able to work on it in a couple of hours all by yourself. Here is a quick how-to guide on how to install cement boards:
Materials Needed
- Cement board sheets
- Thinset mortar
- Cement board screws
- Fiberglass mesh tape
- Large bucket
- Cordless drill and attachments
- Electric jigsaw
- Utility knife or T-square knife
- Trowel
- Protective gear
- Waterproof membrane
Instructions
1. Prepare your area
Prepare your work area by cleaning out all old backing materials and thoroughly cleaning the place. Dry lay your boards over the area you need to work with to see which boards need to be pre-cut or if you need to purchase more cement boards for your project.
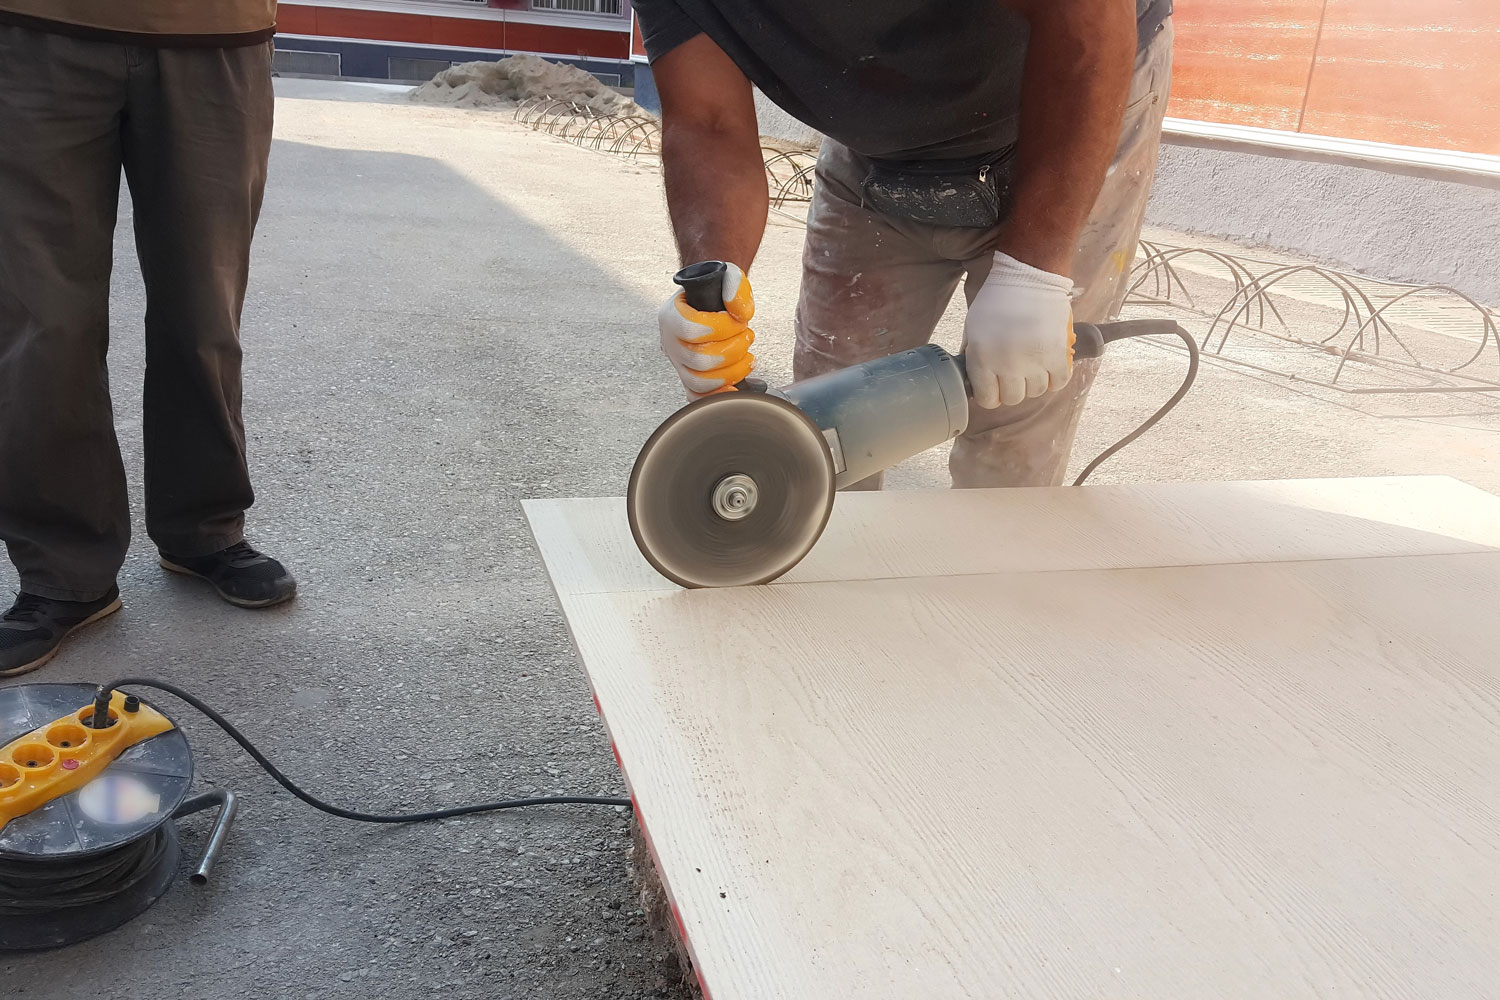
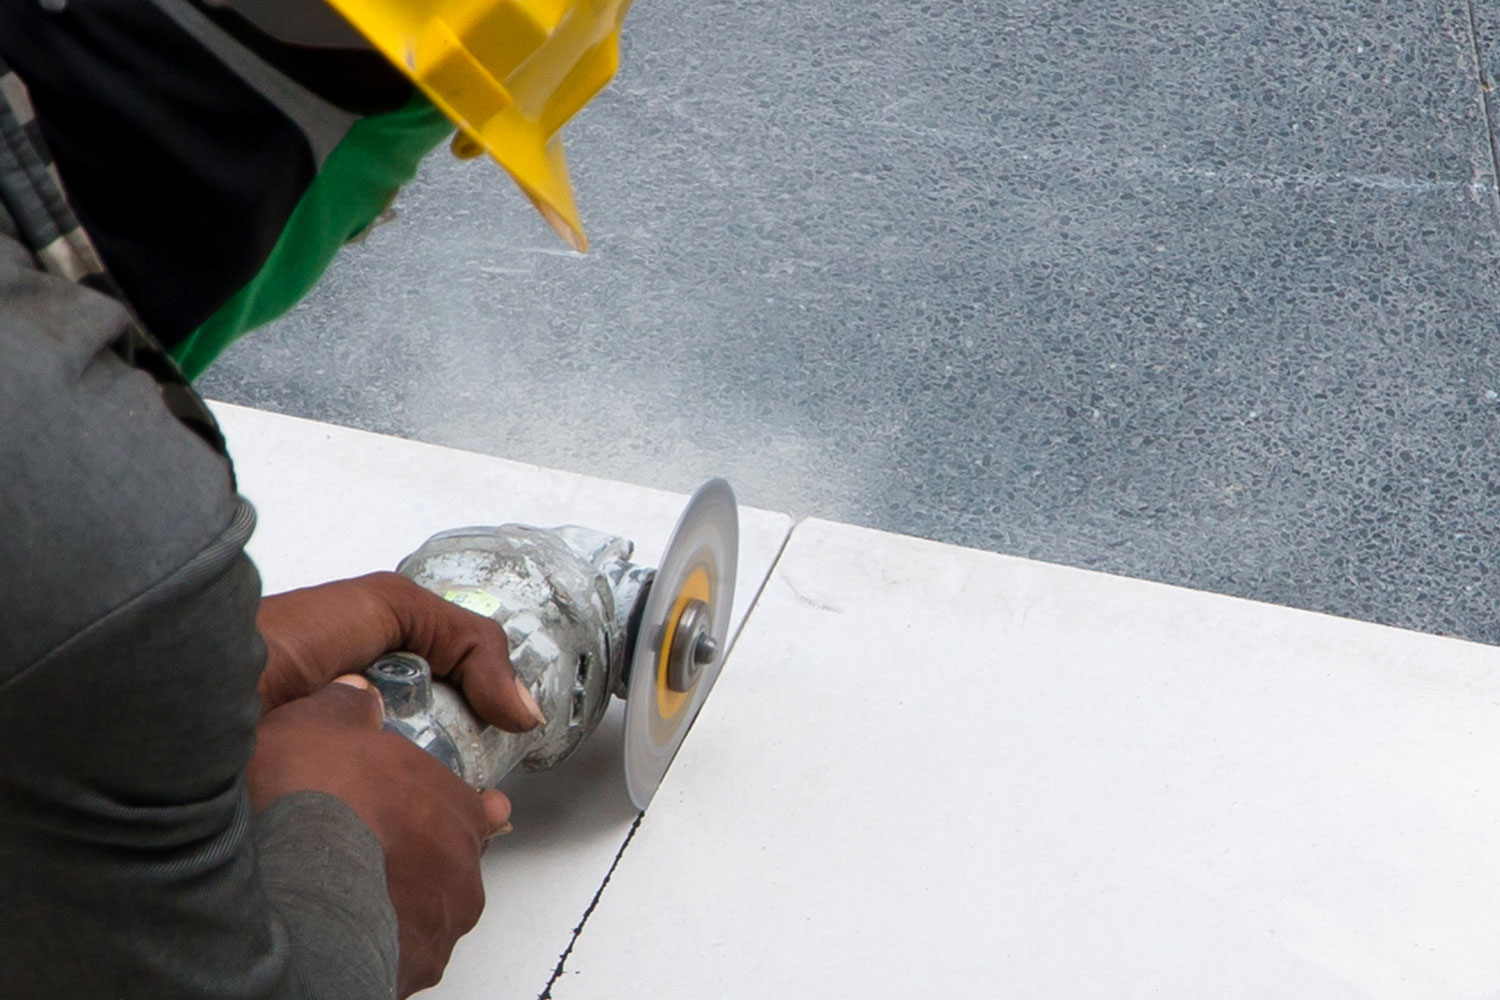
2. Pre-cut your cement boards
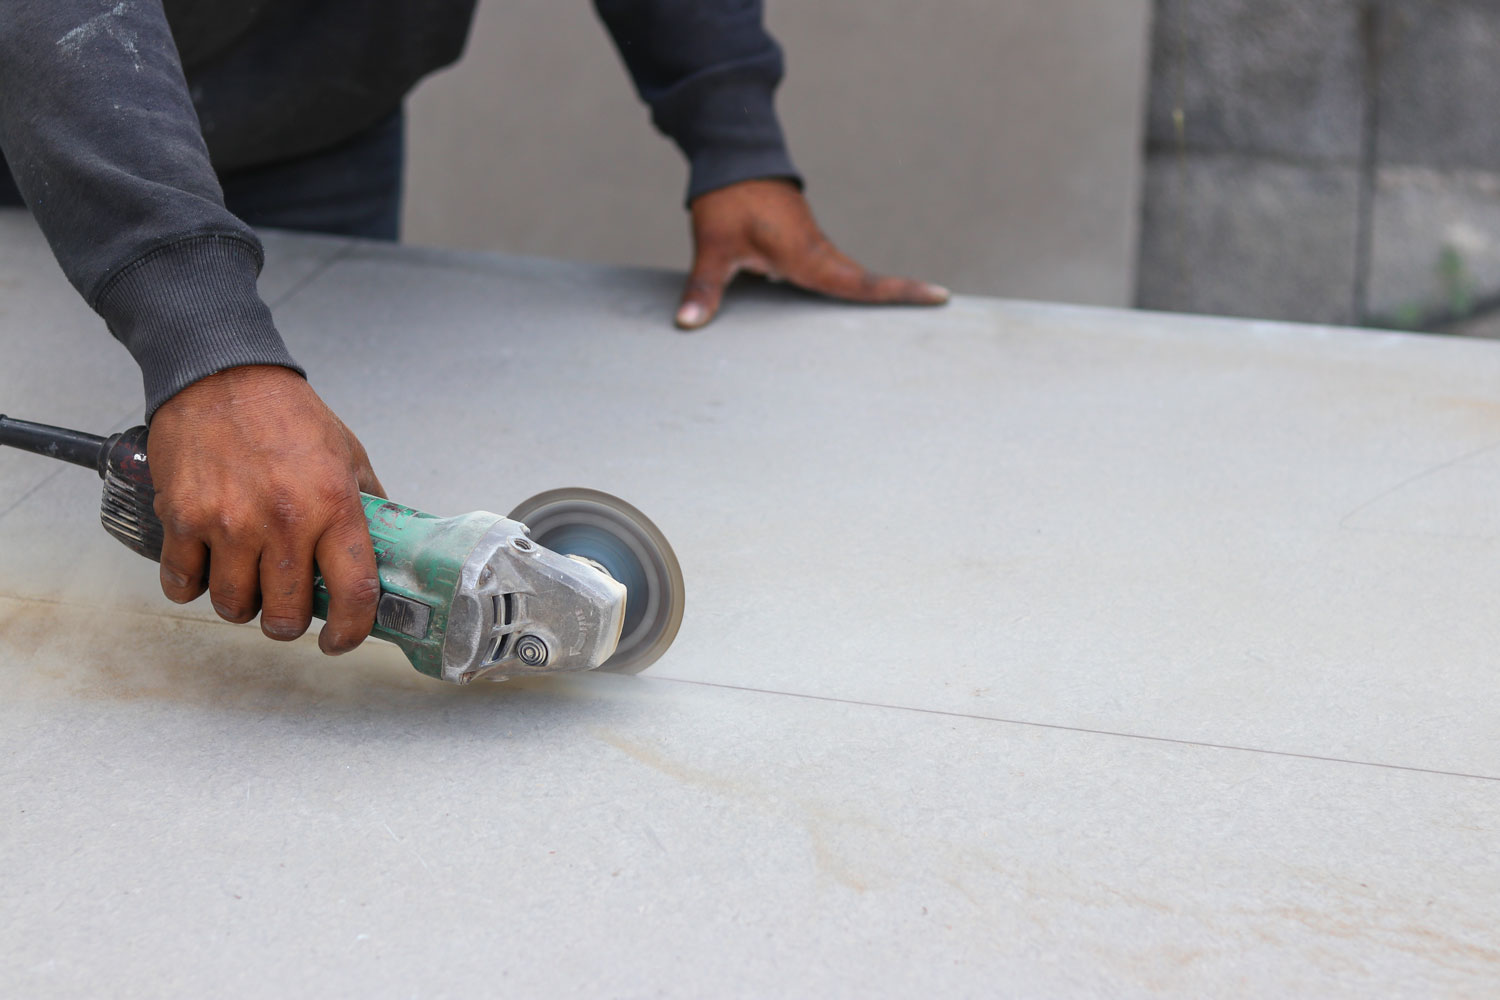
Before cutting your cement boards, score them with your utility knife to mark the areas where you will cut using a jigsaw blade. While wearing your protective gear, cut your cement boards using a jigsaw blade with short, shallow cuts to prevent cutting over the scored lines.
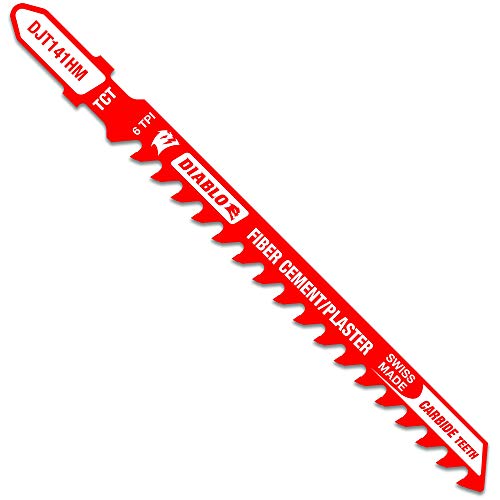
Check out this jigsaw blade on Amazon.
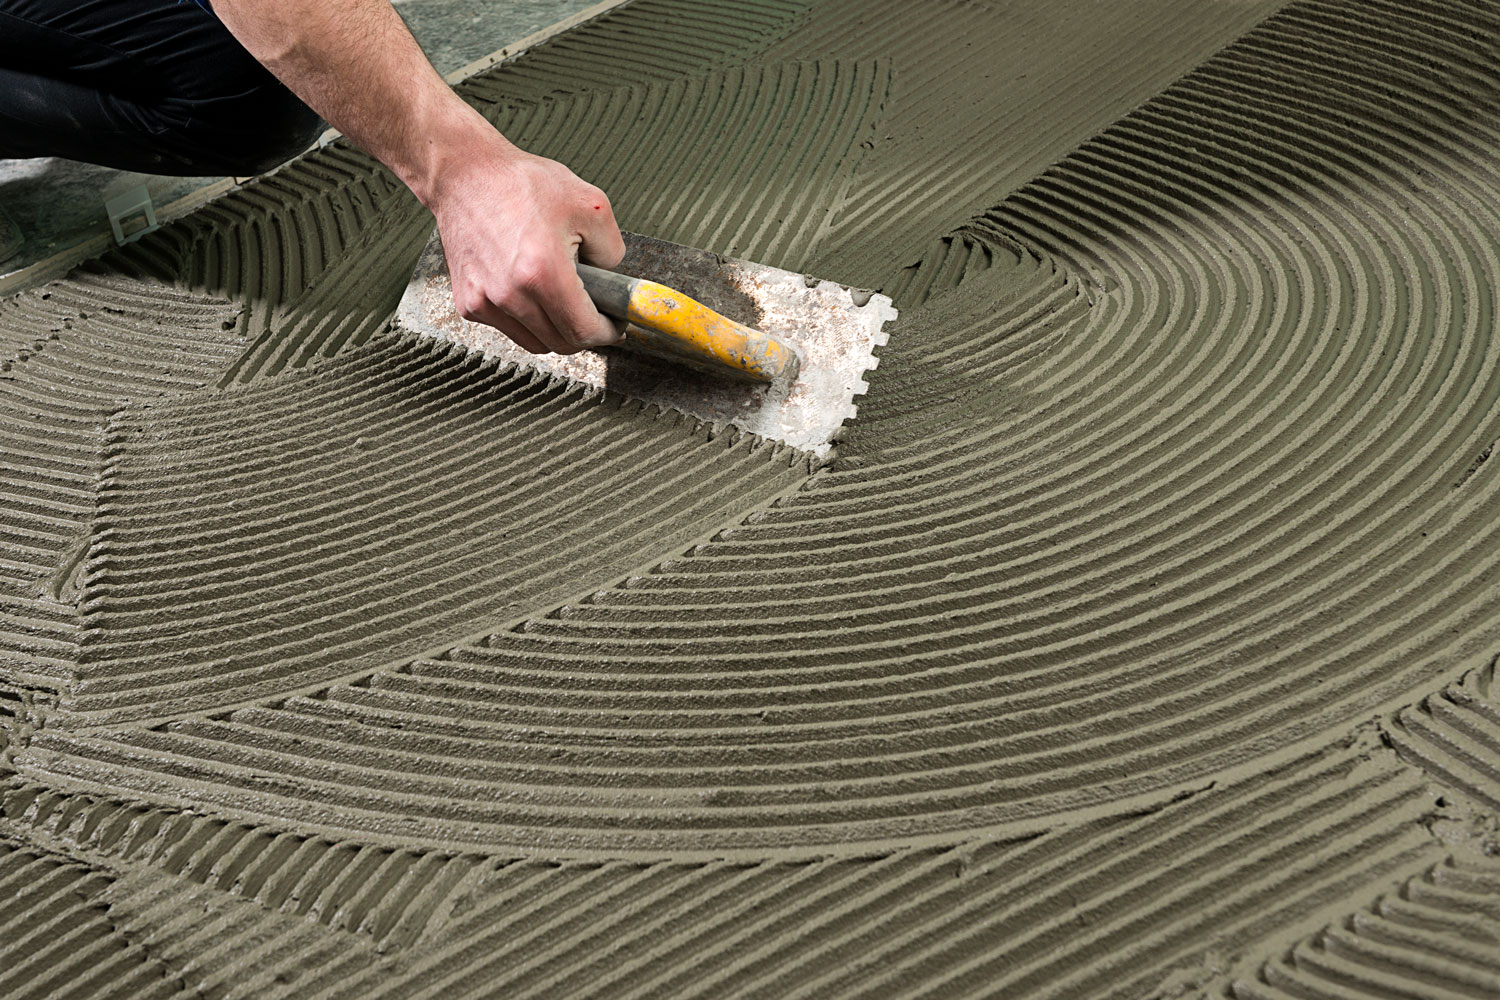
3. Use thin-set mortar
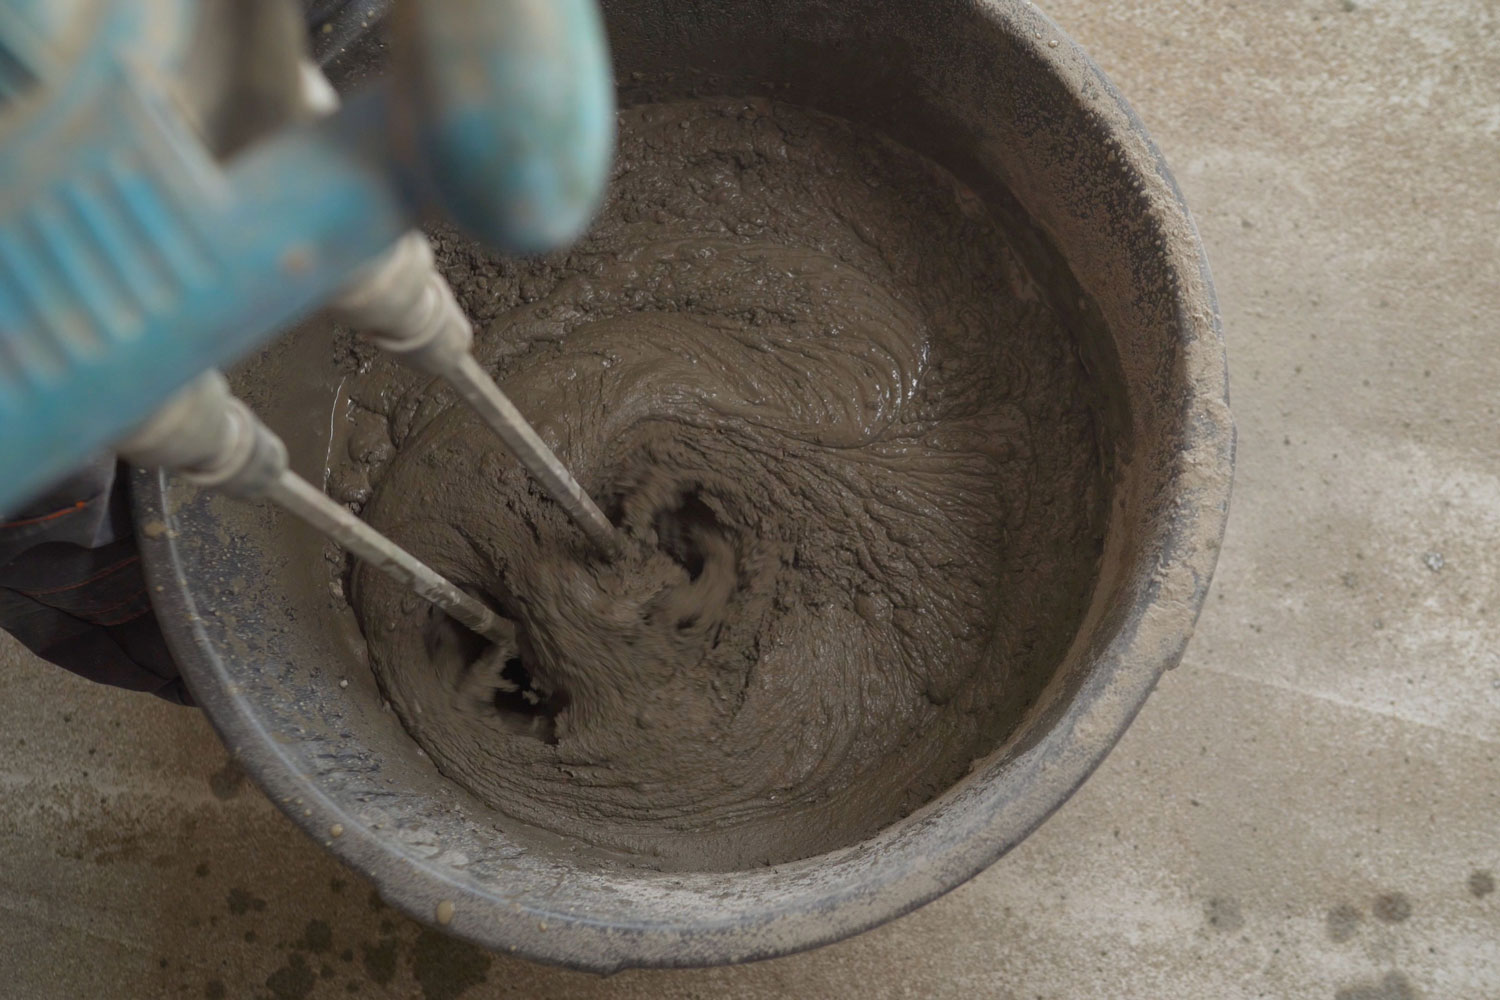
If you are working with unmixed thin-set mortar, use a large bucket to prepare the mortar and follow the instructions. If you are working with pre-mixed thin-set mortar, then you should be ready to work with it right away.
Use a grooved trowel to apply a layer of thin-set mortar to your area. Just apply enough for one cement board sheet at a time, and use the notched side of your trowel to comb ridges to your mortar.

Check out this notched trowel on Amazon.
4. Lay and secure cement boards
With the thin-set mortar still fresh and wet, carefully place the cement board on top of it with the rough side of the sheet facing upward. Using your cordless drill, secure your cement board with the screws along the seam of the board.
Make sure that the screws are spaced at about 8 to 12 inches apart, and try to screw them as flush as possible to your board.
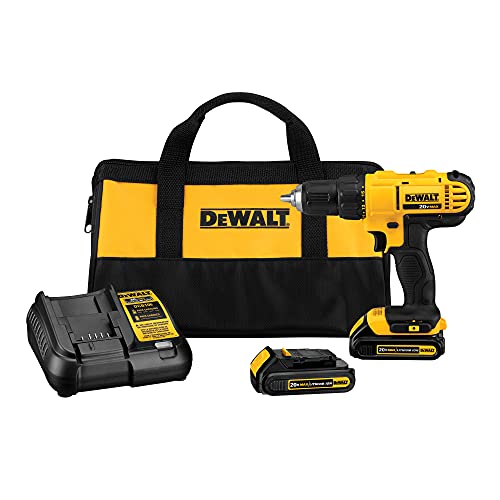
Get this cordless drill on Amazon.
5. Tape the seams properly
Apply the fiberglass mesh tape over all the seams of your cement board, especially the parts where your boards connect. Use a corner trowel to help your tape flatten against the board properly, especially for those corner pieces.

See this fiberglass mesh tape on Amazon.
6. Add more thin-set mortar
When all of the seams, corners, and edges are taped, apply another layer of thin-set mortar over your fiberglass mesh tape. Using a trowel, make the thin-set mortar as smooth as possible so that the tape is completely covered.
Make sure that there are no lumps or uneven areas, as this will affect the way your cement boards will look. Let the mortar completely cure and dry according to the manufacturer's instructions.
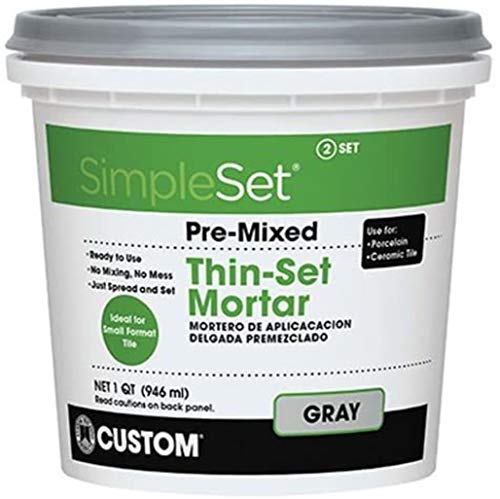
Check out this premixed thin-set mortar on Amazon.
7. Apply a waterproof membrane
This step is optional, especially if you are only using cement boards as backing to your kitchen counters or other tiled areas. However, this step is important if you are using these cement boards for very humid rooms, like bathrooms.
When the thin-set mortar has dried and cured, paint a layer or two of waterproof membrane all over your cement boards. Pay close attention to the seams by applying a good amount of waterproof membrane on these areas. Allow the waterproofing membrane to completely dry before moving to the next step.
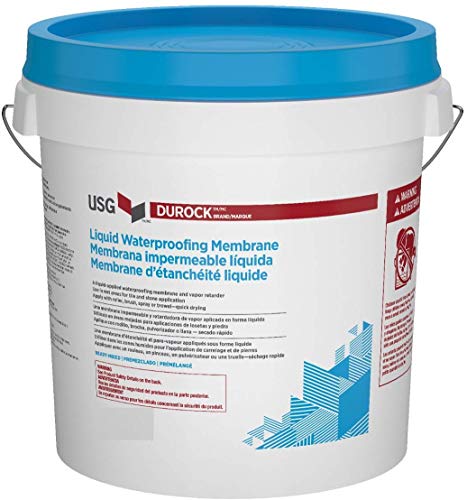
Get this waterproofing membrane on Amazon.
8. Start tiling
Once you have laid down and installed your cement boards, you are now ready to start tiling your project.
Final Thoughts
Cement boards are high-quality materials that are great as backing for tiling projects. These boards are water-resistant and very sturdy, making them a choice material to use for very humid rooms. Using cement boards is easy to install, can be done without professional help, and can be put up in a short time. These cement boards will be a great material to work with for all of your tiling projects and other home improvements that need a good, sturdy backing material.
Do you need more information about what kinds of boards you can use for your home? We have a couple of articles that may be of interest to you: