
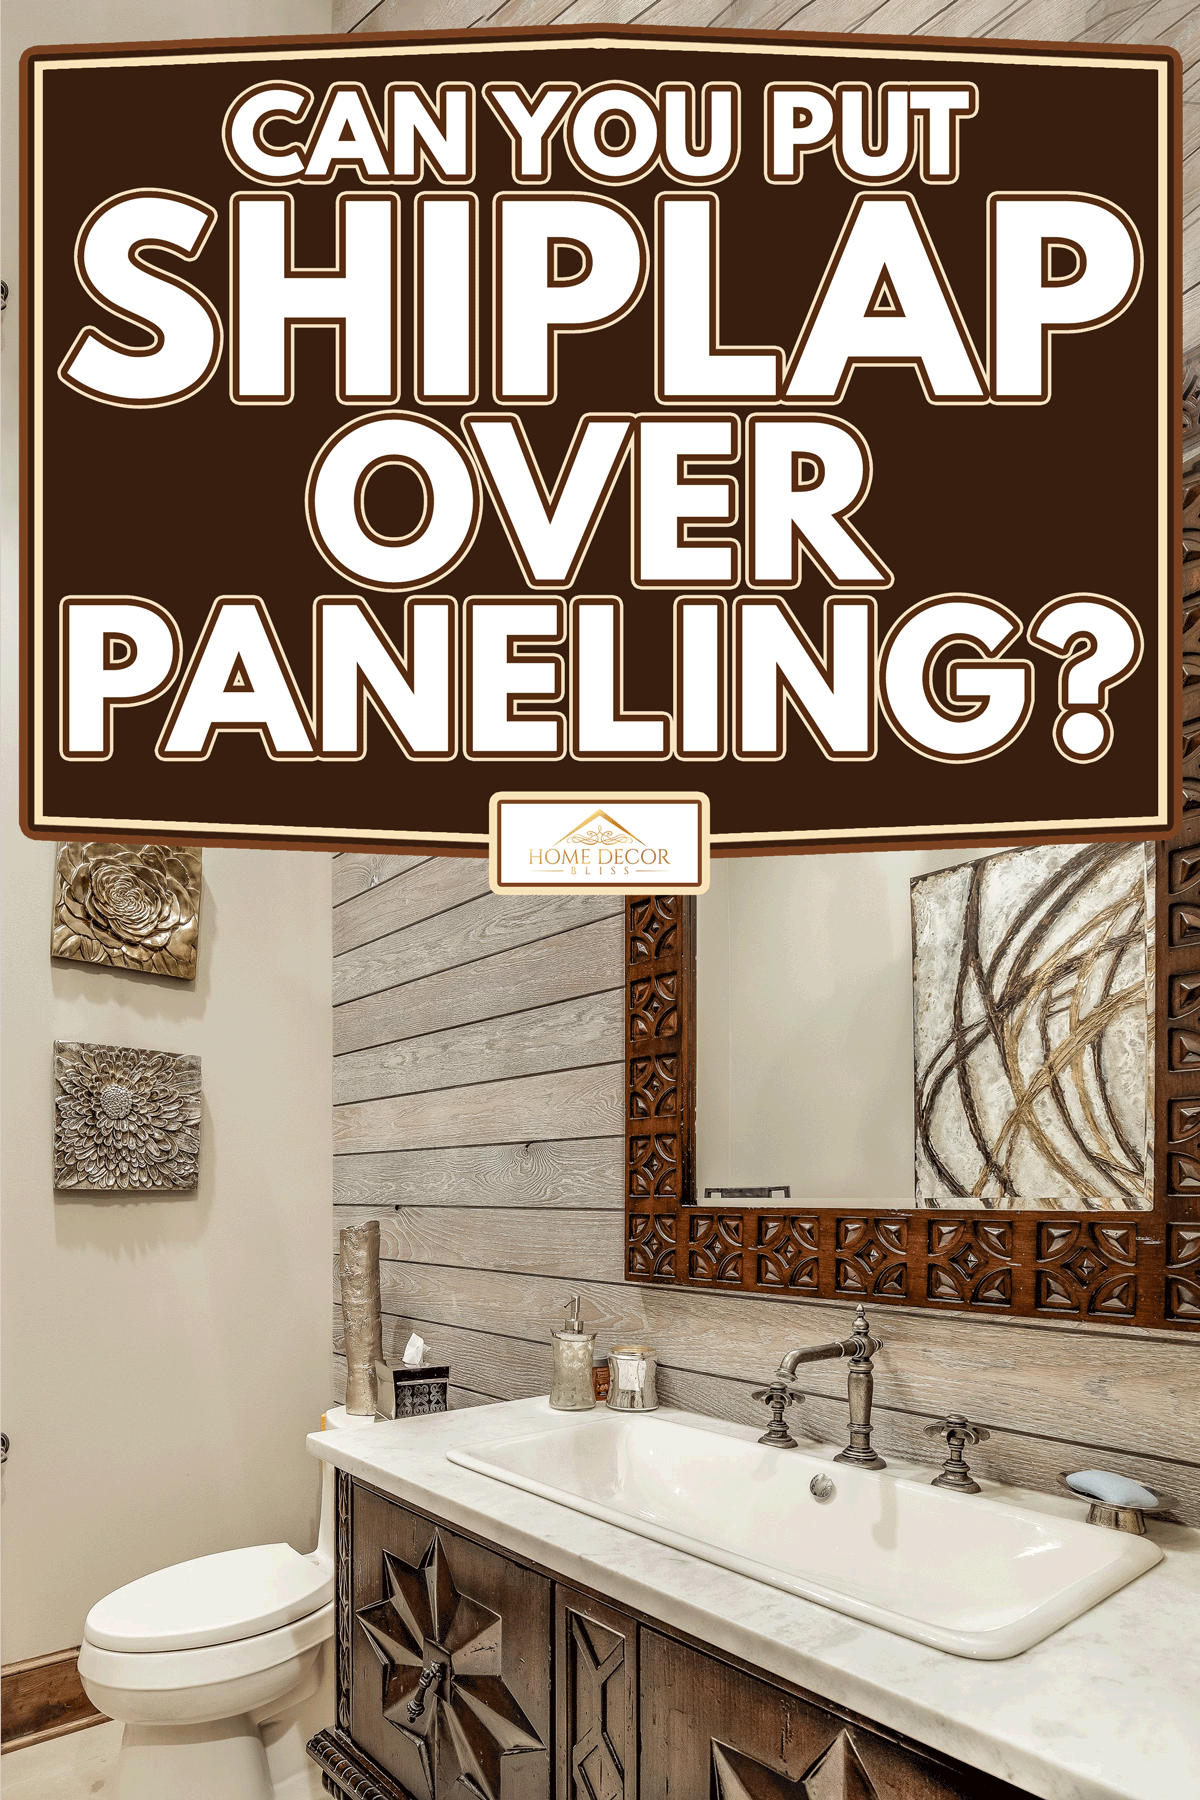
Shiplap is a great idea to be your home's decorative wall covering if you are renovating. That is why we've researched all the information you will need, starting with if it is possible to put it over paneling.
Yes, you can install shiplap over your wall paneling. It can be an easy treatment for your interior since it can be done using various materials that suit your budget.
Now, that's a good kickoff, but we have more to talk about, like how to install it, how much it'll cost you per room, and how the other homeowners design their shiplap to add more character to their homes, and a lot more. If you are curious about this, scroll down. We have the answers for you.
Hanging A Shiplap Over Paneling
Many homeowners hang a shiplap over their paneling because it's very easy to install. All you need is basic carpentry skills like measuring, cutting with tools like a circular and table saw, sanding, painting, nailing, and sealing using a caulk.
It can also be hung anywhere—the kitchen, bathroom, garage, living room, bedroom, or even up on the ceiling! Shiplap is also inexpensive, durable, and easy to stain with a color that will match your style while being resistant to rust, corrosion, dents, and seasons. However, you should consider these things when installing a shiplap.
- Its grooves trap in a lot of dust.
- You need to choose the right kind of paint; using water-based paint and primer in one is best.
- It can rot or warp when installed incorrectly, especially in places with high humidity.
How To Install Shiplap Over Paneling
As promised, we will give you instructions on installing a shiplap based on your allocated budget. You can use materials like medium-density fiberboard, plywood, poplar, cedar, or pine wood, depending on your preference. Though it differentiates from the price, they all fall under the same procedure.
Step 1
Remove any distractions from the surface of the wall, such as nails, hooks, picture frames, etc.
Using a tape measurer, get the area of the wall you want to envelop with shiplap. You can get this done by multiplying its total length by its total width. Make sure to ask for assistance to keep the line straight as you stretch the measurer from point A to B. This can give you a more accurate number.
Do not forget to jot down the measurements you'll get, then refer to the equation below.
Wall length in feet x Wall width in feet = Wall's total area in square feet
So if it is 10 feet long and 15 feet wide, then,
10 feet x 15 feet = 150 square feet
If windows or doors are included, measure them separately using the same method above. Once done, subtract that from the total area of the wall. For example, your window is 3 feet high and 2 feet wide.
3 feet x 2 feet = 6 square feet
Deduct that from the 150 square feet area we got earlier.
150 square feet - 6 square feet = 144 square feet
This means you will cover a 144-square feet wall with shiplap.
Step 2
Next, calculate how much material you're going to buy and use. Plywood is the most commonly used material to recreate a shiplap, and the usual size you'll get per sheet is 4 x 8 feet [32 square feet].
Following the measurement we got earlier, if you have a 144-square feet wall to put shiplap on, you will need four and a half plywood sheets. We got this by doing the calculation below:
Total wall area in square feet ÷ Common size of plywood sheet in square feet = Number of plywood sheets you'll need
In our sample case,
144 square feet ÷ 32 square feet = 4.5 square feet
It is always better to purchase more than what you need in case you make a mistake, or there is an unavoidable turn of events requiring extra wood. This will save you time and effort of going back to the store. Choose the ¾ -inch AC quality combination of plywood.
Step 3
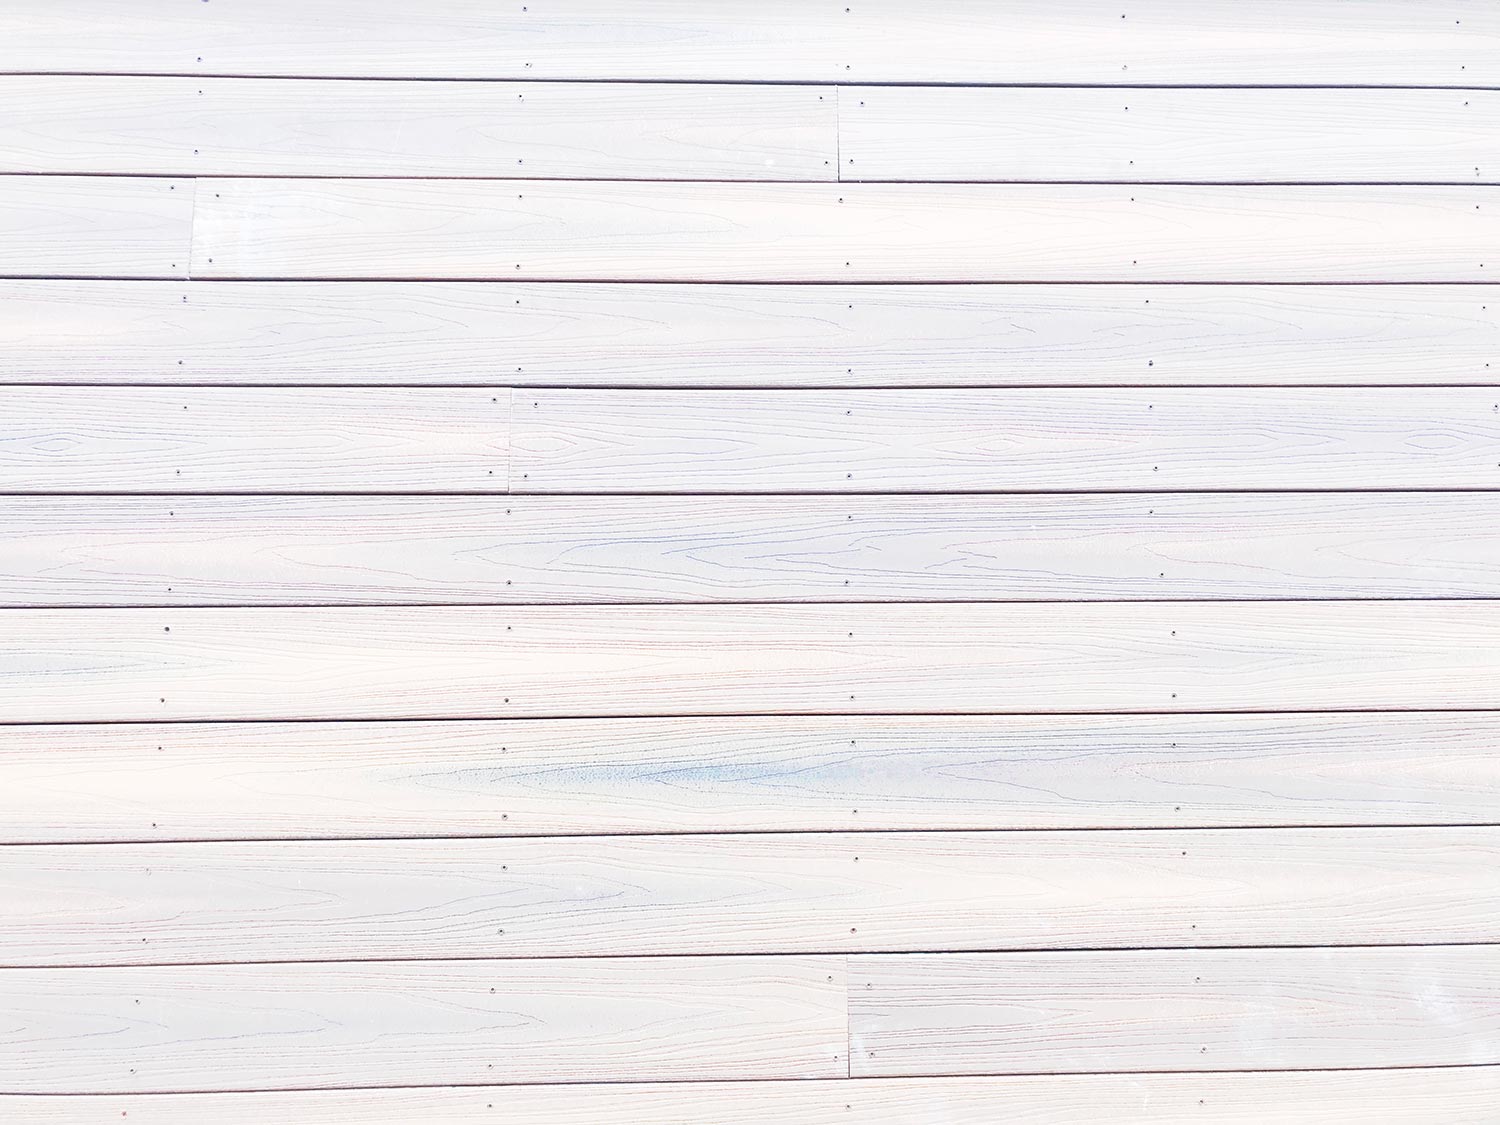
Cut the boards according to the size and pattern that you want. Shiplap comes in different widths to suit your interior. But the two most common sizes are 5½ [works best in medium-sized rooms like bathrooms] and 7¼ [suitable for covering large or long narrow areas like hallways].
Use a table saw, and make sure to wear eye and cutting protection before doing any of these steps to ensure your safety.
Step 4
Sand all the board strips' rough edges using an 800-grit sanding sponge at a 45-degree angle to smoothen the ripped parts. This can emphasize the visible lines in between the woods.
Step 5
Paint the board strips with their first coat with a roller brush and your desired color. Doing this before the installation on the wall can help reach all the areas since it will be hard to do so once you attach them first. Once dry, sand it again [lightly this time] before putting on the second coat.
To help you choose a color, read more here: "Should Ceiling And Wall Paint Match?"
Step 6
While waiting for the paint to dry, remove the base molding carefully by tapping a putty knife with a hammer behind the molding until you create a gap. Starting from there, work until you detach it entirely. Do not forget to remove leftover nails.
Step 7
Locate the studs using a stud finder by holding them flat against the wall. Mark them with a pencil or chalk. The standard wall studs lie 16 inches apart, find these spots and use them as a nailing guide.
Step 8
Start by attaching the first strip on the bottom of the wall, on the floor going upwards. You can start from right to left or vice versa, depending on which direction you are comfortable with. After making sure it's leveled, use a hammer or a nail gun for faster application.
When you've reached the next column, put a nickel [heads or tails facing the ceiling and floor] in between the boards to serve as a spacer.
Step 9
Once you have covered the whole wall, fill the holes with spackle or caulk. Smoothen the surface using your finger or a scraper. Once the filler dried up, paint it the same color as your shiplap to conceal its presence.
Step 10
Re-install the molding and put on accent accessories such as mirrors, paintings, picture frames, etc. If you plan to re-paint the trim, you can color it the same as the walls if you do not want a contrast.
Learn how to hang pictures on shiplap here: "How To Hang Pictures On Shiplap Walls."
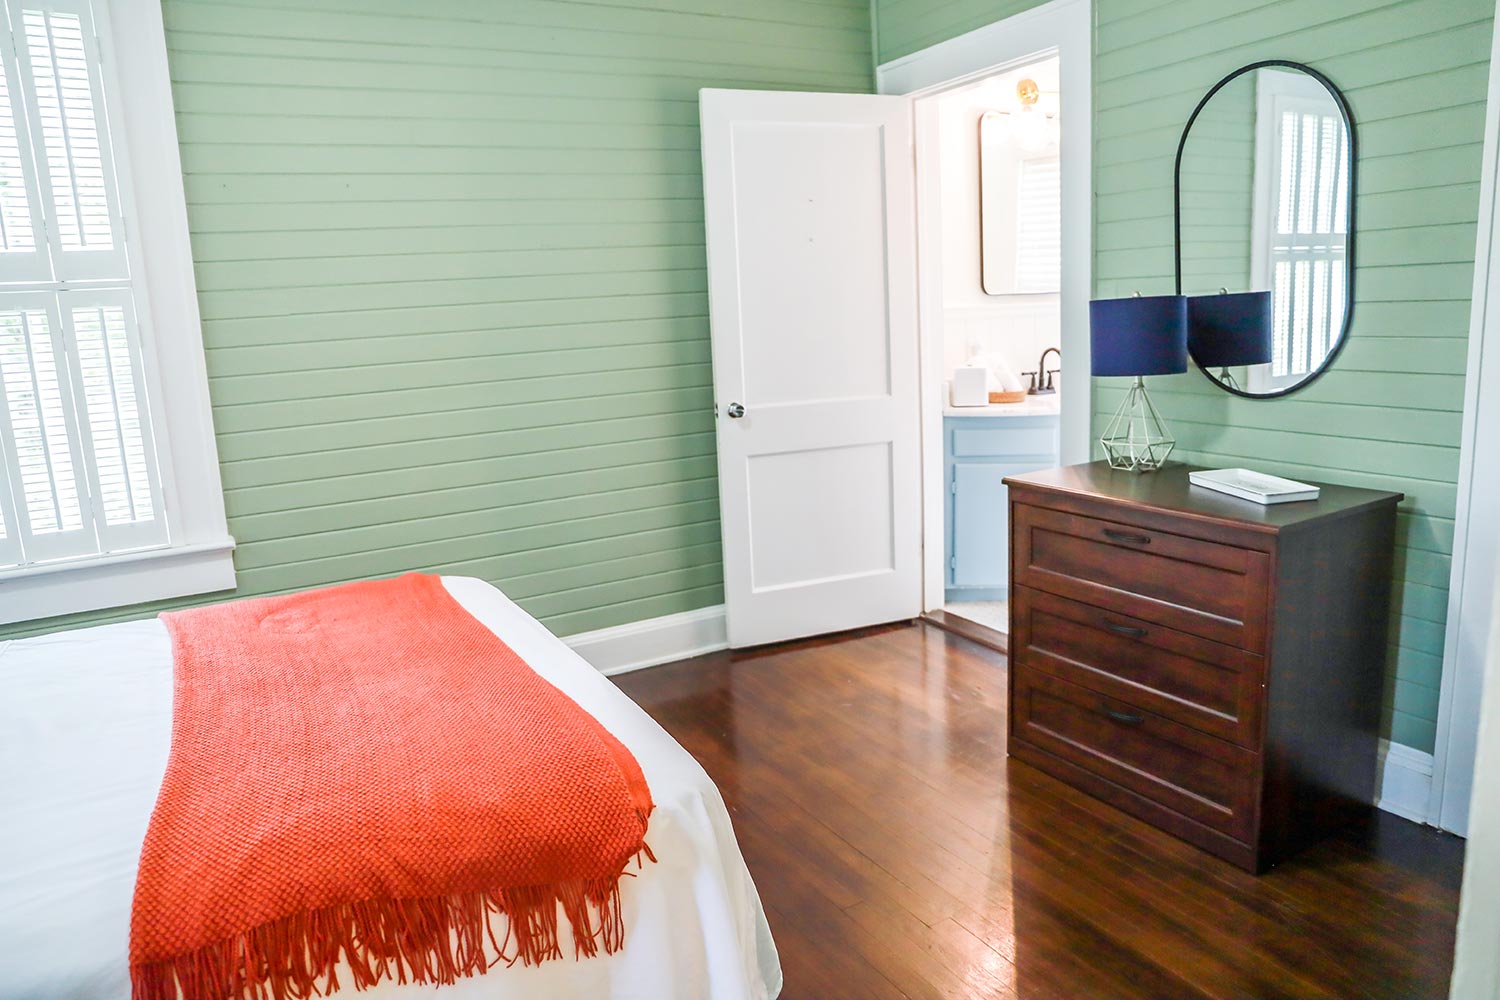
Horizontal or Vertical Shiplap?
If you observe different patterns of how shiplap is installed, you might be confused about what is the right way or wrong. Here is a guide on how vertical and horizontal shiplap affect your home.
Horizontal Shiplap
We sometimes add affiliate links and content that was curated and created by our team with the help of advanced ai tools to help showcase the best design styles.
- Makes the room look wider, ideal for areas with narrow spaces.
- It can achieve a modern look since it is the most commonly used way to install shiplap.
- A horizontal shiplap is a perfect choice if you are after the farmhouse theme.
- It can have a seamless finish by transitioning from the wall to the ceiling.
Vertical Shiplap
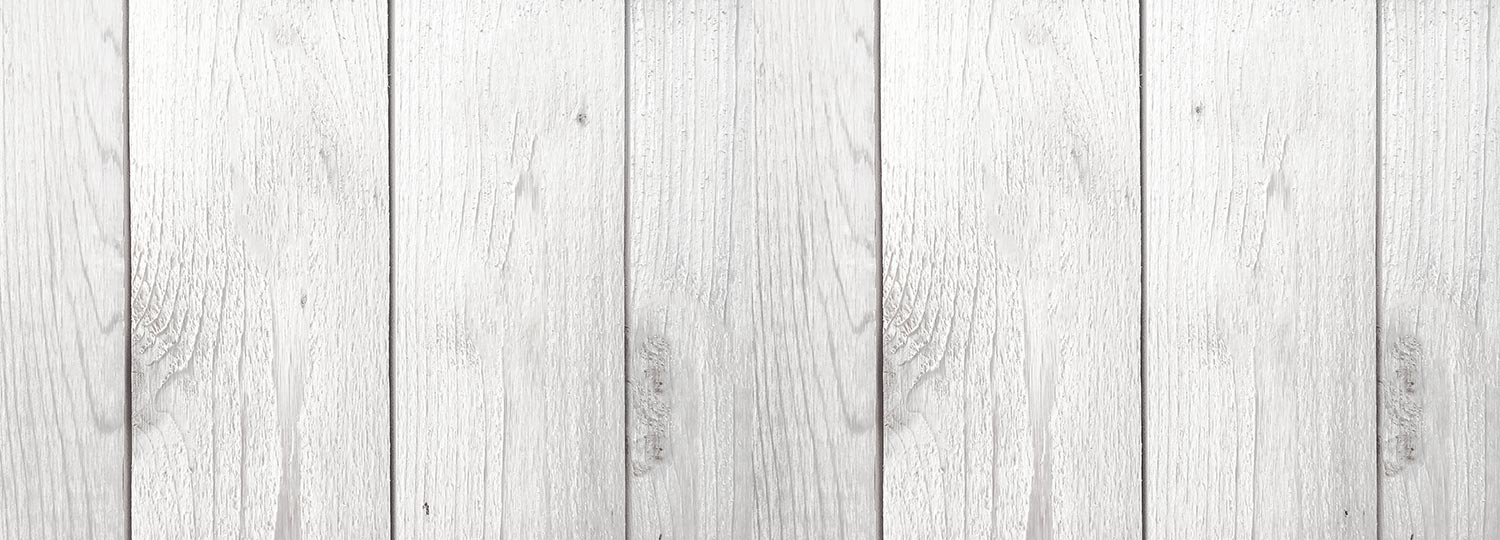
- Makes the room appear taller, perfect for houses with a very low ceiling.
- It aligns with the vintage theme since it has a timeless quality look.
- If you want a unique finish, go after the vertical shiplap since it is seldom that homeowners prefer to attach them in a standing manner.
How Much To Install A Shiplap

If you want a professional to install the shiplap, the cost may vary depending on the type of wood, the size of your house where it will be installed, additional costs like [nails, spackle, finish, etc.] as well as the contractor's personal pricing in your area. On average, a 200 square feet home room can cost you $1,000 to $1,700.
Here is the estimated pricing based on the type of wood per square foot:
- Hardwood: $2.50 - $3.50
- Cedar: $2.50 - $7
- Pine: $2.75 - $3.75
Take note that the exterior shiplap is more expensive than the interior.
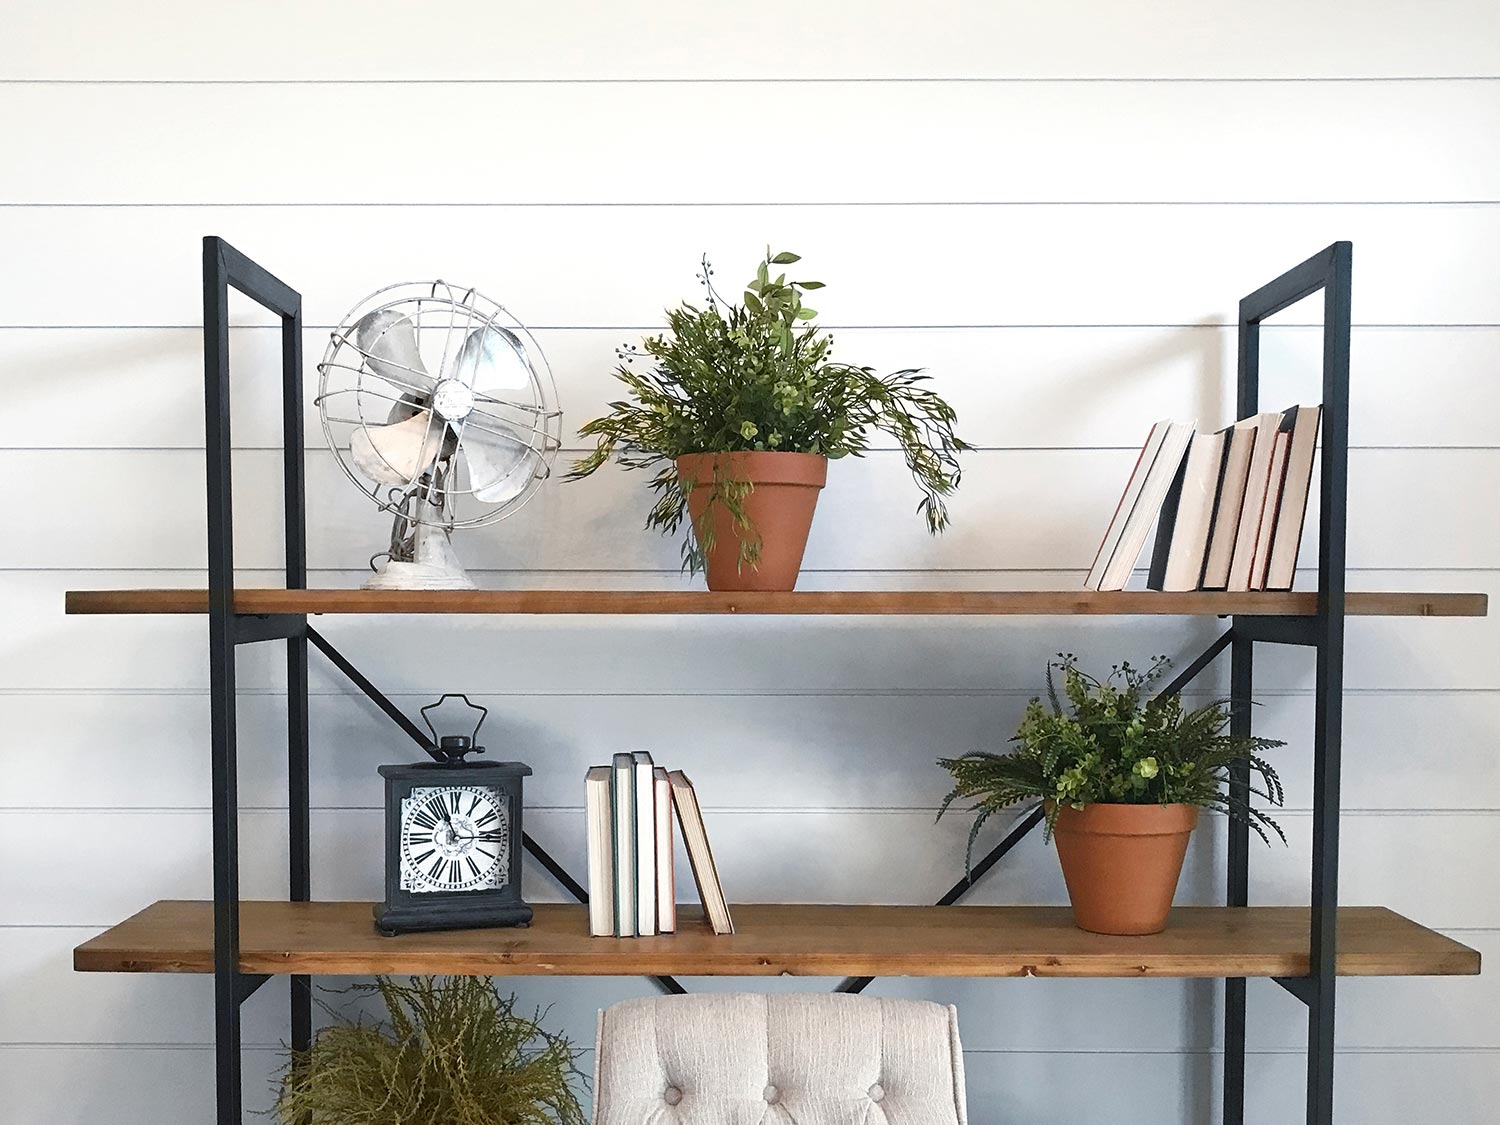
Shiplap Design Ideas
If you still do not have any rough sketch with the design you want in the area you'll install the shiplap, here are some ideas you might adapt to make your home's interior look fresh and new.
Paint It With Your Preferred Color
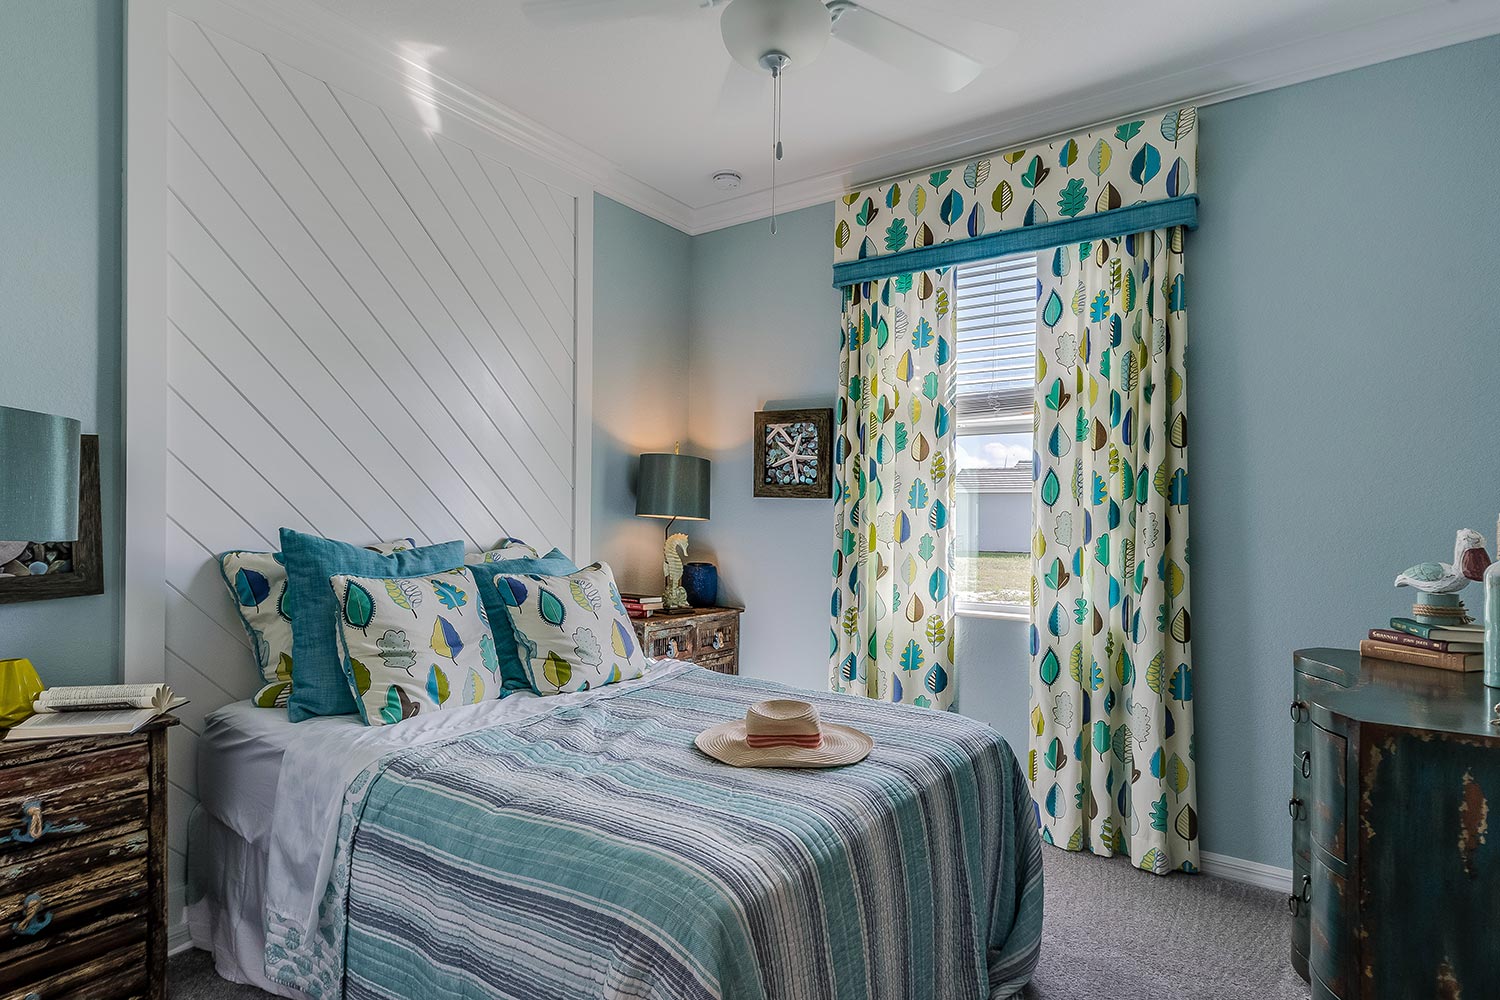
A shiplap doesn't always have to be wood or white color. You can paint it with a tone that will complement your room's theme. This can also make your wall the focal point, depending on how you'll treat it.
The shiplap is painted in black, contrasting the white-colored walls.
Here, the dark green shiplap on one side is mixed with neutral-painted walls, giving that modern farmhouse look.
Choose A Different Width
When cutting the board into strips, decide the width you want to see on your walls. Below are the example designs that vary depending on how wide or narrow the shiplap is.
Wide Shiplap
Narrow Shiplap
Play With Patterns
Shiplap doesn't only need to be horizontal or vertical. You can mix up other alignments or angles to create a pattern design and a playful, creative look.
Enjoy Designing!
Now that we know it's possible to put a shiplap over a panel, how much and how to install it, and what ideas you can do to level up your shiplap, make sure to follow all the procedures we discussed if you are planning to DIY. Also, shiplap is prone to dust, so always clean the grooves. Lastly, enjoy the process. Cheers for good luck!