Should you emphasize those tiles or stick to a uniform design on your backsplash? How do you go about choosing grout color and texture? We've found all of the best grout coordination tips and will discuss just how to go about choosing grout for your backsplash below.
There are many ways you can go about choosing grout for your new backsplash. You'll want to consider these grout options:
- Sanded vs. unsanded cement-based grout
- Epoxy grout
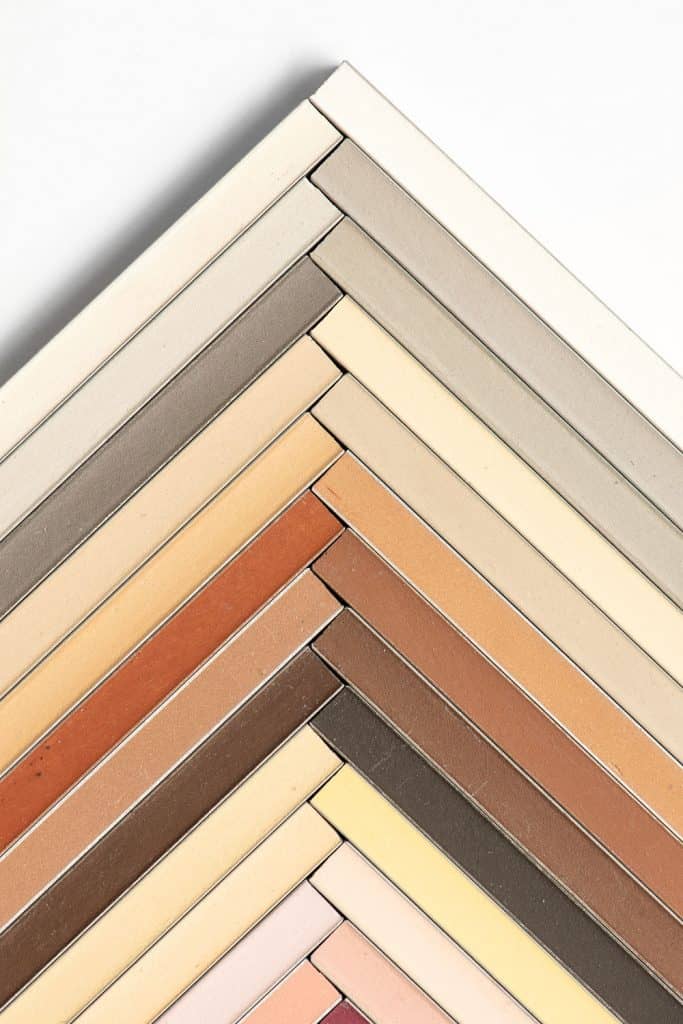
- Color variations
- Sealing methods
Now that we've established the basics for considering grout options. We'll delve into color options, textures, grout type, and why this matters. We'll also discuss sealing that grout for a long-lasting finish.

Considerations for DIY Grout on the Backsplash
If you're embarking on a DIY home tiling project, a pre-mixed grout is probably your best option. This cuts out a lot of hassle and time invested in measuring, mixing, and stirring your grout. You can buy them in both sanded and unsanded finishes with a wide variety of colors, and you just pop the tub open and get to work!
We may include affiliate links and curated AI content to highlight top design styles.
Click to see pre-mixed sanded grout on Amazon.
Click to see unsanded pre-mixed grout on Amazon.
How do you choose a grout color for the backsplash?
Do you want this to be a bold style where your tile selection really stands out? Or do you want a more classic neutral aesthetic? For those bold styles where you really want tiles to pop and add some visual interest to your space, you'll want a contrasting color, perfect for geometric tiles, glass tile, or patterns that you want to stand out.
Light & Dark Contrast
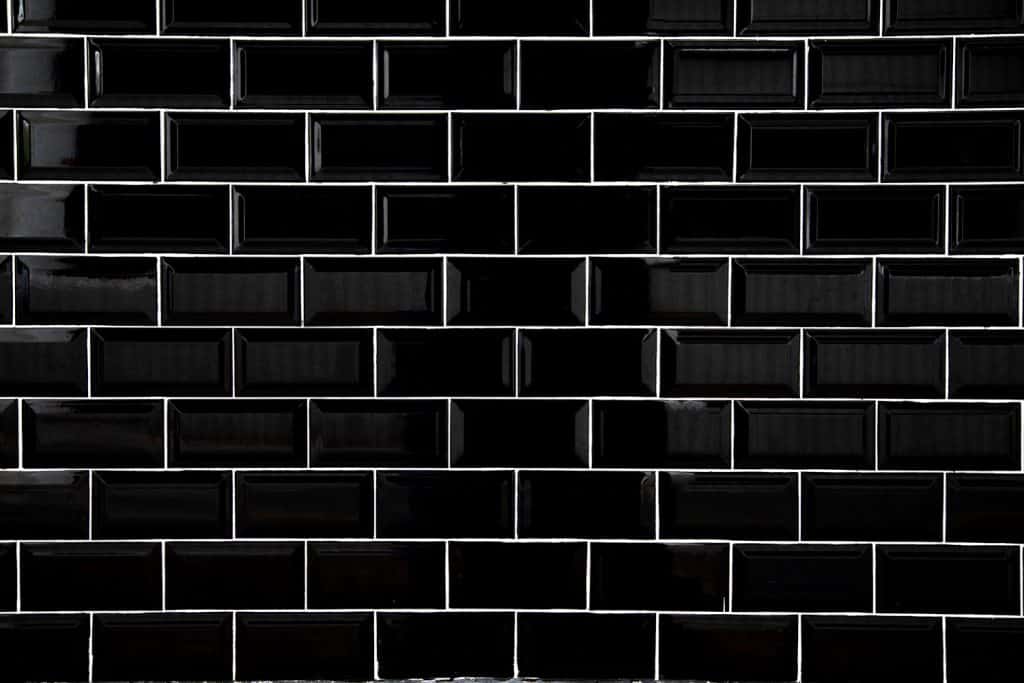
For instance, if you have a dark tile, you'll want a lighter grout. Think black tiles with white grout or vice versa. If you decide on a contrasting bold grout choice, you'll want to pick a grout color at least several shades, either lighter or darker, than the tile.

Neutral Blending
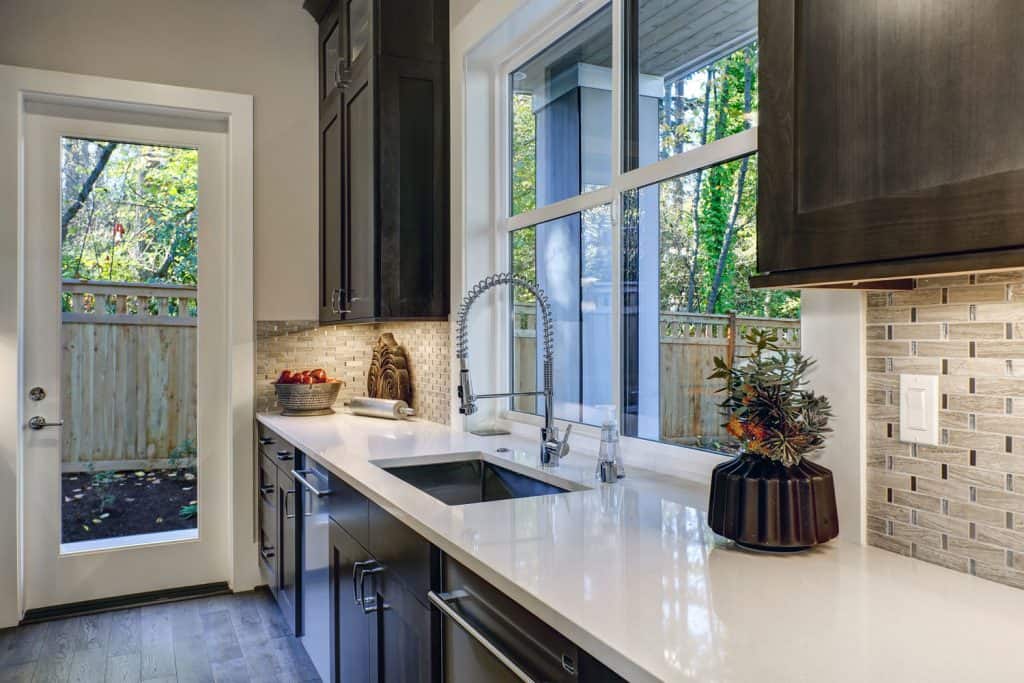
If you prefer that classic neutral aesthetic, you'll want to pick a grout color that compliments the tile, blending it in—something along these lines of the example below. If your tile is brown, beige grout color might be best. If you'd like your area to appear larger, it's recommended you chose a grout color that blends with the tiles to open it up visually.

Colorful Undertones
If you're working with colorful tiles, you'll want to pay attention to your undertones so that your grout color isn't clashing with the tiles' undertone. If you have a tile with a cool blue undertone, you want a grout color like a cool grey to match, not a beige with a yellow undertone.
Most flooring stores have stick samples of grout colors, and it's often helpful if you ask to use some at home so you can get a better idea of how it looks in-home, also helpful to see if it contrasts with other grouted surfaces in the room.

When to use sanded Vs. Unsanded grout?
Sanded Grout
If you're working with grout seams that are 1/8 inch or wider then you'll want to use sanded grout. As the name suggests, this grout mixture has fine sand added into the cementitious mix. The sand adds stability and bonding to prevent cracking. If you're working with a glass backsplash, you'll want to contact the manufacturer to see what grout they have tested and recommend with their glass. Some experts recommend that if working with glass tiles, the sanded grout could potentially permanently scratch the glass, causing irreversible damage.
Unsanded Grout
Unsanded grout is typically used for vertical surfaces, like shower stalls. It has a smooth consistency and won't damage smooth or glass tiles. It has a much more sticky consistency than its sanded counterpart, which is a big benefit when working with a vertical surface. It's not going to crumble and fall off. It will adhere to the tiles much easier. It does tend to shrink when it has dried, but for tiles spaced between two and four millimeters, it doesn't have much of an impact.
It's also much easier to work with than sanded grout and allows for more time to make sure your tiles are exactly where you want them.
When to use Epoxy Grout?
Epoxy grout is comprised of epoxy resins and filler. This makes it very durable, waterproof, and it does not stain easily. It also won't shrink, and you don't need to seal epoxy grout.
There are a few cons with epoxy grout though; it's very difficult for a novice to work with because it sets quickly and takes longer to apply. It also comes at a much higher price than traditional cementitious grouts. Some homeowners also dislike the look of epoxy grout as it can have a shinier plastic-type look compared to traditional grout, which will highlight any errors in your tile job.
Experts recommend if you're going with an epoxy grout job, make sure your installer is experienced in using epoxy for the job. Or, if you're a homeowner working on a DIY project, try to match the epoxy to your tile choice to minimize any imperfections. You can also easily stain porous tile with epoxy grout such as limestone or travertine; so, you will want to make sure these types of tiles are sealed before working with any epoxy grout.
Should you seal backsplash grout?
If you are using cementitious grout, you absolutely should seal your grout. Being a cement base, it has a porous surface; the grout will absolutely absorb any oil, food, or liquid thrown at it in the kitchen. You'll want to protect that investment with a sealer. One of the biggest benefits of epoxy grout is its non-porous, meaning it does not need to be sealed due to its waterproof qualities.
There are many varieties of sealants online and at flooring stores, with multiple application methods. You'll want to decide the best way for you to apply your sealant.
Click to see grout sealer on Amazon.
You can purchase a sealer with a built-in brush, spray nozzle, or you can easily apply the sealant with a sponge brush.
Click to see spray application sealer on Amazon.
The sponge application might sound intimidating, but it's quite simple. You just purchase a simple foam brush applicator, pour your sealant into a cup and apply to your grout.
Click to see foam tip applicators found on Amazon.
When should the grout be sealed?
You should wait until your grout has cured before applying a sealer. This is typically after 24 hours of dry time.
Does peel and stick backsplash need grout?
There are a variety of peel and stick backsplash products on the market. If you're looking for an inexpensive way to jazz up a kitchen in a rental or you like changing it frequently, vinyl peel and stick backsplashes can be a great choice. Make sure you pick a higher quality 3D if you're going with vinyl though, to avoid a cheap-looking backsplash. You will want to take care when installing vinyl since once it adheres to the wall, it will be extremely difficult, if possible, to reposition.
Click to see this vinyl faux brick on Amazon.
There are also glass, metal, and stone peel and stick backsplashes available on the market. These types of backsplashes are much higher quality and do require grouting. These types of tiles make putting up mosaic backsplashes much easier for the novice DIYer.
Click to see this seaglass peel and stick on Amazon.
The peel and stick feature basically skips the need for mortar or tile adhesive. They still need grout and sealing after they're put on the wall. They also require glass nippers and a tile saw since you can't easily cut the glass or stone, like you can the vinyl option.
In Closing
Now that we've covered all things grout, we hope you're ready to tackle your project and pick the perfect coordinating grout for your job!
You might also enjoy these articles from HomeDecorBliss:
What Color Backsplash Goes With White Cabinets in the Kitchen


