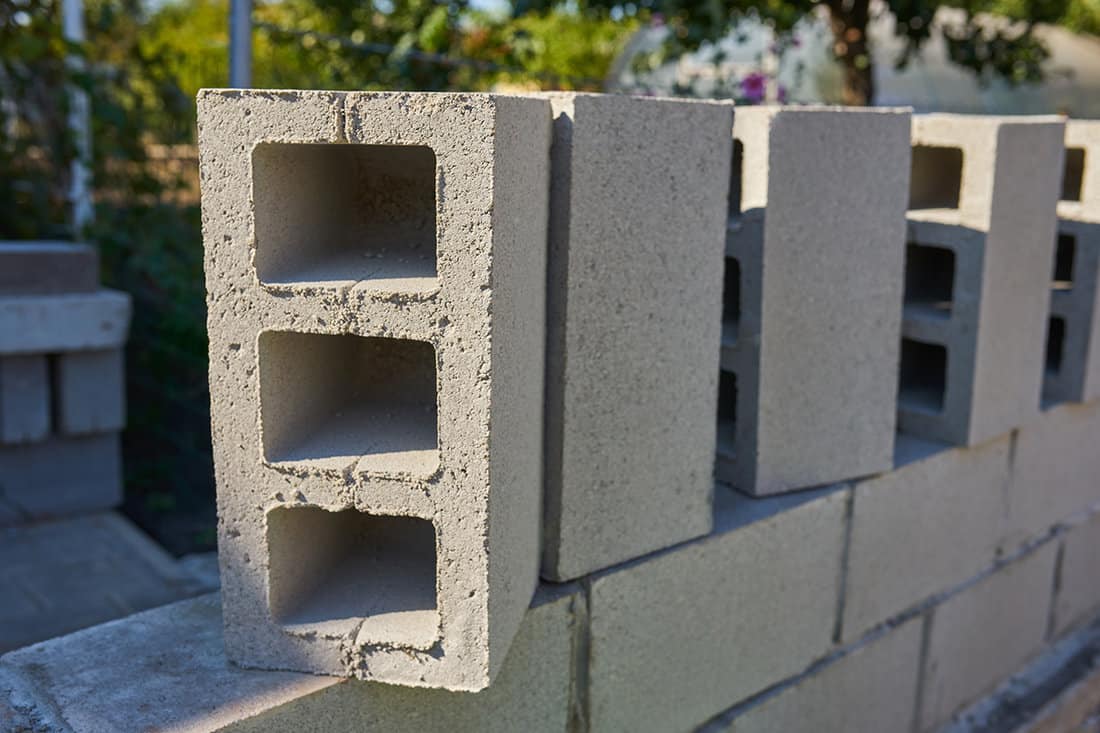
If you have a cinder block wall in your home, you may wonder if you need a scratch coat it. Some people think you don't need one, while others say you do. So we've researched the topic and we have the answer to this question.
The application of a scratch coat depends on whether a decorative material will be installed on an existing surface. Its main purpose is to prep an existing surface for the installation of decorative materials such as cultured stone or stone veneer.
If you are wondering about the process of applying a scratch coat, continue reading. We will also discuss the do's and don'ts of the procedure so that you'll achieve the desired result.
Why Should I Apply Scratch Coat on Cinder Blocks?
A scratch coat helps to improve the adhesion between the stone veneer or cultured stone and the mortar. The scratch coat is applied to the surface before the stone veneer or cultured stone is installed, and it helps to create a rough, textured surface for the mortar to grip onto.
This rough surface helps to improve the overall bond between the stone and the mortar, which can make the installation more durable and long-lasting.
Is a Scratch Coat a Type of Cement Mixture?
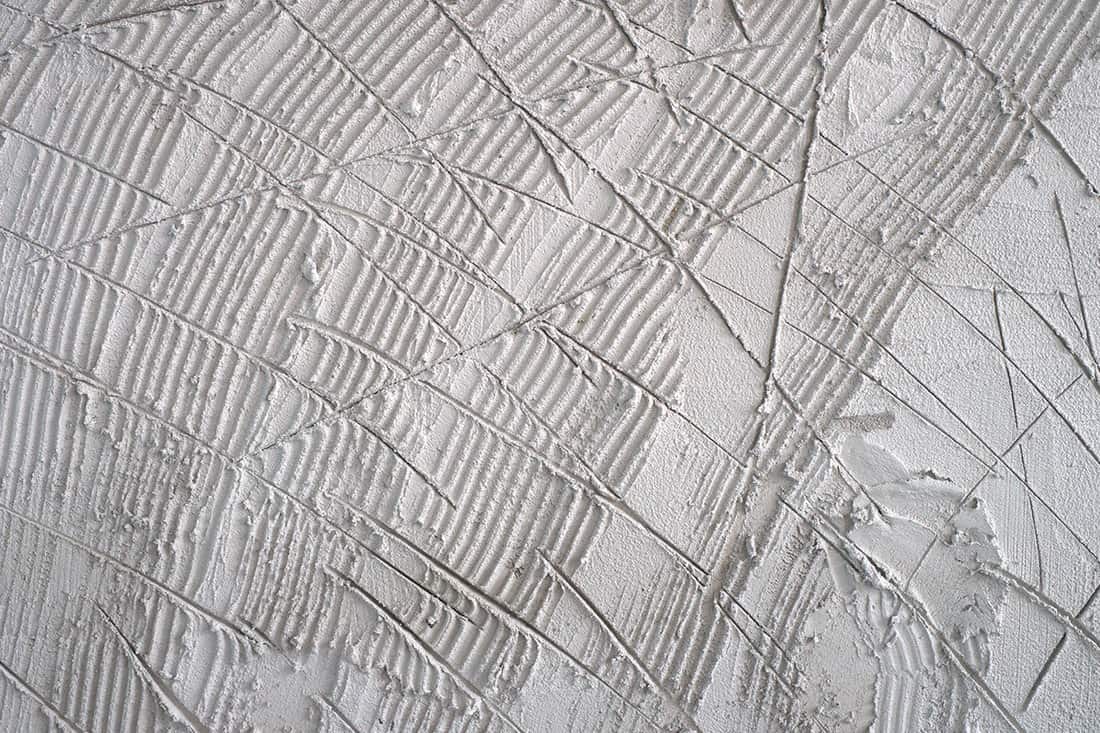
Yes, a scratch coat is a cement mixture. It is a type "S" cement mixture which has a ratio of 1 part Portland cement and 2 or 3 parts masonry sand. As far as the water ratio is concerned, you'll have to eyeball it until you get the right consistency. It should be sticky enough not to fall from your hand when holding it.
How To Apply Scratch Coat on Cinder Blocks
Here are the steps for applying a scratch coat on cinder blocks:
- Clean the cinder blocks by brushing off any loose debris or dirt.
- Mix together a batch of scratch coat using the type "S" ratio. A scratch coat is typically made of a mixture of cement, sand, and water.
- Using a trowel, apply a thin layer of scratch coat over the cinder blocks, smoothing it out as you go (usually from bottom to top). Be sure to cover the entire surface of the cinder blocks.
- Use a scratching or scoring tool, such as a serrated trowel or a wire brush, to create scratches on the surface of the scratch coat. This helps the next layer of coat to adhere properly.
- Allow the scratch coat to dry completely. This may take anywhere from a few hours to a full day, depending on the humidity and temperature of your environment.
- Once the scratch coat has dried, you can apply the mortar. This is typically a layer of type "N" mortar (1 part cement, 1 part lime, and 6 parts sand) that is applied over the scratch coat so you can install your stone veneer or cultured stones.
We sometimes add affiliate links and content that was curated and created by our team with the help of advanced ai tools to help showcase the best design styles.

Check out this 2-in-1 trowel and scoring tool on Amazon.
How Deep Should the Scratches Be on a Scratch Coat?
When you want to apply a scratch coat on a cinder block, it is important that you score the coat at the correct depth. If the scratches are too shallow, they may not provide enough leverage for the next layer of coat to adhere properly.
As a general rule of thumb, the thicker you apply the scratch coat, the deeper the scratches to be made should be.
How Thick Should a Scratch Coat Be?
Generally, a scratch coat should be applied in a layer approximately 1/2 to 3/4 inch thick.
How Long Does It Take For a Scratch Coat To Dry?
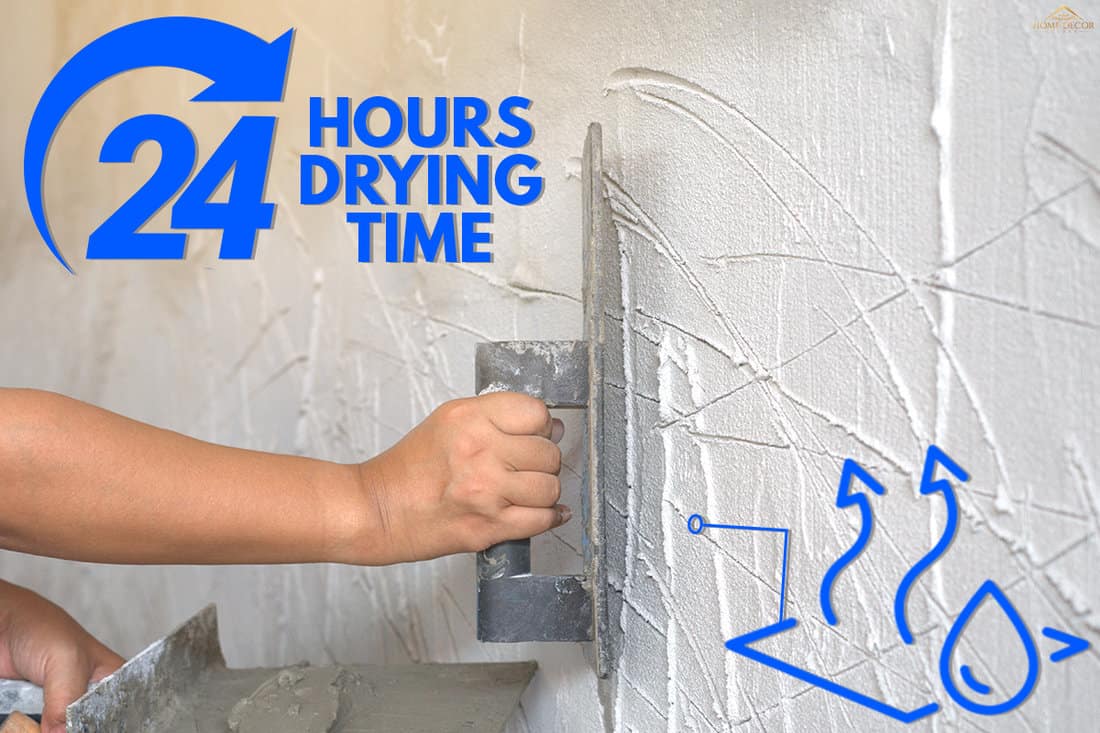
In general, it is recommended to allow a scratch coat to dry for at least 24 hours before applying the next coating to install the stone veneer. It is important to allow a scratch coat to fully dry before applying stone veneer to it.
The time it takes for a scratch coat to dry will depend on a variety of factors, including the ambient temperature and humidity, the thickness of the scratch coat, and the type of cement mixture ratio used to create the scratch coat.
If the scratch coat is applied in a thick layer or if the ambient temperature is low and humidity is high, it may take longer for the scratch coat to dry completely.
It is always a good idea to check the scratch coat to make sure it is fully dry before proceeding with the installation of stone veneer.
Do Cinder Blocks Need a Special Kind of Paint?
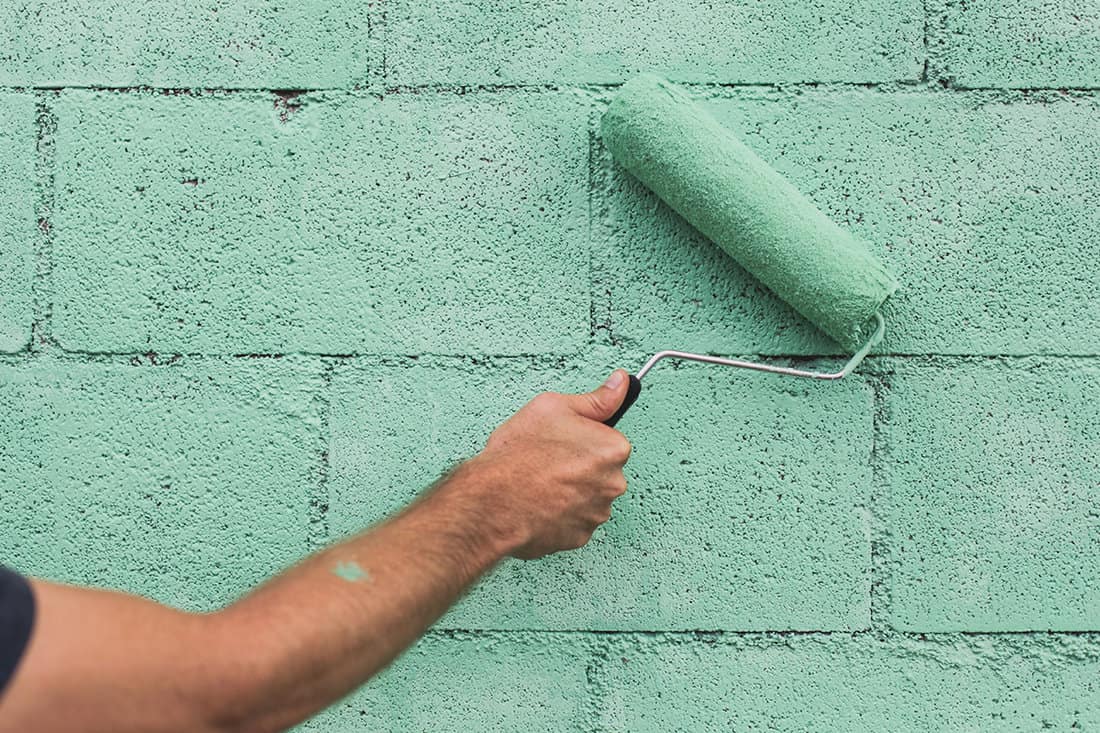
Latex paint with acrylic is a good choice for painting cinder blocks because it is durable and flexible, which allows it to withstand the small movements that can occur on masonry surfaces.
Acrylic latex paint also has good adhesion to masonry surfaces, which helps it to bond well to the cinder blocks and resist chipping and peeling.
In addition, acrylic latex paint is resistant to water and UV light, which can be damaging to other types of paint. It is also easy to clean and maintain, which makes it a practical choice for use on cinder blocks.
Can You Apply Paint Directly Onto Concrete Blocks?
Masonry paint is recommended for use on concrete blocks because it is specifically formulated to adhere to porous surfaces like concrete.
It contains binders and other additives that help it to bond with the surface of the concrete blocks and form a durable, long-lasting finish. Concrete blocks have rough, porous surfaces, and regular paint can easily peel or flake off when applied to them.
Masonry paint, on the other hand, is designed to withstand the wear and tear of the outdoors and provide a durable finish that will last for up to 25 years. It is also resistant to fading and chalking, which makes it a good choice for exterior surfaces.
Reasons Why You Should Paint Concrete Masonry Units (Concrete Blocks, Hollow Blocks, Cinder Blocks, Etc.)
There are several reasons why you might want to paint concrete masonry units:
- Aesthetics
- Protect them from the elements
- Mark a boundary
Aesthetics
Painting concrete masonry units (CMUs) can improve their appearance in several ways. First, it can add color and vibrancy to the surface, transforming a dull, grey block into a more visually interesting element.
This can be especially useful in areas where the CMUs are highly visible, such as exterior walls or retaining walls. Additionally, painting can be used to coordinate the color of the CMUs with other design elements, such as trim, doors, or windows.
This can help to create a cohesive, polished look for the building or structure. Finally, painting can be used to cover up blemishes, stains, or other imperfections on the surface of the CMUs, giving them a smoother, more polished appearance.
Protect them from the elements
Painting concrete masonry units (CMUs) can provide some protection against the elements by creating a barrier on the surface of the blocks.
This barrier can help to reduce the amount of moisture that is able to penetrate the blocks, which can reduce the risk of freeze-thaw damage and spalling (the flaking or chipping of the surface of the blocks).
Additionally, painting can help to protect against the effects of UV radiation, which can cause the surface of the blocks to fade or become discolored over time.
Finally, painting can help to protect against the growth of mold or mildew (as long as it's not oil-based!), which can be a problem in damp or humid environments. By creating a smooth, impermeable surface, paint can make it more difficult for these organisms to take hold and grow on the blocks.
Mark a boundary
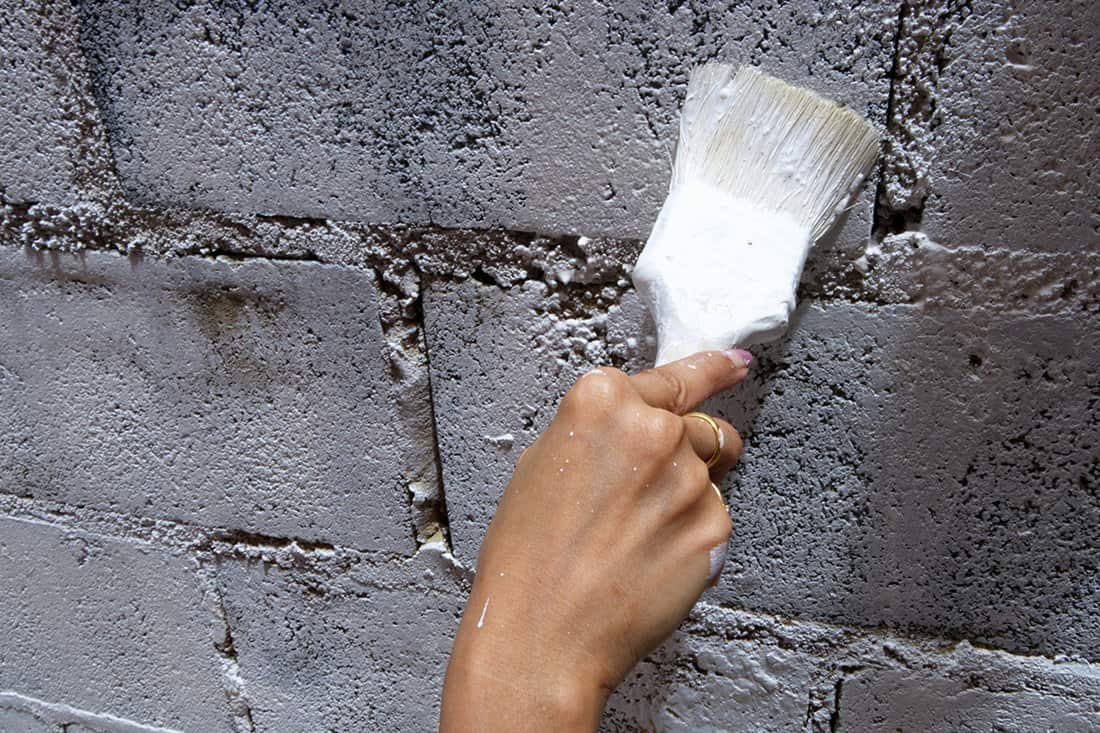
Paint can be used to mark a boundary on concrete masonry units by providing a visual indicator of where the boundary is located. This can be helpful in construction or landscaping projects where it is important to clearly define the boundaries of a particular area.
The paint can be applied directly to the surface of the concrete masonry units, and it will provide a clear, visible line that can be easily seen and followed.
5 Easy Steps To Follow To Effectively Paint Cinder Blocks and Other Types of Concrete Masonry Units
Here are some steps you can follow to paint concrete masonry units (CMUs) correctly:
- Clean the surface of the CMUs thoroughly. Use a pressure washer to remove dirt and debris, and then scrub the surface with a mixture of water and mild detergent. Rinse the CMUs with clean water and allow them to dry completely.
- If you're repainting, strip off all the old paint with a wire brush and a solvent, such as mineral spirits, acetone, or denatured alcohol.
- Repair any cracks or damage to the CMUs. Use a concrete repair product to fill in any cracks or holes in the surface. Allow the repair product to cure according to the manufacturer's instructions.
- Prime the surface of the CMUs. Use a concrete masonry primer designed specifically for use on CMUs. This will help the paint adhere to the surface better and provide a more even finish. Check out this concrete primer on Amazon.
- Apply the paint. Use a paintbrush or roller to apply the paint to the surface of the CMUs. Start at the top and work your way down, applying the paint in thin, even coats. Allow each coat to dry completely before applying the next one.
- Finish with a liquid rubber sealant. After the paint has dried completely, apply a clear sealant to protect the paint and improve its durability.
Check out this liquid rubber sealant on Amazon.
If there are surfaces that need some repair job, then you might want to check this pre-mixed concrete patch on Amazon as well.
Remember to follow the manufacturer's instructions for the products you use, and wear protective gear such as gloves and a mask to help ensure your safety while working.
In Closing
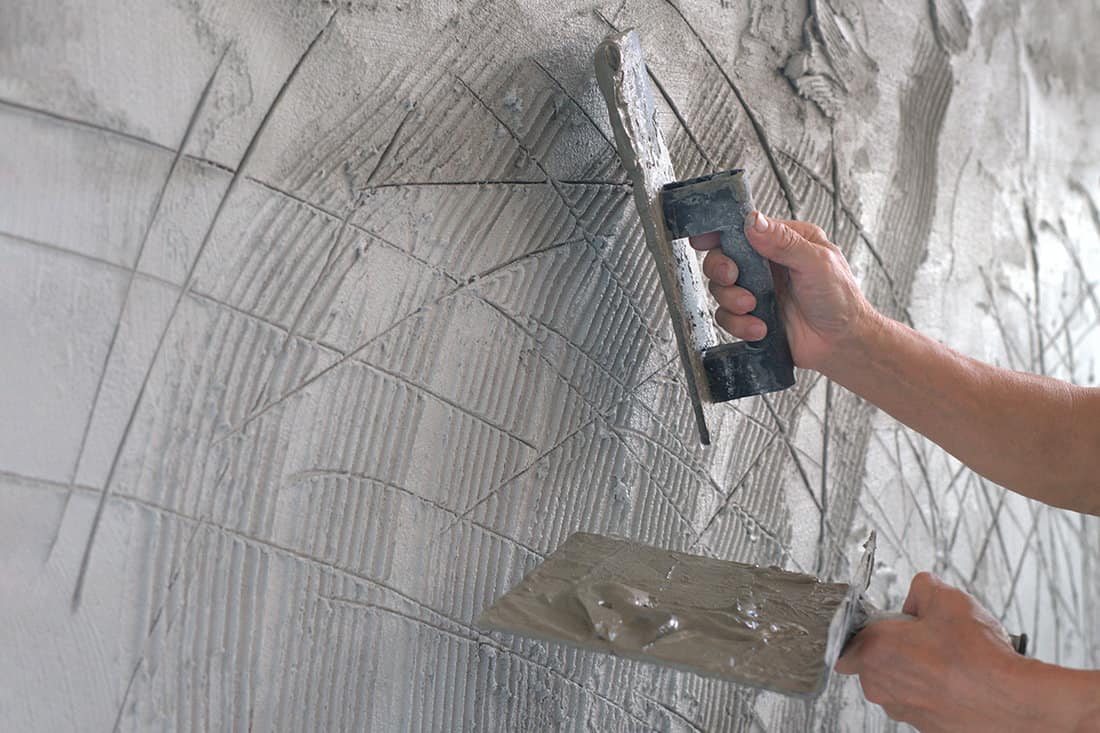
The purpose of applying a scratch coat is to promote the adhesion of decorative materials such as stone veneers or cultured stones. If you do not plan to install any decorative material, then you should skip the application of the scratch coat. But if you're going to install a decorative material, then the application of the scratch coat is essential.
You might also like:


