Over time, it is common for a gap to form between your countertop and the wall. As this is unsightly and messy, you are likely wondering how to fill that gap. In this post, we combine industry professional knowledge and up-to-date research to thoroughly answer your question.
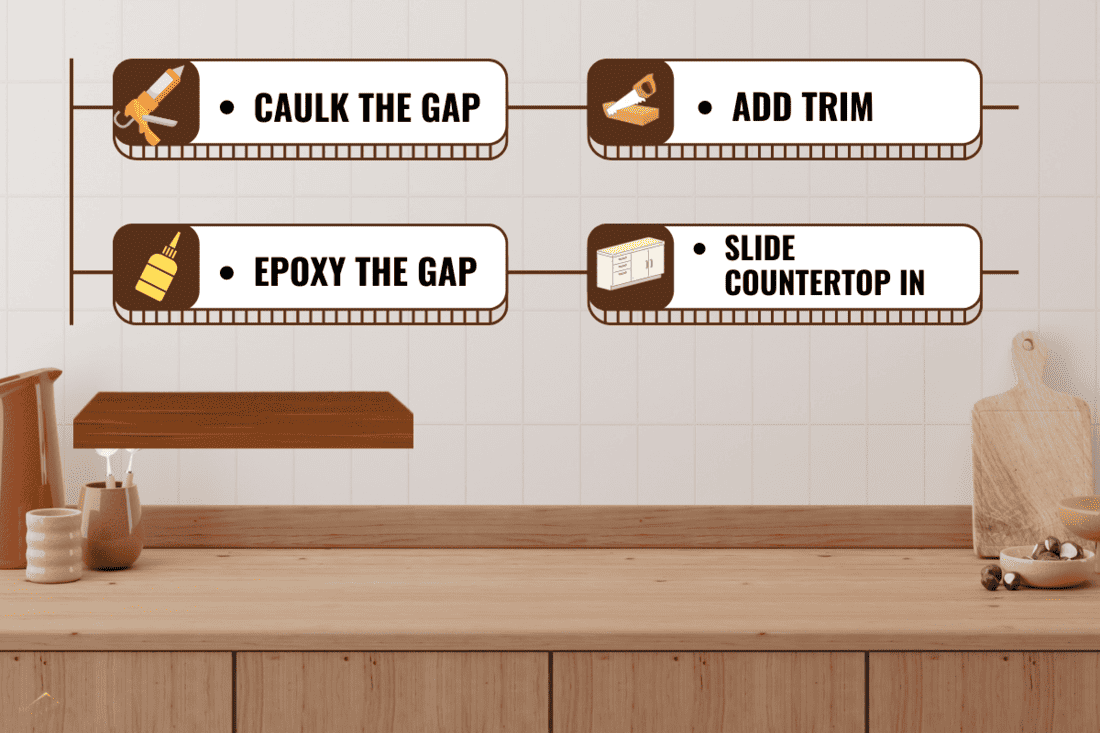
Fortunately, there are several techniques for filling a gap between a countertop and the wall. The size of the gap and your desired finish look dictate which strategy you choose. Here are some possible techniques:
- Caulk the gap
- Epoxy the gap
- Add trim
- Slide countertop in
Keep reading the rest of this post for details on each of the above bullet points. For each technique, we'll provide all the directions you need to accomplish this DIY project. We'll also cover how to fill large and small gaps between countertops and walls of differing materials.
How To Fill A Gap Between Countertops And Wall
The gap between the countertop and wall forms as your house settles and the countertop and wall materials dry out. Other times, the original gap-filling material such as caulk will degrade and wear away over time.
We sometimes add affiliate links and content that was curated and created by our team with the help of advanced ai tools to help showcase the best design styles.
Clean out the Gap
First, fully clean the gap out. This means pulling away any old pieces of caulk with your hands and/or a putty knife. You may also want to use soap and water to really make this space clean.
Dry the Gap
Now, it is critical to ensure that the gap is fully dry before proceeding. You can do this by simply making sure no water gets into the space for a while and then visually inspecting for moisture. It may be necessary to point a fan at the space for several hours.
If you fill the gap without first drying it out, you will trap moisture behind your counter that has no way to escape. This can lead to rot and mold. And according to the CDC, rot and mold are issues with potential negative health effects.
Fill the Gap
Once dry, consider each of the following options for filling the gap. You may want to combine several techniques to produce the most effective final product.
Caulk the Gap
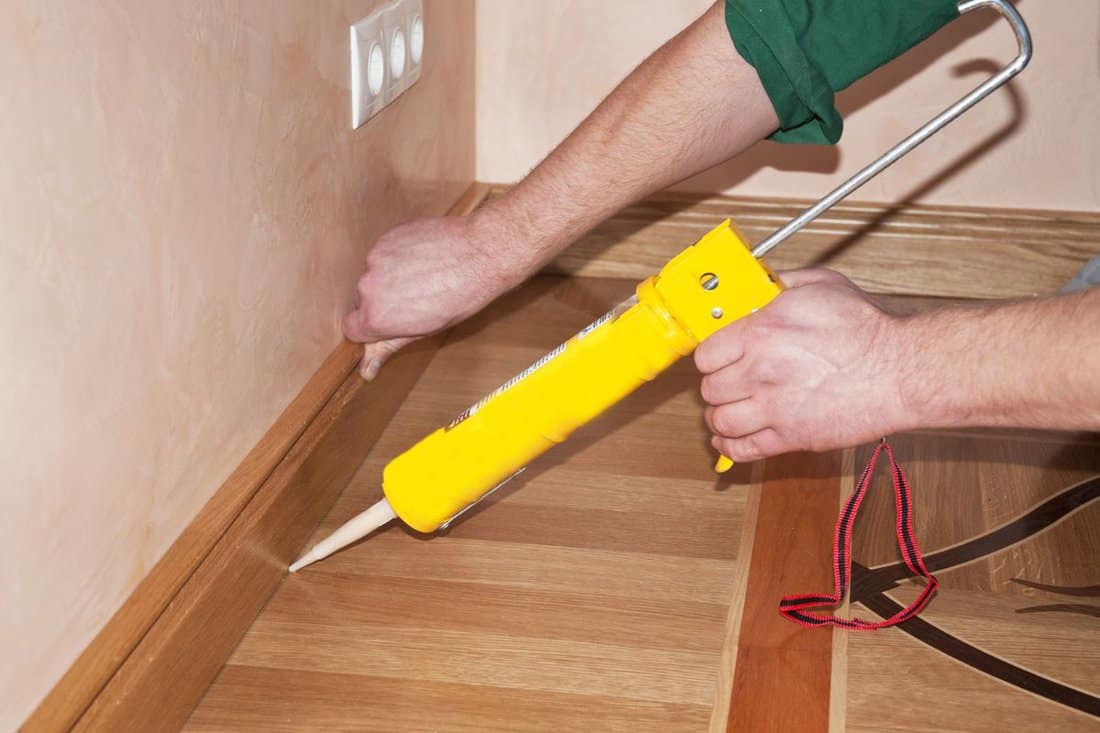
The easiest way to fill the gap is to use silicone caulk. Generally, caulk is only designed to fill gaps that are 1/4 inch or smaller.
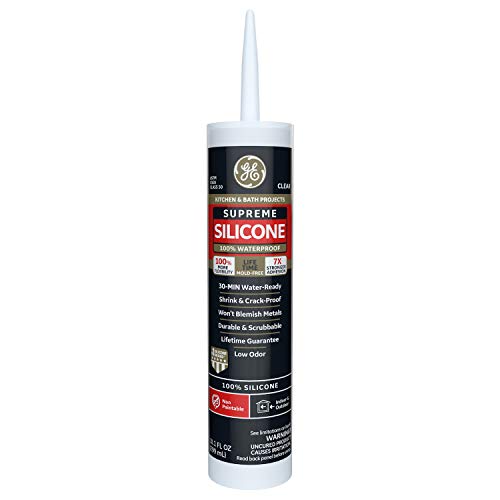
Click here for silicone caulk from Amazon.
Caulk is waterproof and flexible. Thus, caulk will stop moisture from entering the gap and will stretch out or compress as your home shifts seasonally and over time.
Use larger caulk tubes that require a special gun for larger and/or longer gaps. For smaller and shorter gaps, it is possible to use small toothpaste-tubelike caulk dispensers. The general application technique is the same either way.
Load the Caulk Gun
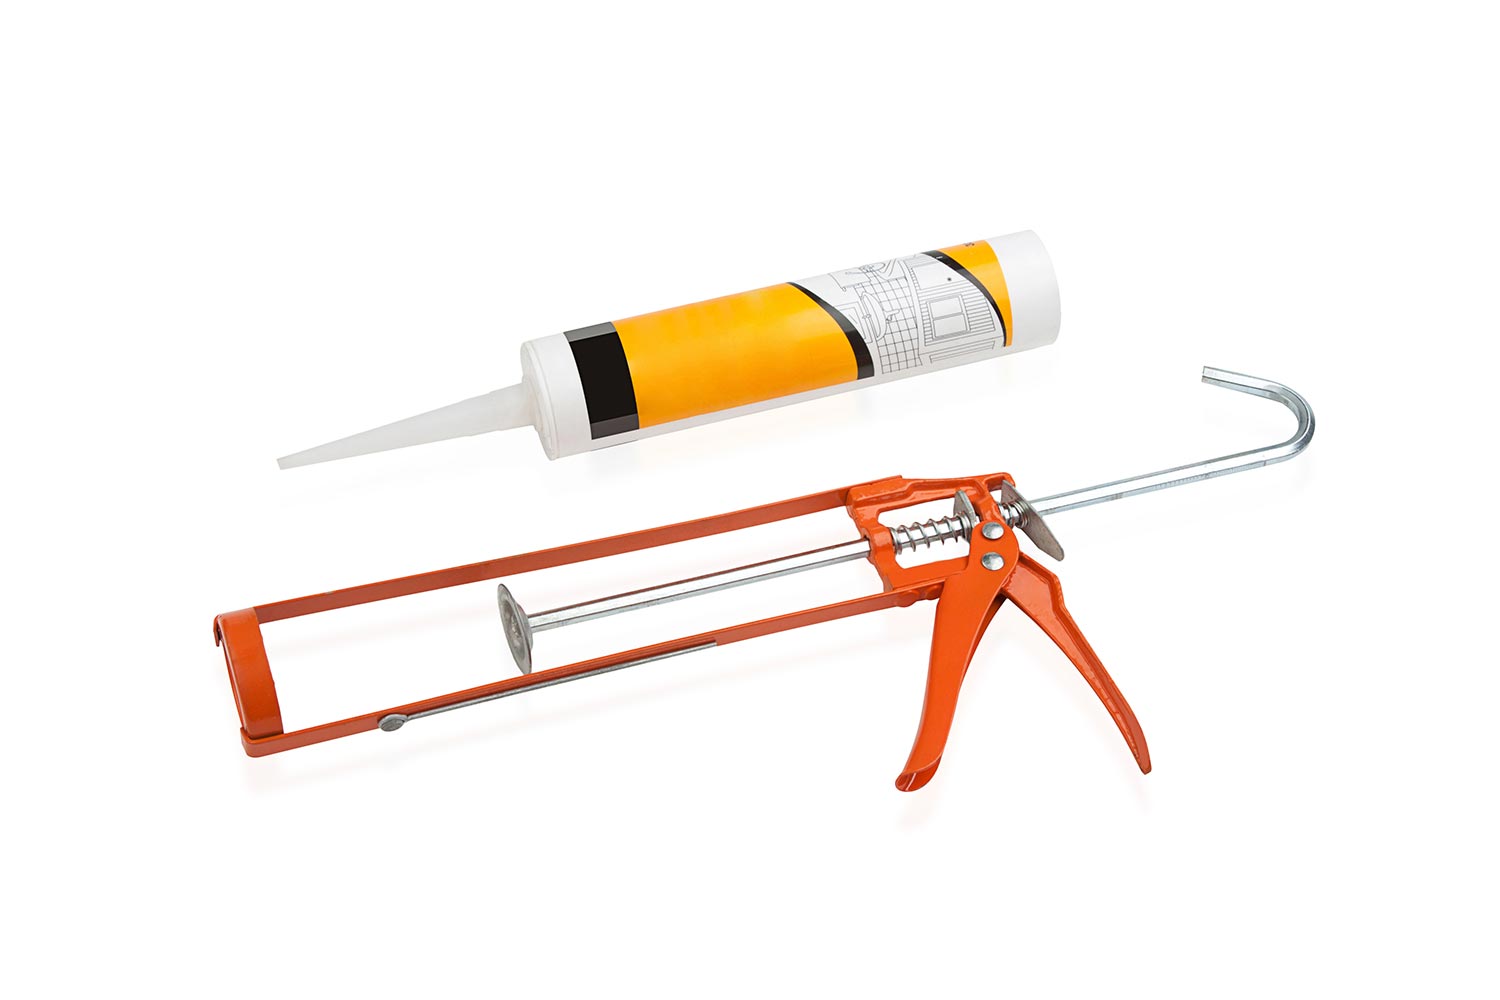
If you are using a caulk tube, you will first have to load the tube into an appropriately sized caulk gun. If you do not have one of these guns, they are handy tools to have around the house for a wide range of home improvement tasks.
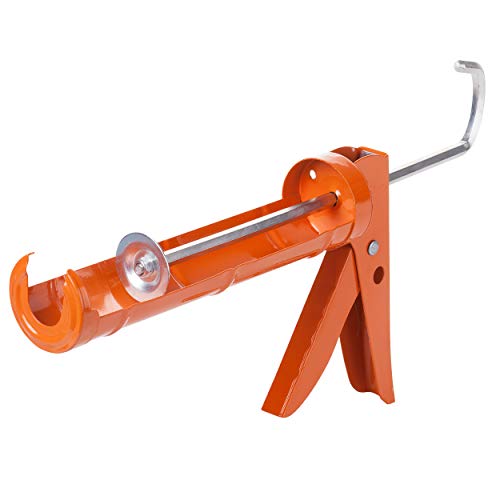
Click here for a caulk gun from Amazon.
Tape Around the Gap
For a neater job, use painter's tape to tape around the gap. This helps to ensure that the caulk only gets in the gap and does not make a mess of your countertop or wall. Remove the tape once the caulk has dried.
Apply the Caulk
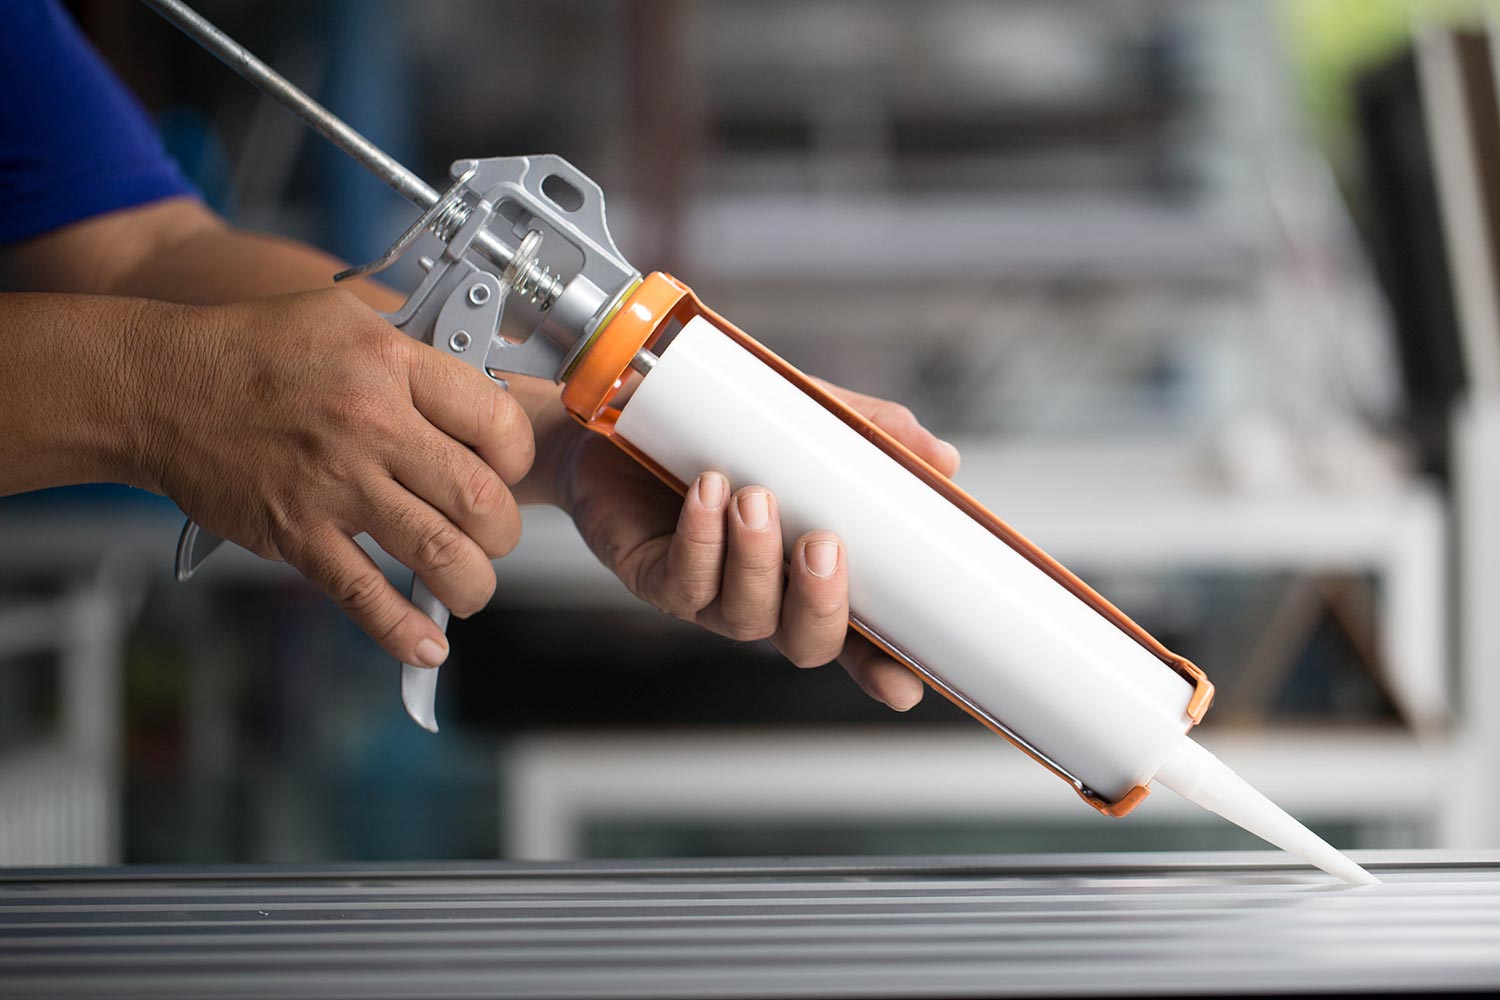
After cutting the tip off the caulk tube, slowly start to squeeze some caulk out. Do this carefully, as it is very easy to over squeeze at this step. Consider practicing on a scrap piece of cardboard to get the hang of the technique first.
Now, slowly and evenly draw a bead of caulk along the crack. Then, use a caulking tool to round the caulk in and make it even. To clean up unwanted caulk, use a moistened rag.

Click here for a set of caulk smoothing tools from Amazon.
Caulk comes in almost every color imaginable including clear. Caulk usually only takes only about 30 minutes to fully dry.
Can you use caulk on a gap larger than 1/4 inch?
It is possible to use caulk on a gap larger than 1/4 inch. However, you first must provide something for the caulk to bind to in that gap. Usually, this is accomplished by a product known as backer rod.

Click here for 1/2-inch backer rod from Amazon.
Simply fill the gap with the appropriately sized backer rod in a way that leaves room for the caulk to be the visible break between the counter and the wall. Then caulk on top of the foam material. Use the caulk tool as before to even out the finished caulking. Clean excess caulk away with a wet rag.
Generally, backer rod-assisted caulking is the most appropriate if you have a few large locations in your gap. This is because thick lines of caulk at the back of your counter are much more likely to fail and will look out of place given modern home standards.
Epoxy the Gap
The next option we will discuss is epoxy. Epoxy is essentially a glue that cures hard. If you have a larger gap and want to evenly match a stone countertop, epoxy may be the best choice.
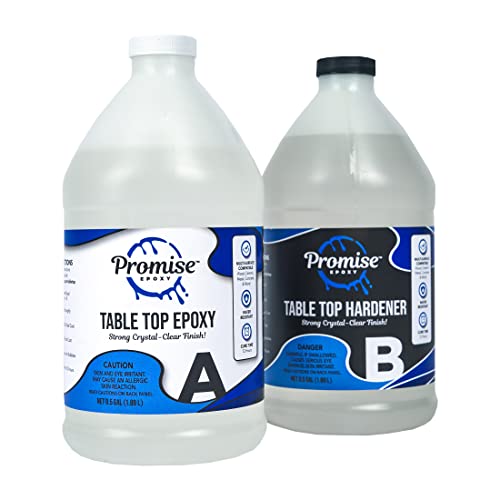
Click here for countertop epoxy from Amazon.
Take note that of all the techniques described here, epoxy is the most difficult. Therefore, unless you are feeling very confident, it may be best to leave this job to the professionals.
Dam Around the Gap
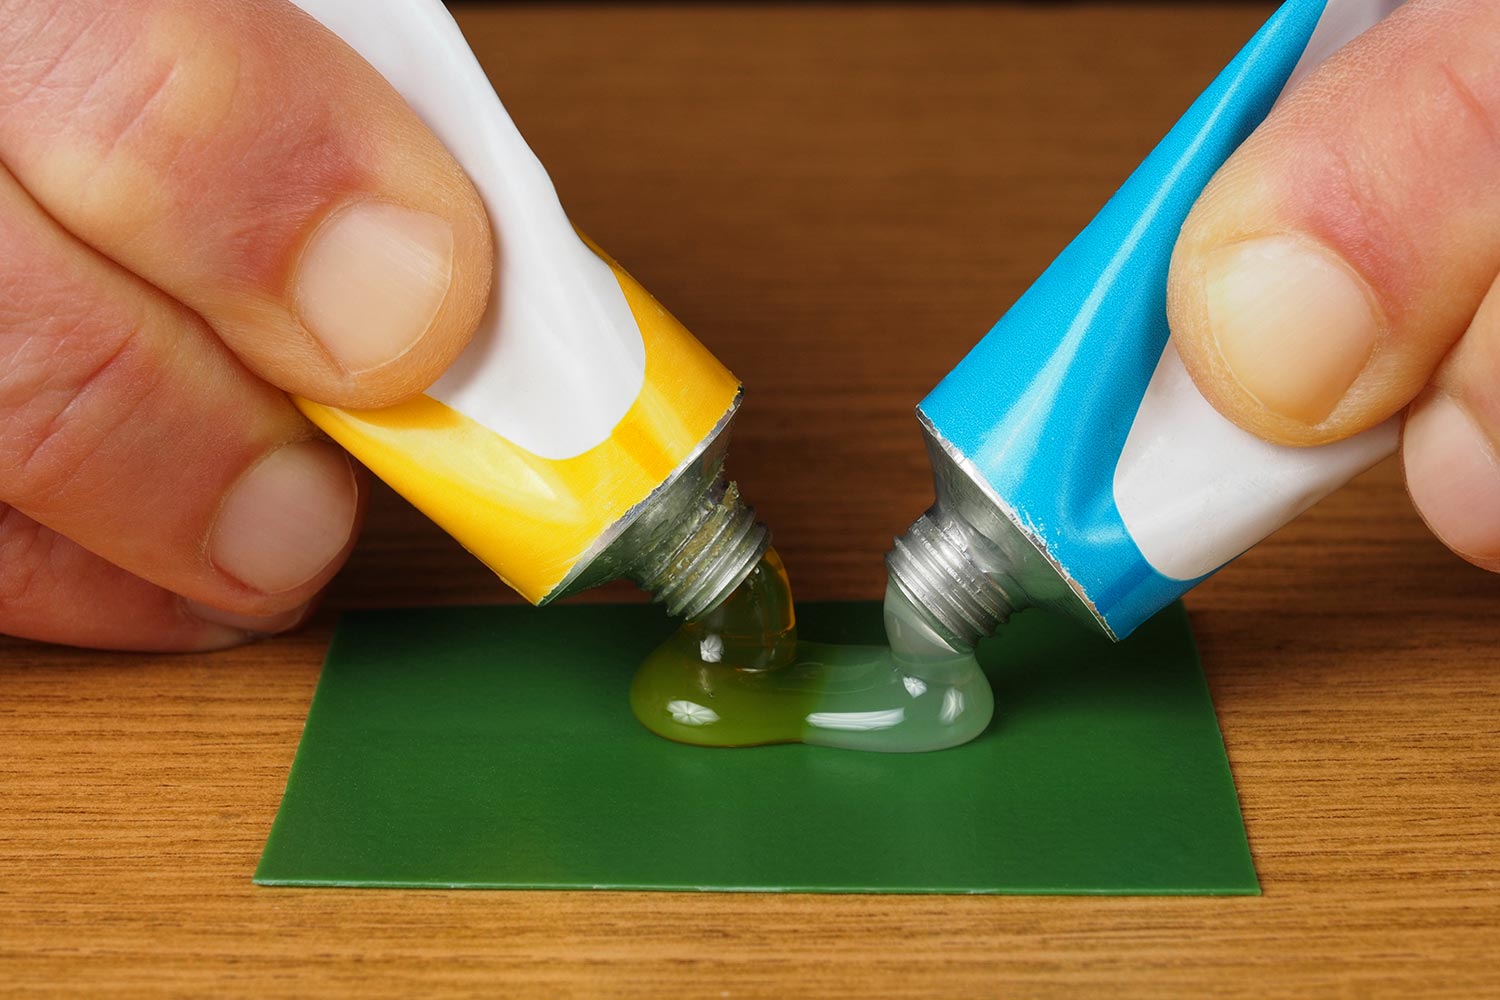
When applied, epoxy is usually very viscous and will flow like honey. Therefore, you will need to make a dam that holds the epoxy in place. However, that same liquid nature makes it possible to pour the epoxy to an exactly even top.
To dam around the gap, use backer rods, pieces of wood, caulking, or a combination of all of these methods. The goal is to make the gap into a sealed depression that will accept the liquid epoxy without spilling.
Apply the Epoxy
Once dammed, pour the epoxy into the gap so that it exactly matches the height of the countertop. Do this carefully, because it is very difficult to remove epoxy where you do not want it.
Epoxy can take up to 7 days to fully cure. However, it should be relatively hard and immovable after about 16 hours.
With practice, you can get or mix epoxy to match almost any color or pattern of countertop or wall. Ask for how best to accomplish this at your local home improvement store or purchase a pre-colored or pre-mixed material.
Add Trim
Often, it is possible to add trim to cover the countertop-wall gap no matter the wall and countertop materials. This trim can be one-quarter round, rectangular, or almost any trim pattern that you prefer. Further, the trim can be wood, tile, stone, or another material that matches the look of your kitchen.
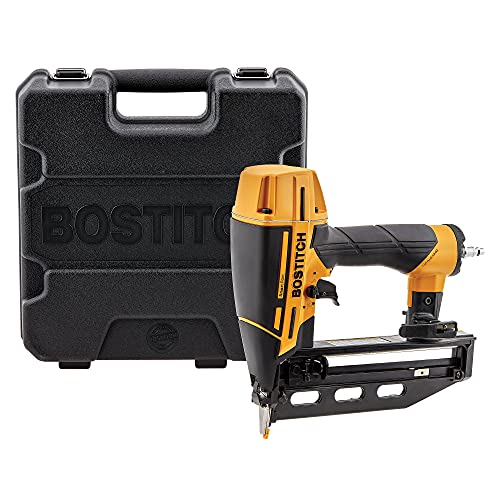
Click here for a finish nailer from Amazon.
If possible, it is usually easiest to nail the trim into place. However, if only tile or stone surfaces are adjacent, you can also glue on this trim with silicone caulk. For the best seal, caulk the bottom edge of the trim so that countertop moisture cannot get under the trim.
Generally, choose trim that is wide enough to cover the gap at its widest point. However, to account for future countertop and wall movement, you may want to choose trim that is even wider than the gap.
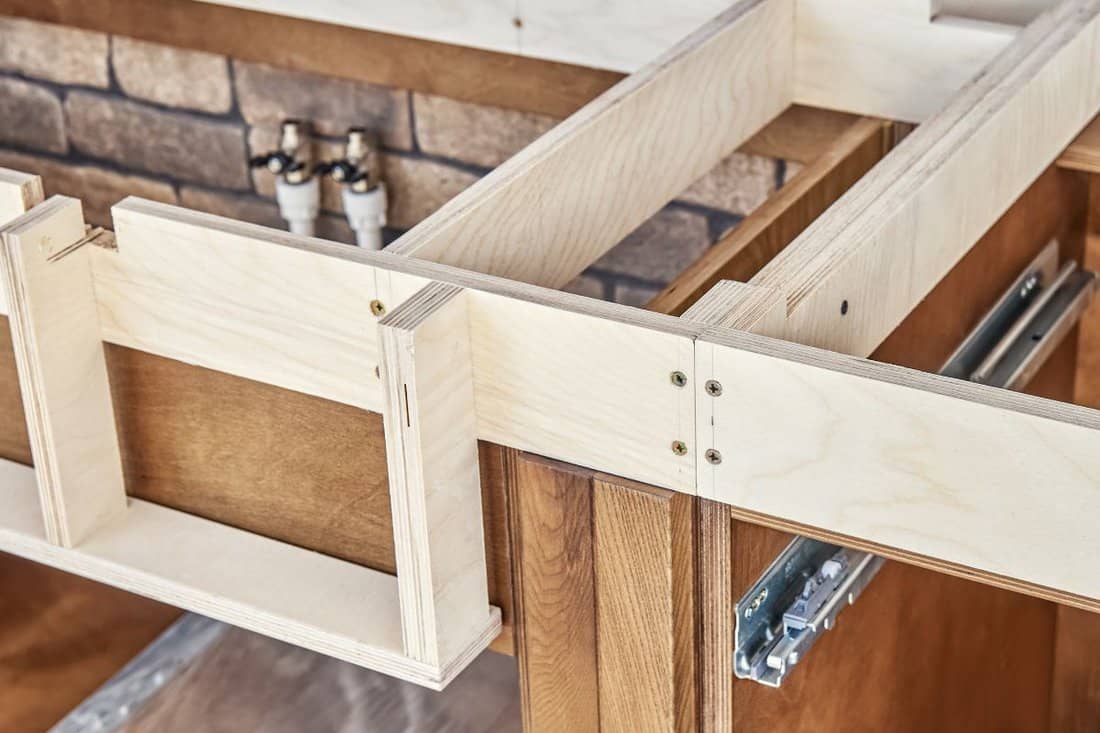
Install the Trim
First, cut the trim to length, choosing either 45-degree angles or butt joints at any corners. For joints in a straight run, it is common to overlap with a 33-degree angle. Then, carefully attach the trim with your chosen method.
Slide Countertop In
Finally, it is sometimes possible to slide the countertop in, towards the wall. For some setups, the countertop may be fastened to your cabinetry with screws or bolts. Look for these under your countertop.
Try Undoing the Fasteners
If you find screws or bolts, try removing them. If this removal is relatively easy, proceed. However, do not apply so much force that you break any fasteners or the countertop. Often the entire assembly will be glued together and will be impossible to unscrew.
Attempt to Push the Countertop
Now, gently try pushing the countertop into the wall. Once again, do not apply too much force because it is uncommon for this strategy to be possible. Usually, the countertop will be glued onto the cabinets and will not move at all.
How to fill a large gap between countertops and walls?
To fill a large gap, use epoxy, molding, or a combination of backer rod and caulk. The directions for how to achieve this are outlined in the above subsections.
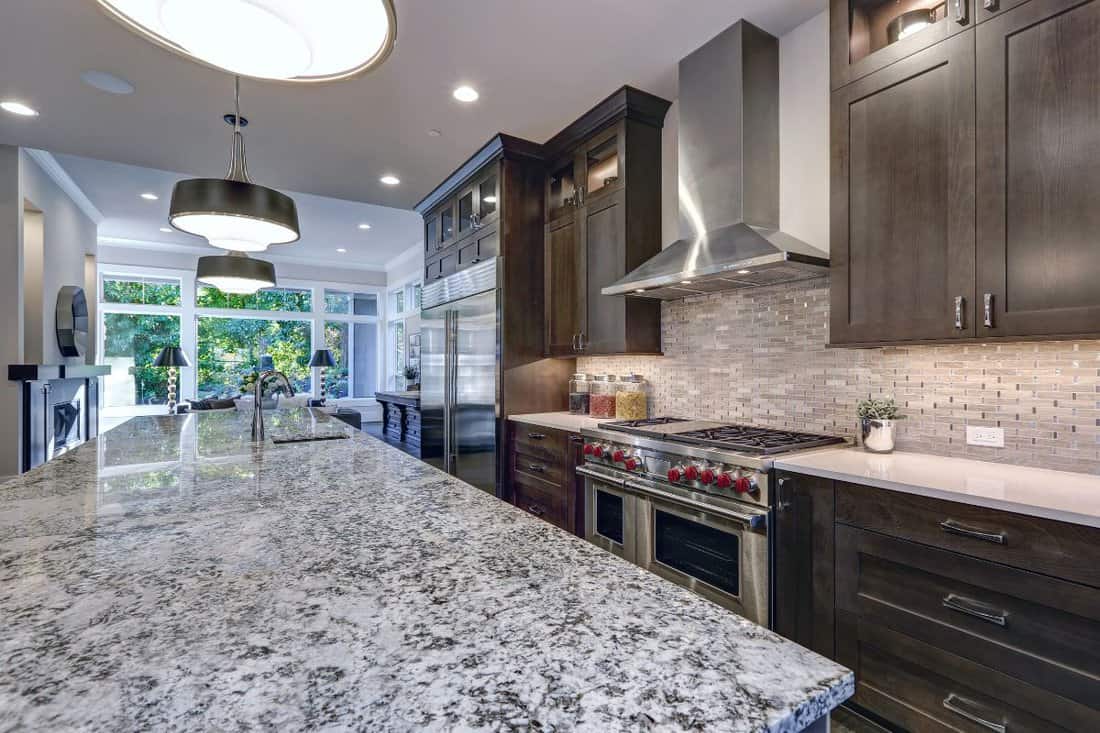
How do you fill the gap between granite and walls?
To fill a gap between granite and walls, the best options are to add trim that covers the gap or to use epoxy to fill the gap. A professional countertop company will probably be able to epoxy the gap so well that their repair becomes nearly invisible. Above, we cover how to achieve both of these fixes.
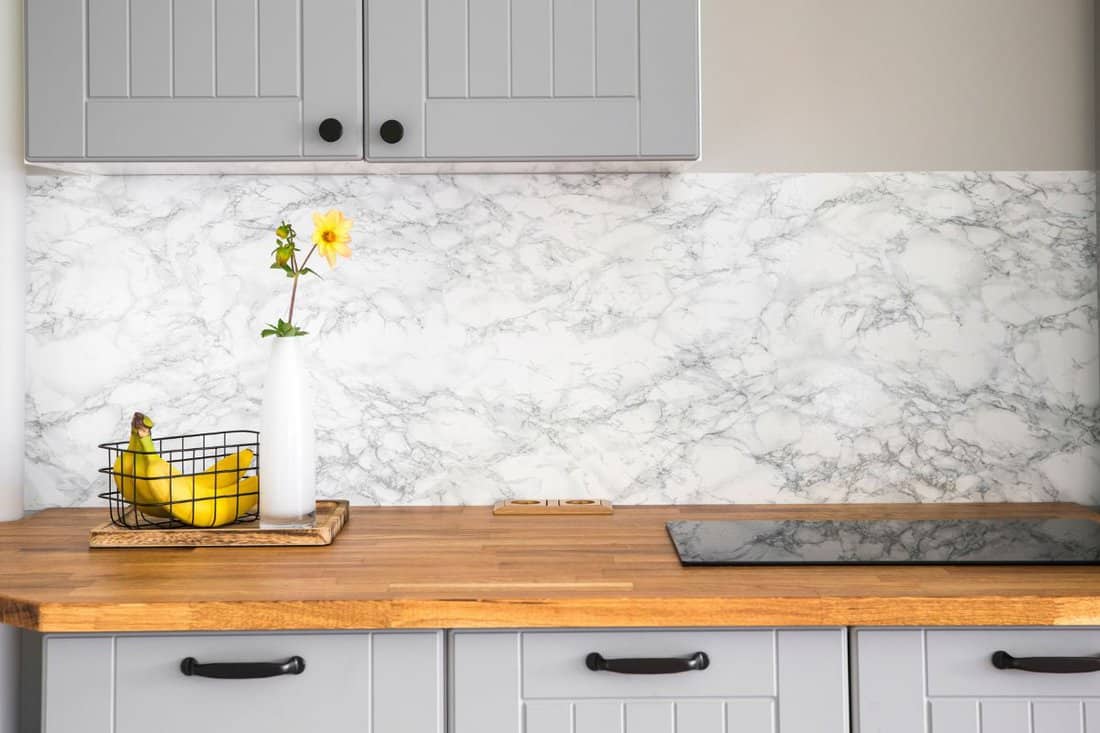
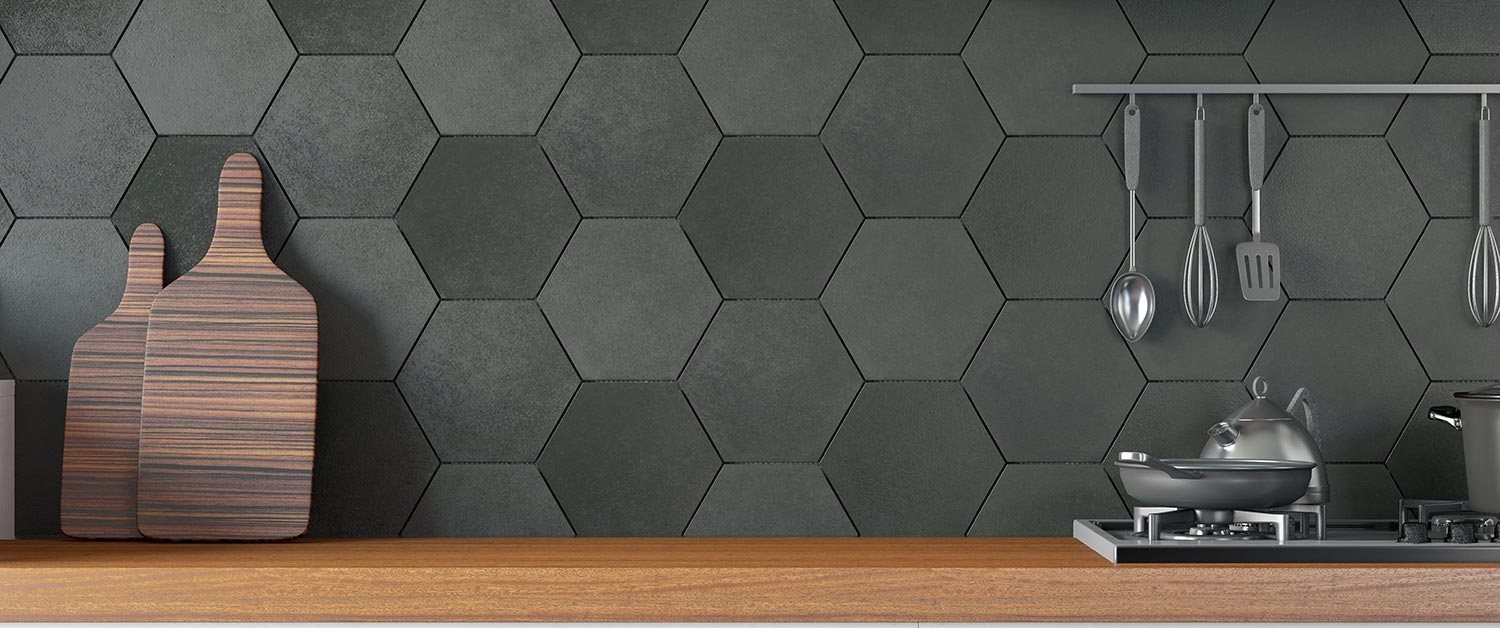
Should I caulk between countertop and backsplash?
Yes, caulking between the countertop and backsplash is a good idea. Silicone caulk is waterproof, so it will stop the inevitable movement of moisture into this crack. Remember, caulking will usually not last as long as your countertops, so it will need to be replaced every so often.
In Closing
In this post, we answered the question of how to fill the gap between your countertop and your wall. We provided four different possible techniques for making this do-it-yourself repair. In addition, we answered a few related questions. Good luck!
To learn more about filling unsightly gaps around your home, take a look at these guides:
How To Fix Gap Between Backsplash And Wall
How Much Gap Between Shower Pan And Tile? [And How To Fill It In]
How To Fill The Gap Between Vanity Top And Wall