
Do you have peeling paint on your ceiling or walls? Are you wondering what the best method is to fix this issue? Well, look no further. For this post, we researched the causes of peeling paint and how to properly patch it to get your wall or ceiling back to normal.
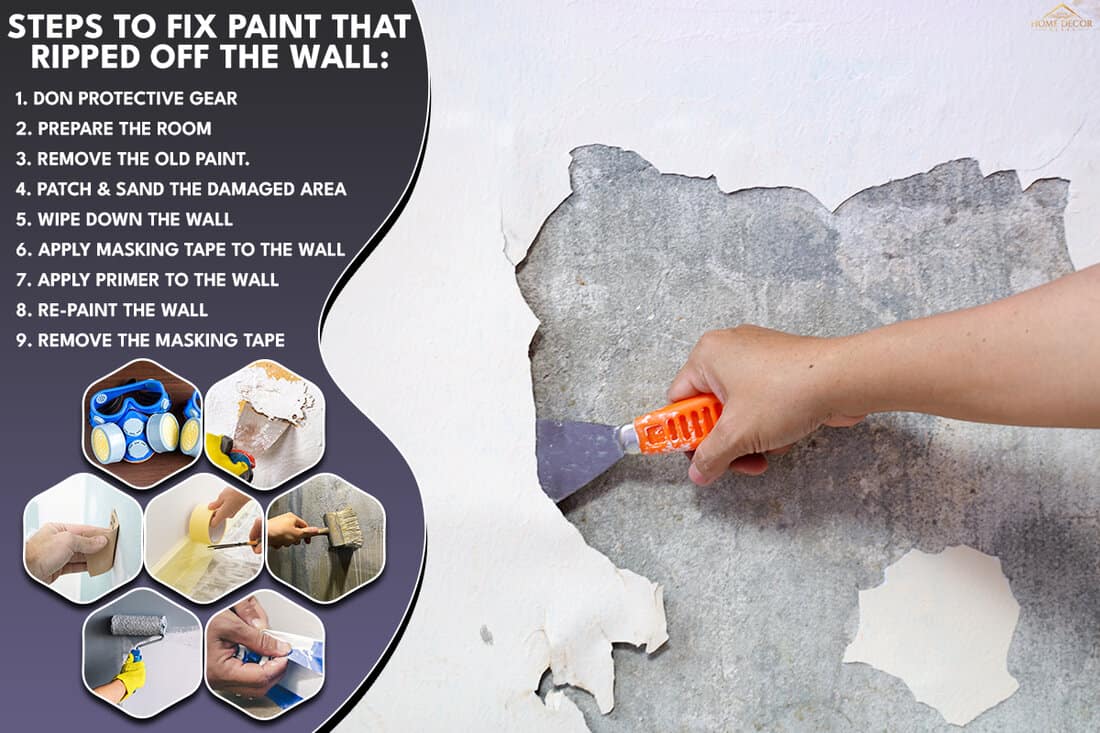
Here are the steps to patch up areas where paint has peeled from your walls:
- Don protective gear
- Prepare the room
- Remove the old paint.
- Patch & sand the damaged area
- Wipe down the wall
- Apply masking tape to the wall
- Apply primer to the wall
- Re-paint the wall
- Remove the masking tape
The process to patch up peeling paint is pretty straightforward, and it's definitely a DIY project. If you find that the paint on your walls seems to peel often, it may be time to look at factors contributing to this. Continue reading to learn more about them and how to patch up damaged areas.
![Paint peeling off a wall due to slowly degrading paint, How To Fix Paint That Ripped Off The Wall [9 Steps], How To Fix Paint That Ripped Off The Wall [9 Steps]](https://homedecorbliss.com/wp-content/uploads/2021/02/How-To-Fix-Paint-That-Ripped-Off-The-Wall-9-Steps-683x1024.png)
Steps To Fix Paint That Ripped Off The Wall
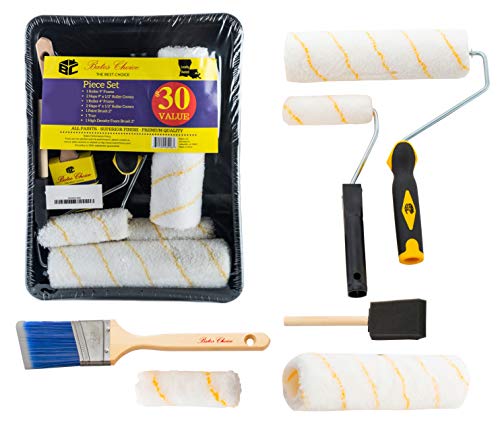
Things you'll need:
- Safety goggles
- Paint
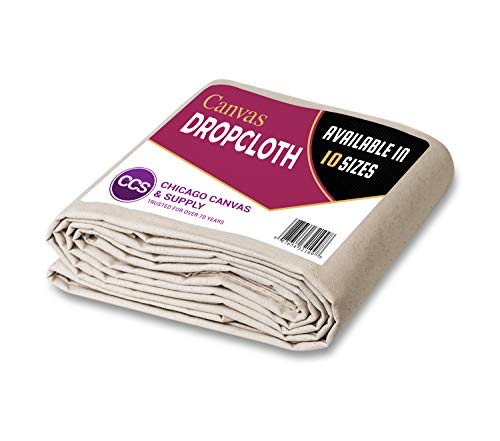
- Tarp or plastic drop cloth
- Paint primer
- Painters tape
- Paintbrush or rollers
- Tack cloth or cleaning sponge
- Paint scraper
- Putty
- Putty knife
- Fine-grit sandpaper
We sometimes add affiliate links and content that was curated and created by our team with the help of advanced ai tools to help showcase the best design styles.
1. Don protective gear
Before performing any steps for the job, be sure to throw on your protective goggles and a dust mask. Removing and applying paint can be a very messy job, and these items can help ensure your safety while you are performing these tasks.

2. Prepare the room
Depending on how much peeling paint you're dealing with, you may need to empty the room. You can also lay a drop cloth or tarp on the floor, as well as any furniture remaining in the room. Other things that you may want to protect include baseboards, doors, and windows.
Use masking tape to protect the edges of your trim and windows, and be sure to line it up evenly on each surface. When laying your drop cloths, be sure to lay them directly up against the wall to capture any paint spills or splashes and prevent them from staining your carpet or hardwood floors. It is also a good idea to open up the windows and the room's doors if possible to allow a little ventilation in the room.
3. Remove the old paint
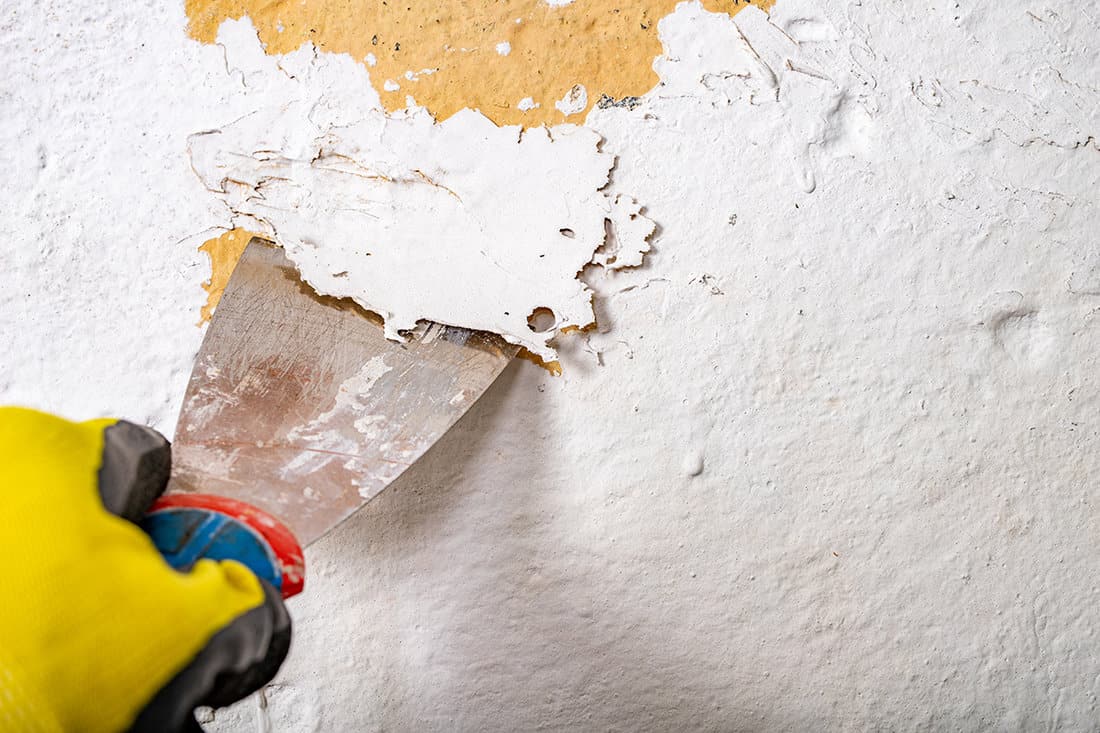
Now it's time to remove the peeling paint. Take a paint scraper or a putty knife to scrape off the areas where the paint is peeling. You can also use a wire brush as well. Be sure to also scrape the surrounding areas around the peeling paint, as this area will need to be repainted as well.

4. Patch & sand the damaged area
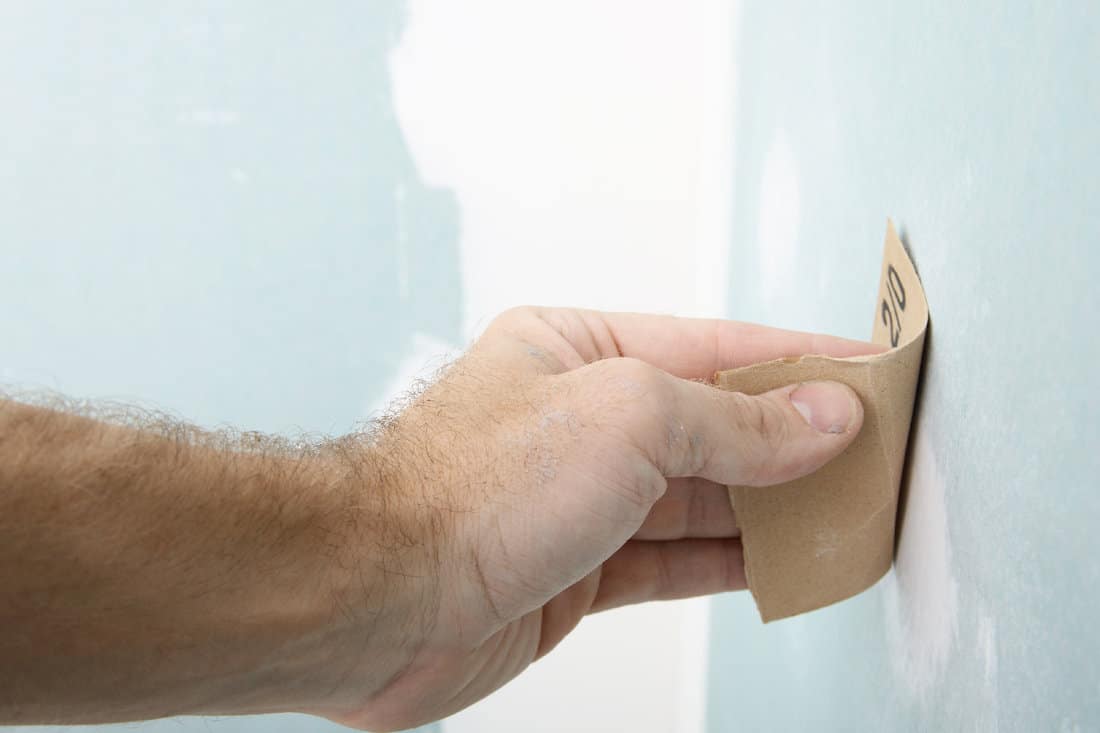
After you have removed all of the peeling paint, it's time to inspect the wall or ceiling's surface. Give the area a good look over and check for other signs of damage such as cracks, holes, or indentations in the wall. If you find any, take out your patching compound and use it to feel these areas in. You can use a knife to apply the mixture and smooth it out. After you have applied the putty, allow it to dry for the recommended time, usually anywhere from 10 to 30 minutes.
Once the putty has dried, take an 80-grit sandpaper block or sheet and smooth sand the putty so that it is flush with the rest of the surface of the wall. Be sure that there are no bumps or depressions, as this will show when you paint over the damaged areas.

5. Wipe down the wall
Next, take a dry cloth and wipe down the patch surface to remove any dust and particles; it may even help dampen the cloth or sponge lightly with a bit of water.
Buy microfiber cloths on Amazon.
6. Apply masking tape to the wall
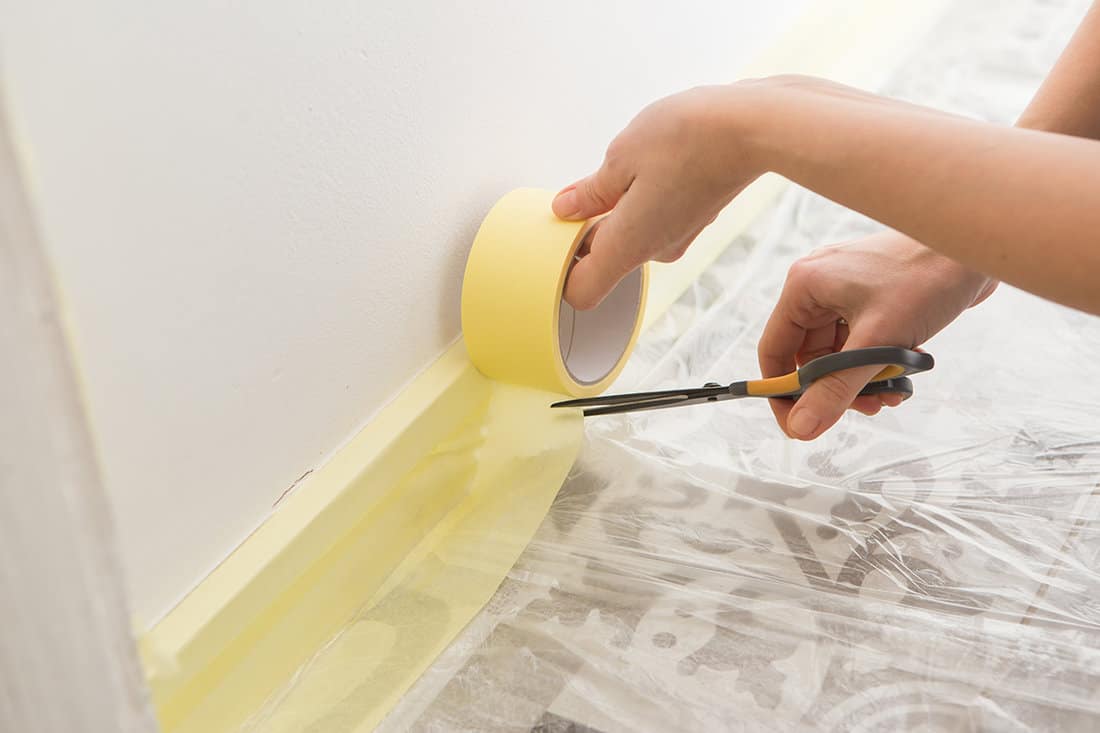
Next, apply masking tape to the areas around your trim, windows, doors, and any other areas connected to the wall that you do not wish to paint. If you have walls that don't have trim and make contact directly with the carpet, apply painter's tape on the top of the carpet. Next, use your putty knife to press into the edges. This will prevent the edges of your carpet from accidentally becoming painted.

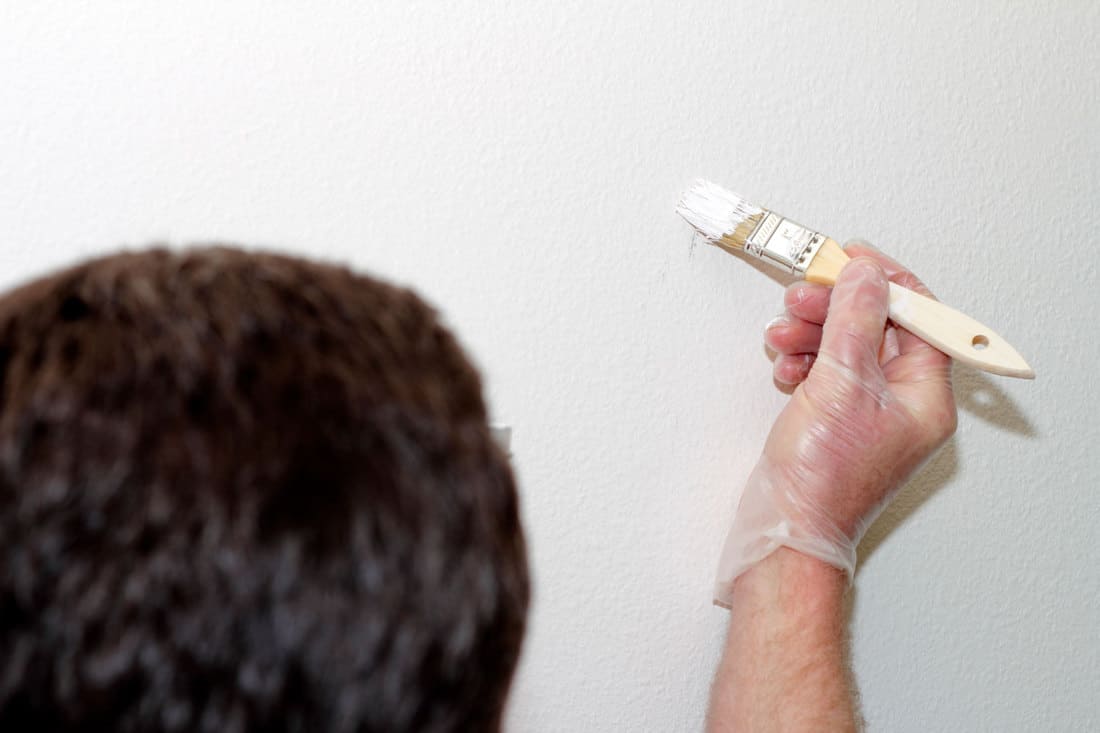
7. Apply primer to the wall
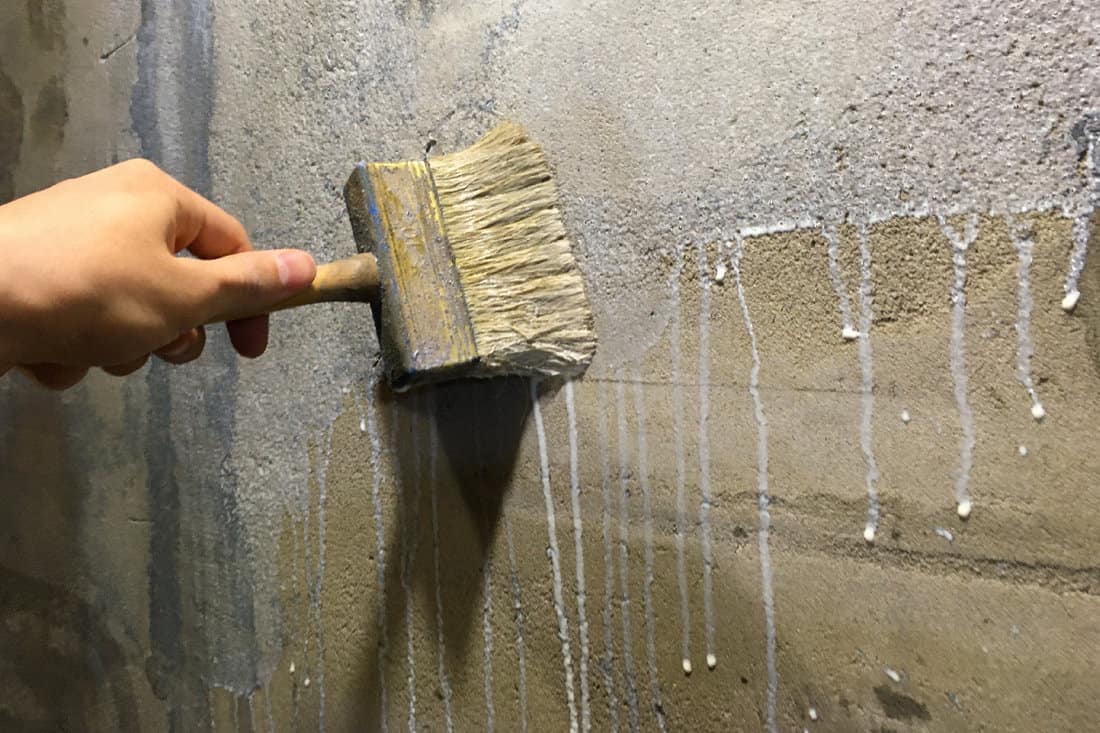
Once you have set up your walls with masking tape, it's time to prime them. Take out your primer and pour it into your painter's tray. Grab a paint roller or a 6-inch paintbrush and apply primer to all of the damaged areas.
If you are repainting an area that has peeled due to mold or mildew, it's best to use a stain-fighting primer to help prevent this from occurring in the future. Apply the primer to all of the damaged areas and wait for it to dry before applying a new layer. Primer can take anywhere from 30 to 45 minutes to dry, depending on the brand. After the first coat of primer has dried, apply an additional coat.

8. Re-paint the wall
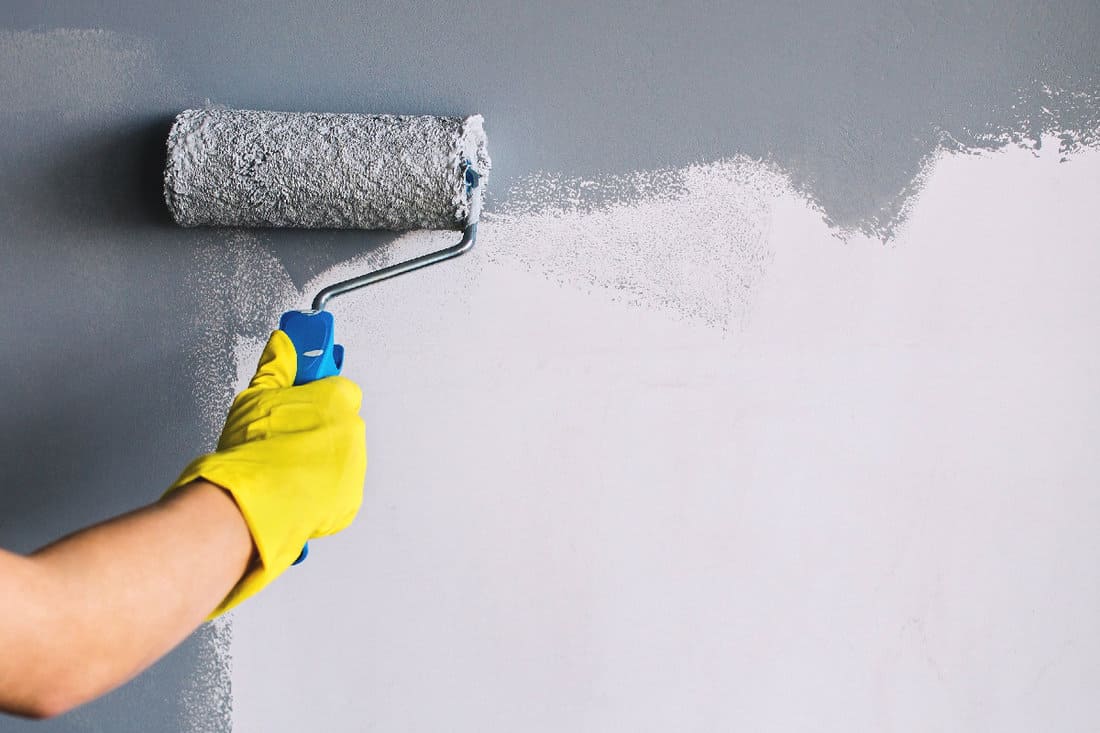
Once the last coat of primer has dried, apply your paint. Take a new paintbrush or clean off the brush that you used to apply the primer and paint the affected area. If you are not re-painting the entire wall, use a 2 or 3-inch paintbrush. However, if the surface is large or you're painting the entire wall, a roller would be ideal. Apply additional coats as needed, up to 3 total.
9. Remove the masking tape

Once the last coat of paint has dried, carefully remove all of the masking tape from the room. Allow the room to dry for 24 to 48 hours before moving any furniture back into it to prevent dings and smudges
Why is the paint chipping so easily?
If you find that your walls or ceilings are peeling, blistering, or cracking often, there may be a loss of adhesion between the wall and the paint. Several factors can cause this. Here are the most common ones:
Water Exposure
Water is one of the main causes of peeling paint, especially in bathrooms and basements. When it penetrates the paint on the wall, it causes it to separate, resulting in peeling, bubbling, and cracking. The source of the water can be from a leaky water heater, the roof, or the gutters. It's best to find this source of the water leak to prevent this from occurring in the future.
Excessive Humidity and Condensation
If your home is exposed to excessive humidity (such as after a rainstorm), chances are that it is causing the paint on your walls to peel and crack. On a daily basis, the humidity should be no more than 55%, as higher levels can cause mold, mildew, and other issues. If you find that your home's humidity is continuously more elevated than normal due to outside weather, consider purchasing a dehumidifier.

Improperly Prepared Painting Surface
For paint to stick properly to your walls and ceiling, the surface needs to be properly prepared. For example, if a primer is not applied to the surface, chances are the paint will start to peel and blister within a matter of weeks or days. Other factors include improperly placed seam tape and joint compounds. Also, the paint will not stick well to a dirty surface.
For example, if your walls have layers of grease, dirt, or oil, the chances are that the paint will not stay on for very long. Ensure that your walls are clean before applying the paint that they are free of these types of hindrances. To do this, wipe down the wall with a damp cloth before painting it. If there is a large amount of grease on the wall, such as in the kitchen, use dish soap to remove it from the wall.
![]()
Intense Sunlight or High Temps
If your walls' surface is exposed to high temperatures or intense sunlight for long periods of time, this can also cause the paint to chip. Extremely high temperatures can cause the paint to dry play faster than it should, which prevents it from creating a strong bond with the wall's surface.
Excessive sunlight can break down the bonding agents in paint, making it more susceptible to splitting and cracking. This can become a considerable problem with latex paints that are applied to rooms that receive a lot of direct sun daily. To mitigate this, you can apply window coverings to limit the amount of sun exposure that the room receives.
Can you paint over cracked paint?
Yes. You can go over cracked paint instead of removing it. To ensure the best finish, it's important to prepare the surface before you paint. This includes sanding the surface thoroughly and applying a high-quality primer or undercoat before repainting it.
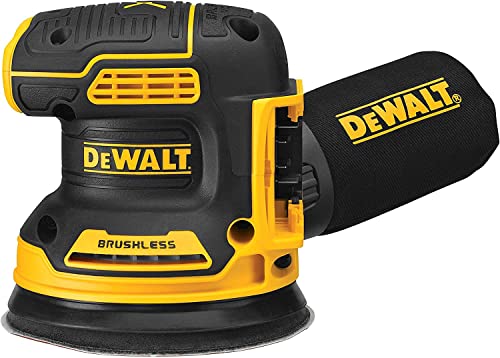
Buy an electric sander on Amazon.
Can you touch up paint after it dries?
Yes, you can touch up paint after it dries. To match the surface texture, make sure to use the same paint application as you did previously. For example, if you used a brush on the wall, be sure to use a brush when applying the touch-up paint.
How do you blend touch up paint?
The key to a great touch up paint job is technique. It's essential first to apply thin layers when touching up damaged areas. Next, feather out the paint out around the edges to blend in with the previously painted areas of the wall or ceiling. Be sure not to overload your roller or brush when applying the touch-up paint, as this will make the paint stand out more.
Wrapping Things Up
We hope that this post has provided you with the information you were looking for to repair peeling paint. Before you go, be sure to check out some of our other posts:
Latex pain stretches, I was trying to REMOVE the baseboard, now the paint above has bubbled, I am trying to not have to paint the entire wall. How do you fix that?