Embarking on a DIY painting project can be a fun, meditative way to cut costs during your home renovation – but only if you plan accordingly. Exactly how long will it take to paint a room? We've researched and calculated exactly how much time you should set aside in order to paint an entire room.
The average person will spend 10 minutes painting for every 100 square feet of room. However, the entire process, including prep work and drying time, can take 2-3 days. Here are some things you'll need to think about before breaking out the rollers:
- Prep work takes time
- The necessity of a primer
- The most efficient order of operation
We know this can be overwhelming, but lucky for you we've broken everything down. Keep reading for an intensive guide on how to tackle painting your new favorite room in the house – from ceiling to trim we've got it covered.
![Woman in sweaters attaching a paint roller to an extension pole, How Long Does It Take To Paint A Room [By Room Size]](https://homedecorbliss.com/wp-content/uploads/2020/12/woman-in-sweaters-attaching-a-paint-roller-to-an-extension-pole-How-Long-Does-It-Take-To-Paint-A-Room-By-Room-Size-683x1024.jpg)
Factors Involved In How Long It Takes To Paint A Room
Let's take a closer look at the factors that influence how long it takes to paint a room.
Prep Work Takes Time
When calculating how long it will take to paint a room, people often forget to allow themselves time for prep work. That means moving furniture, laying down drop cloths, dusting/wiping-down walls, and taping edges. All in all, this will take about 2 to 3 hours depending on the size of your space. So make sure to prepare for it.
Can You Paint A Room In One Day?
While some sources claim it's possible, we don't suggest attempting to start and finish your project in a single day. Give yourself a minimum of two days, but you may need up to three or four depending on the task. Here are some factors that may affect how long it takes:
What Is The Current State Of Your Walls?
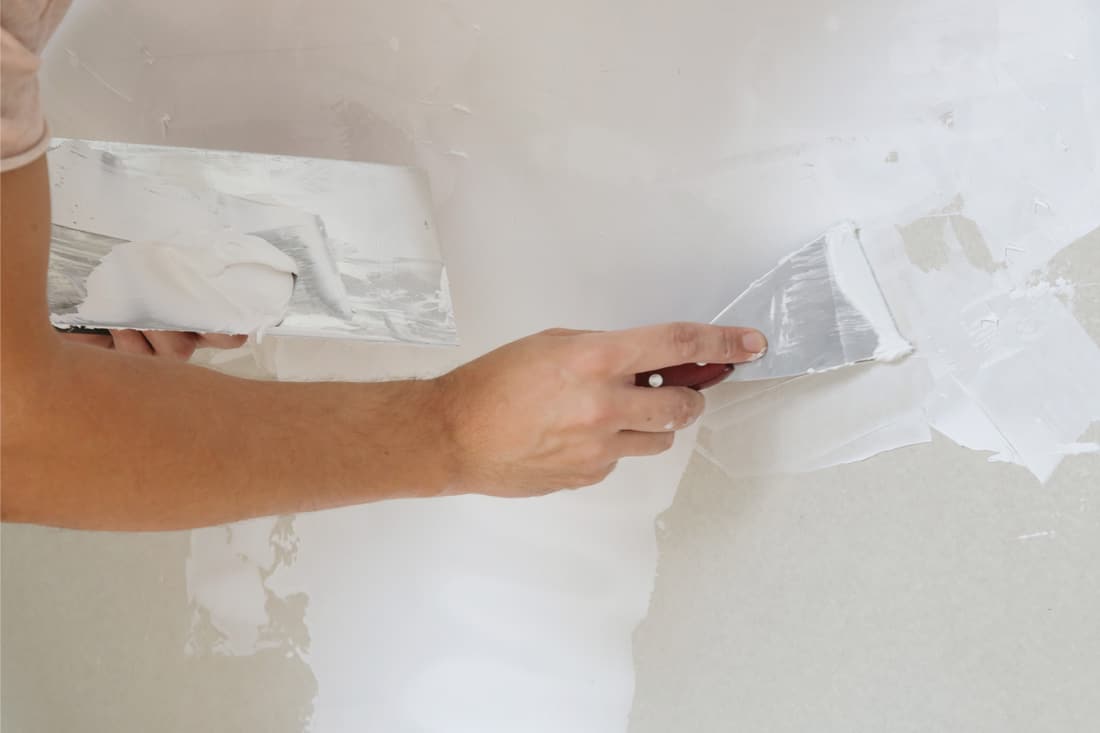
Take a good look at the area you intend to paint. Are there any dents, holes, or scratches? Even small imperfections like bumps and thumbtack holes should be taken care of to ensure that you have a smooth, even base to start with.
We may include affiliate links and curated AI content to highlight top design styles.
Any and every defect will need to be sanded or spackled accordingly. The initial handiwork may only take 20 minutes, but painter's putty needs to dry for at least one hour (two hours to be safe) before primer can be applied. It's prep work like this that many people overlook while planning.
Check out this painter's putty on Amazon.
How Big Is The Room?
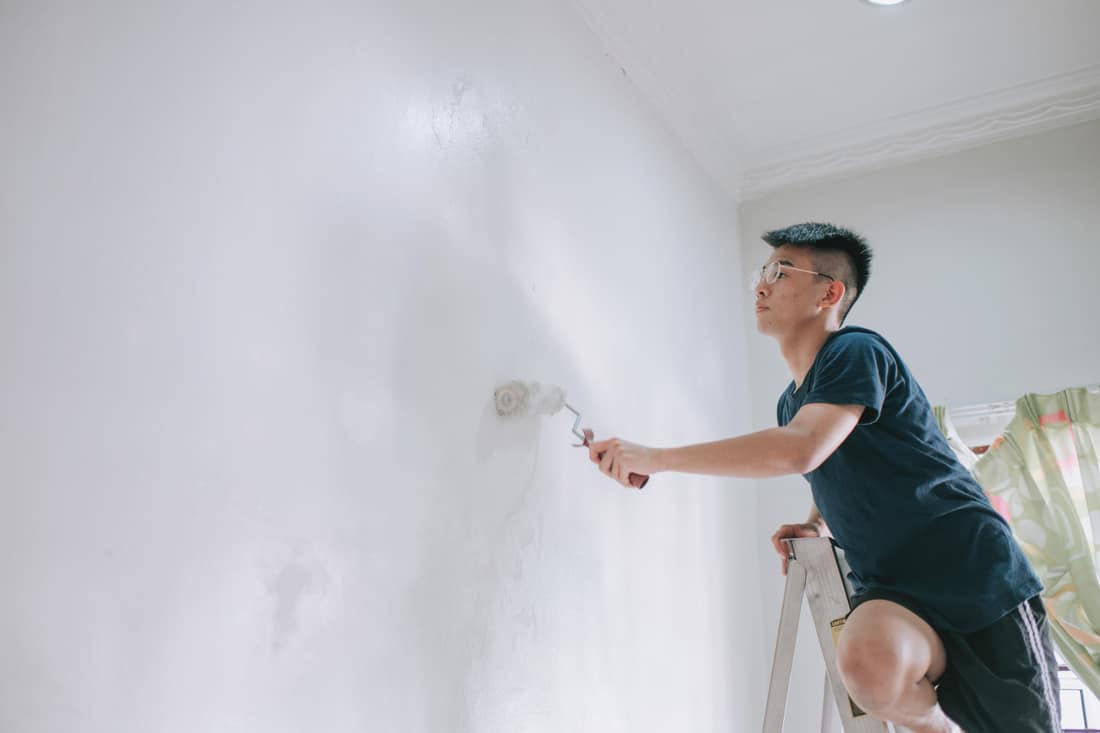
The amount of time it takes to paint a room depends largely on the surface area you need to cover. Most professional painters can apply a single coat of paint to a 400 square foot room in under 30 minutes.
But that won't be the case for the average person. Allow yourself 40 minutes to an hour for each coat of paint in a room that size. By this logic, you should plan for every 100 square feet to take about 10 minutes.
The Weather And How It Affects Your Drying Time
Drying time is going to consume a large chunk of your day, and the rate at which your coats dry won't always be the same. High humidity will lengthen the process while proper ventilation is your best friend.
Some form of airflow is an absolute must to simply keep you in good health, but if it's hot and humid outside, consider shutting the windows and turning on your A/C instead. Cool, dry air will warrant the best results. So if you're lucky enough to live in that type of climate, then keep the window cracked and you're good to go.
Although it can be frustrating when you're on a time crunch, giving your walls the opportunity to dry completely is just a necessary part of the process. Use those hours to relax, have a meal, and recharge so you can get back to work and get the job done.
Do You Need Primer?
You're going to be doing a lot of preparation before it's time to actually pour your paint and start rolling, but we know that you may be tempted to cut a few corners where you see fit. It's an age-old question: to prime or not to prime? Nine times out of ten we think it's necessary – here's why:
Primer Makes Colors Pop
The purpose of primer is exactly as advertised: it prepares your walls for new paint. Part of that prep includes muting the previous color underneath.
If you're transitioning your dining room from a deep eggplant purple to a soft neutral, for example, then a primer is a no brainer. If you skip it, the old color will peek through and make your fresh paint look muddy.
It Erases Past Mistakes
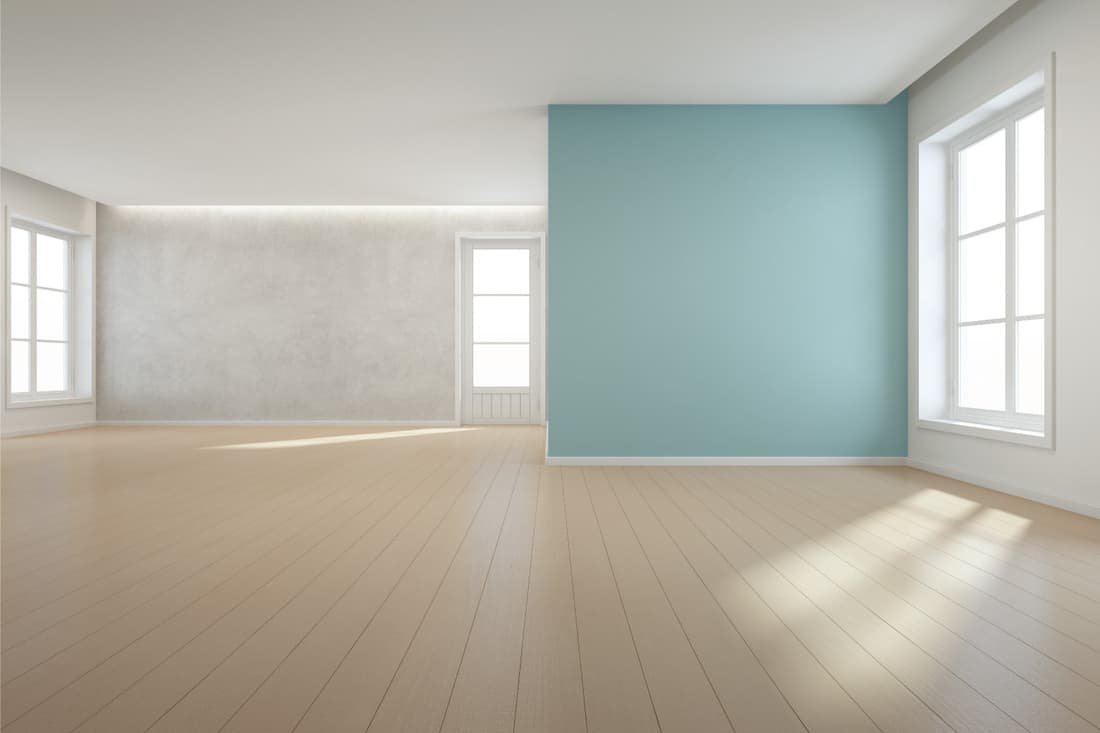
Even if your walls are undergoing a more subtle change, primer can still be extremely useful at covering stains and marks. There's no denying it – life happens. Couches bang up against the wall, framed art can leave not-so-appealing scratches.
Especially if your walls are on the lighter side, primer is a great tool to assure your paint job comes out looking perfect.
Primer Accounts For All Surface Materials
Not all paint will apply smoothly to all surfaces, especially if that surface is porous. Concrete, drywall, and plywood are all examples of porous surfaces that will absorb paint unless you lay a primer down first. Likewise, glossy surfaces like enamel should always be primed to make sure your paint actually sticks. In order to properly seal and prepare your walls, priming is a must.
Check out this article, Can Bathroom Tiles Be Painted? to learn more about painting different surfaces.
What Is The Best Order To Paint A Room?
Once your primer has dried for the optimal 1-2 hours, it's time to finally start painting. To cover the most surface area in the shortest amount of time, we suggest following these guidelines to make the process as simple as possible.
Step One: Trim
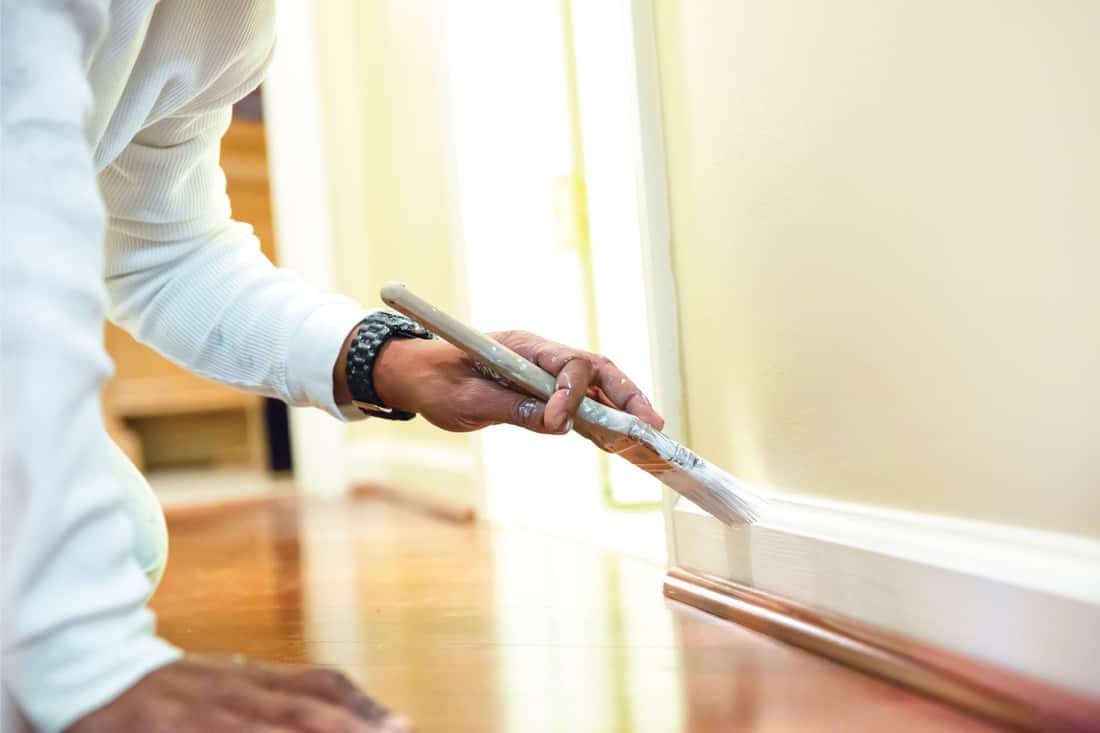
Take a tip from professional painters and start with the trim. It's more efficient in the long run. Use painter's tape to protect your floor around the baseboard.
It's a good idea to tape the walls around your trim as well, but if you have a steady hand, it's not completely necessary. That's the upside of painting the trim before the walls: if a little paint gets where it's not supposed to, it can easily be covered up in the next step.
For more information on painting trim, check out this article: What Is The Best Paint For Baseboards?
Step Two: Edges
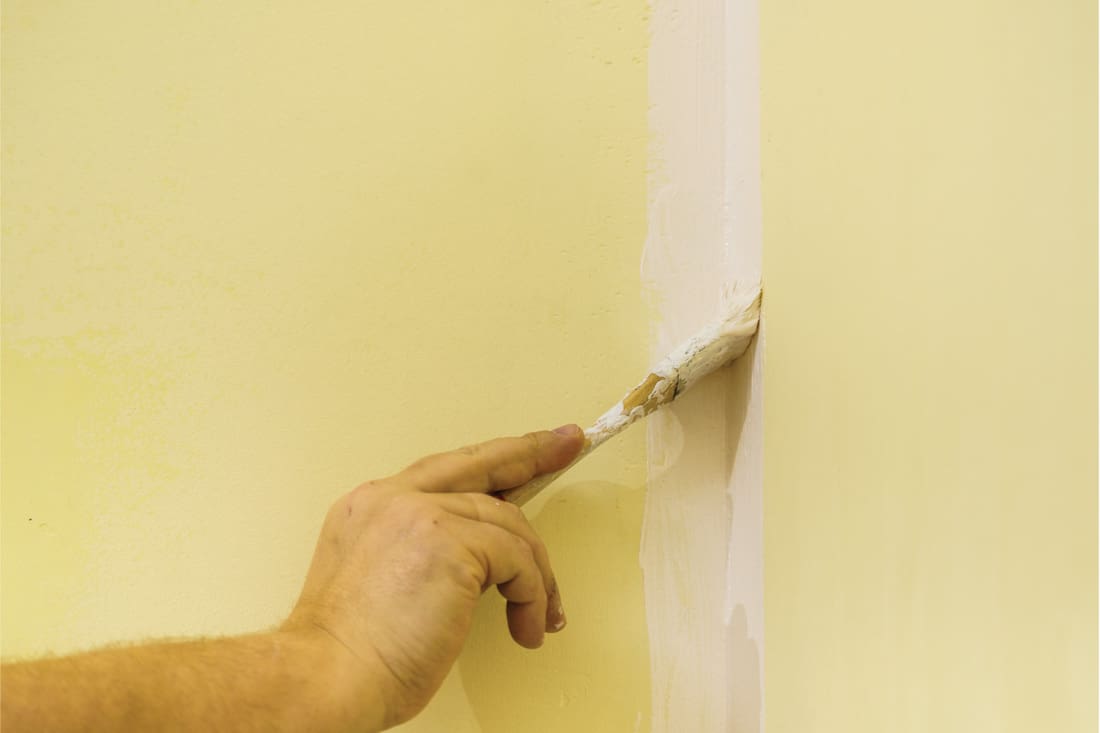
This technique is called "cutting in." Take a paintbrush (an angled one works best) and a small bucket of paint and cover any area that a roller won't reach cleanly. This means corners, the edge where the ceiling meets the wall, and around the trim.
Check out this set of angled paintbrushes on Amazon.
Step Three: Ceiling
From here on out it's best to work from the top down – and that means starting at the ceiling. This top-down technique will allow you to clean up drips without disrupting any areas you've already painted.
The most effective way to paint a ceiling is with a roller, so either a step ladder or an extension pole is required. We personally suggest an extension pole, which will save time you'd otherwise spend stepping on and off the ladder and moving it around the room.
Check out this extension pole on Amazon.
Step Four: Walls
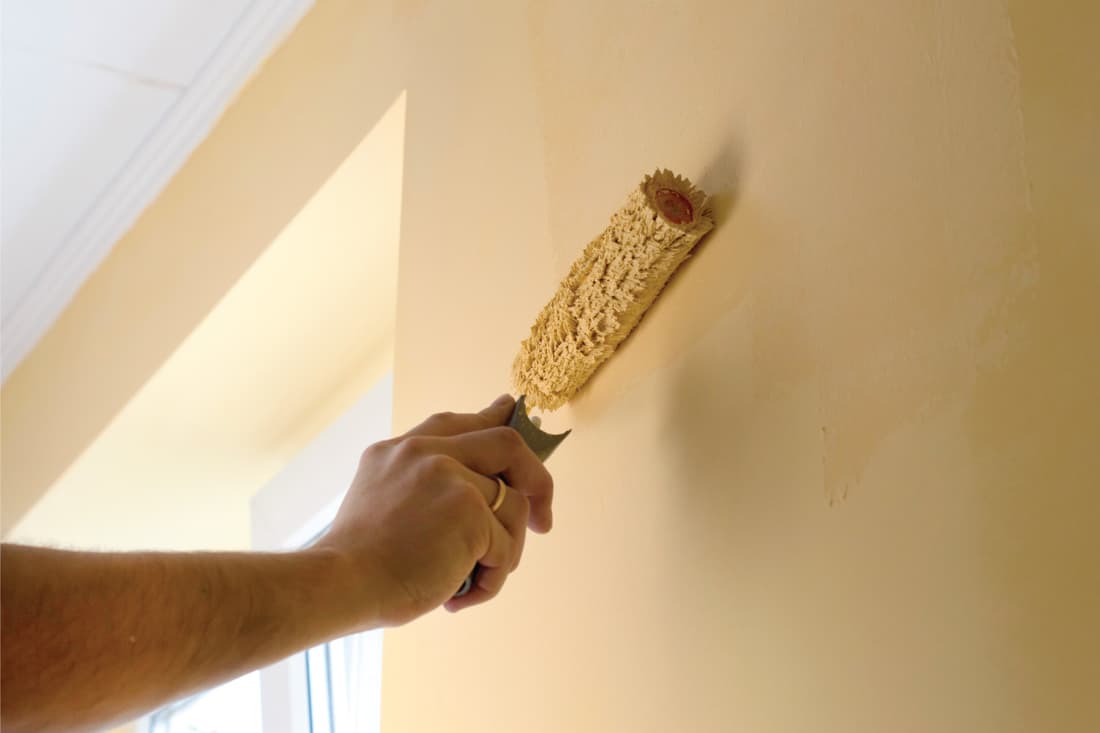
Create clean, even "W" shaped strokes with your roller while working your way across the room. Make sure your paint meets the section you've "cut out" already. To save time, recruit a friend to help so you can roll the entire room in under 30 minutes.
Step Five: Repeat
Now it's time to let the first coat dry completely. This can take about four hours, so letting this happen overnight is a good idea, depending on your time constraints. Whenever it's safe to do so, repeat steps 2-4 (yes, including edges), being careful that there is no dripping or smudging. After all, this is the final coat – you want it to look as perfect as possible.
Can You Just Paint Over Old Paint?
While we highly suggest using a primer, there are certain cases in which it may not be necessary. If you want to cover minor scuffs but think a separate primer is overkill, then a paint-primer is your best bet.
This two-in-one option won't have the total coverage that separate products will, but it will get the job done if your walls are relatively clean. Plus, it will save you about two hours total if it's appropriate for your space.
Check out this two-in-one paint and primer on Amazon.
What Is The Average Cost Of Painting A Room?
The cost of painting a room comes down to the cost of supplies, paint, and labor. Let's take a look at each one.
Cost Of Supplies
Expect to spend about $100 on things like brushes, rollers, tarps, painter's tape, etc. Most of these items can be reused for next time – so don't toss them when you're done. Just make sure to clean your brushes thoroughly (preferably while the paint is still wet) so they don't get crusty and become unusable.
Check out this 14-piece painting set on Amazon.
Cost Of Paint
Primer is affordable at around $20-30 per gallon, so actual paint is where the majority of your budget will go. Interior paint ranges anywhere from $30 all the way up to $85 for some luxury brands. We suggest shelling out a few extra bucks if it means your paint is going to be high quality. Remember, you will most likely need more than one gallon to cover a room in two coats.
Benjamin Moore has a calculator that tells you exactly how much paint you'll need based on the square footage of your room. The rule of thumb is one gallon for every 350-400 square feet (or every 200-300 square feet for primer), but a resource like this is nice because it takes windows and doors into consideration.
Is DIY Worth The Money?
Professional painters charge an average of $1.50 per square foot, which means a 400 square foot room can cost $600 to have painted. Although it's more work, it costs half the money to do the job yourself – and we like those numbers.
Happy Painting!
It doesn't have to be as exhausting as it seems. If you have a weekend to spare, go ahead and paint that room yourself. As long as you plan accordingly it will only take about two days from prep to clean-up. So put on some music and get started.


