
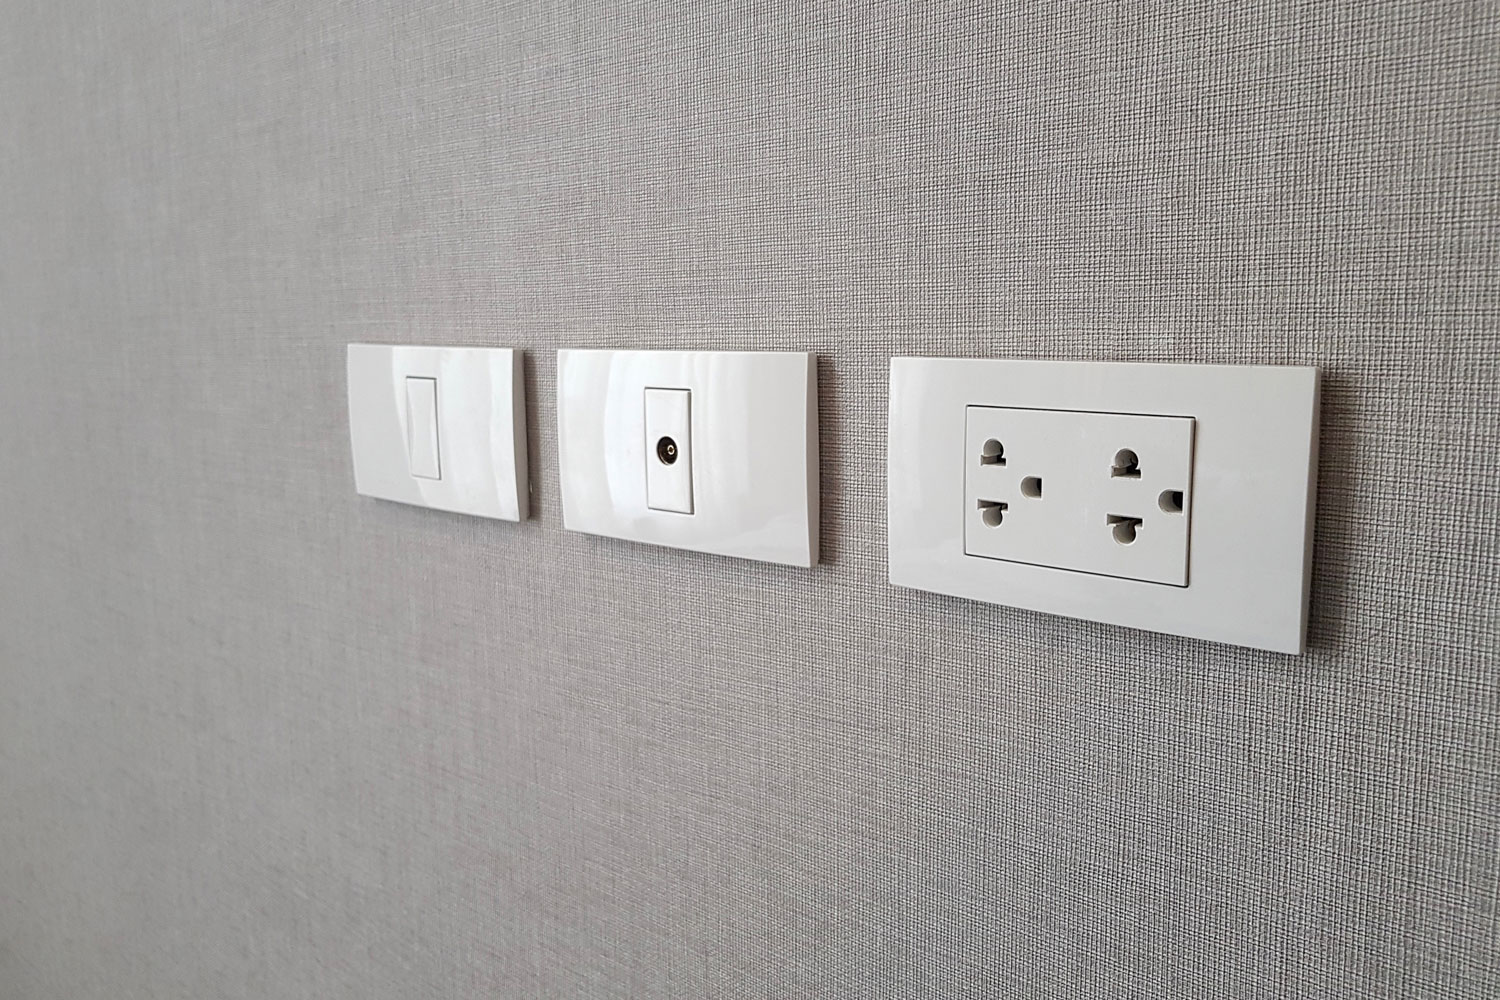
Are you renovating your house, and you’re wondering how many outlets there should be per room? Wonder no more, for we have researched this question, and we have the answer for you.
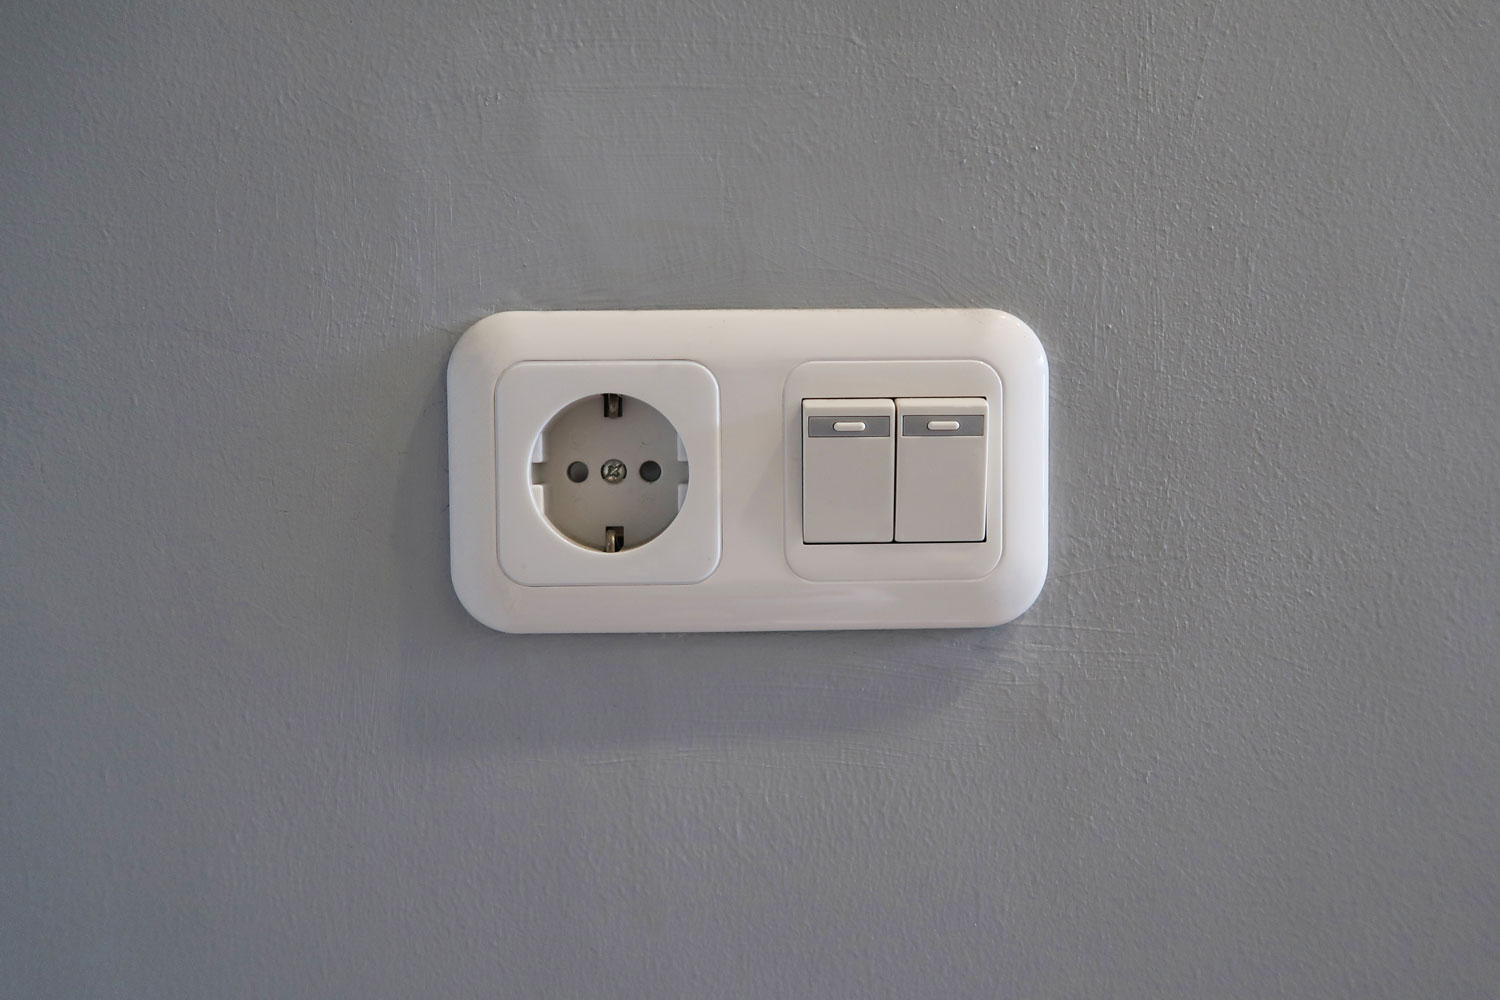
The exact number of outlets per room depends on wall lengths (minus any cabinets). To comply with building regulations, an outlet should be located six feet from any point along the floor line. For a typical 11- by 12-foot room, with 12-foot maximum distance between each outlet, this means you can install between one and five outlets.
Unfortunately, following the code for the number of outlets doesn’t guarantee that you’d have the ideal number of outlets per room. Read the succeeding sections to get tips on how to plan the number of outlets per room in your house. Read on!
Determining the Number of Outlets Per Room
In a typical room of 11 feet by 12 feet, let's use a bedroom, for example, you can start by measuring two feet from the door frame to make it the first location of your first outlet. For this, we'll assume the door is positioned on the long wall.
Measure 12 feet from this first outlet, and this can be your second outlet on the 11-foot wall. Keep in mind that the distance of 12 feet is the maximum distance between two outlets. You can install an outlet at a shorter distance.
The third outlet can be 12 feet from the second outlet, or you can measure the width of your bed and place the next outlet at the same distance from the bed as the second outlet. This will be ideal for a laptop charger or a tablet charger.
We sometimes add affiliate links and content that was curated and created by our team with the help of advanced ai tools to help showcase the best design styles.
The fourth outlet can be measured at 12 feet from the third and installed somewhere along the 12-foot wall opposite the door. This can be used for a window AC in case you plan to install one in the future.
Measuring another 12 feet from the fourth outlet places the fifth outlet at the 11-foot wall opposite the bed. This gives you five outlets on a standard bedroom of 11 by 12 feet.
However, if the majority of the 11-foot wall opposite the bed is a closet or another door to an ensuite, perhaps, then it doesn’t count as a wall to determine the 12-foot distance from an outlet. In this case, you’d have a C-shaped room with four outlets.
Kitchen Outlets
Planning the number of outlets in the kitchen can be tricky. The position of cabinets can make this complicated. Fortunately, fixed cabinets are not counted as wall space. Thus, you don’t have to count them when installing outlets.
However, the location of your kitchen cabinets can make it tricky to provide an electrical outlet for the appliances that would need them.
Plan where you will install your appliances and cabinets in advance. This will allow you to visualize where the electrical outlets should be for your appliances. Additionally, the kitchen of a large family might need more than the minimum outlets required by the code.
Living Room Outlets
It is easier to plan where the electrical outlets should be in a living room compared to the kitchen. Visualize where the major appliances will be installed, and you can start measuring the required distance between outlets from there. Add a few extra outlets for any future use in case you need to use a portable humidifier, air conditioner, or heater.
Speaking of air conditioners, it is a good idea to install a dedicated electrical outlet near the window. This is in case you need to use a window air conditioner or heater. Installing a dedicated electrical outlet for appliances like these will save you time and money from getting them installed later.
Bathroom Outlets
Determine where you’d like to install the electrical outlets in the bathroom. Then start measuring for the other outlets from there. This way, you’d have the outlets where you want them and still comply with the regulations.
How to map your circuit breakers?
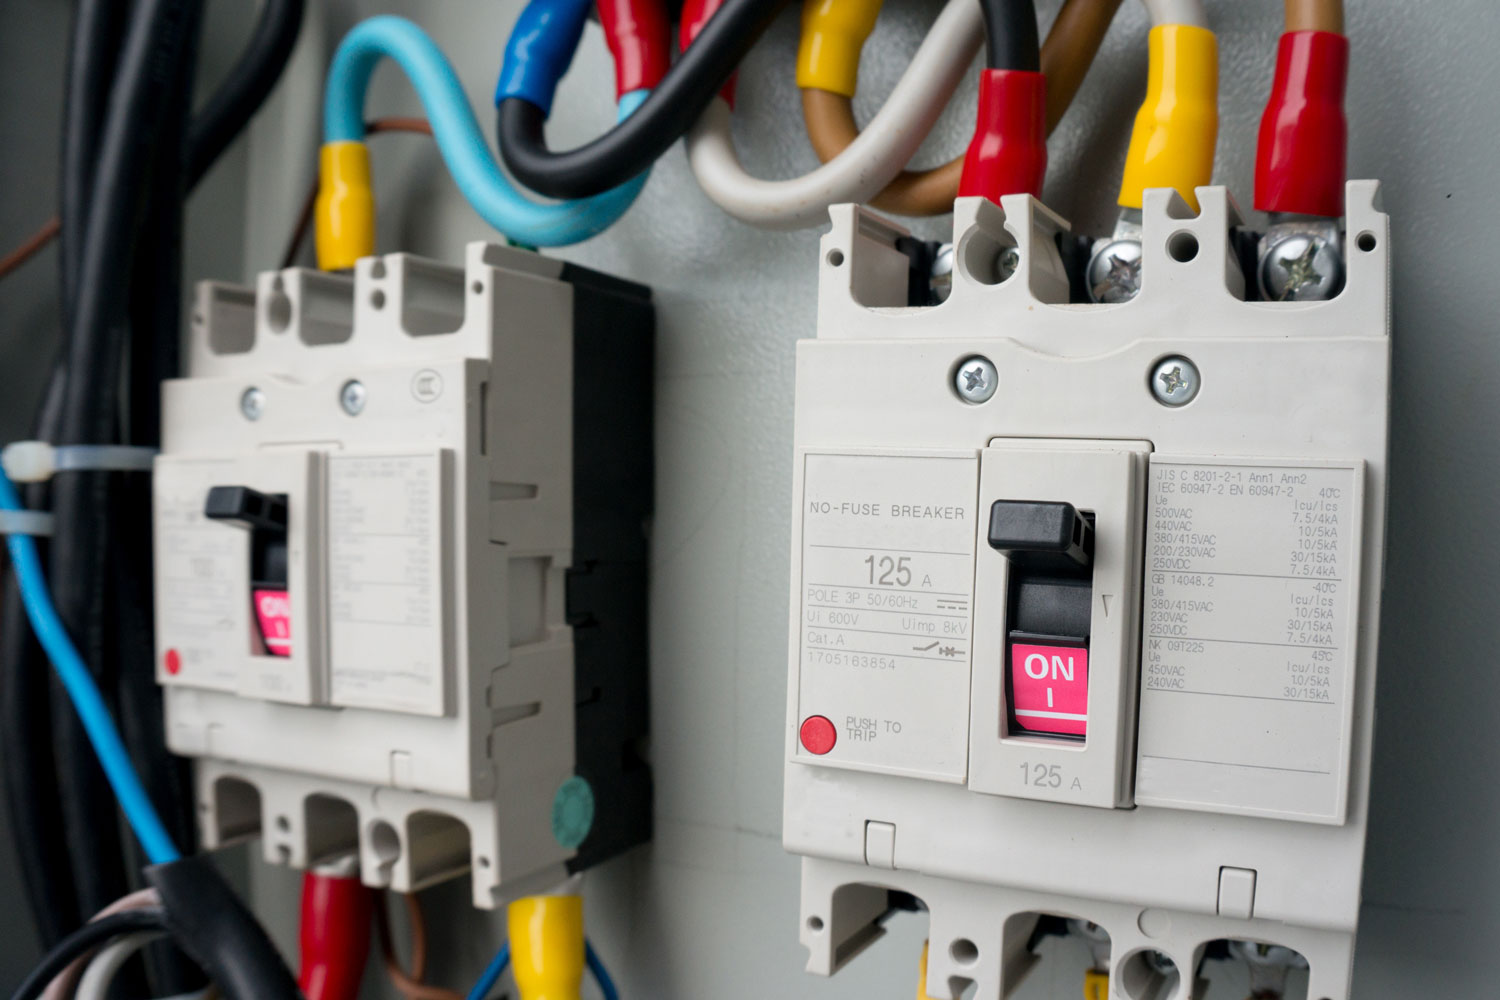
Planning the number of electrical outlets and where to place them is just the first step. It is also important to plan which of the outlets can be grouped together on a breaker.
Planning and grouping the outlets together is important. Each circuit that is connected to a 20-amp breaker cannot have more than 1,900 total watts of usage at the same time. Going above this would overload the circuit and trip the breaker.
Here are some of the things to consider when planning your breakers.
Where to install a ground-fault circuit interrupter?
A ground-fault circuit interrupter or GFCI is a fast-acting circuit interrupter. It can break a connection in as little as 1/40 of a second. It works by comparing the outgoing and incoming current. A difference of 5 milliamperes or greater will prompt the GFCI to break the circuit.
Any electrical outlet that is within three feet of a water source should be protected with GFCI. This would be most of the outlets in the kitchen and bathroom.
The GFCI can be installed on the outlet itself or on your breaker box. Installing it directly on the outlet is quickly becoming popular because it is cheaper compared to an installation on the breaker box.
How to figure out what is using the most electricity - and isolate it!
It is a good idea to provide dedicated outlets for appliances that consume a large amount of electricity—not just your air conditioner, for example. Isolating these appliances ensures that you will not overload the circuit where they will be plugged in.
The most common energy eating appliances are:
- refrigerator
- electric oven
- electric stove
- microwave oven
- dishwasher
- clothes washer & dryer
- electric heaters
Placing any two of these on the same circuit is almost certain that the breaker will get tripped. These appliances should ideally be isolated by locating each on their own circuit if possible.
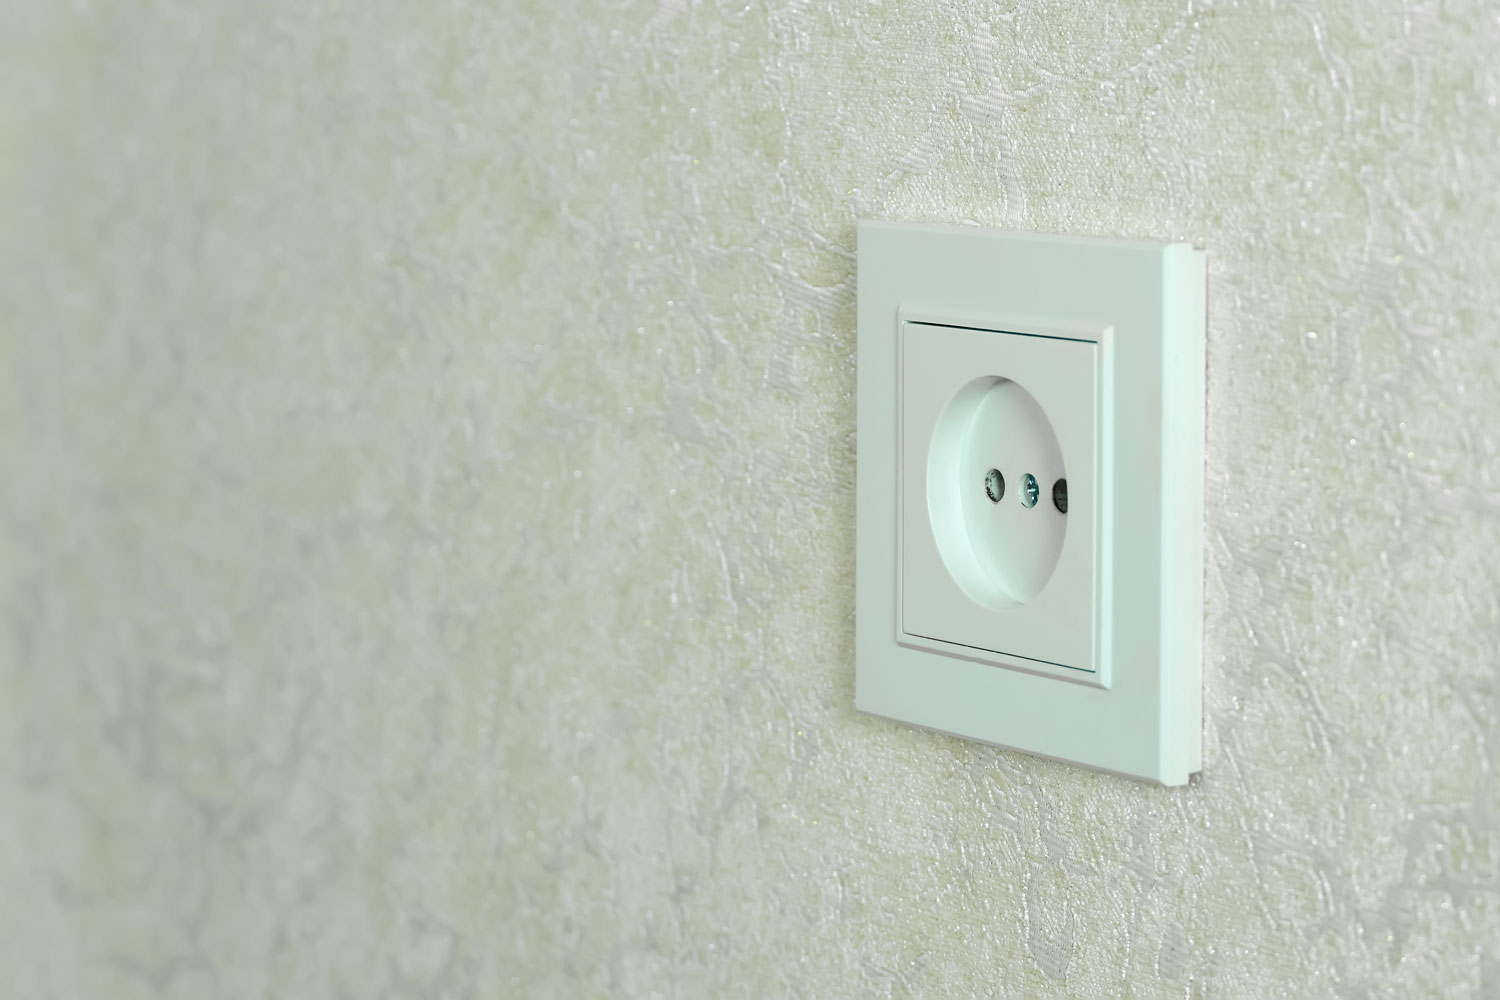
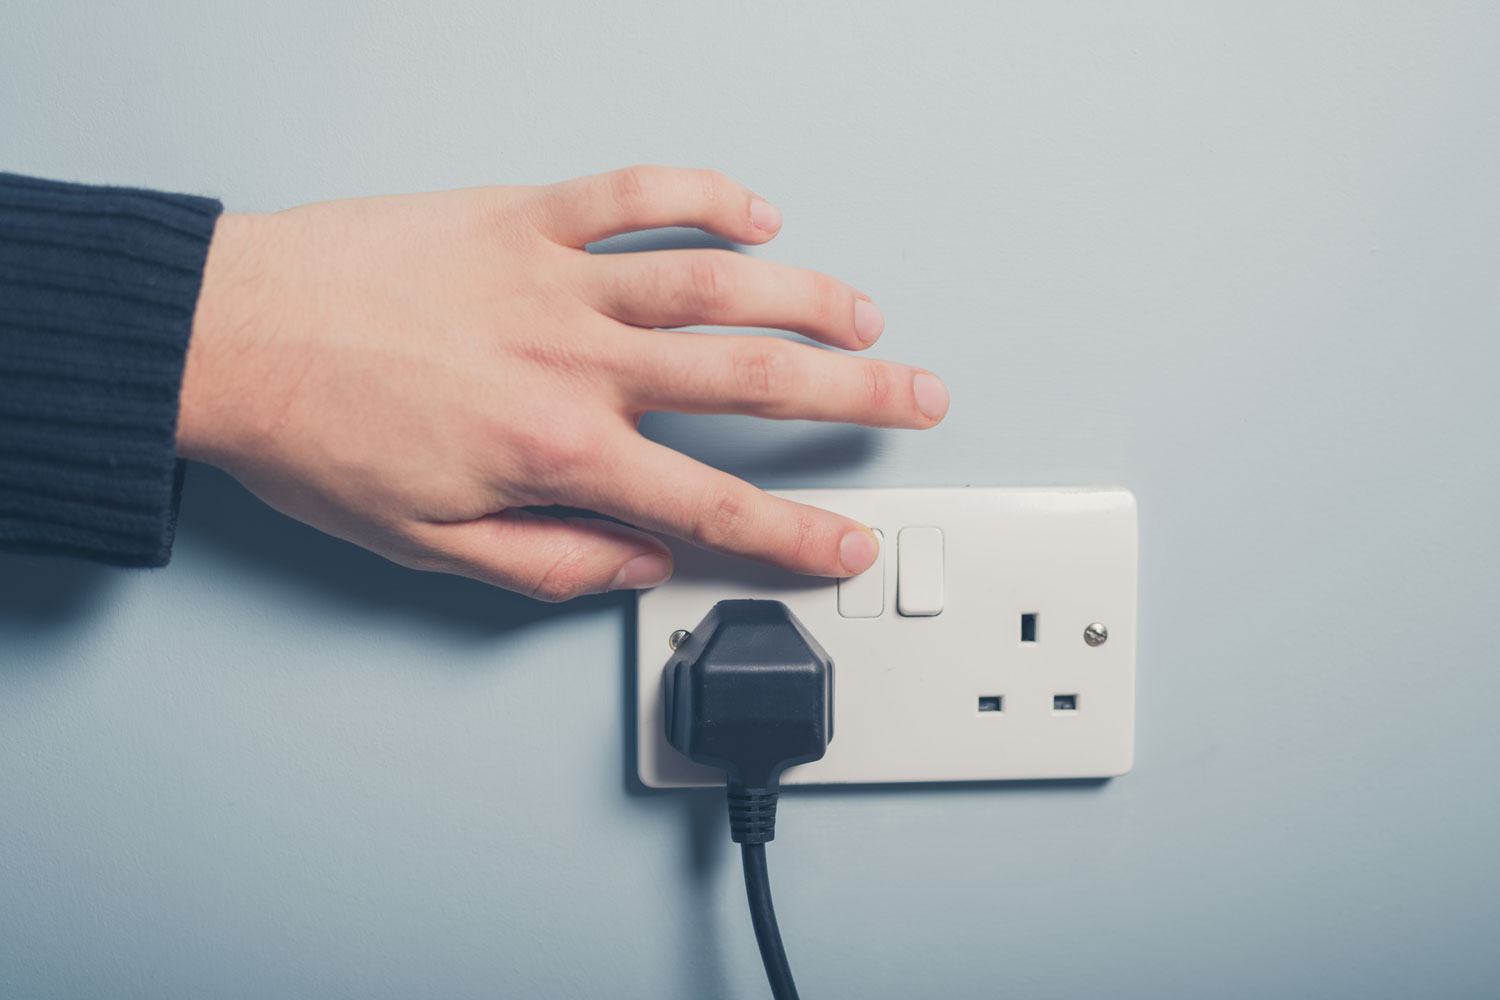
How high from the floor should outlets be?
Outlets along the wall are often a foot above the floor. This makes it convenient to connect electrical appliances to these outlets since most appliances are placed directly on the floor or resting just above floor level.
This height is also ideal for ease of stepping over the electrical cable if necessary that is going to the power outlet.
Power outlets on counters are normally placed four inches above the top of the counter. This height is convenient enough for appliances on the counter to get electricity from outlets of this height.
What is the standard height for light switches?
Existing regulations for light switches require that they are installed four feet above the floor from the base of the light switch. These regulations are based on the NEC (National Electric Code) Standards and the ADA (Americans with Disabilities Act) Standards.
What are the NEC Standards for light switches?
Light switches should be in close proximity to the equipment that it operates. This is to make it easy for an electrician to look at the switch and know exactly which equipment it controls.
The NEC doesn’t have a recommended height for light switches. Any height below six feet and seven inches above the floor is acceptable.
A light switch should be 40 inches above the floor if it is directly above a counter that has a standard height of 36 inches.
What are the ADA Standards for light switches?
The requirements of the ADA are stricter than the NEC because it is backed by law.
The Fair Housing Act requires that the distance from the middle of a switch panel to the floor should not be more than 48 inches. This makes sure that it will be accessible to someone who is in a wheelchair.
The minimum height for switches should be no less than 15 inches.
Countertop Switch ADA Requirements
A counter with knee space built into it with a depth that is more than 20 inches should have a switch that is no more than 44 inches from the floor.
The width of the counter should not exceed 24 inches if the counter doesn’t have a built-in knee space. The maximum height for the switch, in this case, should be a maximum of 46 inches above the ground.
Additional light switch requirements
Here are some of the standards for installing light switches in situations that are not covered by the general requirement provided above.
Switches for pools and hot tubs
Light switches for pools and hot tubs should be at a minimum of five feet away from the body of water based on NEC guidelines. It is also advisable to raise the height of these switches to prevent children from operating them. The recommended distance ensures that no one in the body of water will have access to the switch.
Bedside light switches
It is recommended to install this switch no higher than shoulder height when you are lying down on the bed. This makes the height of this switch dependent on the height of the bed.
Conclusion
The number of outlets per room depends on the total perimeter of the room and the expected number of electrical appliances that will be installed in the room.
If you enjoyed reading this article, you might find the articles below equally interesting: