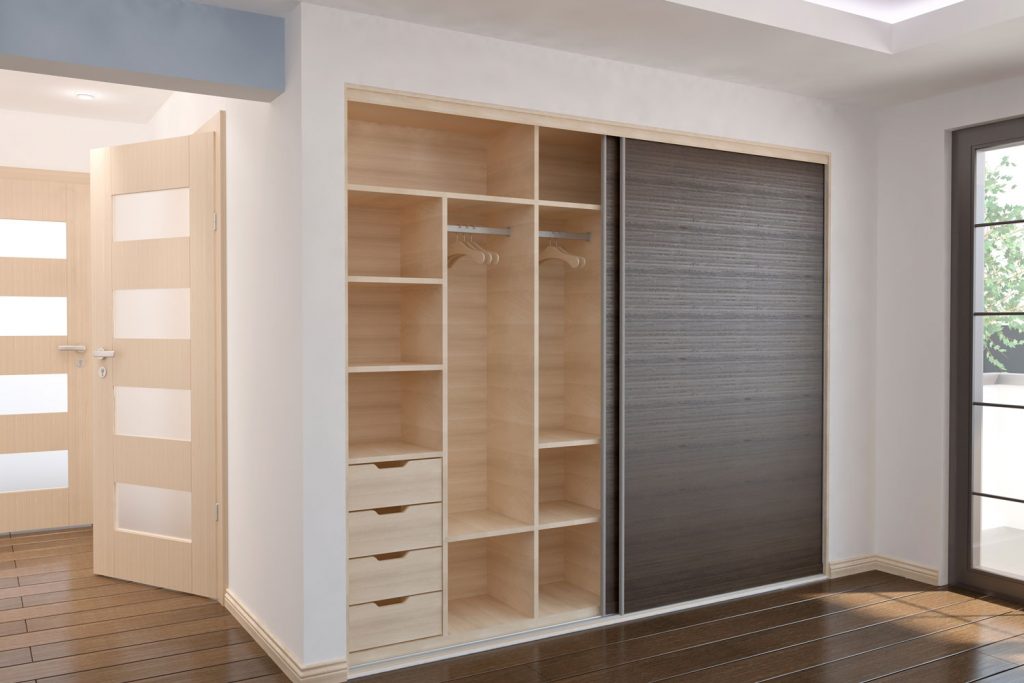
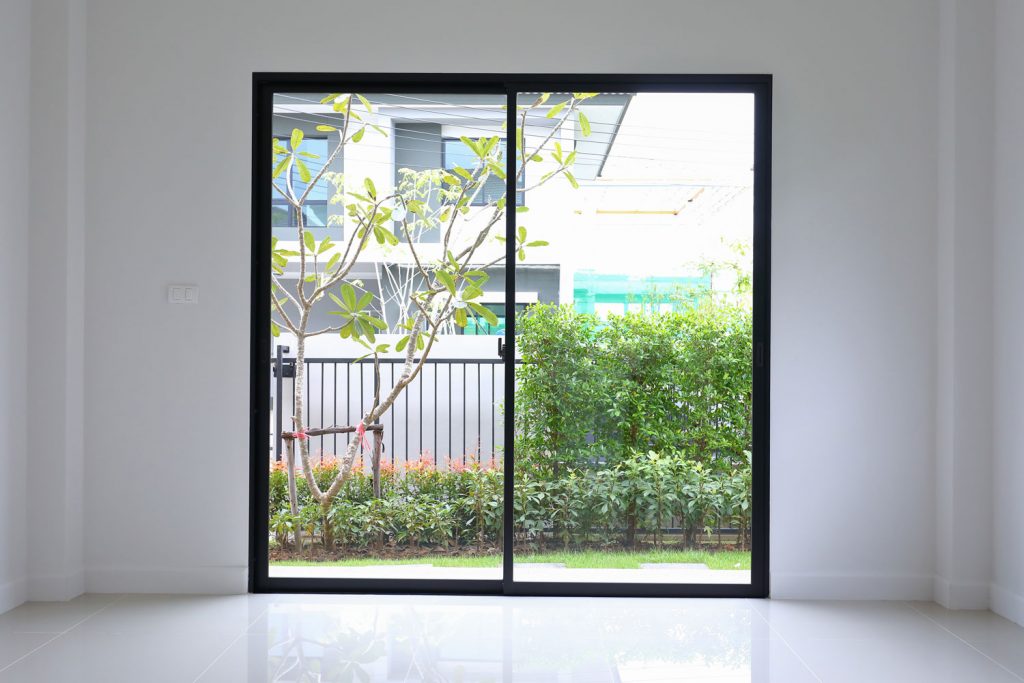
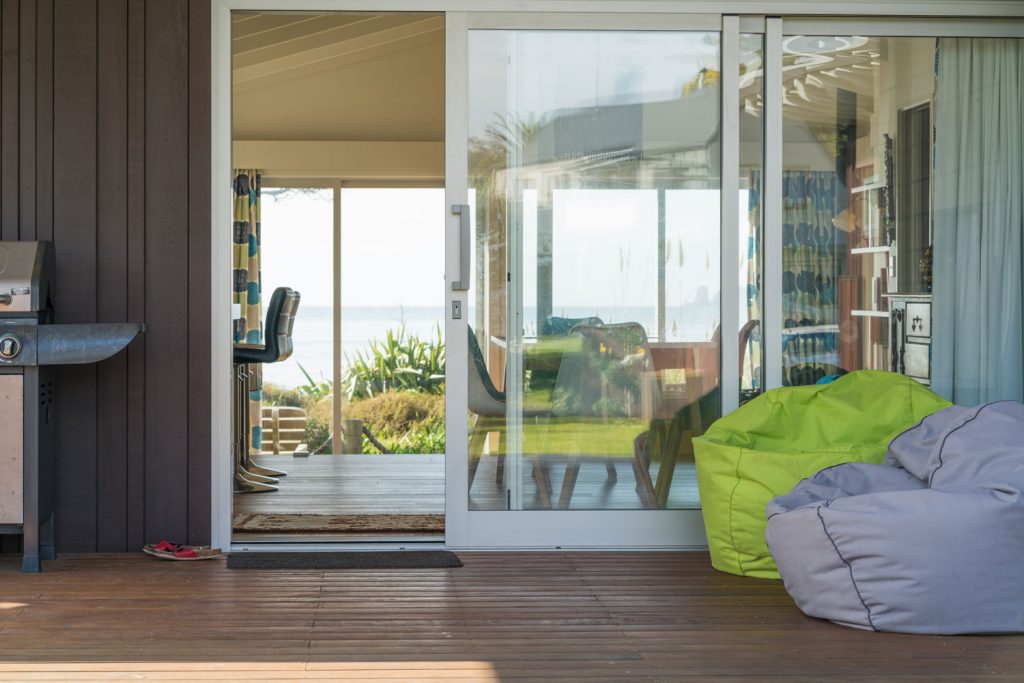
Sliding doors can go on both your home's exterior and interior, and they can add decorative elements to your living spaces. These doors are also very common in closets because they allow for easy access and save space. But how much should these doors overlap? We have researched sliding doors and their installation process to provide you with an answer.
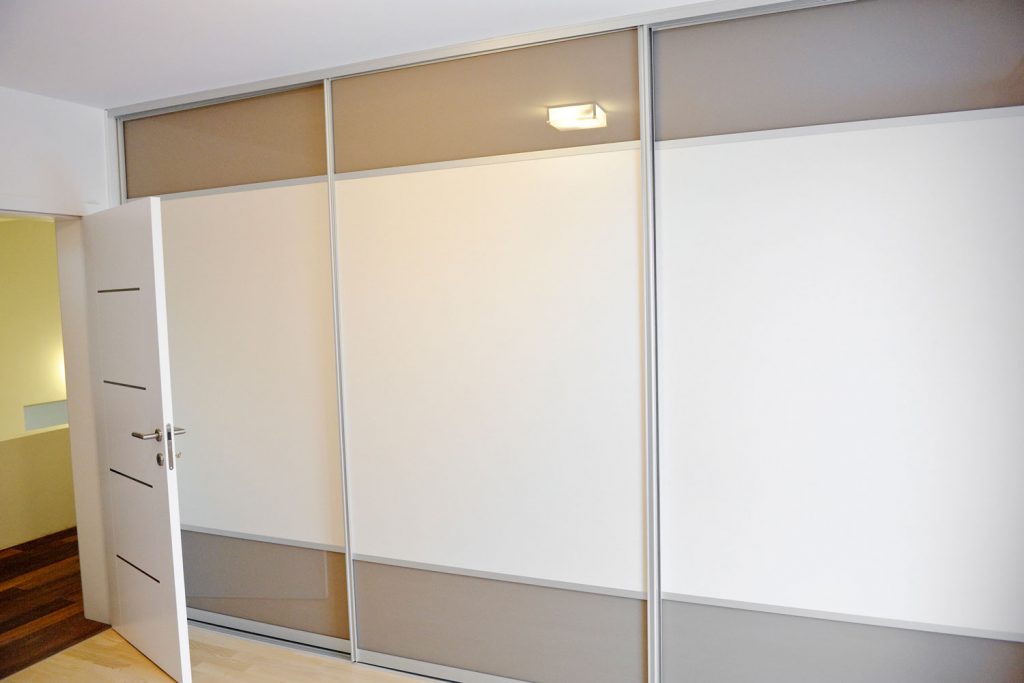
Generally, most sliding doors should overlap about 2 to 3 inches in the center. Closet doors, however, can have anywhere from a 1-3 inch overlap, as they're typically more narrow. This slight overlap will ensure that the doors will fit properly and close without any gaps between them.
If you're planning to update the existing sliding doors in your room or repair them, be sure to take the appropriate measurements. In this post, we will discuss how to fix common issues with sliding doors as well as how to install and measure them. Without further ado, let's get into it!

Why It's Important To Have An Overlap With Sliding Doors
The measurements for your sliding doors must be accurate, as too much overlap can cause the doors to fail to close properly, and too little overlap will create an odd gap between the doors. And it may also cause them to easily fall off of the track when they're closing.
We sometimes add affiliate links and content that was curated and created by our team with the help of advanced ai tools to help showcase the best design styles.
Be sure to always read the instructions when installing a new door set and take note of the included hardware. In most cases, the hardware will fit with the door frame. But in some scenarios, you may need to purchase additional brackets, screws, or other pieces to ensure a proper fit. This may likely be the case if you have especially large or irregularly-shaped door frames.
How do you measure for sliding closet doors?
It's essential to measure the width and length of the door space as well as the height of the carpet (if you don't have solid floors). You'll also want to take another measurement of the center of the doorway if the doors are going to overlap or if they are extra wide. Next, measure horizontally across the bottom and top of the doorway.
When taking these two measurements, be sure to measure just above and below the door frame. Always leave 1 to 3 inches for overlapping. And if you plan to install more than one set of sliding doors, be sure to leave the additional space for overlapping with them as well.
How do you install closet doors without the bottom track?
If you're installing closet doors without a bottom rack, you'll need to install the rack on the top of the door frame. Here's how to do it:
1. Measure the doors
Start by measuring the distance from the left side of the doorway to the right side, and be sure to take off about 1/8 of an inch for good clearance. Next, place the doors on the floor in front of the frame to ensure that they are the right size.
When doing so, place them side by side—don't overlap them. There should be anywhere from 1 to 3 inches of space on both sides when you do this. If the doors fit properly, you can and now install your tracks.
2. Measure and cut the tracks to fix the door frame

If you've ordered the doors, the tracks should already be cut to size. However, if they are too long, you can always cut them with a hacksaw if you need to. Start by placing the track at the top of the door frame and measure for the length you'll need to cut.
Place a mark on the area with a felt-tip pen, and then use your hacksaw to cut the extra piece away carefully. After cutting the track, measure it again to ensure the correct length.
3. Install the track
A typical kit will come with two tracks and two runners, one for the front and one for the back track. Position the back track on the top of the door frame. The open portion of the tracks should be facing downward.
You may need an assistant to hold the track in place while you drill the screws into the top of the door frame. While most hardware kits will typically include extra screws, it's always helpful to have a handful of your own as well. Drill the screw into the track so that it's completely flush to the top of the door frame.
4. Install the doors
Next, lift one of the doors and place the wheel inside the top of the track in the back. You will need to tilt the door at about a 30-degree angle to avoid scraping it on the floor. Once you latch the roller onto the track, slide the door from left to right to ensure that the roller functions correctly.
Next, place the second door in front of the front track using the same method. Afterward, test this door as well to ensure that the roller runs smoothly along the track. Then, you're good to go!
Why won't my sliding closet doors stay on the track?
It's common for sliding doors to fall off of the track. The most common reasons for this are that the measurements are off for the door (or the track) or the roller track needs to be lubricated. Try closing the doors completely to see if they're misaligned. If you notice that the doors feel tighter as they close, chances are that they have become unaligned to the track.
If this is the issue, it's best to uninstall the doors, re-measure them, and reinstall them so that they're properly aligned with the track. If the doors feel resistant the entire time they slide along the track, chances are that the roller track is simply dry.
To fix this issue, take a lubricant such as WD-40 or another multi-purpose oil and apply it to the track. Next, open and close the door several times so that the roller is lubricated.
How do you take a sliding closet door off the track?
The removal process for sliding doors involves removing the door from the track and angling it to the side so that it lifts out completely. Here's how to do it:
- Start by loosening the screws that attach the top wheels to the door. This should allow the door to shift down a bit and allow more room between the door and the track.
- Next, lift it up and then away from the track. Be sure to pull it toward your feet at about a 30-degree angle. At this angle, the wheels should easily dislodge from the top track, and you'll be able to lift the door out.
- Repeat the same steps for the second door.
Read more: Do Bedroom Closets Need Doors?
How do you put a sliding closet door back on the track?
If you need to remove your closet door to clean it or readjust the track, be sure to take a picture of it beforehand. This way, you'll have an idea of how the track and hardware are set up, which will make it easier to quickly reattach the door. The easiest way to place them back on the track is to first line them up with the top track.
Place the roller on the inside of the track by sliding it towards the edge. Then guide the bottom of the door in the bottom track by lifting it and pushing it until it locks inside the bottom track. This may take some maneuvering and wiggling, but if the doors are aligned properly, the roller should lock fully onto the track.
If you aren't able to line them up, you may need to re-measure the door or add a bit of lubricant to the roller tracks. In some cases, the rollers can become bent or damaged, which makes it difficult for them to roll smoothly along the track.
If this is the case, it's best to simply replace the rollers or buy a new hardware kit—that is, if you notice that other hardware pieces are worn out or damaged as well.
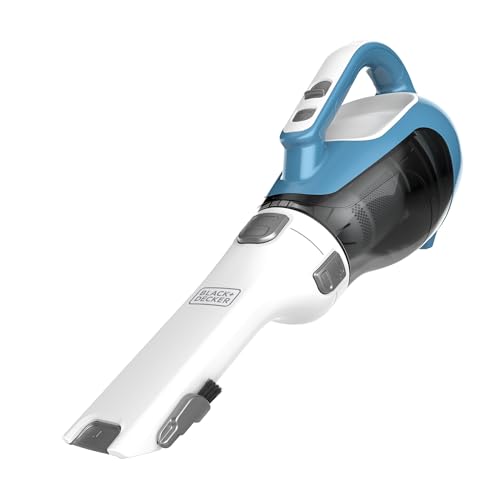
Sometimes the tracks become dirty with grime, dander, or dust, which is why it's a good idea to routinely vacuum the door tracks using a handheld vacuum or one with a hose attachment.
Check out this handheld vacuum on Amazon.
Wrapping Things Up
The process for installing and removing sliding doors is relatively straightforward. The most important thing to remember when installing them is to ensure that proper measurements are taken. It's also helpful to keep a can of all-purpose oil or lubricant handy if the tracks become dry.
Before you go, be sure to check out these other posts:

