Dyson is a reputable brand that produces vacuum cleaners, and their Dyson V11 is one of the top-rated stick vacuums in the market. If you own the Dyson V11, you're probably wondering how to clean the vacuum from the filter to the roller. Luckily, we're here to help you with this!
To clean your Dyson V11, follow these steps:
- Turn off and unplug the unit.
- Detach the parts.
- Wash the filters with lukewarm water.
- Wash the roller under a slow stream of water.
- Empty the vacuum bin.
- Examine the parts and remove any blockages.
- Wait for the washable parts to air dry for at least 24 hours or until everything is completely dry.
- Wipe the exterior parts with a clean cloth.
- Put the pieces back.
- Plug the unit and test its power.
It may seem overwhelming initially, but we will dive into further detail on properly cleaning your Dyson V11. Stick until the end of this post to learn more. Let's get right into it!
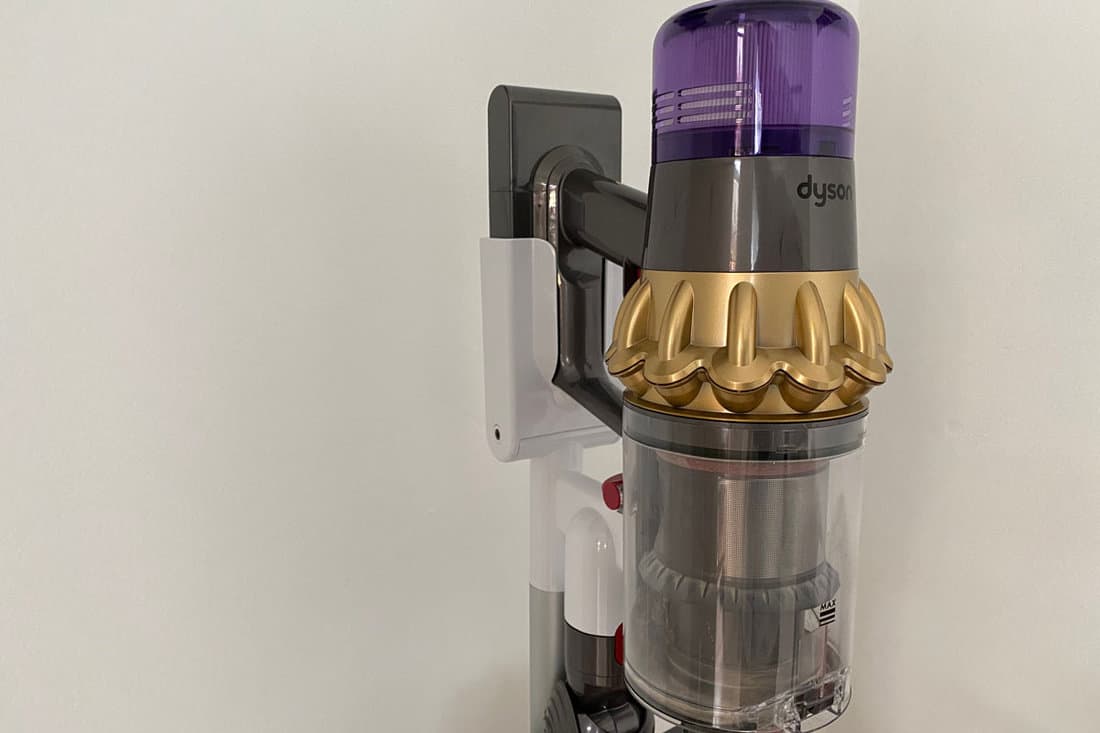
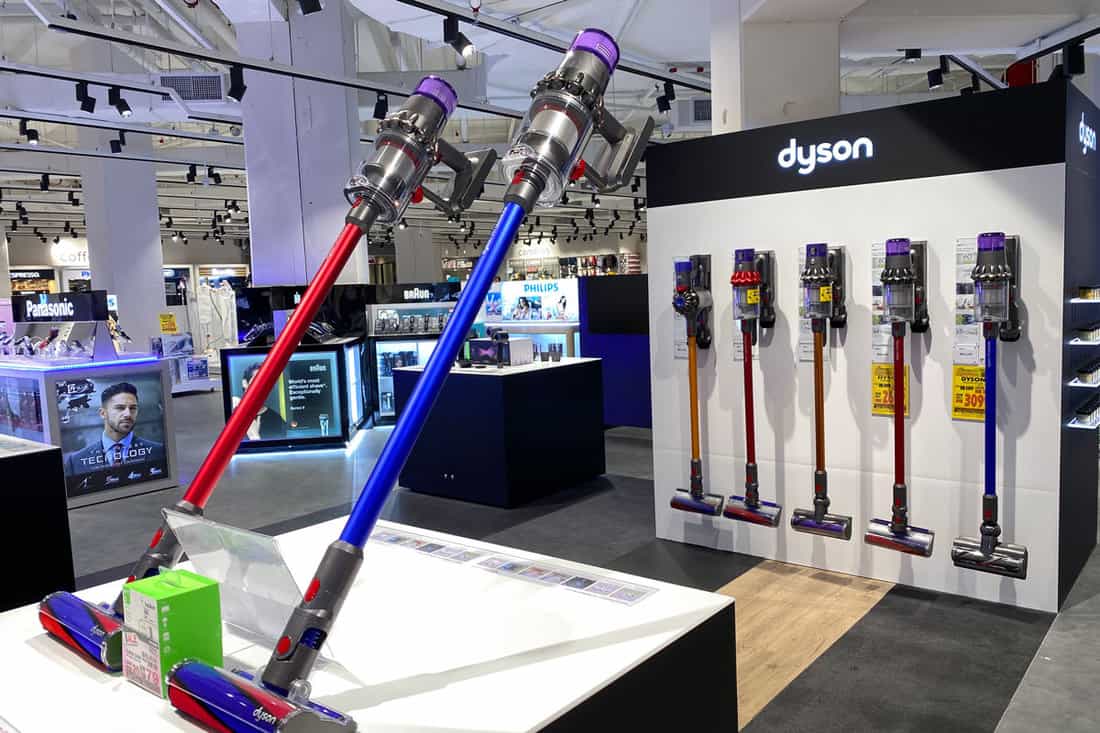
![Dyson display their high quality latest vacuum cleaner V11 in Harvey Norman electrical store, How To Clean Dyson V11 [Inc. Filter, Bin, Head, And Roller]?](https://homedecorbliss.com/wp-content/uploads/2022/10/How-To-Clean-Dyson-V11-Inc.-Filter-Bin-Head-And-Roller.png)
How Do You Clean A Dyson V11?
Just like other appliances used at home, your Dyson V11 needs some care, too, and proper cleaning is part of the maintenance routine you should do to prolong its lifespan.
According to Dyson, cleaning your Dyson V11 once a month is necessary to achieve the unit's full performance.
When not regularly cleaned, your unit may experience low suction power, internal motor malfunctions, or worse, a total breakdown that might require you to replace the vacuum cleaner.
We may include affiliate links and curated AI content to highlight top design styles.
If this is your first time cleaning your Dyson V11, you can follow this step-by-step guide on properly doing it without damaging the unit.
See this Dyson V11 vacuum cleaner on Amazon.
1. Turn Off And Unplug The Unit
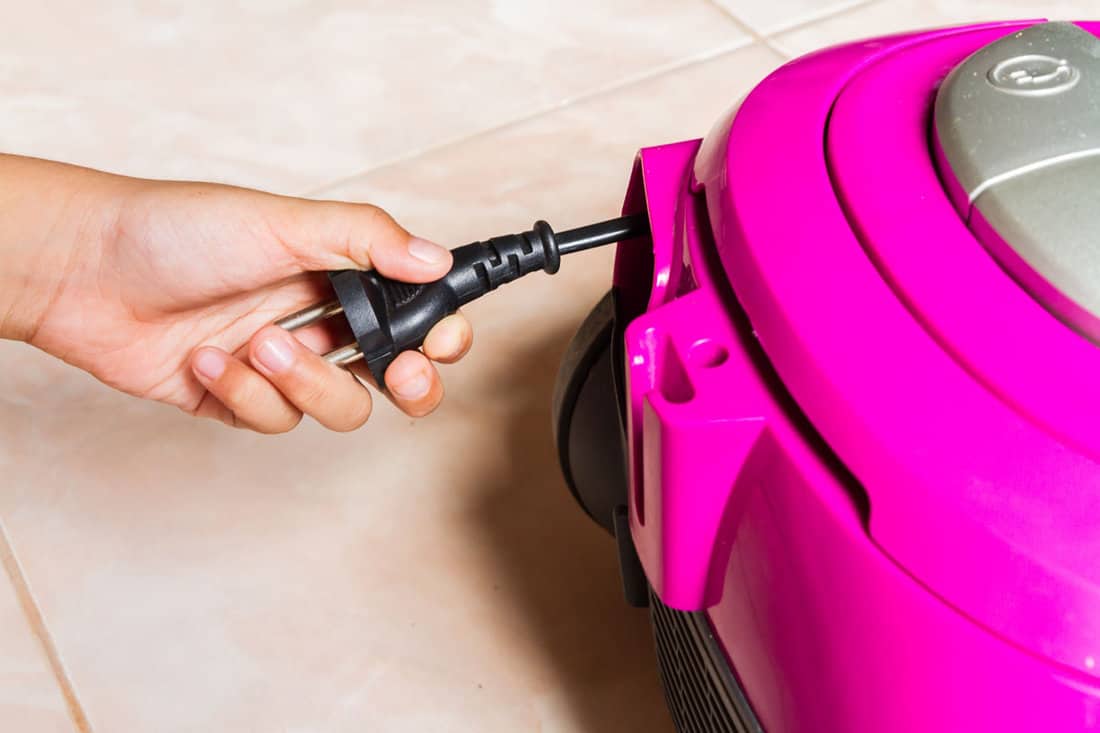
When cleaning your Dyson V11, you must practice safety precautions despite the brand-new device.
No matter what type of electrical appliance you are about to work on, it is essential to turn the unit off and unplug it from the power source to avoid electrical hazards.
2. Detach The Parts
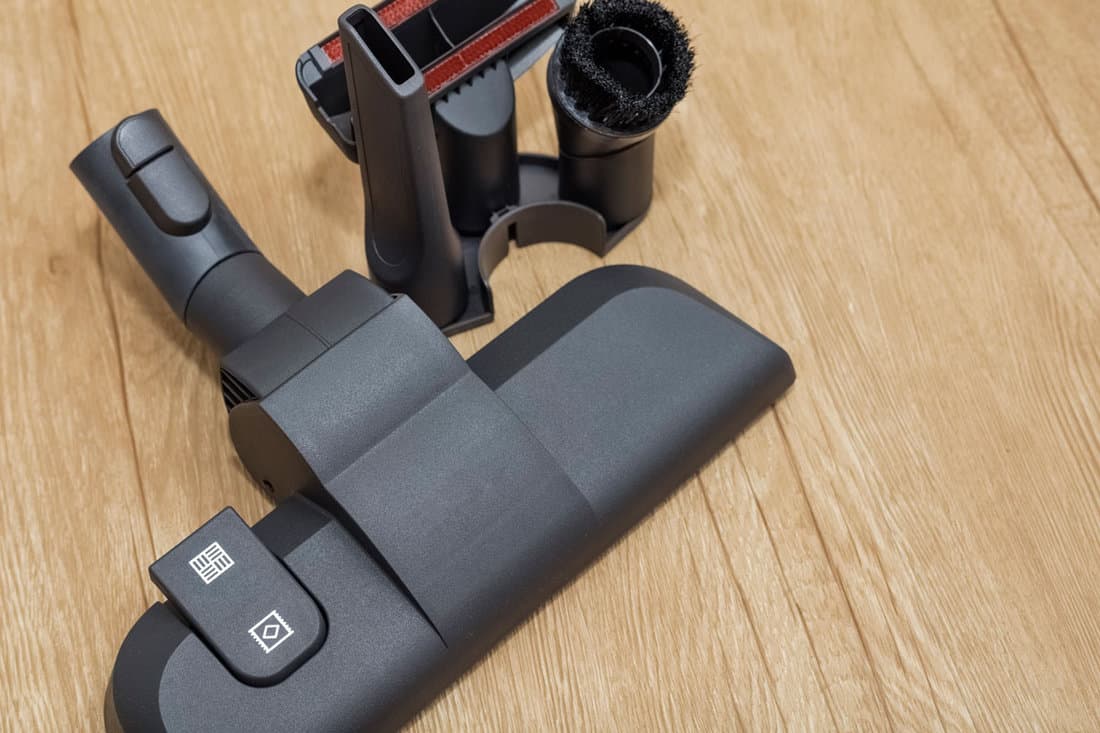
After unplugging the unit, you may now proceed to the next step, which will require you to tear it apart the unit. Your Dyson V11 comes with detachable parts to make cleaning and maintaining your vacuum easier.
To help you remove the parts, you can follow the guides below:
Detaching The Bin
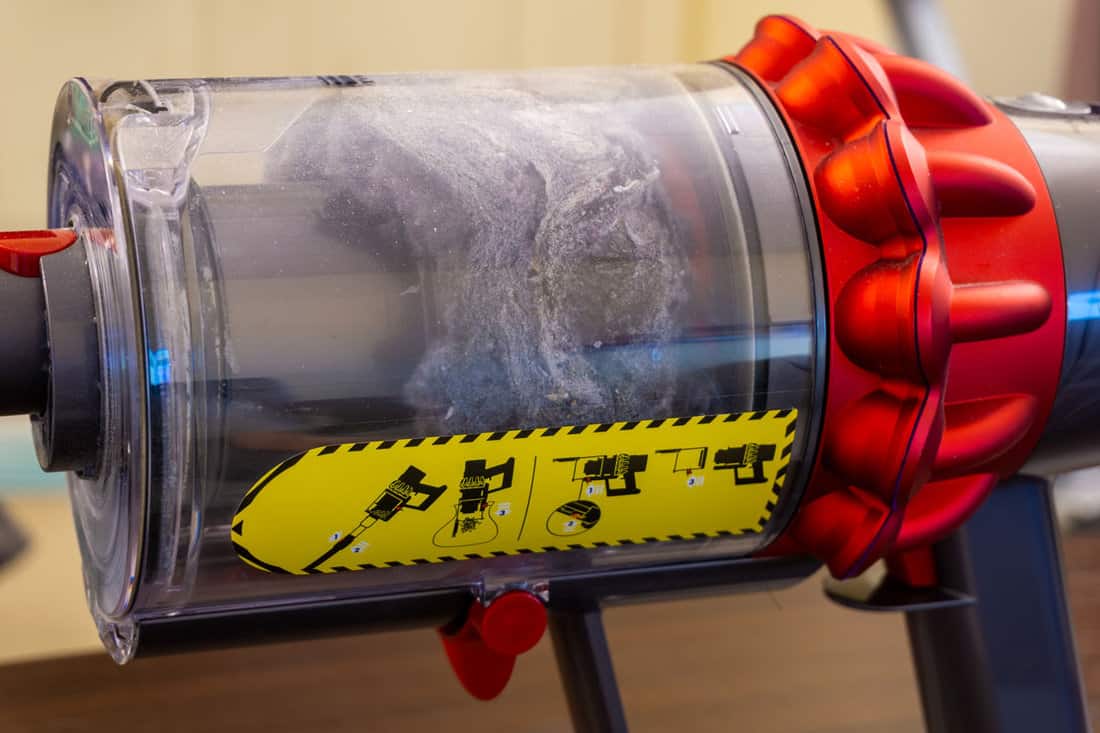
Press the bin release button while the canister is in a downward position. Locate the red button at the bin runner. Press it and allow the bin to eject from the runner.
Detaching The Filter
Locate the pre-filter and post-filter near the unit's handle. Remove the unit's pre-filter, then twist the post-filter in a counter-clockwise motion to detach it from the unit.
Detaching The Head
Disconnect the head from the vacuum's stick by firmly pressing the release button. This should allow you to separate the two parts. Once done, set aside the vacuum stick.
Detaching The Roller
When you're done disconnecting the head from the stick, locate the end cap, turn it in a counter-clockwise motion, and pull the roller out.
3. Wash The Filters
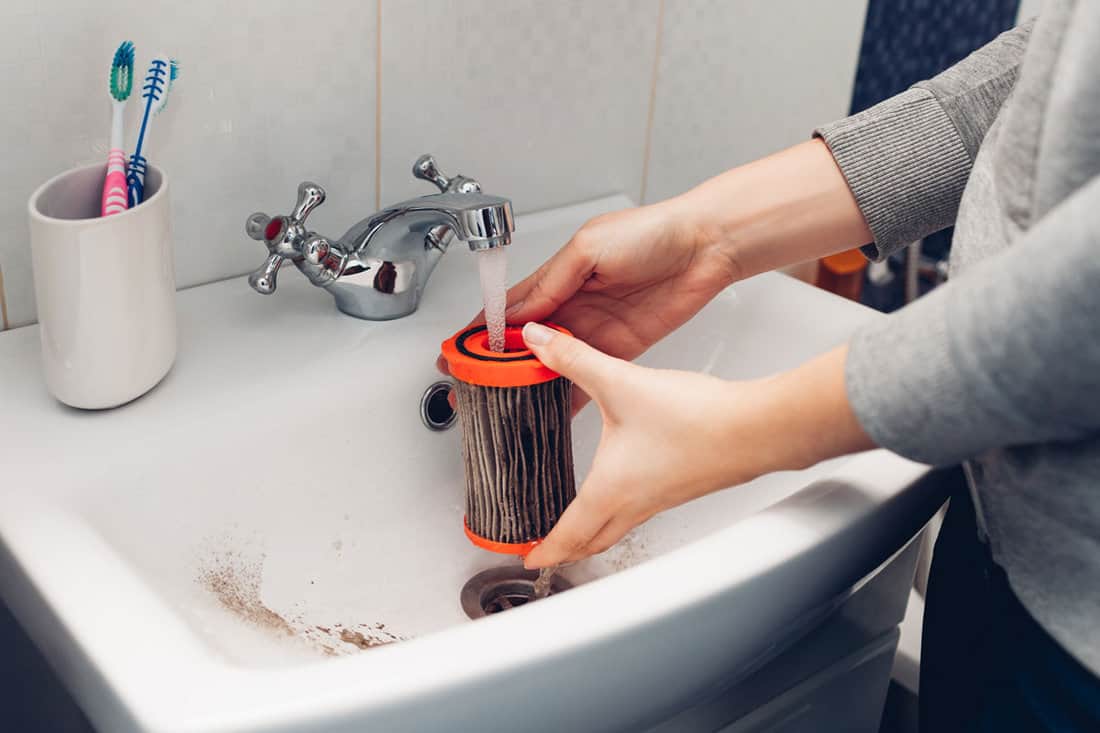
After successfully detaching the parts, gently tap the filters on the sink to get rid of stubborn dust and dirt. Turn the faucet on and rinse the filters using cold water.
You don't have to use any detergents since Dyson does not recommend using soap when cleaning the filters as its chemicals may cause problems to the filter's microfibers.
You can gently rub the filters to remove excess dust and dirt. After that, give the filter a shake and fill it with warm water. Repeat this process until the water passing through the filter becomes clear.
See this Dyson V11 filter replacement on Amazon.
4. Wash The Roller Under a Slow Stream Of Water
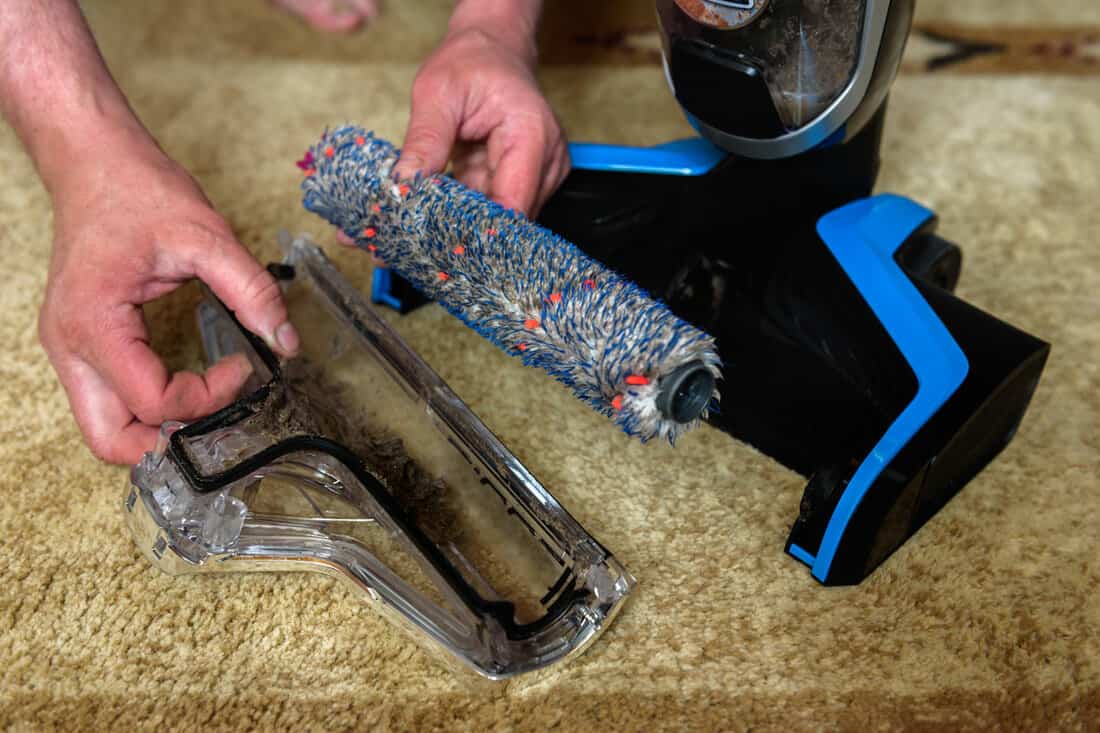
Using a slow stream of water, wash the roller to get rid of dirt, dust, and hair strands that are tangled around the roller. Like the filters, Dyson does not recommend using detergents and other types of soap on the roller.
5. Empty The Vacuum Bin
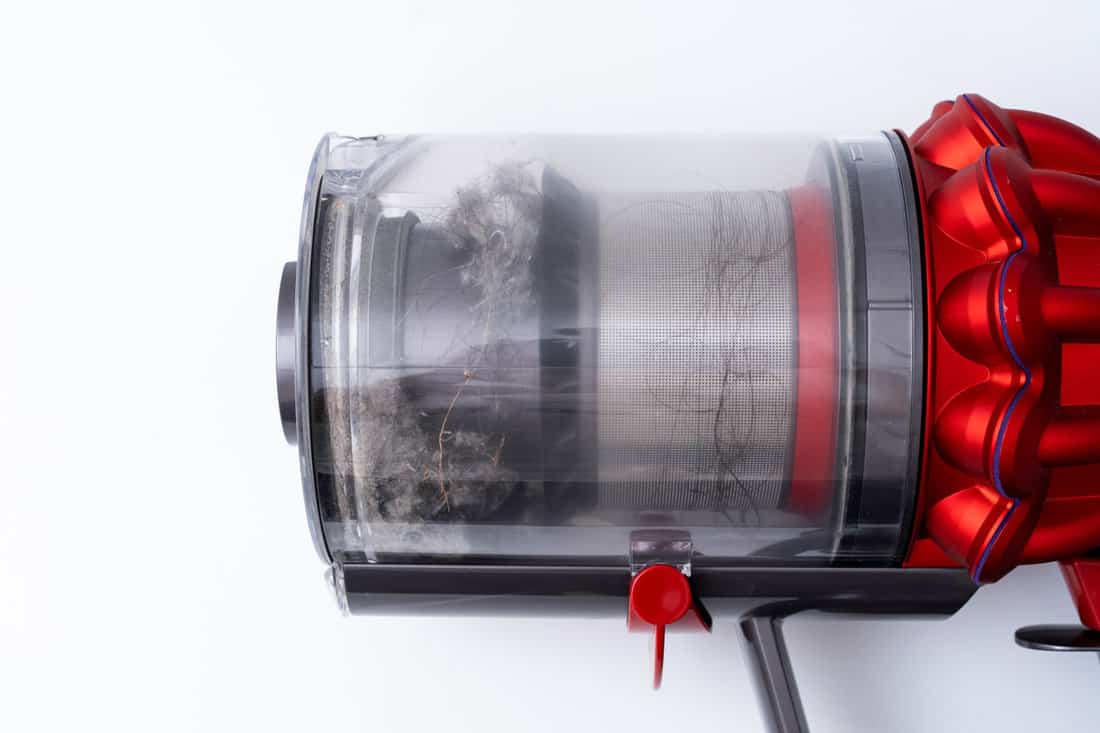
When you are done rinsing the filters and the roller, place the washed parts in a well-ventilated room and let them air dry. After that, take the bin and remove the dirt inside before wiping the inner part with a clean damp cloth.
6. Examine The Parts And Remove Any Blockages
Once you are done cleaning the bin, check for any debris or blockages present in the non-washable parts of the vacuum.
You can also check the other detachable parts to see if anything can harm your vacuum cleaner.
7. Wait For The Washable Parts To Completely Dry
One of the most important things to remember when cleaning your Dyson V11 vacuum cleaner is to avoid putting back the filters and the roller while they are still wet.
Water can transfer to the motor parts and damage the unit when plugged in. To prevent the unit from experiencing a short circuit due to moisture, you must wait for the filters and roller to dry completely.
Remember not to put your unit's filters and roller in a dryer machine or near flammable areas.
8. Wipe The Exterior Parts With A Clean Cloth
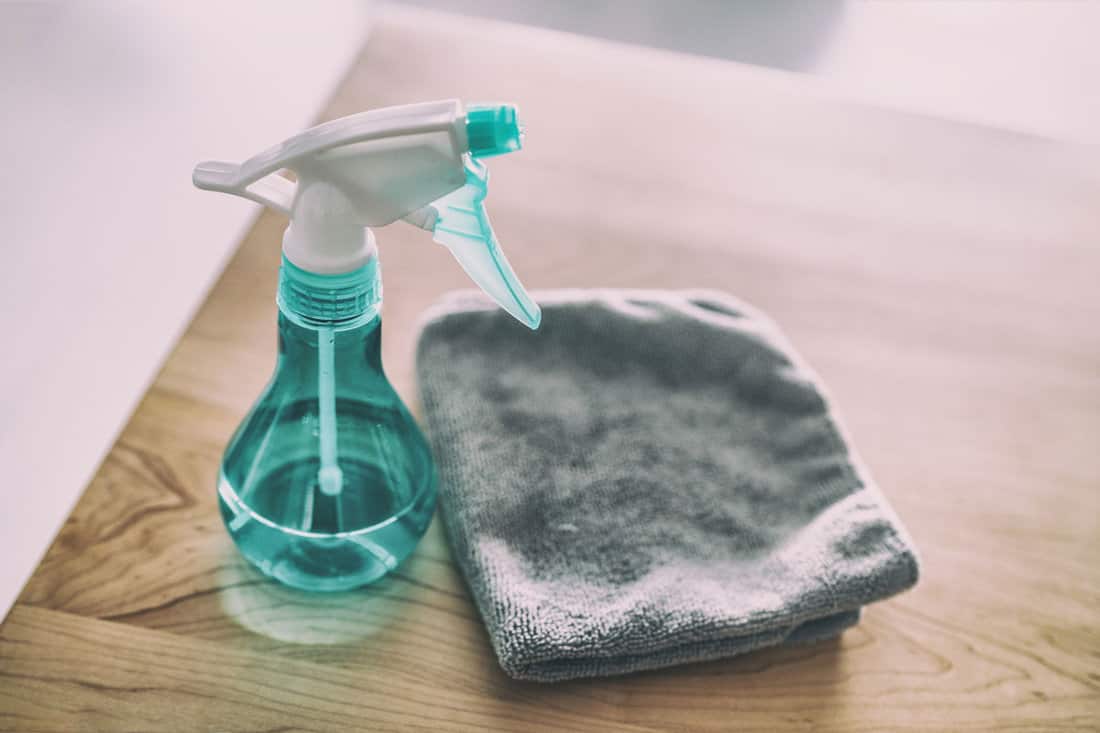
While waiting for the washable parts to dry, you can begin cleaning the exterior parts of your vacuum cleaner using a clean cloth.
Gently stroke the cloth on the outer parts in a circular motion to remove dust and dirt until the unit is completely clean.
9. Put The Parts Back
When you clean the exterior parts, and the washable parts are completely dry, you may attach them. You can follow the guides below to do so.
Attaching The Bin
Place the spine on the bin's runner. Push the bin base upwards until the clear container and the bin base interlock. You should hear a click when the two parts are secured in place.
Attaching The Filters
Fit the pre-filter back into place and insert the post-filter by turning it in a clockwise motion until it is locked into place.
Insert The Roller
Place the roller back inside the head and secure it with the cap. Twist the cap in a clockwise motion to lock it.
Connect The Head Back To The Stick
Attach the head back to the latch at the end of the stick until you hear a click. The two parts should interlock after connecting the edges.
10. Turn The Unit On And Test Its Power
After successfully putting everything back, turn the unit on and see if everything works. After the cleanup, you can do some cleaning to see if the unit is in perfect condition.
If the unit shows signs of malfunction, Dyson offers a 2-year warranty for its cordless vacuum cleaners.
How Often Should You Replace Your Dyson V11 Filters?
Despite regular cleaning, Dyson recommends users replace their Dyson V11 filters at least once a year since they can be worn out over time.
If you often use your Dyson V11 vacuum cleaner in extremely dirty areas, you might need to replace the filters in less than a year to ensure the unit can reach its maximum cleaning potential.
Can You Use Dyson V11 On Wet Areas?
The Dyson V11 vacuum cleaner is designed for dry surfaces. Although the roller and filters installed in the Dyson V11 are washable, using the unit in wet areas is not recommended.
You also must avoid reattaching the washable parts without completely drying them. Even a minimal amount of liquid can cause the unit's motor a break down.
That's why you have to prevent the unit from coming into contact with any liquid.
However, Dyson V11 can help deep clean and dry carpets and hard surfaces such as marble and ceramic floorings with no liquid on the surface.
How Long Can Dyson V11 Last?
The Dyson V11 vacuum cleaner can last up to 10 years. The Dyson V11 vacuum cleaner is considered one of the most durable vacuum cleaners on the market.
However, your Dyson V11 might have a shorter lifespan without proper care and regular maintenance.
On the other hand, you can prolong your Dyson V11's battery life by letting it drain out at least once every month.
To Finish
Cleaning your vacuum cleaner regularly is one of the best ways to ensure that the unit will last long enough. Don't forget to handle each part with care during cleanup.
And while we have your attention, check out these related articles:
How To Clean A Dyson Filter [Steps Explained]
How To Empty Dyson Cordless Vacuum [Inc. V7, V8, V10, V11 And V12]


