
- Prepare the work area. Sand the surface and lay tarps down as needed. If desired, mark the surface to create the illusion of dented and scuffed wood.
- Clean the surface, removing all dust.
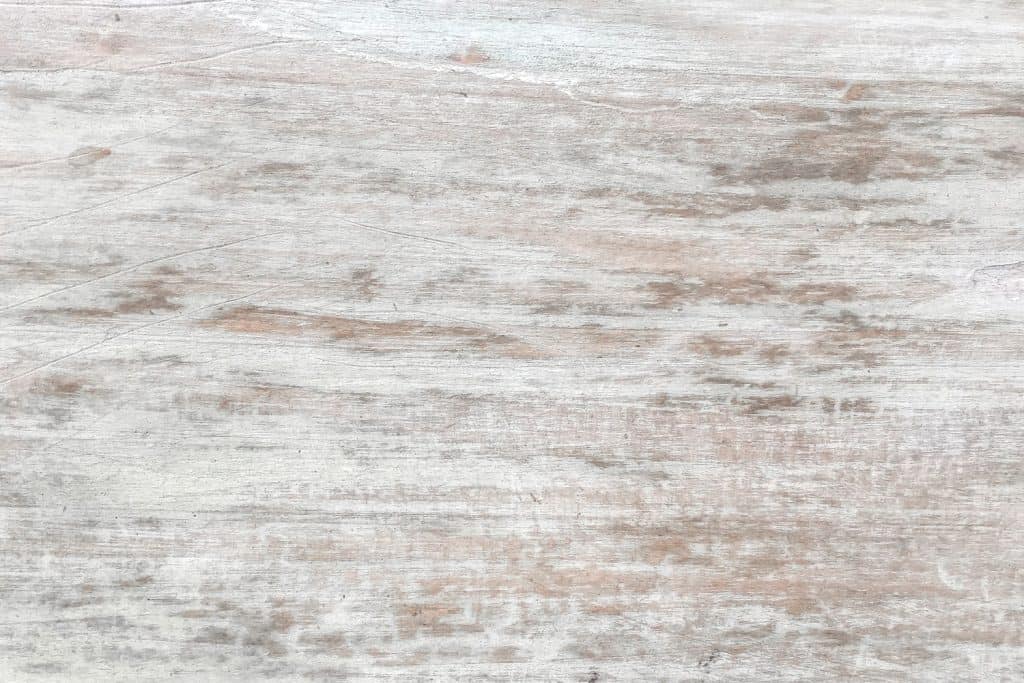
- Apply a stain if desired.
- Paint with white or gray paint, diluted with water.
- Sand again if desired, completing the rough and marked look of your newly-weathered wall.
Keep reading to learn everything you need to know to complete each step. In addition, get some tricks on making the paint stick to smooth or shiny paneling like veneer.
How To Distress Wood Paneling
We sometimes add affiliate links and content that was curated and created by our team with the help of advanced ai tools to help showcase the best design styles.
1. Prepare the Surface
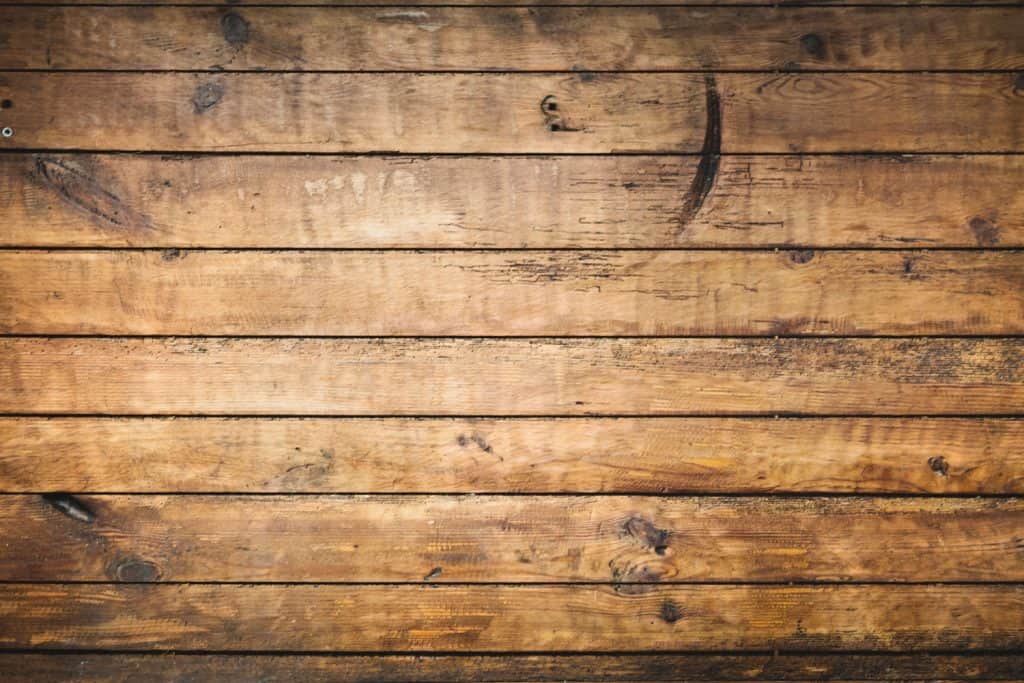
The first thing you'll want to do is to sand the surface. Roughing it up a bit will help the paint stick better. Tape off areas where you don't want paint, and protect surfaces such as carpet with tarps or drop cloths.
This is the right time to add any desired marks or flaws to the surface as well. Some people leave dents and scratches by hitting a hammer or pry bar. Others pound nails or screws against the surface to create dimples. Some even whip a piece of chain against the wall (carefully!) It's totally up to you; there's nothing wrong with leaving the wall unmarred. If, however, you're really committed to the illusion of an old wall, some marks do add character.
2. Clean the Wall
You know all that dust you just made in the first step? Well, now you have to clean it off. Dust left behind will stick in your paint and ruin the surface and texture. Use a vacuum and tack clothes for a thorough clean. For more advice and tips to clean your wall, try How to Clean Wall Paneling in 4 Easy Steps.

Click here to see tack clothes on Amazon.
3. How Do You Distress Stained Wood? (Optional)
Depending on your goal for the overall finished look and the current wood paneling color, you may want to apply a dark stain. Using a dark stain underneath will allow you to whitewash over it but have dark sections still peeking out. This creates a more dimensional and interesting effect, though it's not necessary.
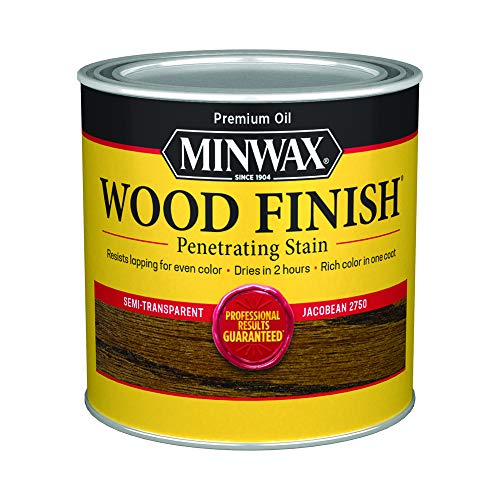
Click here to see this wood stain on Amazon.
If you don't know how to stain, it's fairly simple. Wipe the stain with a lint-free cloth or sponge, moving evenly across the surface. Apply lightly; do not saturate your cloth with excess stain. Let it absorb into the surface for a few minutes. Afterward, wipe away with a clean rag and then allow it to dry.
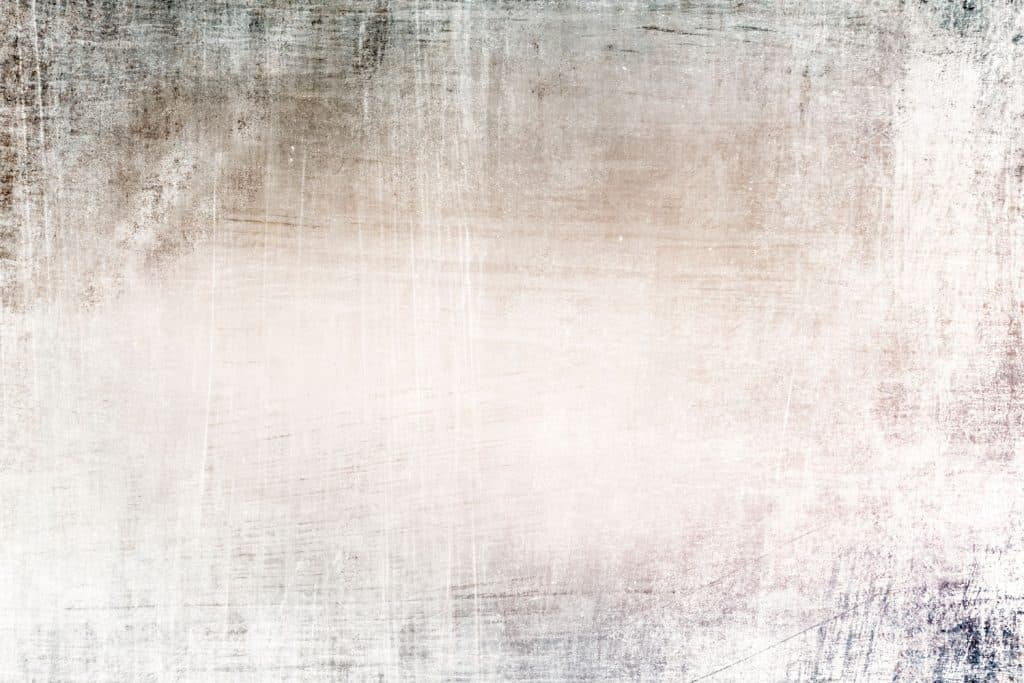
4. Paint When Dry
5. Sand Again (optional)
If desired, you can sand small areas in patches. The goal is to remove very little white paint - just a bit here and there, to let the dark stain underneath peak out. This gives the illusion that the paint has rubbed away over the years, in small sections here and there.
What Paint Will Stick To Veneer?
If you're painting over a laminated or veneer surface, you may be concerned that the paint won't stick. If you follow the steps as directed, it shouldn't be a problem. The keys to painting over veneer are:
- Sand the surface. If you have a veneer, you will want to be especially thorough in this step. Sand until the surface is dull before painting.
- Use latex paint. In fact, when working with veneer, using latex paint with added primer may give the best results.
Is it okay to paint wood paneling?
Wood paneling can make a room feel cozy and comfortable, but it can also look outdated quickly. If you're tired of wood paneling in your home, but can't afford to replace the walls, then painting is a great option! You can paint over wood paneling just like any other wall.
Whitewashing or distressing the wall is an easy way to modernize old wood paneling. You don't have to cover and smooth every joint between the "planks," as you aren't trying to entirely cover up the fact that it's a wood(-like) surface underneath. In addition, you won't have to paint multiple coats trying to conceal the wood grain.
In Conclusion
Creating a distressed look to cover up old wood paneling is an affordable and easy way to modernize a room. If you're tired of dated paneling in your home, you don't have to remodel the wall entirely. In five easy steps, you can practically have a whole new surface. All it takes is a little paint, water, rags, and some muscles willing to sand. If desired, you can also use a dark stain to round out the look.
If you liked this article, try:
I need info on painting paneling that has been installed using the pvc connectors between each sheet! It seems to me that it will look awful but I don’t think there is a way to remove these pvc divider bars easily. Any thoughts?