
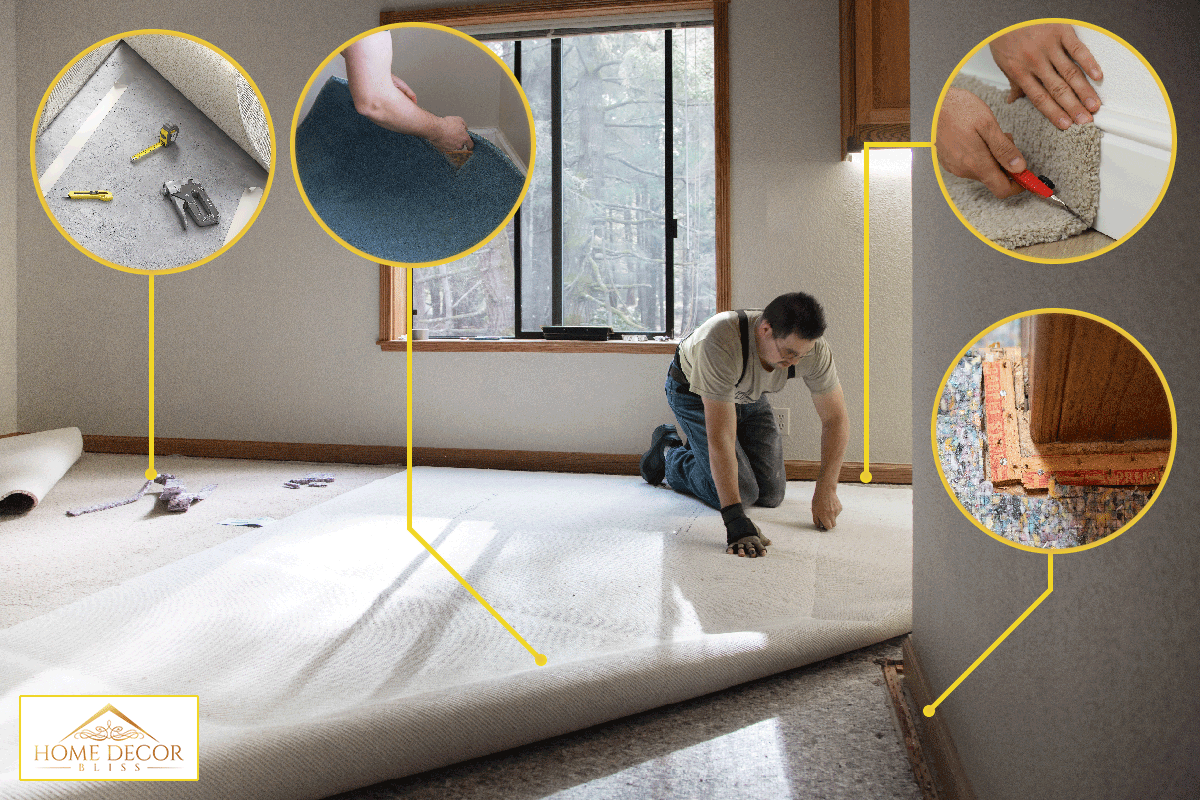
Carpet installation may seem like a difficult task, but with the right tools and instructions, it can be a breeze. Fortunately, we've done comprehensive research on this topic, helping homeowners like you in installing carpets on their floors.
Carpet installation requires precise measurements, attention to detail, and specific techniques. Following are the steps if you are planning to carpet yourself:
- Prepare the materials needed.
- Get rid of an old carpet, if none proceed to the next step.
- Clean the floor.
- Install tackless strips into place as needed.
- Put an underlying on the floor.
- Allow the carpet to climatize for 24 hours.
- Get the carpet size you need.
- Set the seams.
- Attach the carpet into place.
- Finishing touches.
In this post, we'll discuss thoroughly the steps of installing carpet, as well as the comparison between do-it-yourself (DIY) and hiring a pro. Read on to learn all about it.
How To Fit A Carpet Yourself?
It's possible to carpet yourself if you have some specialized tools and are willing to take your time. Here are the steps to follow:
We sometimes add affiliate links and content that was curated and created by our team with the help of advanced ai tools to help showcase the best design styles.
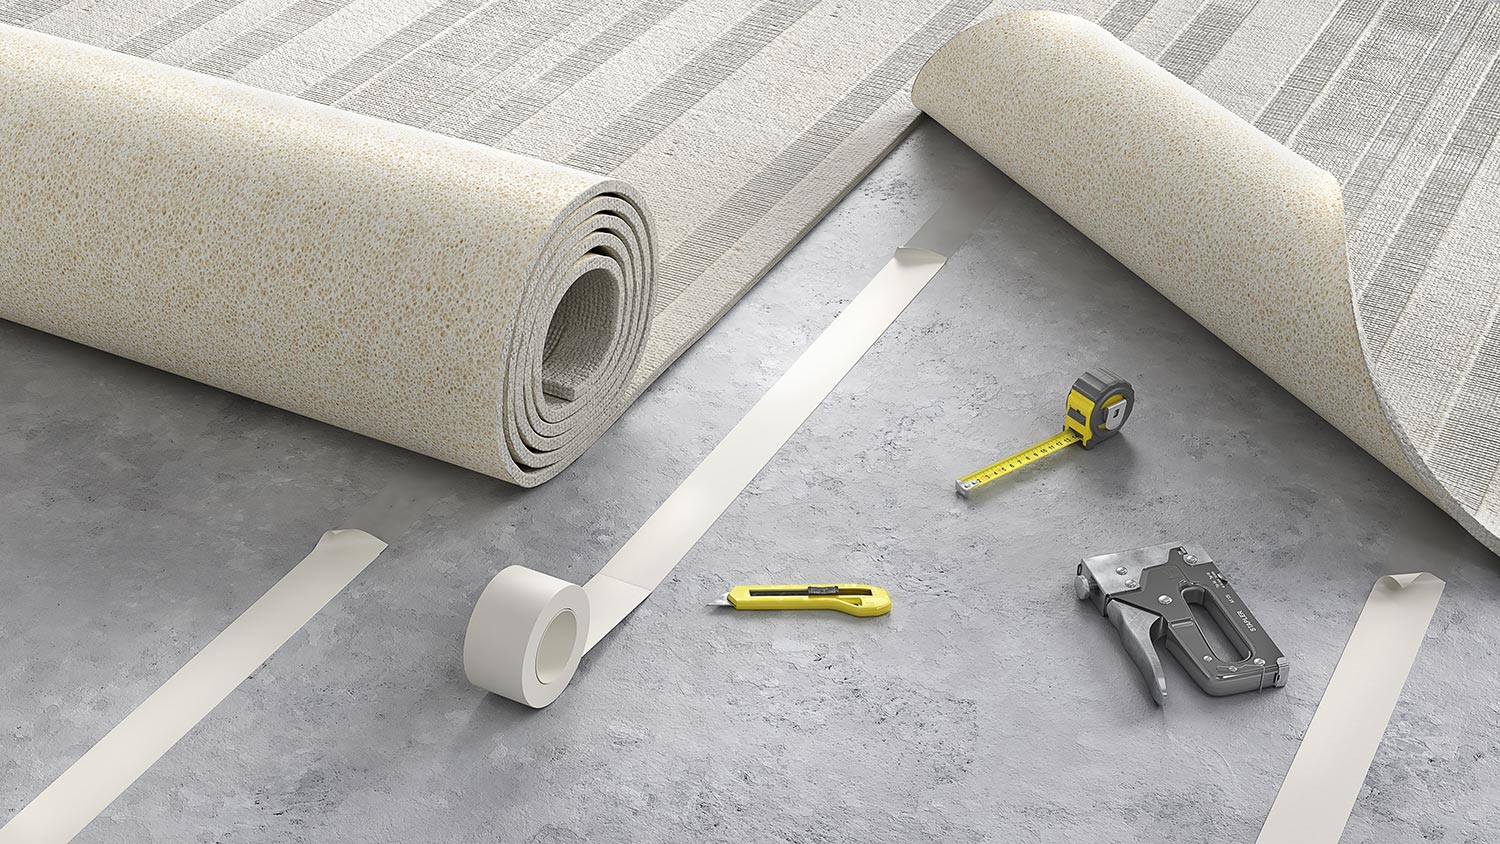
1. Prepare The Materials Needed
Carpet installation is difficult but not impossible. Following are the specialized tools you'll need; you can buy them, but renting larger equipment is less expensive.
- Tackless Strips: These are wood strips with angled pins that grab and keep the back of the carpet in place. They are stacked against the room's walls.
They're called tackless strips because they eliminate the need to "tack" carpet down, despite the fact that they have rows of incredibly sharp tacks.
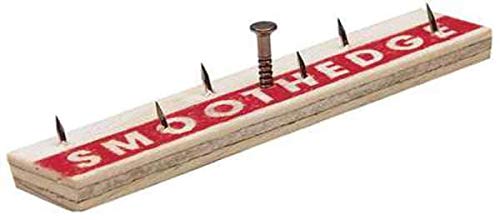
Click here to see this tackless strip on Amazon.
- Knee-Kicker: This is an 18-inch long tool with "teeth" that grasp the carpet and a solid end that you "kick" with your knee to crush the carpet into the room's boundaries.
Click here to see this MaxWorks knee kicker on Amazon.
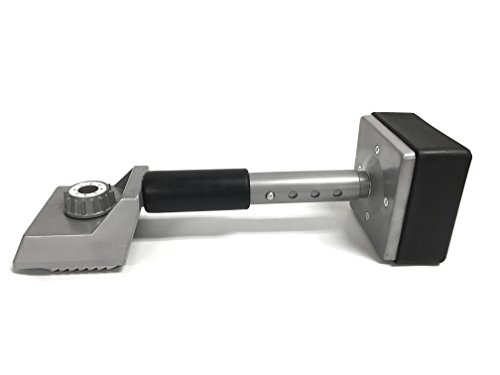
- Carpet Stretcher: While it may appear to be a medieval torture device, it is actually used to stretch the carpet once it has been "kicked" into position. The carpet stretcher ensures that the carpet is evenly distributed and does not bulge or appear out of place.

Click here to see this power carpet stretcher on Amazon.
- Seam Roller: Smooth and spiky or starred types are available. The carpet is pressed down with the seam roller to ensure that it adheres to the glue beneath it.

Click here to see this seaming roller on Amazon.
- Carpet Cutter: This cutter is perfect for cutting carpets precisely and quickly.

Click here to see this Bon Tool carpet cutter on Amazon.
- Seaming Iron: It has a heat range of 145°F to 445°F and is used to melt tape adhesive for robust carpet seams.
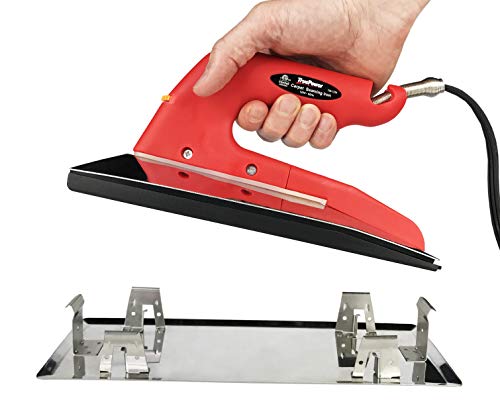
Click here to see this TruePower carpet seaming iron on Amazon.
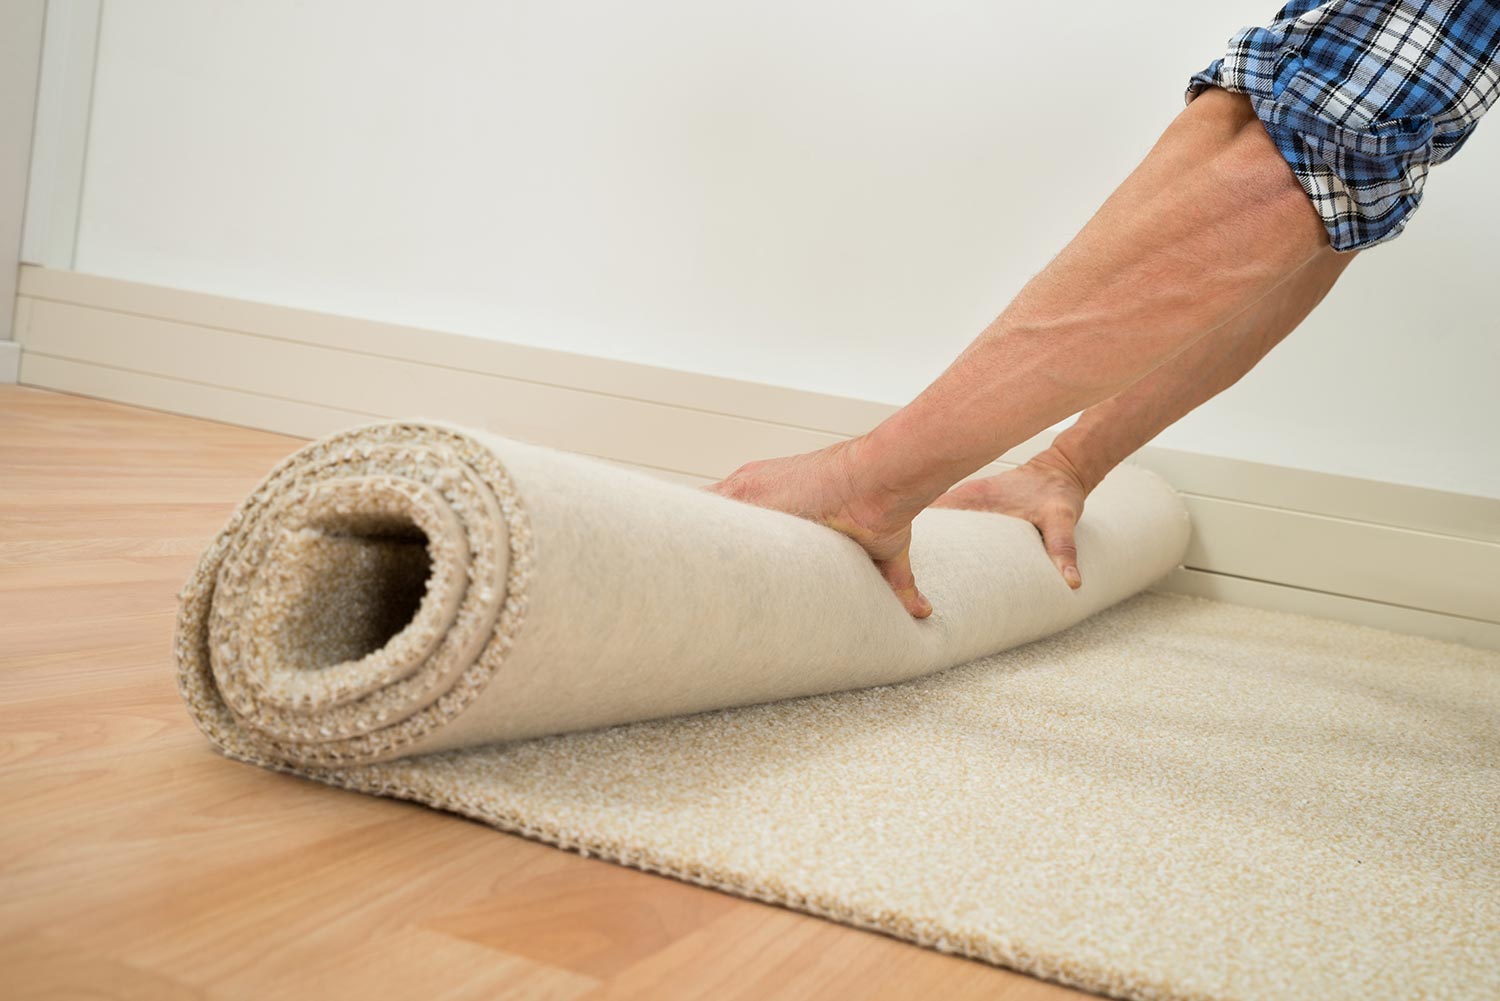
2. Get Rid Of An Old Carpet
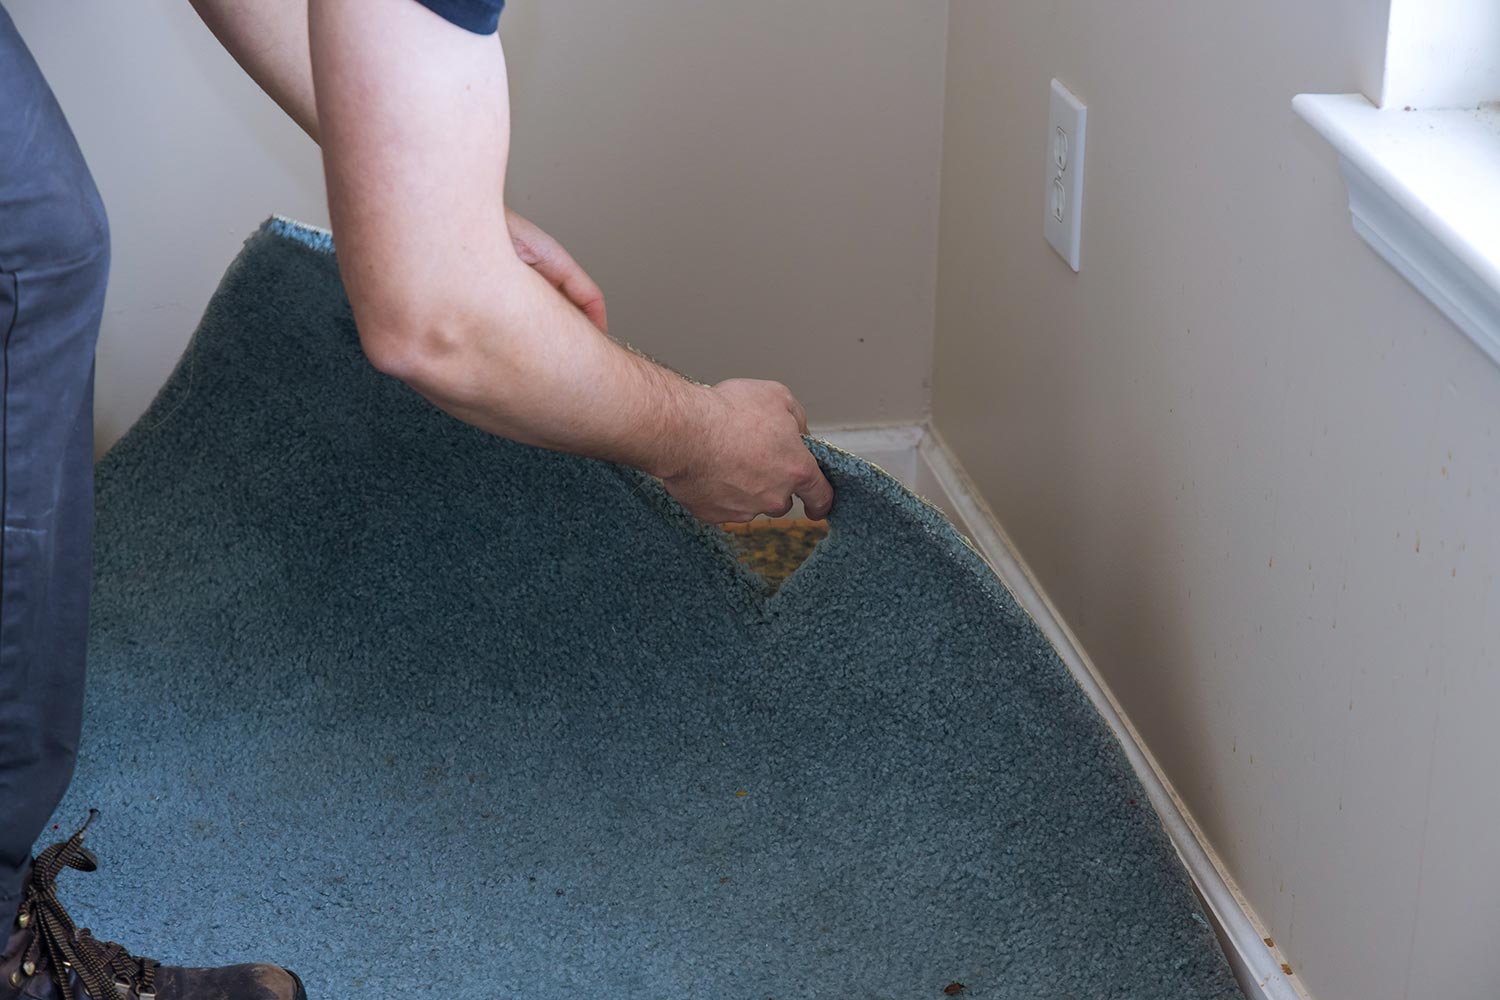
Get rid of the old carpet as soon as possible but if you don’t have the existing carpet proceed to the next step. Remove the floor and entrance moldings to make it easier to lift and remove the old carpet.
Vacuum the old carpet well so you don't inhale dust while you take it up, and cut the carpet into 18 to 24-inch wide strips with a utility knife.
Roll up the carpet into small pieces that have been attached to the tackless strips starting at one end. Some people believe that the existing underlay can be reused, but in most situations, it will be worn out just like the carpet, therefore you should get rid of it as well.
3. Clean The Floor
Make sure the area beneath your carpet is free of debris. Vacuum or sweep any debris from the area before mopping it. Allow to dry it before continuing because you don't want water under your carpet.
4. Install Tackless Strips Into Place As Needed
Install the tackless strips around the room's perimeter, but not in front of doors. Place the tackless strips in a straight line about ½ inch from the wall.
Make sure the tacks are pointing away from the center of the room and toward the wall. Nail each strip into the wood below with two nails. If you have a concrete floor, drill holes where the nails will go, then pound aluminum nails in.
5. Put An Underlying Pad On The Floor
Begin rolling out the padding on one side of the room and work your way to the other. When you come to the other wall, cut it off using a box cutter, making sure you have enough on both ends. Just on the inside of the tack strips, cut it. Place the second set of padding adjacent to the first.
Make sure the seams are uniformly spaced to avoid creating hills and valleys on the floor. Use duct tape to seal the seams.

Click here to see this transparent duct tape on Amazon.
6. Allow The Carpet To Climatize For 24 Hours
Do not install the new carpet right away. It requires this time to adjust to your home's temperature and humidity. Because it may expand or contract as a result of these conditions.
Allow it to settle in for at least 24 hours, uninstalled, to avoid this. It will adapt to your circumstances while maintaining the dimensions you cut it to.
7. Get the Carpet Size You Need
On each side of the carpet, leave 4-6 inches of excess against the wall. Cover the floor and tackless strips as you unroll the carpet roll. To make seams and cover the entire floor, align the carpet edges as needed.
When cutting the carpet, mark with a chalk line then fold the carpet over on itself and cut through the backing. To protect the underlying carpet, insert a spare piece of the board beneath the cut line.
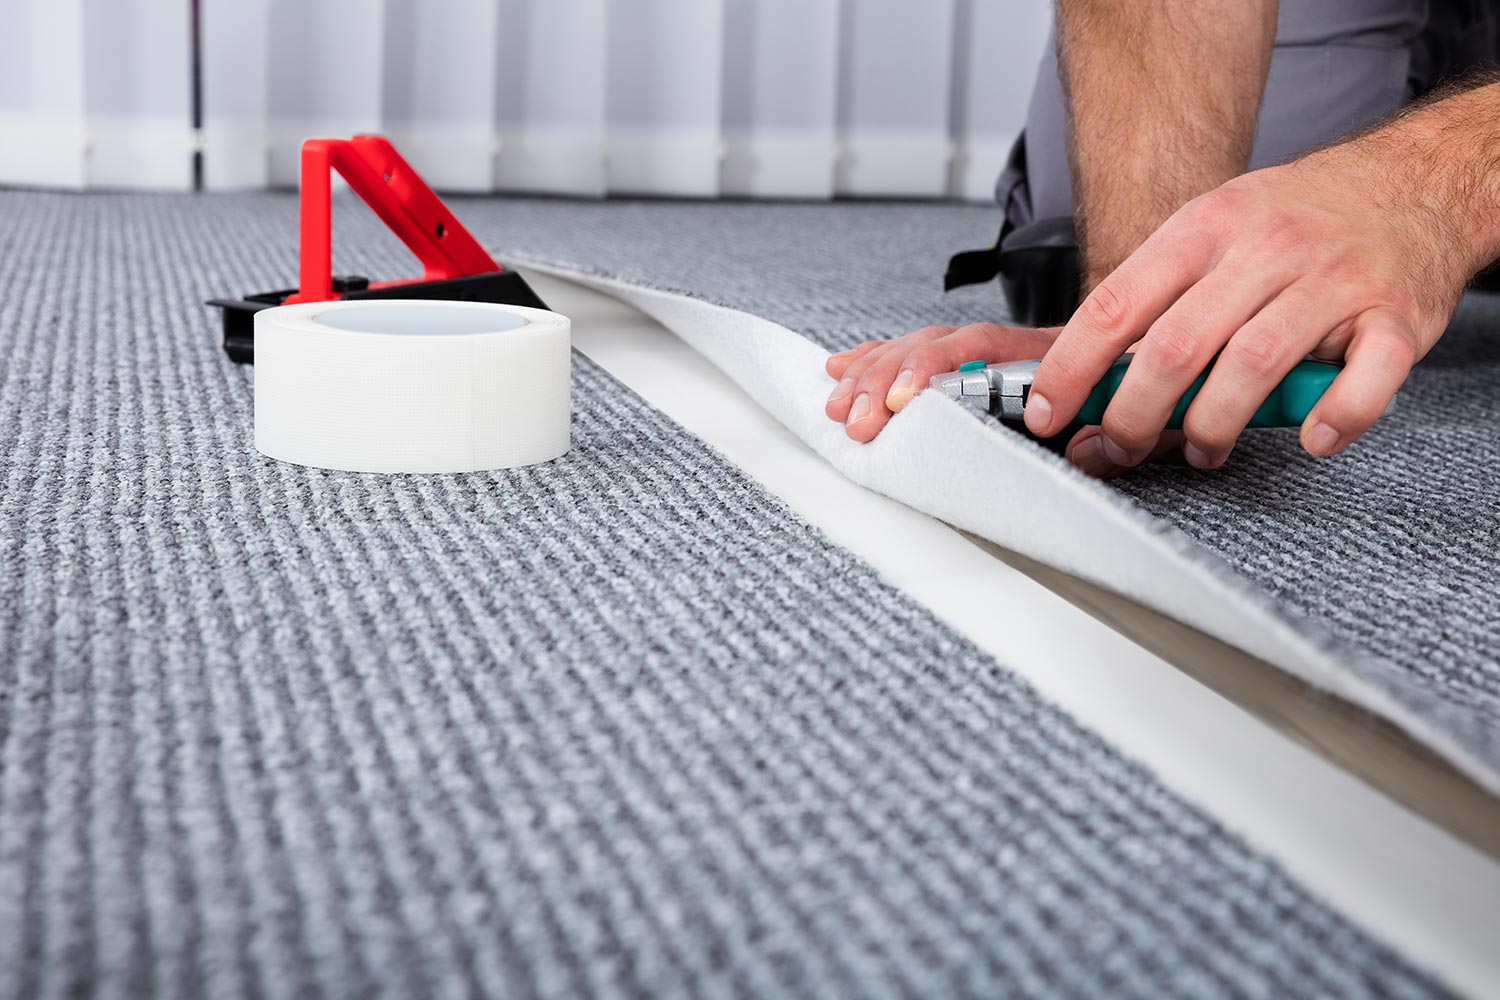
8. Set The Seams
Repeat the process of measuring, marking, and trimming the second piece, if your room is large enough to require another piece of carpet.
Before you cut, double-check that the carpet pile in both sections is running in the same direction and that the carpet piece is large enough to overlap the first piece of carpet by 4-6 inches while also overlapping the wall by 4-6 inches.
Even though this isn't always possible, try to arrange the carpet pieces so that the seams aren't visible. Overlap the two pieces of the carpet where they will join, and then cut through both pieces of carpet. To ensure the edges are perfectly aligned use a carpet cutter.
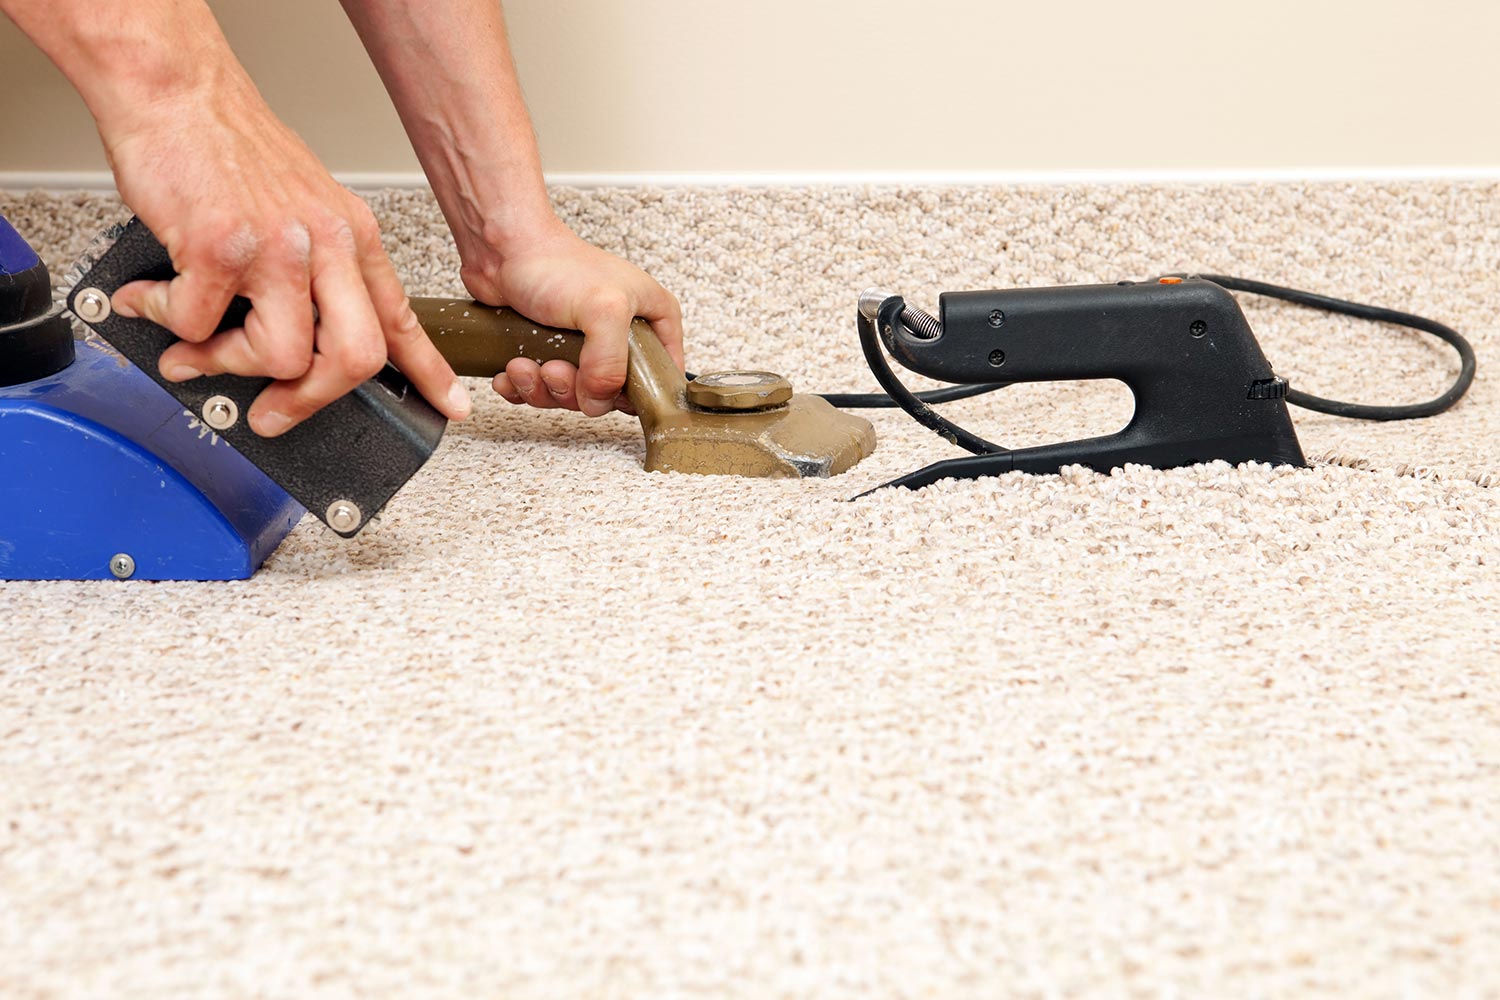
Place a piece of seaming tape on the carpet after it has been cut with the adhesive side up on the floor underneath where they meet. To activate the adhesive, heat the tape with the seaming iron rather than the carpet. With a seam roller, seal the seam.
To make sure the seam is secure, run your thumbs over the very center of it. Then go over it with a seam roller many times, going back and forth along the seam. This should be done as you heat each section, not at the end.
9. Attach The Carpet Into Place
Using a knee kicker, secure the carpet to one edge. Place the kicker's toothed end approximately 3 inches from the wall and bang your knee onto the kicker’s padded end. This allows the tacks to grab and secure the carpet over the tackless strip.
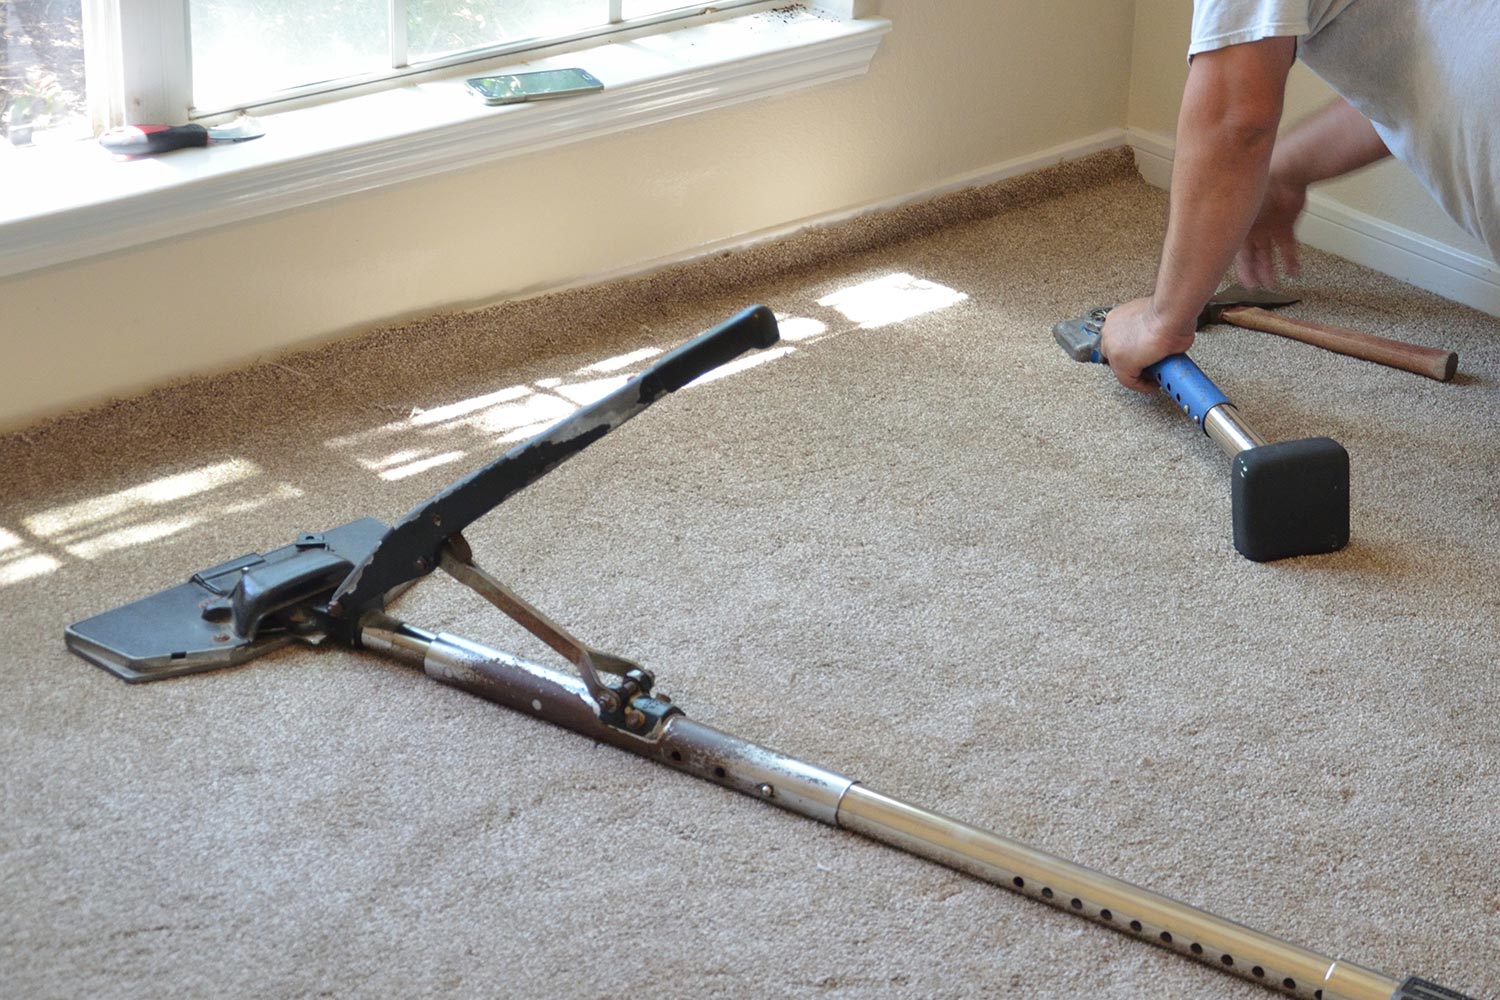
The carpet installation will be completed by a carpet stretcher. Knee kickers are similar to carpet stretchers, although they are much longer.
Put one end of the carpet stretcher against the wall where the carpet is already secured and the other end about 6 inches from the distant wall. As you work your way around the room, stretch the carpet over the tackless strips and trim it along the wall.
10. Finishing Touches
Press the carpet's edge under the baseboard to settle in place. Then put back any hardware you removed Replace any doors that have been removed. If you remove floor vents, screw them back in place and put back also the baseboard molding. Return your furniture and stuff, and you're finished!
An actual demonstration of installing the carpet is shown in the YouTube video below.
Carpet Installation: DIY vs PRO
Before you decide to hire a pro, you should learn more about the advantages and downsides of DIY installation.
One of the most significant advantages of installing your own carpet is that you will save money by avoiding the costs of installation, labor, and old carpet removal. The only significant costs on your end will be the carpet and any specialized tools you may need to rent or purchase.
Furthermore, you have complete control over the job's timing. You can start the process anytime you choose and work at your own pace instead of waiting for the installer that most firms provide. Finally, the job's quality is in your control.
However, there are a few disadvantages to taking on the project on your own. If you discover that the installation is more difficult than you anticipated, but you have already set certain sections and trimmed others, your carpet guarantee will most likely be voided.
So, if you've done a lousy job, no one will help you pay for it. Moreover, the equipment can be difficult to use for someone who has never attempted to install a carpet before.
While carpet installation can be a do-it-yourself endeavor, it's vital to realize that it's a big job that takes a lot of time and effort.
Conclusion
Installing carpet on your own may seem daunting, but with the right tools and a little perseverance, you can do it. Prepare to remove any existing carpet before proceeding. Carpet installation is hard on your knees and back, so plan accordingly. If you are not confident about doing it yourself, you can hire a local professional to do it for you.
If you enjoyed this post, you might be interested in some carpet design ideas, so check out these other articles: