
If the only damage is a crack or two, you don't have to fret over reconstructing your flooring from scratch. Fortunately, all it takes is a well-performed DIY project, and you can finally dispose of the anxiety that comes with seeing a cracked floor.
Essentially, there are two procedures you can perform on a cracked floorboard to fix it:
- Filling the crack
- Replacing the board
Using wood filler to connect two split ends on a plank of wood works best for small cracks. However, when the damage is significant, you must replace the board to fix the problem.
What exactly is a wood filler? Also, how can one directly cut across their flooring to replace a wood board? We analyze answers to all these questions and more in the guide below. Keep reading to find out!
Why Is My Hardwood Floor Cracking?
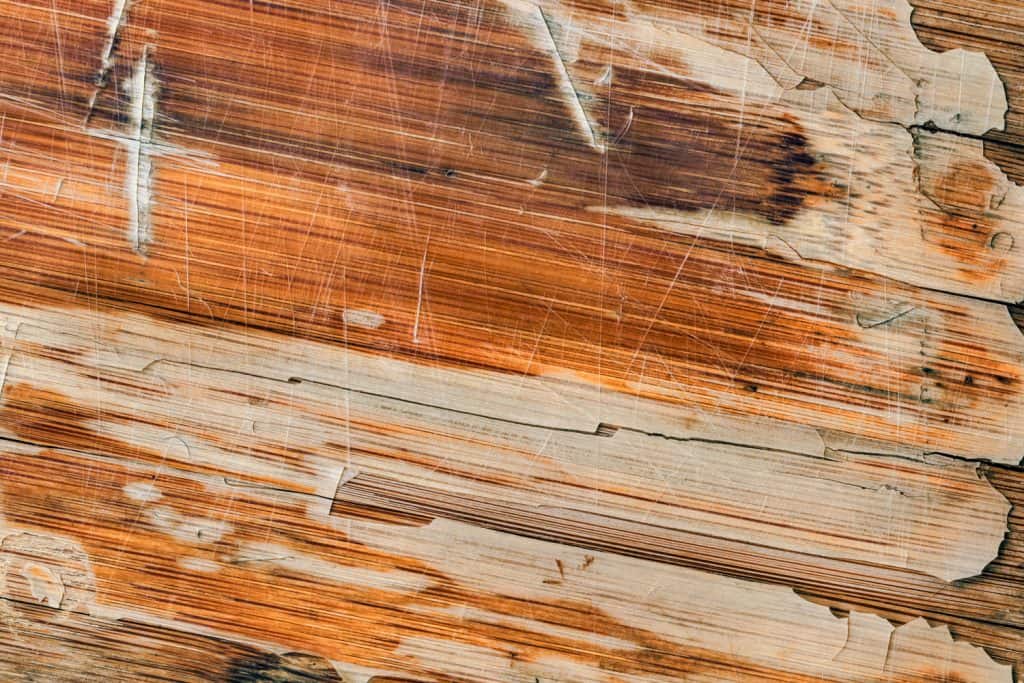
Wood is a porous material. It is bound to expand and contract depending upon the humidity levels in its surroundings. If your hardwood floor is in a room with low moisture and low humidity, the wood will dry out and begin cracking.
Apart from the room temperature, external factors may also be responsible for such environmental changes. Activities that soak in moisture promote floor cracking, for instance, chimney smoke, fireplaces, and even heating systems working directly below the floor.
We sometimes add affiliate links and content that was curated and created by our team with the help of advanced ai tools to help showcase the best design styles.
How Do You Stop a Wood Floor From Cracking?
If the crack encompasses only one section of the floorboard and it hasn’t hollowed out the board yet, you can use a filler to stop it. For negligible gaps, put in a glue and sawdust mixture followed by staining.
However, for more significant impacts, use the following procedure to guide you:
Choose the Right Filler
Putty and Filler Sticks

Click here to see this filler stick on Amazon.
Wood putty and filler sticks are practical options for smaller and linear cracks with easy application. Crayon-shaped wood filler sticks are a good option. You may pick the closest color to your wood or choose to blend in various options to achieve the exact shade.
Epoxy

Click here to see this wood replacement compound on Amazon.
However, an epoxy wood filler is a more sustainable option. Two-part epoxy is known to deliver high performance for all forms of cracks and rotten wood structures. As compared to other solvent-based choices, the epoxy sticks to the wood with better adhesion and prevents room for expansion.
Remember that epoxy fillers can not be stained. Thus, be very specific about the color and texture of your filler of choice. Match it with the shade of the floorboard as well as the cracking spots. To ensure accuracy, perform a test batch of your filler on some scrap wood before making the final shop.
Applying the Filler
- You must remove all wood splinters coming out of the crack. Grab a 36 grit sandpaper and sand it to highlight all points of damage.
- Make sure that the surface is clean and moisture-free when you begin the process.
- Using a vacuum or a duster, clear the floorboard of the scrap wood or debris that may contaminate the filler.
- Inside your wood filler kit, you should find a resin and an additional hardener. Following the instructions of your specific type, mix the filler with the hardener on a flat container.
- If you are using epoxy, also add in a color dye of choice. Furthermore, remember that epoxy solidifies quickly, so estimate your timing correctly.
- Use a putty knife or a trowel to spade the substance onto the split. For an epoxy, spoon it out of the container.
- If the crack is significantly deep, you may have to keep up with the filling for two applications. The first one would form a slump right inside and provide a substructure for the second application to work.
- Carry on with the filling until the crack overflows with the material.
Post-Application
Before the material dries, you may want to flatten its top if it is asymmetrical. Use the same putty knife or even a dry rag to do so.
Allow the filler at least 8 to at most 24 hours to dry conditional upon the requirements of your version. You may notice the result to be slightly coarse. As a finishing touch, grab fine-grit sandpaper (120 to 220 grit) to uniform the surface and dispose of wood fragments.
How Do You Replace a Damaged Hardwood Floorboard?
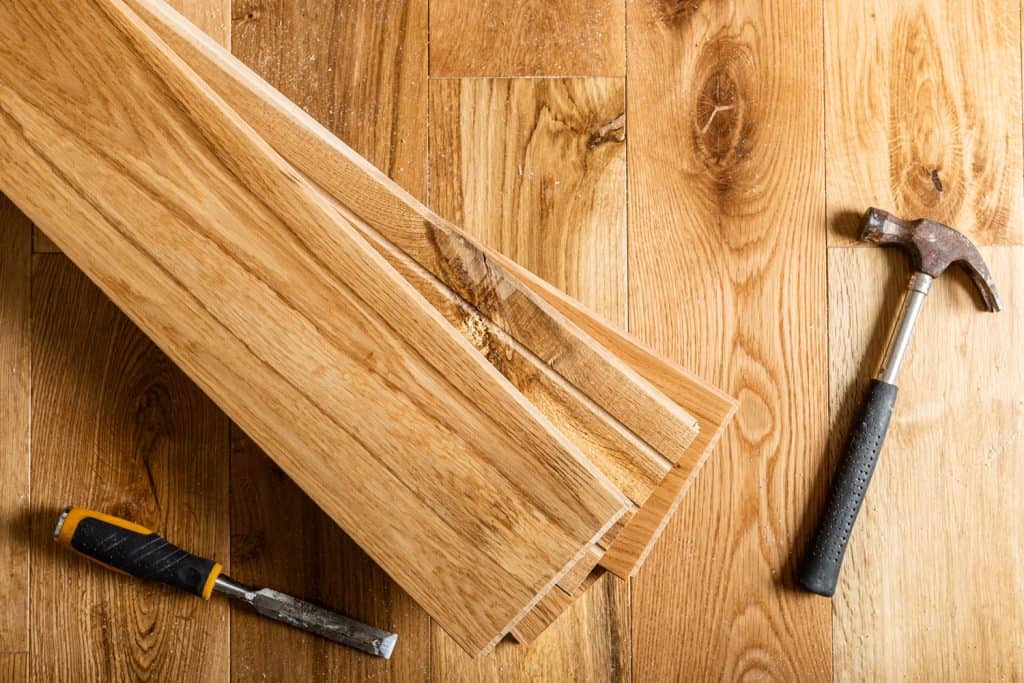
Replacing a hardwood floor is simple for the mind but complex for the hands. Essentially, you remove the damaged board and replace it with the same size piece. However, how considerately you perform it is the real deal.
Preliminary Measures
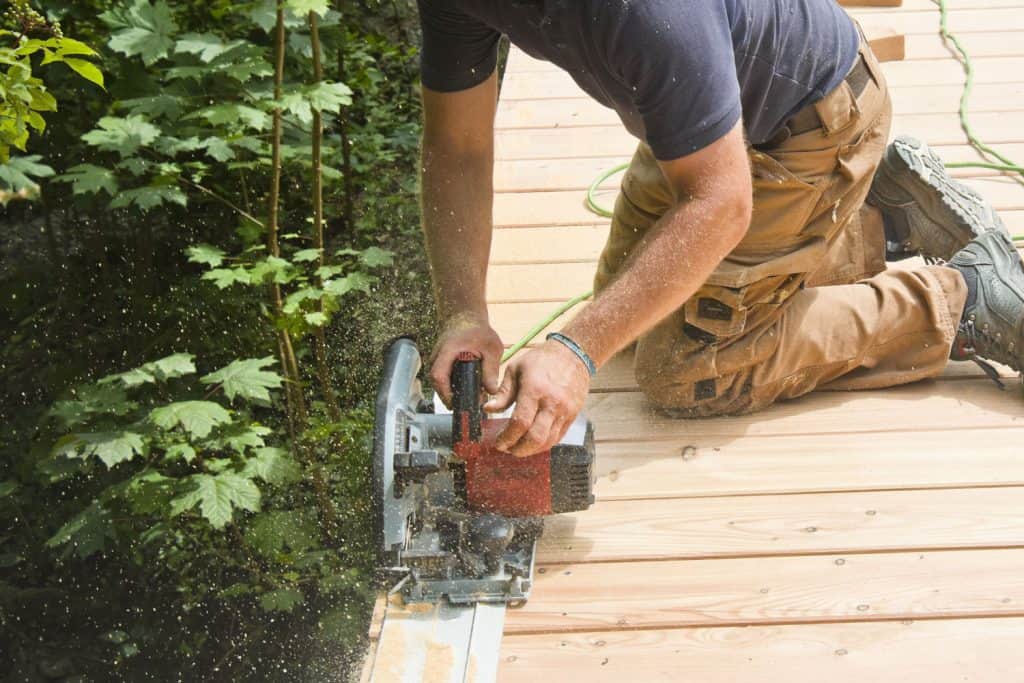
Prepare your saw blade for action. You can opt for a circular saw, but there is no denying the greater efficiency of a plunge saw. It is versatile when dealing with complicated angles and knows how to remain straight on the track.
Adjust the depth setter to choose the depth up to which the plunge saw will cut. This should correspond to the exact thickness of the damaged flooring board lest the cuts expand all the way to the subfloor. Most hardwood floorboards are ¾ inch thick.
Now, you must set the boundaries of your workstation. Use a carpenter’s square to indicate the damaged area on the floorboard. If you intend to replace a whole plank, use tape to mark it around the corners.
Removing the Damaged Board
The aim is to now cut across the board so that it segregates into separate removable sections. Cut two perpendicular lines across the center of the board. Then, grab ½ inch or ⅜ inch drill bits to drill holes all along the marks. With the help of a chisel and a hammer, you can now split the area into two separate boards that can be removed easily.
If you have a plunge saw, set it to track two parallel cuts across the length of the area. Make sure to leave a few centimeters from the edge. Next, arrange the saw to make diagonal cuts from each corner to the middle of the previous cuts. This time, let the saw reach within proximity of the edge.
Using a chisel, cut the board from end to end, forming a rectangle of wood. Together with the smaller sections at the diagonal, remove each piece one at a time.
Shave any coarse sides or drilled edges of the wood. Remove all bare nails with a nail puller and vacuum the space to remove debris and splinters.
Adjusting the New Board
Take the measurements of the cavity and cut the replacement board up to the exact length. Remember that you already have the tongues installed, so the wood must be shaped accordingly.
Cut off the lower groove on the long side as well as 15-20cms from the tongue. Use a table saw blade for this purpose. To ensure that the finished product is even, be precise in your cuttings and sand the edges.
Apply carpenter’s glue on the tongue of the pre-existing boards. Slide the board in through its groove end and fit it in the cavity. Use the tapping block to adjust its position correctly. You can also choose to fix smaller pieces by drilling nails into both ends of the board.
Final Testing
To ensure that the replaced wood conforms to its space, set heavyweights, for instance, buckets or cabinets, on the floorboard. Let it be overnight so any shortcomings in the position may come to the surface.
If you find the board intact next morning, congratulations! You have successfully fixed a cracked floorboard.
How Much Does It Cost To Replace a Floorboard?
Floor repair costs vary depending upon which section of the floor needs replacement and the general scope of work. For a 100-square feet room, the cost of replacing one floorboard would fall between $600-$1000. This pricing may extend to as much as $5000 for a 500-square feet area. It may even reduce to merely $100 if you consider subfloor replacement.
How To Fix Broken Floorboard Under Carpet?
Fixing a broken floorboard under the carpet is much the same as fixing one without it. However, the deal lies in managing the carpet's position effectively. There have been ideas to handle the situation without removing the carpet, but each requires cutting through it. Even if done strategically, cutting always leaves behind signs.
A practical approach would be to disturb the carpet’s position, but only from the corner closest to the damaged floorboard. Roll it up from the corner up to the area and fix the floorboard.
When finished, roll it back over the gripper rods. If it has been in position for long, it will likely settle itself. Otherwise, you may use a bolster or an alternative heavyweight to put it down. The last resort can be to hire a carpet stretcher again to set it into position.
Final Takeaway
Time to cancel the appointment with the floor installer! Now that you have the instructions at hand, it's time to put your newfound knowledge into action! We hope you found the information above insightful.
Before you go, do you have other floor concerns? Does your hardwood floor creak? Find out why by checking out our post here.
Do you need to sand a hardwood floor? If you want to find out how long it takes, check out our post here. Until next time!