
A broken mirror can be very unsightly. It doesn't matter if it's located in the bathroom, the living room, or your bedroom--it can simply make your home appear disheveled. If you've recently broken a mirror, you may be wondering whether you should simply toss it in the garbage or if you may be able to repair it. Well, this post just for you. In this article, we will discuss how to fix cracked mirrors and other alternatives if the mirror is irreparable.
Here are the 7 basic steps to repair a cracked mirror:
- Clean the mirror
- Apply the stabilizer film
- Apply the epoxy resin to cracks
- Give the epoxy time to set
- Peel away the stabilizer film
- Scrape off any excess epoxy resin
- Thoroughly clean the mirror
If you are the do-it-yourself type of person, you'll be happy to know that there is a way that you can use to repair broken or chipped mirrors. These techniques work best on mirror damage that is minor and can be completed in less than an hour. Continue reading to learn more about the steps to repair your chipped mirror all by yourself.

Steps To Fix A Cracked Mirror
We sometimes add affiliate links and content that was curated and created by our team with the help of advanced ai tools to help showcase the best design styles.

Things you'll need:
- Cotton towels
- A razor blade
- Liquid dishwashing soap
- Glass cleaner
- Paper plates
- Two-part epoxy or resin
- Putty knife
- Acetone
- Toothpicks
1. Clean The Mirror

Before repairing the mirror, it's best to clean it up as much as possible. Use a microfiber cloth or cotton rag to remove any dust, dirt, and broken mirror pieces from the mirror. Set the broken pieces aside in a trash bag or a bagged trash can.
To clean the mirror, use a professional mirror cleaner such as Windex, or a homemade glass cleaner such as vinegar and water. Make sure to wipe the mirror so that there are no visible streaks or spots. You want the surface of the mirror to be as clean as possible so that the repair epoxy does not stick to the dirt when it is applied.

2. Apply The Stabilizer Film
After you have cleaned the mirror, remove all of the contents from your mirror repair kit. Next, take the stabilizer film and remove the adhesive backing from it. Be sure to peel the back off carefully so that it does not stick to the film or itself--it can be difficult to remove it if it does.
After removing the back, place the stabilizer film on top of the cracked areas of the mirror while making sure to press down firmly as you go. Ensure that the film covers the cracked area completely and that there are no bubbles beneath the film. Place the resin on all of the cracked areas on the mirror and go back over it with your fingertips to smooth out any air bubbles. You want the seal to be as tight as possible before you apply the epoxy.
3. Apply The Epoxy Resin To Cracks
Once you have placed the stabilizer film over all of the cracked areas of the mirror, it's now time to apply the epoxy resin. The resin typically comes in a plastic syringe applicator.
To apply the resin, take the edge of the stabilizer film and lifted slightly. After doing so, carefully nudge the edge of the epoxy syringe beneath the film and press the back of the syringe to inject the epoxy between the surface of the mirror and the stabilizer film.
Perform this step for all of the cracked areas on the mirror until they all have a layer of epoxy beneath the stabilizer film. After you have applied the resin to all of the cracked areas, take your finger and gently press down on top of the film to help the resin adhere firmly to the cracks.
4. Give The Epoxy Time To Set
Now it's time to wait for the epoxy to dry and cure. This usually takes anywhere from 20 to 40 minutes and it's best to set a timer so that you know when the epoxy is ready. The epoxy will harden on top of the cracks, so it's best to lay the mirror on a flat surface and not disturb it during this time.
5. Peel Away The Stabilizer Film
After the epoxy has dried, touch it with your fingers to ensure that it has completely hardened over the repair. Next, peel off the stabilizer film. If you have trouble lifting the film, take a putty knife and use it to pry up the edges of the film. Make sure that you use one swift and firm motion to pull up the stabilizer film, as it may be a bit sticky.
6. Scrape Off Any Excess Epoxy Resin
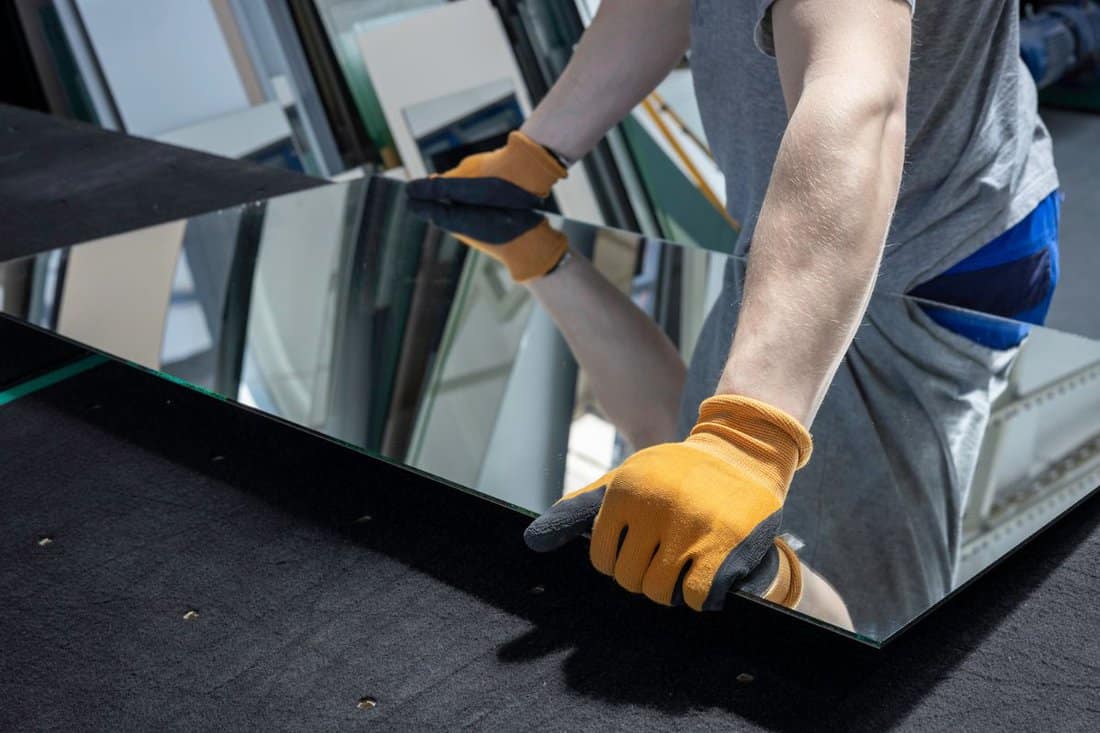
Before scraping the epoxy off, you'll want to put on a pair of thin workers' gloves to avoid cutting your fingers during this task. Now that the epoxy is completely exposed, take a utility knife or a razor blade and scrape off the epoxy from the repaired sections of the mirror.
Be sure to exercise extreme caution during this step, as you don't want to cause new cracks to develop on top of the mirror. Keep scraping away all of the resin until the surface of the mirror is completely flat. It's best to hold the razor or utility knife at an angle to help get as close to the epoxy as possible. This will prevent you from having to re-scrape the same area multiple times.
7. Thoroughly Clean The Mirror
Now that all remnants of the epoxy have been removed, you can clean the mirror using a glass cleaner or a vinegar solution. If you notice any leftover particles of the epoxy, go back over them with the razor or the utility knife. You should see a flawless and clean mirror that is devoid of cracks and streaks.
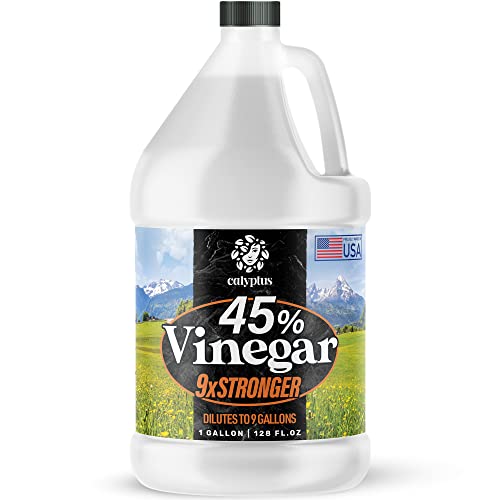
Check out this vinegar on Amazon.
How much does it cost to fix a cracked mirror?
Mirror repair costs can range anywhere from $100 to over $500. The cost will depend on the size of the mirror, the extent of the damage, and the prices in your local area. Before having your mirror repaired, it's a good idea to determine if the mirror is worth repairing. If it's an antique mirror, you may want to have the mirror appraised before spending hundreds of dollars on a repair.
You may also want to ensure that the mirror is in fact repairable, as extensively damaged mirrors often aren't. A local glass repair contractor can provide you with the best options when it comes to repairing or replacing your mirrors whether they are new or antique.
Can you use a mirror repair kit for large mirrors?
Mirror repair kits are usually designed to replace small cracks in mirrors. If the mirror is large but it has small cracks, chances are that the repair kit will suffice. However, if the mirror has extensive tracks or especially long cracks, the repair kit may not have enough stabilizer film and epoxy to cover the entire mirror.
In some cases, you may be able to buy multiple repair kits. However, if the crack is too deep and the silver backing of the mirror has been damaged, you will need to replace the mirror.
Can you repair mirror silvering?
Yes. Mirror silvering results from excess moisture accumulating between the back of the mirror's surface and the glass. You often see this more in bathroom mirrors or mirrors that are located in humid areas of a home. These black spots can be repairable using a technique that's known as "re-silvering."
Here's how to re-silver your mirror:
- Start by removing the mirror from the frame.
- Next, clean the mirror thoroughly using a homemade glass cleaner or commercial cleaner such as Windex.
- Use a multi-strip solution and a utility knife to take off the backing paint from them. You can also use a mirror remover kit and cotton swabs to dissolve the material. Some kits may also include a fine pumice stone to help get rid of the spots as well.
- Grab your re-silver kit and apply the solution to the back of the mirror where the spots are located. Be sure to go over each section thoroughly and make sure that the spots are completely removed.
- Next, take a cotton towel or microfiber cloth dipped in warm soapy water and wipe off the solution from the mirror.
- Take your silver solution and apply it to the back of the mirror using a mini paintbrush or a cotton swab. Make sure that the layer is thick enough to cover the entire surface. If needed, apply an additional layer.
- Allow the solution to dry for 10 to 12 hours before re-framing the mirror.
Is a broken mirror bad luck?
No. The superstitious belief that a broken mirror brings seven years of bad luck dates back to Roman history. According to the myth, whenever you broke a mirror, you were waiting for a new soul to get rid of the bad luck, which would take 7 years to regenerate.
Romans believed that mirrors were devices from God and that breaking them will anger the god, and in turn, cause great misfortune. That being stated, there is no scientific proof that breaking a mirror will bring you bad luck. It's simply a superstition.
Can you throw away a broken mirror?
Yes, you can throw away a broken mirror. Before tossing out the mirror, try to avoid breaking it further and creating an even bigger safety hazard. Start by covering up any broken areas of the mirror with masking tape and then wrap it up in a garbage bag and then a box to conceal it properly.
It's also helpful to label the box as "broken glass" so that garbage handlers can be aware of its contents. Toss it in the recycle bin. After you dispose of the mirror, go back to the area where it shattered and make sure to thoroughly clean any surfaces that may have come in contact with the shattered glass. This includes counters, floors, sinks, and tables. It's also a good idea to use a vacuum to remove pieces of shattered glass that may be hard to see.
What to do with a broken mirror?
You don't always have to throw away a broken mirror, you can also re-purpose it. For example, you can take the larger pieces of your broken mirror, apply epoxy resin to the edges, and use them as wall decoration. You can also take a few small bottles of paint and use the broken pieces of mirrors to jazz up your furniture.
Ever thought about creating your own jewelry organizer? Well, a few small pieces of a broken mirror can help you do just that. You can use small scattered pieces to line the inside top of the jewelry organizer, or one long piece sanded piece to decorate it.
Wrapping Things up
Now that you know the steps to repair your broken mirror, we are confident that you'll be able to get rid of any unsightly cracks in no time. Refer back to this article as a guide, and if you run into additional issues with your repair, take a look at the instructions on your mirror repair kit.
Before you go, be sure to check out some of our other posts:
How To Hang A Frameless Mirror [2 Different Techniques]
![Antique cracked mirror with blurred abstract reflection. How To Fix A Cracked Mirror [7 Steps]](https://homedecorbliss.com/wp-content/uploads/2021/03/Antique-cracked-mirror-with-blurred-abstract-reflection.-How-To-Fix-A-Cracked-Mirror-7-Steps.png)
Where can I purchase this two step repair kit? Thanks.