
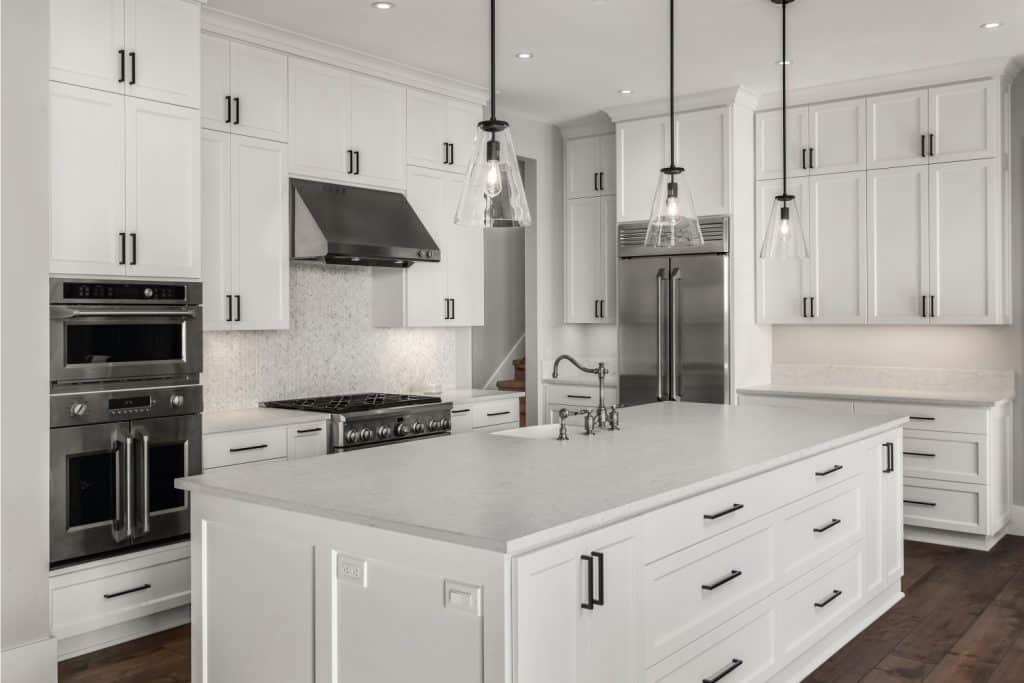
So you're giving your kitchen an upgrade, and you want to paint your kitchen cabinets. If you've ever painted cabinets of any sort, you know that it can be difficult to get a smooth finish. We've done some of the prep work for you, and researched this question thoroughly. Here are some tried and true tips to help you get that smooth finish you're looking for.
There are a few ways to ensure that you get a smooth finish when you're painting your kitchen cabinets. They include:
- Do your prep work
- Use a good primer
- Use a paint sprayer, if available
- Choose lacquer paint (but only with a paint sprayer!)
- Purchase a high-quality paintbrush and foam roller
- Apply with a brush and finish with a roller
- Layer several thin, even coats
- Sand lightly between coats
Each of these points will aid in producing a smooth finish. You will want to keep reading as we delve into each of these methods. We will also be answering other questions that make come up as you are painting your kitchen cabinets.

How To Get A Smooth Finish When Painting Kitchen Cabinets
We sometimes add affiliate links and content that was curated and created by our team with the help of advanced ai tools to help showcase the best design styles.
Following these 8 simple painting steps will result in nice, smooth-looking kitchen cabinets!
1. Do Your Prep Work
Really, this is the most important part of the entire project. A coat of paint will only be as good as the prep work. In properly preparing the cabinets, you are laying the foundation for a good coat of paint. So what does this involve?
Remove All Hardware, Shelves, And Doors
This should be your first step. It may seem like a good idea to just paint your cabinets as they are. However, painting over or around hardware will result in a drippy, ugly paint job. So, begin your project by removing all of the doors and shelves from your cabinets. You should then proceed to unfasten all of the hinges and handles from both the doors and the cabinets.
Pro tip: label each piece of hardware from left to right. Doing this will help you to know how to replace them at the end of the project.
Clean Everything
Even the most well-kept kitchen is bound to collect grime in unsuspecting places. Kitchen cabinets collect grease, dust, smoke, food particles, you name it. This can leave a thin coating on the outside, and prevent paint and primer from properly adhering to your cabinets.
To remove this, you will need to use a strong degreaser and thoroughly clean every inch of your cabinets. Do this anywhere that you will be painting. Be sure to wipe off any remaining cleaner when you're done, and dry it all well.
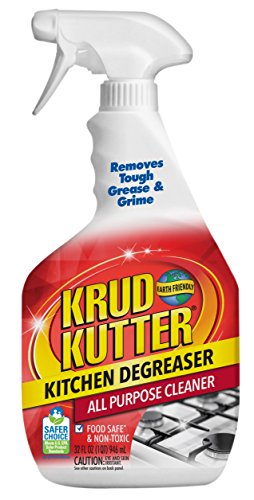
Click here to buy this kitchen degreaser on Amazon.
Fill Holes
Any holes or scratches in your cabinet should be filled with a high-quality filler. Keep in mind that a smooth finish is dependent on this step, so be thorough.

Click here to find this wood filler on Amazon.
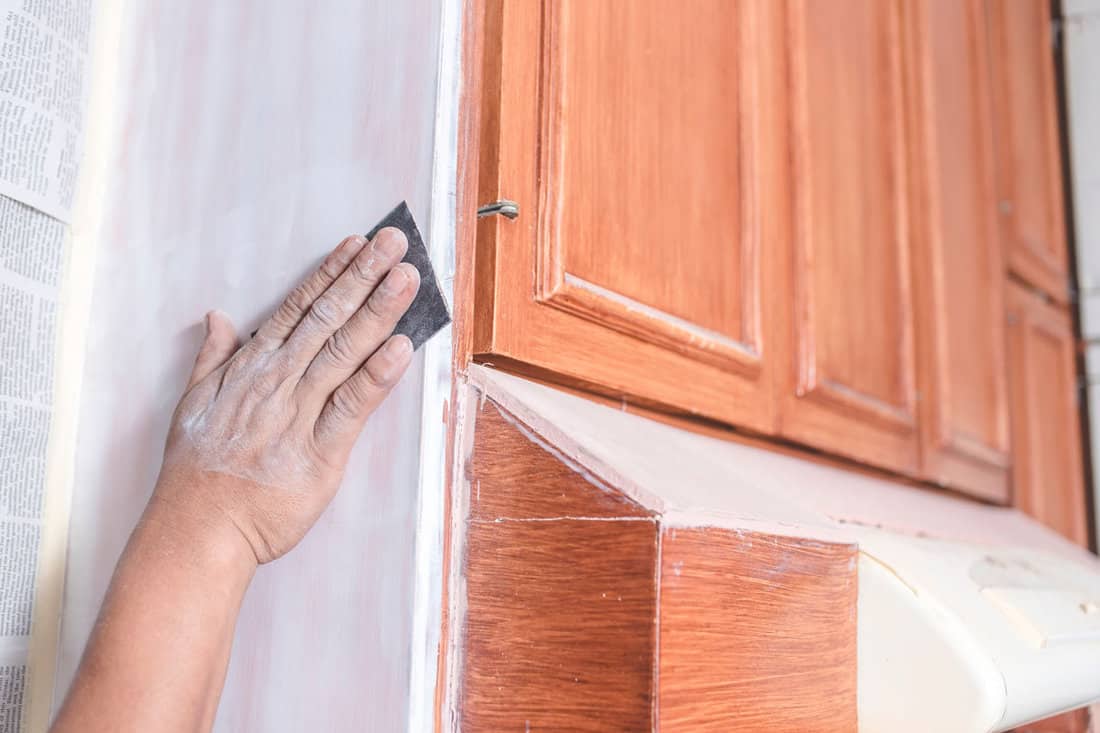
Sand Well
After you have filled in any indentations, you're going to want to sand everything down nice and smooth. Use a 100-150 grit sandpaper for this step. This has a two-fold purpose. You will be working to smooth out the wood filler along with any other raised imperfections on your cabinets.
Additionally, you will be breaking through the original finish. A smooth, slick varnish or glaze will keep your paint from properly sticking to it. Sanding it down a little will help to ensure a long-lasting finish. You will want to sand again after you apply the primer.
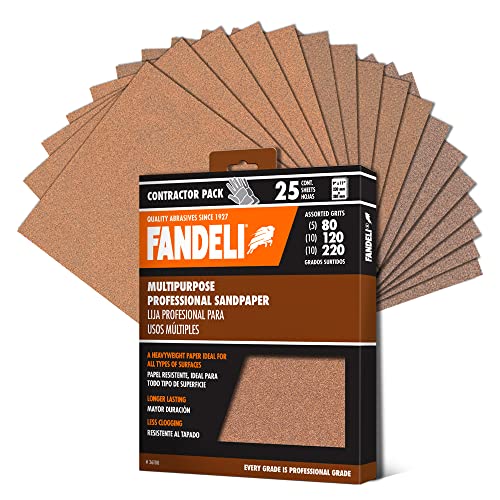
Click here for this package of assorted grit sandpaper on Amazon.
Clean It Again
Obviously, a thorough sanding will leave behind a coating of fine wood particles. Clean everything off again, focusing on corners that tend to retain dust. A dry brush can be helpful in those corners.
2. Use A Good Primer
Another step in laying the foundation for a smooth finish is to use a good, high-quality primer. The primer acts as a bonder, gripping both the cabinets and the paint. A good primer is key to achieving both a smooth and durable finish. Primer also helps to block existing color, necessitating fewer coats of paint.
Whatever primer you choose, make sure that it is suited to the paint that you are using. Many primers can be used with both oil-based and latex paints. After priming, be sure to lightly sand your cabinets once again with 220-grit sandpaper and wipe them clean.

Click here for this bonding primer on Amazon.
3. Use A Paint Sprayer
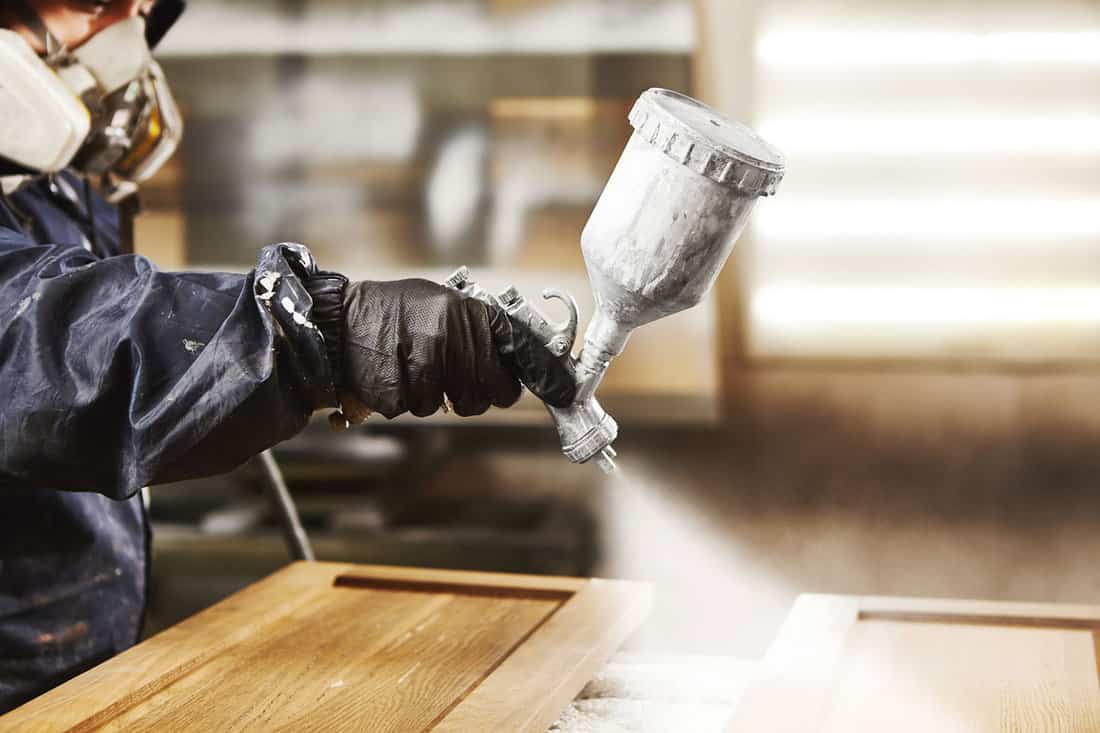
A paint sprayer undoubtedly gives the smoothest, most professional finish with the easiest application. Spraying your cabinets eliminates brush marks entirely and provides an even coat of paint. A paint sprayer can be rented from home improvement stores, like Lowe's or Home Depot, if desired.
However, one drawback to using a paint sprayer for existing cabinets is the huge amount of overspray. Every bit of the surrounding area will need to be covered. Otherwise, you could end up with a thin coating of paint on everything.
4. Choose Lacquer Paint
But only if you have a paint sprayer! Lacquer paint will give the smoothest, most durable finish to your kitchen cabinets. The only downside to using it is the drying time. Lacquer dries incredibly fast - too fast for it to be brushed on. If you don't want to use a paint sprayer or just don't want to mess with lacquer, that's okay. Keep reading for tips on getting a smooth finish with a brush.
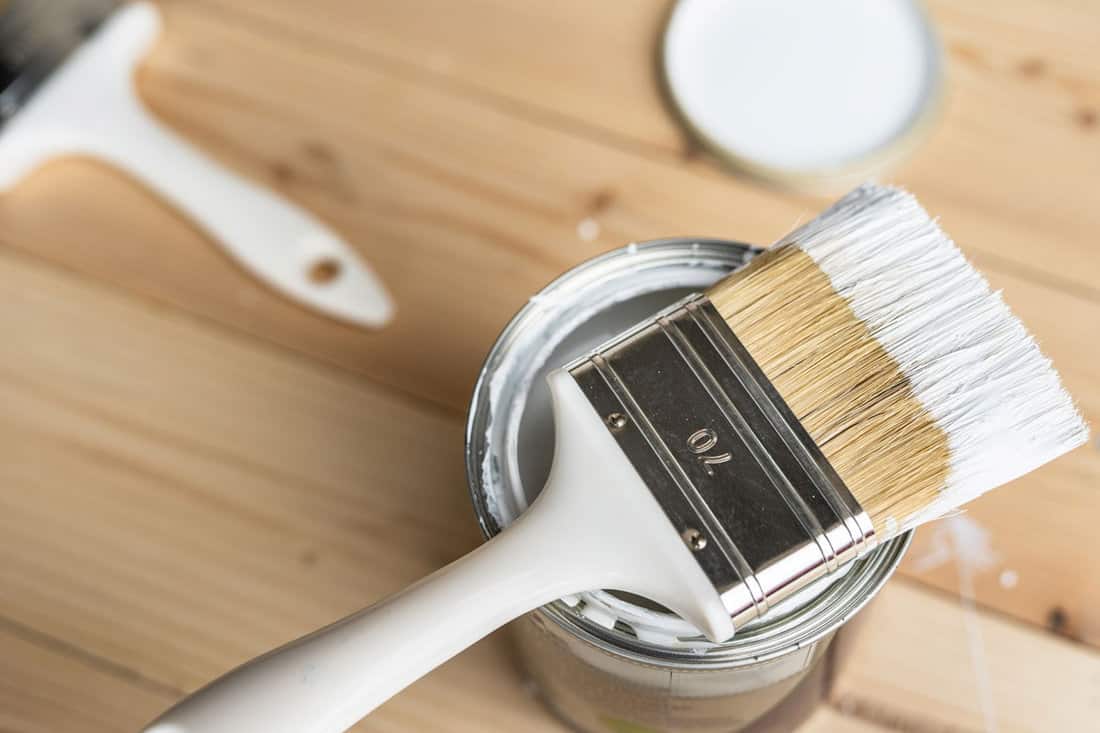
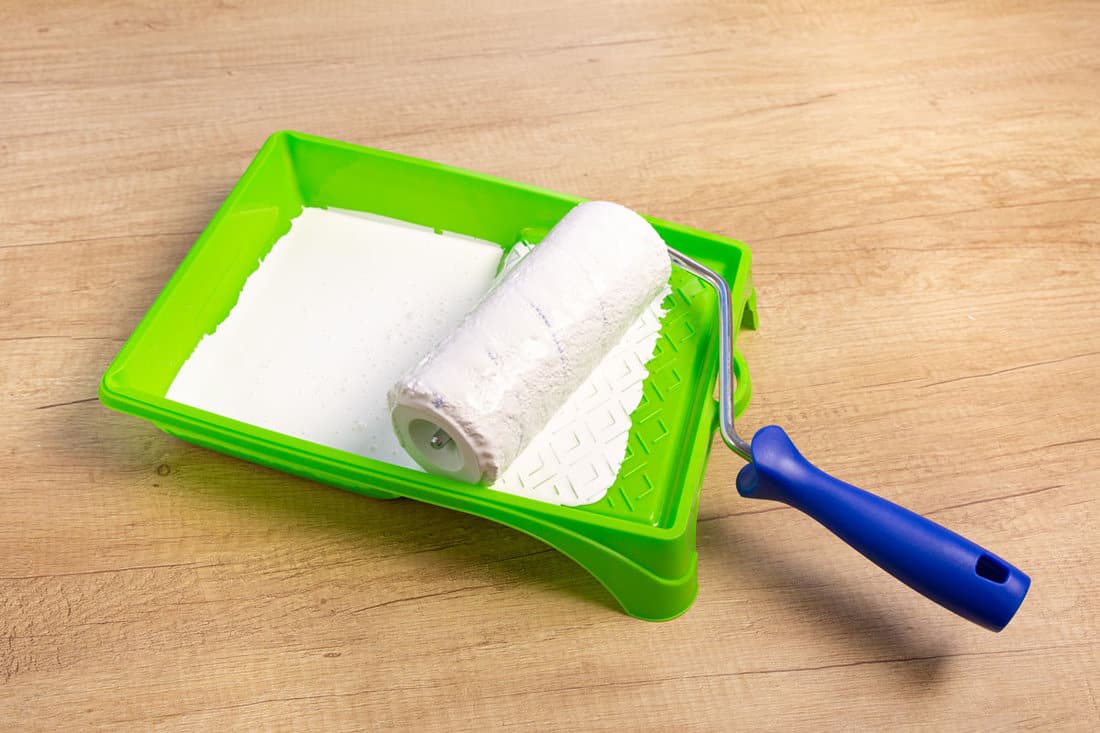
5. Purchase A High-Quality Paintbrush And Foam Roller
When you're painting cabinets, quality matters. Sub-par tools will produce sub-par results. If you will be painting your cabinets using a brush and roller, choose wisely. A narrower brush will be the best choice, and an angled cutting brush will help to get into corners. Choose a roller that has high ratings and is made for a smooth finish. Foam rollers work best for smooth finishes.

Click here for this 1.5" angled brush on Amazon.
6. Apply With A Brush And Finish With A Roller
For this project, your paintbrush and roller are going to work as a team to provide a smooth, flawless finish. Apply the paint to your cabinets in smooth, even strokes. Once you have an even coat, roll over it with a mini foam roller to smooth everything out. This will help to make brushstrokes disappear.
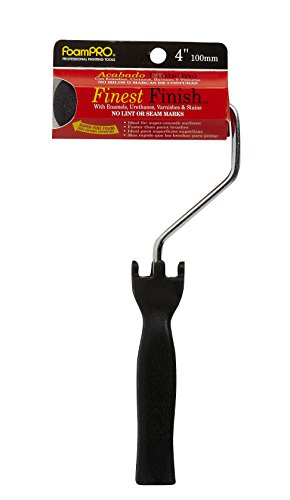
Click here for this pro-series mini foam roller on Amazon.
7. Layer Several Thin, Even Coats
In the painting world, more is not better. Applying too much paint at once is a common mistake, and it results in a poor-quality paint job. Excess paint tends to drip and will not dry properly. Paint should be applied in thin, even coats, and allowed to dry well between each coat.
8. Sand Lightly Between Coats
Even if your paint looks pretty smooth, it will benefit from a light sanding. Small imperfections that are hardly noticeable could stand out after more paint is applied, or in a different light. Wait until your paint is very dry, and then sand it lightly with 220-grit sandpaper. Wipe everything down before applying the next coat of paint.
Will streaks go away when paint dries?
Paint streaks can be caused by a number of things. If your streaks are very light brush marks, then it is possible that they will meld into the paint job. Sometimes, you may have a slightly uneven coat of paint that will dry more slowly but eventually blend in. However, in most cases, no, the streaks will not disappear.
Are you supposed to wet a paintbrush before painting?
No, you should not wet your paintbrush before you begin to paint. In fact, doing so could be very detrimental to your paint job. If you are using water-based paint, a wet roller can result in watered-down, runny paint. Using water with oil-based paint could ruin your paint entirely, as water and oil do not mix.
Should you sand between paint coats?
In the context of this article, yes. When you are working toward a smooth finish, sanding between coats will go a long way towards this end result. However, not all projects require, or even benefit from, sanding. For example, a textured wall should not be sanded at all.
What happens if you recoat paint too soon?
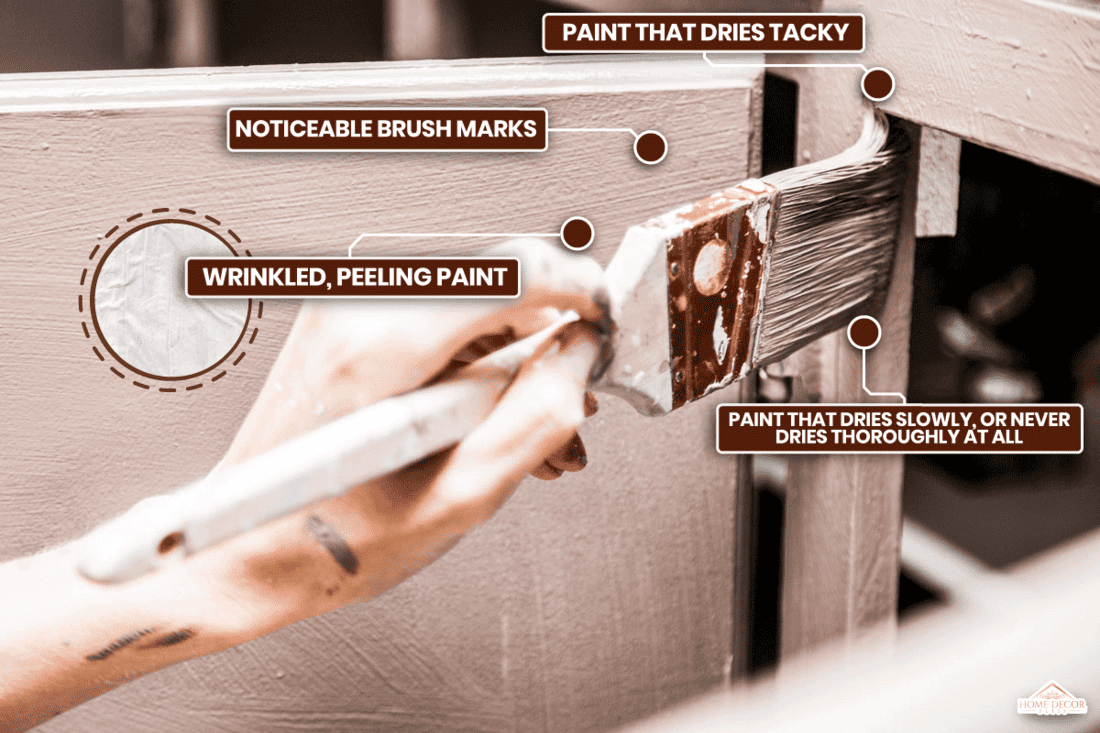
Applying a second (or third!) coat of paint before the previous coat has finished drying is not recommended. In fact, doing so has the potential to ruin your entire paint job. Paint that is recoated too soon can have several negative effects. These include:
- Noticeable brush marks
- Paint that dries tacky
- Paint that dries slowly, or never dries thoroughly at all
- Wrinkled, peeling paint
So be patient with your paint and allow it to fully dry.
In Closing
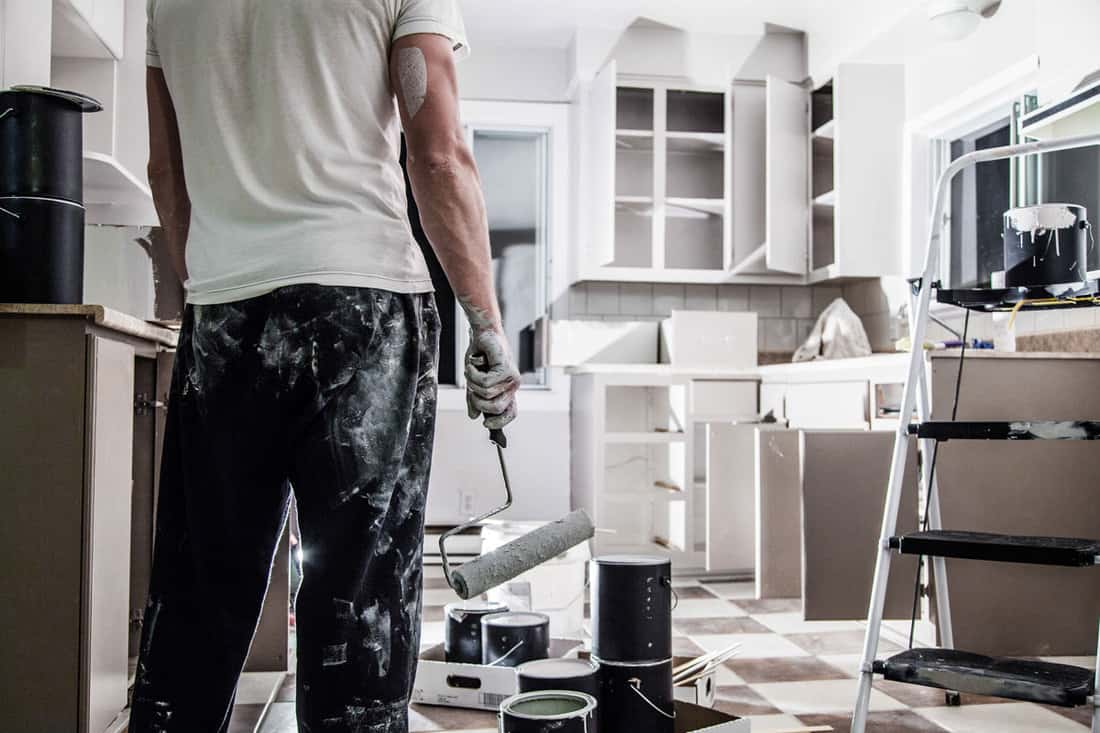
Painting your kitchen cabinets is a great way to update your home on a budget. A good coat of paint can bring any set of cabinets up a notch or two. With the tips included in this article, you're well on your way to a smooth, professional, paint job!
Maybe your cabinets only have a few worn spots and don't need a whole new paint job. Check out this article for help:
How To Fix Worn Spots On Kitchen Cabinets
If your cabinets are laminate, you may find this article helpful:
My painter sprayed my cabinets and the backside since it it open to the great room. That painted area is smooth. The cabinet doors were removed and 2 coats of paint dine in the garage…some are rough. The painter chose to lightly sand and touch up with a roller 2 doors leaving roller streaks. I have lived with it (he said I had unrealistic expectations) But I am ready to take them down and do it myself
@Susan,
I agree. Rollers and brushes always oeave texture behind. Sanding between coats is a must. If you can find your paint (exact brand and color match) in a spray can, use that for your last coat(s).
The last spray coats should be done 18-24″ away from the project, and you’ve got to be extremely even. Pretend you’re a robot. Slow, constant speed, and only stop the spray once you are off the project. Starting or stopping on the project is libel to leave a run or puddle. Another tip: on shaker doors, start each coat with the inside edges, again starting from off the pannel and moving in. Any excess/runs on the inside edges can be quickly corrected with a dry, very fine brush if the surrounding area is dry. If it’s not, you’ll have to redo the coat. Also, by starting on the inside edges, if you really really mess up, you can quickly clean it up with a damp cloth, and get a ‘do over’.
I only bring up the tips on inside edges because that’s where I have the most issues. Any variation on paint thickness here will distort the lines of the cabinet, and be much more obvious than on the face.
Best of luck!