
When working on a subway tiling project, you'll know it's time to grout once the tiles are in a perfect grid and pattern. But if you're not sure how to do it, you're in the right place. We did the research, and we have the answers for you!
To grout subway tile, follow these simple steps:
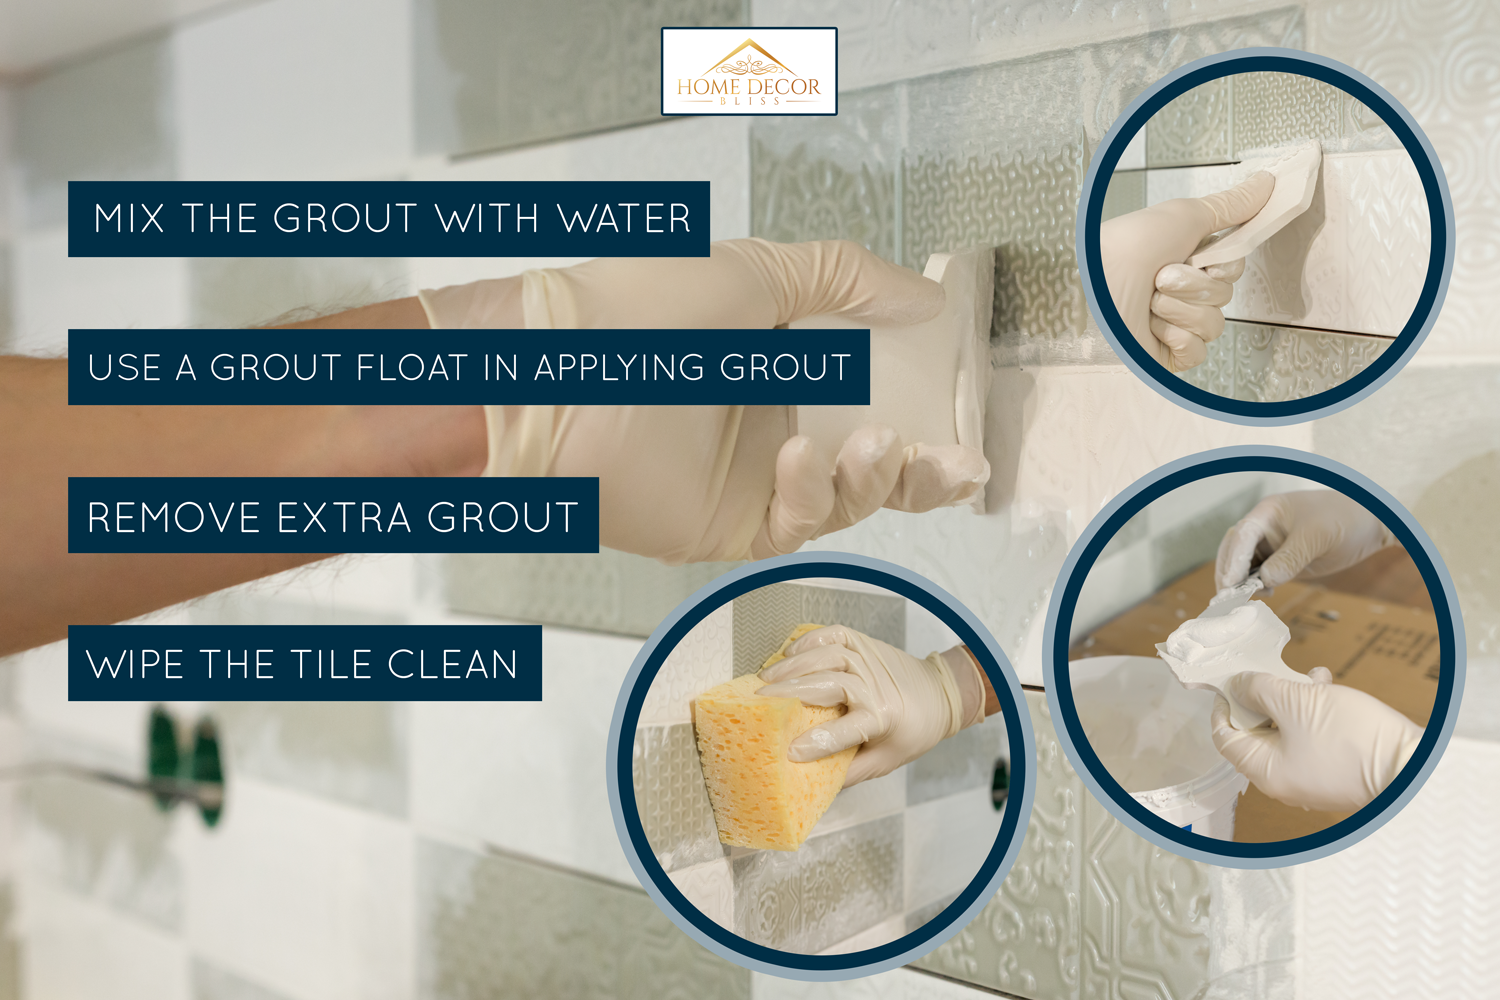
- Mix the grout with water to the proper consistency.
- Use a grout float to press the grout into the gap among tiles.
- Remove extra grout.
- Wipe the tile clean.
Grouting subway tiles helps strengthen the wall, floor, or countertop by cementing the tiles together, avoiding chipping and breaking at the edges of the tiles. Keep reading to learn everything you need to know about how to grout subway tiles!
Best Grout For Subway Tiles
We sometimes add affiliate links and content that was curated and created by our team with the help of advanced ai tools to help showcase the best design styles.
Choosing the right grout is necessary to achieve a seamless tile appearance, and it safeguards both your tiles and the surfaces beneath them. Your choice will have an impact on the overall appearance of your tile.
There are several types of grout to choose from, but we'll cover two of the most commonly used for subway tiles here:
Epoxy-Based Grout
This grout type will not crack, shrink, or discolor, making it ideal for use in wet areas like showers. It also has a high resistance to the harsh chemicals found in cleaning products.
While it has a few disadvantages of being expensive, more time-consuming to apply, having a plastic look, and being prone to discoloration with sun exposure, its non-porous nature is a plus. Epoxy-based grout does not require sealing, unlike traditional cement grout.

Click here to see this epoxy grout on Amazon.
Cement-Based Grout
This grout is a sand and water mixture but is also commonly available in unsanded forms. While cement-based grout needs to be sealed, it is inexpensive, easy to apply, and looks great on your tiles.

Click here to see this thin-set mortar cement grout on Amazon.
Applying Grout On Your Subway Tile
Start putting grout on your tile once you've decided the kind of grout you'll use. It can be a simple task with the proper preparation and setup. Here are the steps to ensure appropriate grouting:
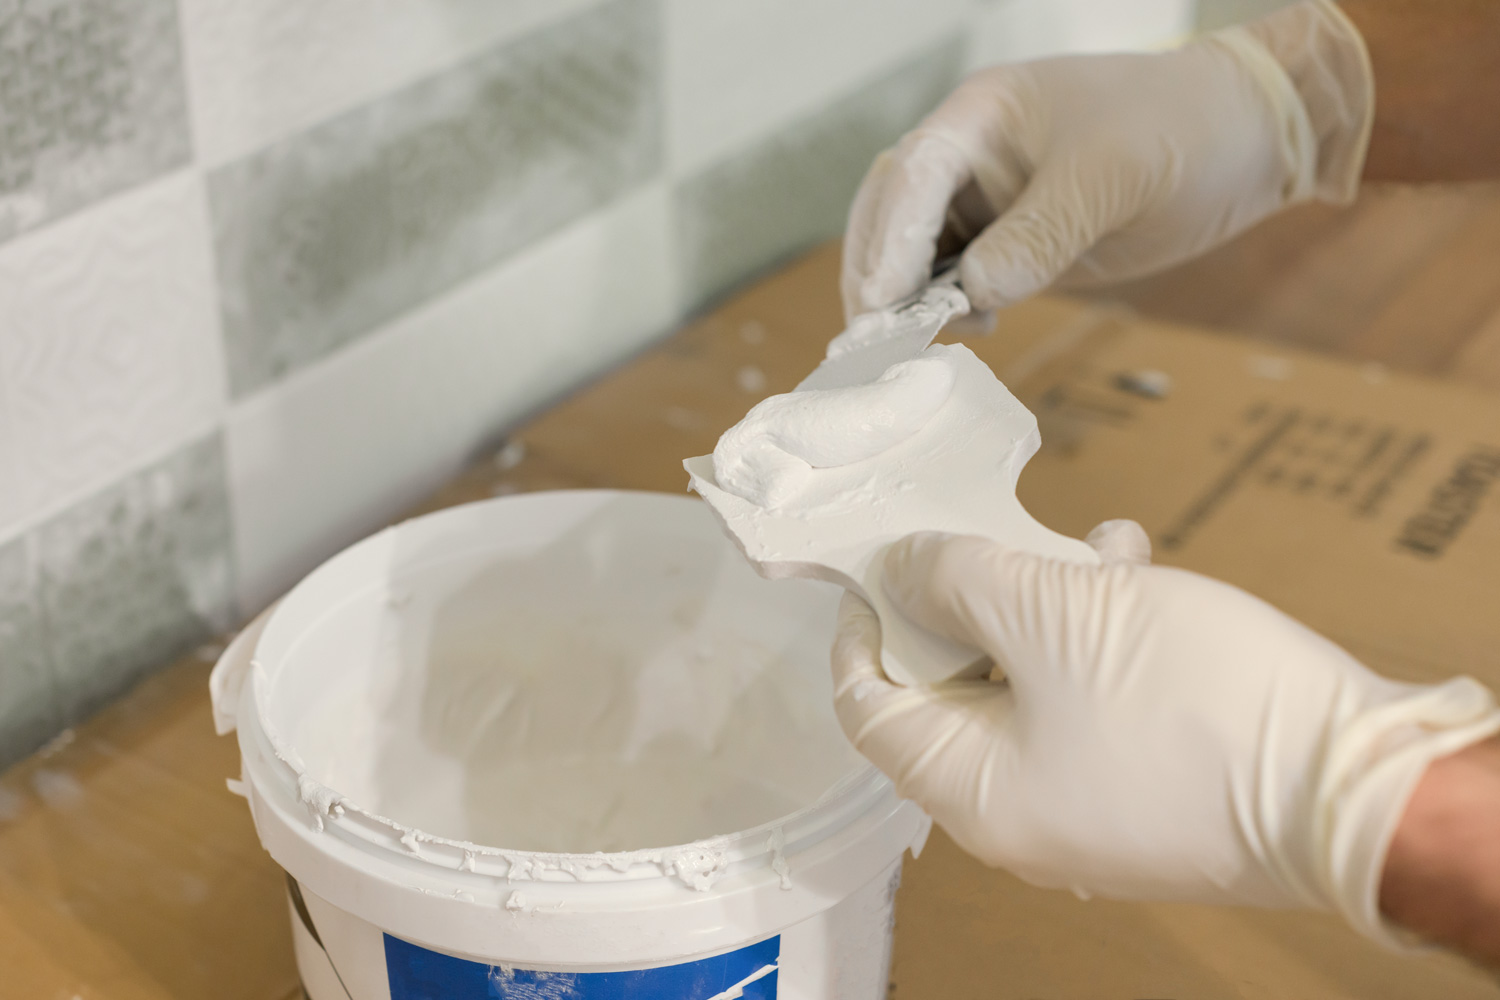
Step 1: Mix the grout with water to the proper consistency
When blending grout, you’ll need to observe the manufacturer’s instructions, of course. But here’s what you have to do for the best result: Pour the most effective three-quarters of the recommended quantity of water within side the bucket.
Mix the grout until you achieve the right consistency. Pay attention to getting the right texture, and it will make the job go faster.
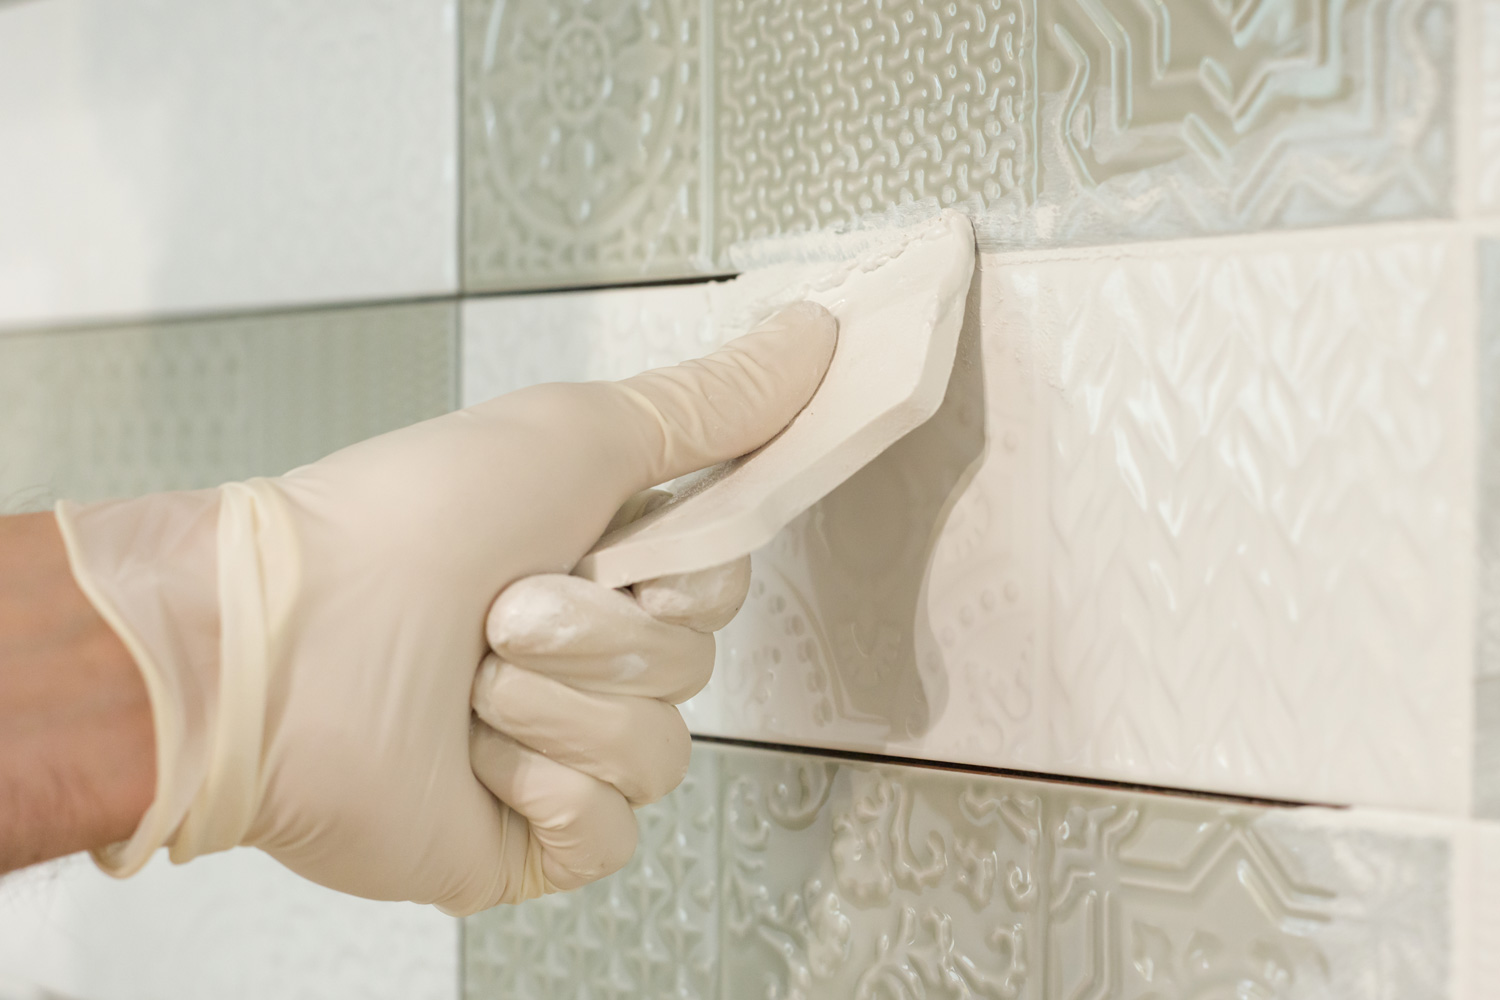
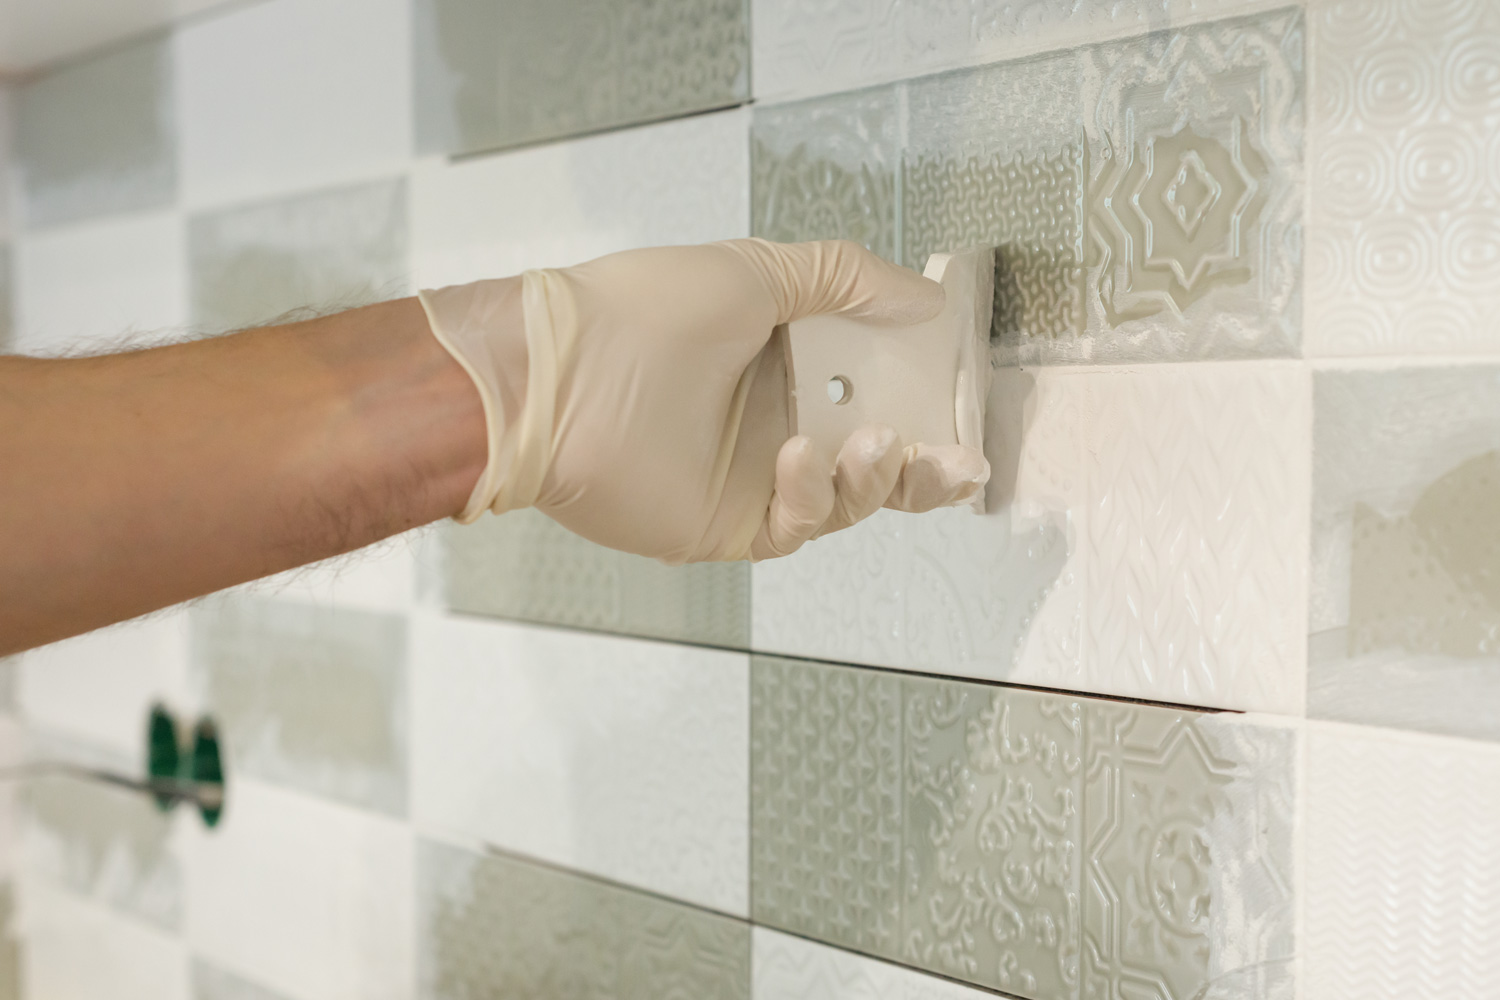
Step2: Spread the grout into the gaps between subway tiles
Scoop a little grout on a grout float, and wipe it on the wall. Then push it into the joints, applying to retain the flow at a shallow perspective and dragging diagonally throughout the bond.
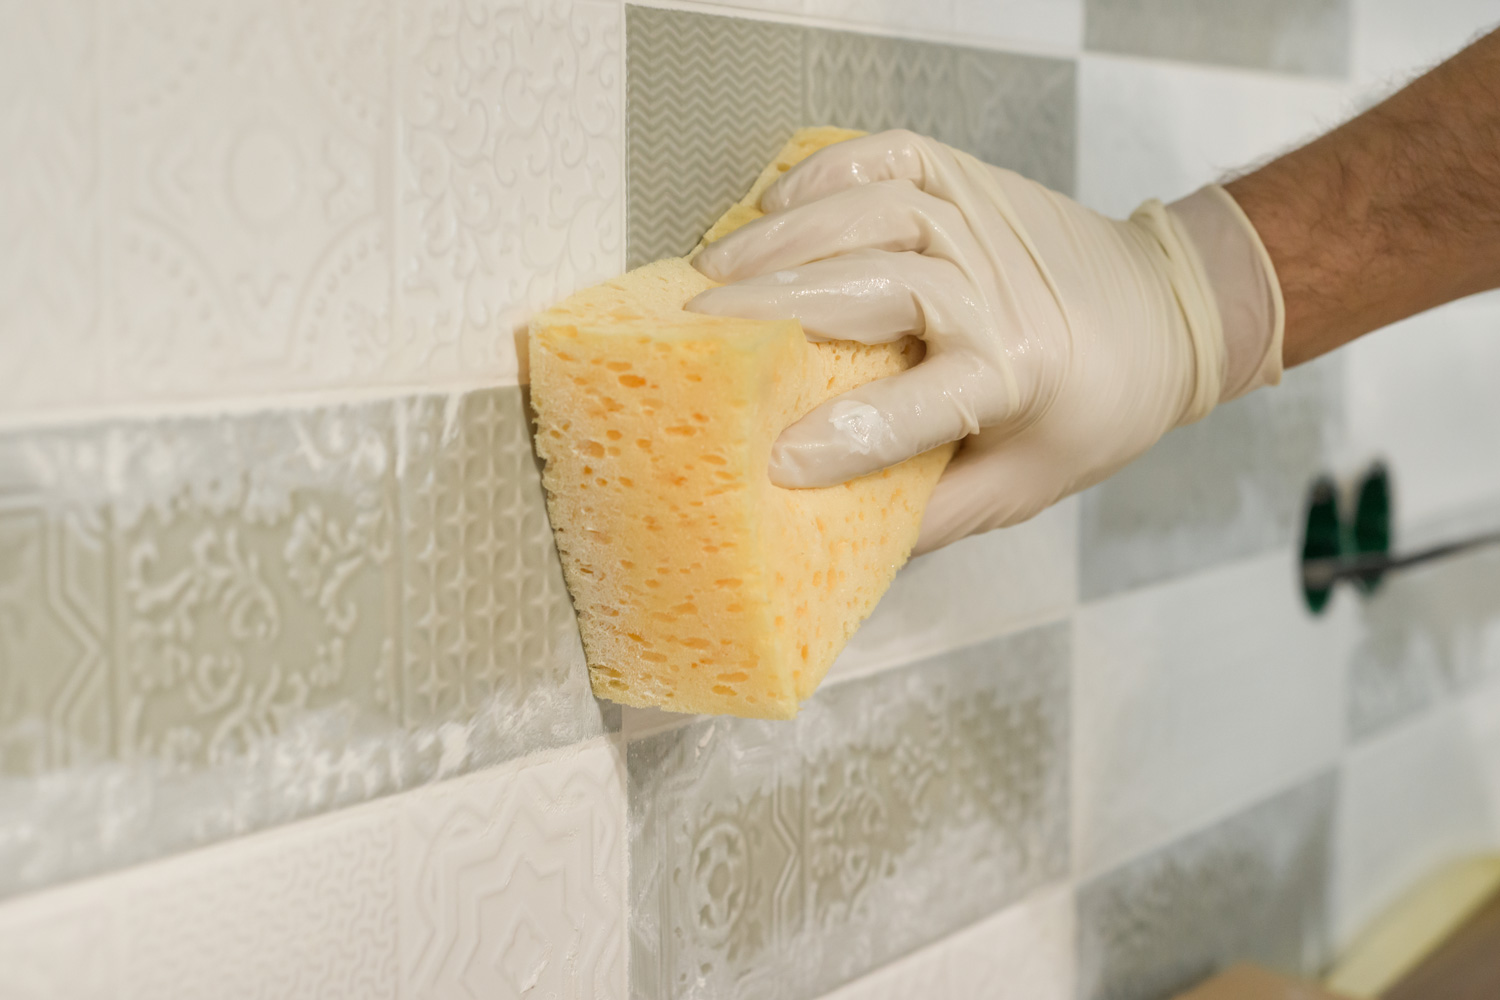
Step3: Remove extra grout
Extra grout on tile joints can be removed using a damp sponge. Keep a basin of water near so you can dip and squeeze your sponge until you have wiped all extra grout off your tiles.
Step4: Wipe the subway tile clean
There will still be a grout haze after everything is dry, no matter how good you are with a sponge. Wipe it off with a moist cloth; a dry towel is preferable for rubbing out any haze.
How Wide Should Grout Lines Be For Subway Tile
Depending on the type and size of tile, grout lines should be 1/8 inch or greater. Slate or quarry tiles, for example, have irregular edges that make tight spacing difficult. Grout lines are typically 3/16 inches or wider between these tiles.
Grout Lines for Floor
In general, grout lines for floor tiles should be 1/8 inch or more, depending on the type and size of the tile. The jagged edges of slate or quarry stone, though, will make it hard for you to fix tight spaces.
Plastic spacers are often used at tile corners to create an even gap between joints. The effect of fine grout lines filled with grout that matches the color of the tile is fantastic on some big format tiles. However, that is 18 x 18 inches square or larger. This method creates a floor that looks like a single slab.
Grout Lines for Wall
Self-spacing tiles, including the 4-inch with the aid of using the 4-inch type utilized in toilets and kitchens, are everywhere. They have lugs, which can be little protrusions that suit opposite adjoining tiles. Their grout spacing is among 1/32 and 1/16 inches.
How Long Do You Leave Grout On Before Wiping Off?
Allow 15 to 30 minutes for the grout to set prior to wiping away any extra with a moist grout sponge that has been soaked in water. If you wait too long, the grout will dry onto the tiles and cause irrevocable damage.
Sanded Vs. Unsanded Grout
Unsanded grout should be used in joints less than 1/8 inch wide. Its smooth texture and ability to adhere to vertical surfaces make it ideal for grouting ceramic wall tiles. It bonds to vertical surfaces better and does not have many lumps as sanded grout.
Sanded grout should be used for flooring and wall tile joints bigger than 1/8 inch as it resists shrinking and cracking. For most interior flooring applications, sanded grout is the best choice. Because it is more durable, can endure foot traffic, and can be utilized in larger tile joints, this is preferable over unsanded grout.
Can You Put New Grout Over Old Grout?
Yes, you can apply new grout on your old grout. All you need is a grout removal tool. Strike out the old grout using a tool, ensuring a depth of at least 1/16 inch, or the thickness of two dimes piled one on top of the other.
If the grout has severely deteriorated due to crumbling or has become excessively stained, it is recommended to remove it before putting fresh grout.
Epoxy grout is an excellent option when it comes to regrouting a tile installation. This grout significantly improves the appearance and functionality as well as safeguards the margins of your tile to prevent water from leaking in.
Why Is Grout Necessary Between Tile?
Dust and debris will find their way in between your tiles if you don't apply grout. Also, tiles will shift if there is no grout.
So grout is a critical part of your tile installation, and choosing the proper type of grout will make the difference between a beautiful, long-lasting installation and one that deteriorates into an eyesore.
In Closing
Grouting subway tiles doesn't involve complicated steps as you have seen in our discussion above. If you pick the best grout for your tiles, you will be pleased with the final results.
Before you go, you might want to check out these related posts: