
You may have previously purchased an Andersen storm and screen door, or maybe you're planning to buy one. If you're wondering how to install it, you're in the right place! We've researched the best practices for installing this storm and screen door, and we'll go over them in this post.
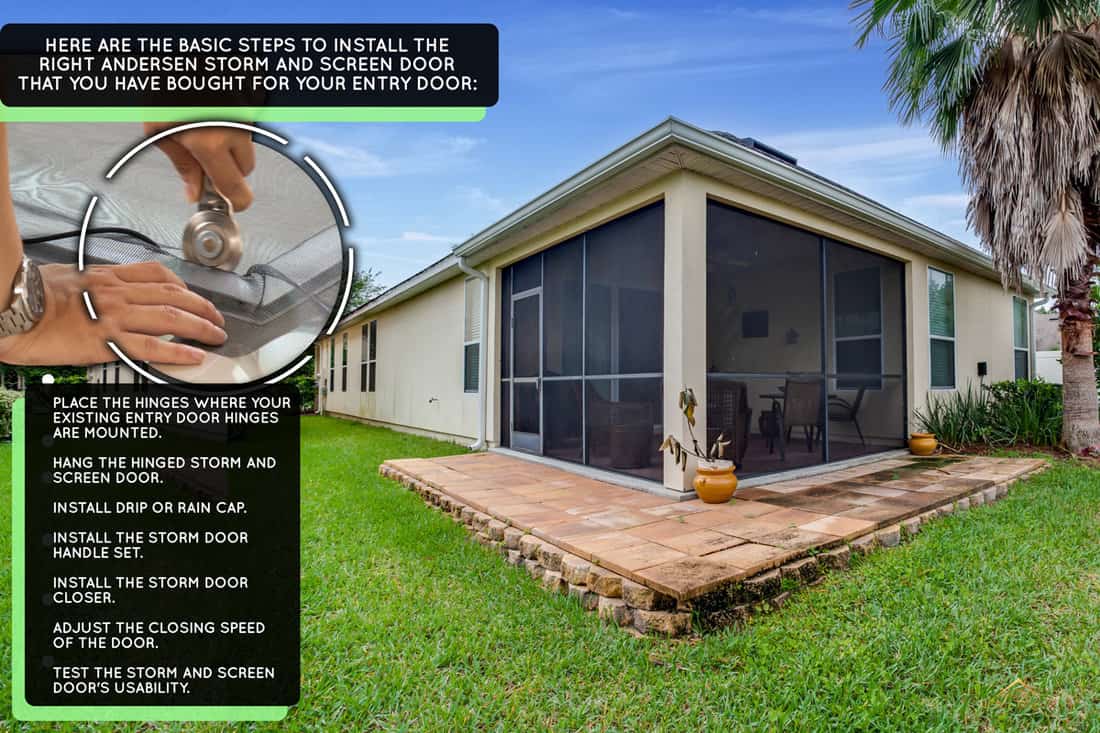
Here are the basic steps for installing an Andersen storm and screen door:
- Place the hinges where your existing entry door hinges are mounted.
- Hang the hinged storm and screen door.
- Install drip or rain cap.
- Install the storm door handle set.
- Install the storm door closer.
- Adjust the closing speed of the door.
- Test the storm and screen door's usability.
Installing this specific brand of storm and screen door is not as hard as you think, as long as you follow the steps carefully. Read on as we break down the instructions for installing an Andersen storm and screen door.
Step By Step Guide For Door Installation

We sometimes add affiliate links and content that was curated and created by our team with the help of advanced ai tools to help showcase the best design styles.
Safety first! Before installing this storm and screen door, you have to make sure that you are equipped with personal protective equipment as you will be using power tools.
Before installing an Andersen storm and screen door, prepare the following tools:
- Power drill
- Drill bits
- Screwdriver bit
- Pencil
- Spacer
- Caulk
Once you have the tools ready and you have your Andersen storm and screen door with the verified measurement for your entry door, you can proceed with the following:
1. Place the hinges where your existing entry door hinges are mounted
A storm door is often hung with its hinges on the same side as your entrance door. By doing this, the handle for the storm door will be visible when you open your front door. For your family and visitors, it is more practical and effective.
Start by positioning the hinge mounting rail inside your door frame or brick mold. Make a mark with a pencil in the center of the rail's top hole.
Drill a hole and put a placement screw in it. Leave room for your mounting rail to move below by not screwing it in all the way. Later, you will secure it.

Click here to see this Black+Decker cordless drill on Amazon.
2. Hang the hinged storm and screen door
Use a bottom spacer on the door sill to center the bottom of the door in the opening. As you tip the door into the opening, place the bottom of the door frame on the spacer.
The door frame assembly is properly positioned in the opening when the latch rail, hinge rail, and bottom spacer are flush on the mounting surface, and the door sill supports the hinge rail and bottom spacer.
3. Install drip or rain cap
To help prevent rain from getting between your storm door and entry door, the rain cap (also known as a drip cap) should be installed on the storm door unit frame above the door panel.
To install it, place the drip cap's end in alignment with the end of the newly inserted hinge rail. Check the door's functionality by closing and opening it.
Consistent top clearance is what you want. To attach the drip cap to the frame, drill pilot holes following the drip cap's markings.
If your front entrance is not protected by an awning or overhang, caulk the top of the drip cap on your storm door to prevent rain from flowing down the inside of the door.
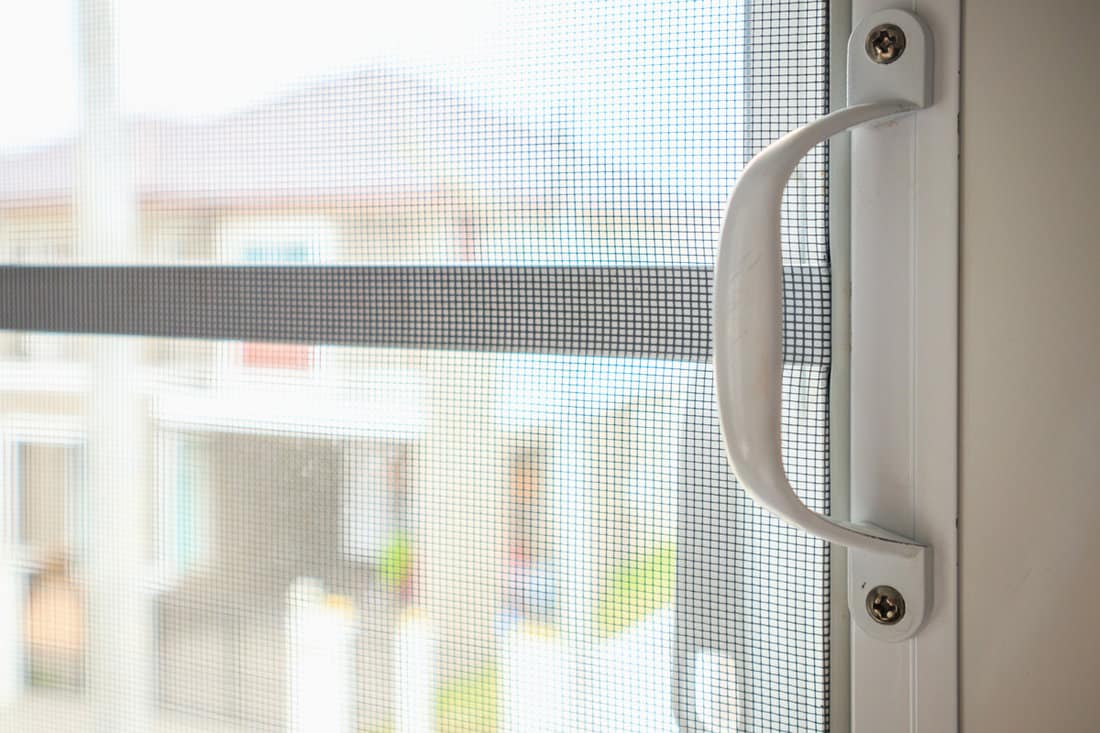
4. Install storm door handle set
Andersen storm and screen doors have existing pre-drilled holes for the handle set. They usually include a door handle.
The process for installing your hardware varies depending on the design and model you select. For correct installation, consult the instruction booklet or the online guide on how to install your handle set.
5. Install storm door closer
Install the jamb closer bracket on the hinge side of the door. Mark the location of the holes with a pencil before drilling 1/8-inch holes into the storm door.
Screw the bracket for the jamb closer to the door into place. Attach the door closer bracket to the other door closer bracket and the jamb closer bracket.
Close the storm door and line up the bracket holding the door closer—with the bracket on the opposing side and the top of the expander. After marking the pilot holes with a pencil, predrill the holes, then screw the door closer bracket into position.
Storm door closers keep storm and screen doors from swinging and extend the life of the door.
6. Adjust the closing speed of the door
This particular feature of your storm and screen door is important. Door closers help to make any home quieter and more pleasant. They help to save fuel and avoid drafts by automatically closing doors that may have been left open carelessly.
- To start, let the door close after opening it. Take note of how quickly the door closes.
- Bring it closer to the appropriate speed with a Phillips head screwdriver.
- Turn the adjustment screw to the left to speed up the closing process (counterclockwise).
- Turn the adjustment screw to the right to slow down the closing speed (clockwise).
- After each adjustment, check the door's closing speed. To get the required door closing rate, you may need to tighten the screw even further.
For more information, you can check out this post: How To Adjust A Screen Door Closer Mechanism.
7. Test the storm and screen door's usability
After fastening each hinge to the door frame with a screw, test the door's support with a few openings and closings to make sure the hinges are working properly.
The hinges should not be sagging or crooked, so pay particular attention to them. If they do, use a drill or screwdriver to tighten them up. Try either tightening or loosening the mounting screws to see if that helps if the door seems like it's rubbing against the frame.
You can also check out these other installation guides for a variety of Andersen storm and screen door models.
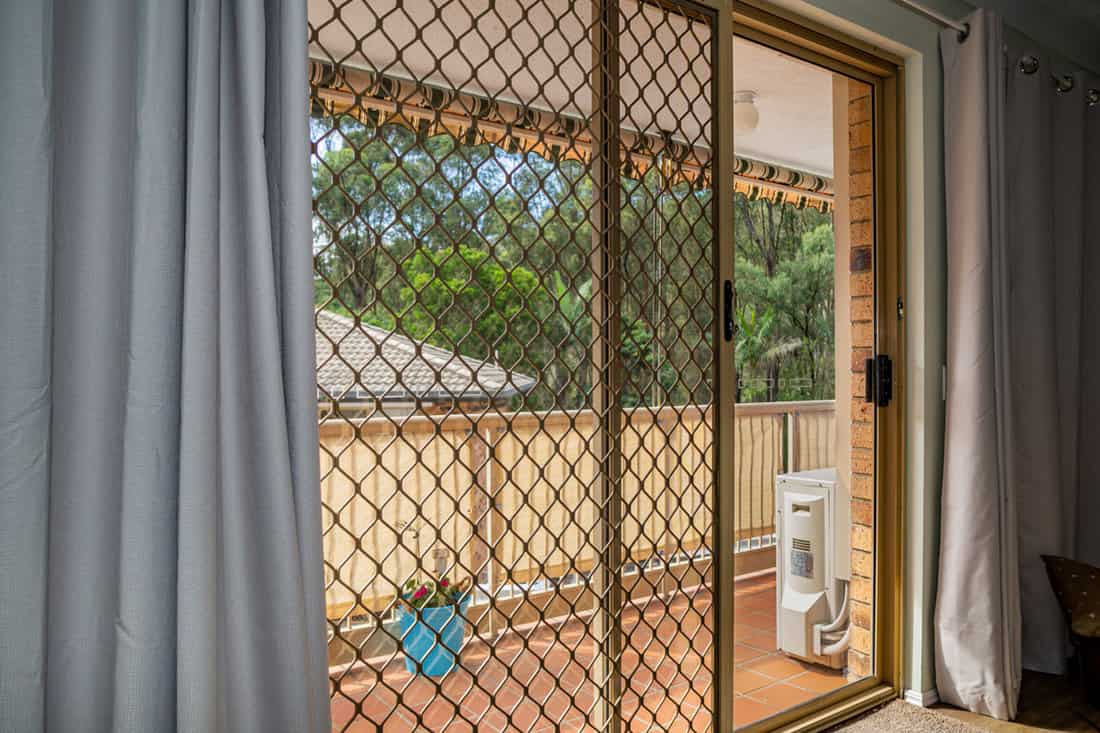
What Are The Benefits Of A Storm And Screen Door?
Technically, storm doors and screen doors are two different things. But the Andersen storm and screen door is a combination of these two doors. Here are a few benefits of installing this type of door on your house.
- It deters insects from landing on normal doors by creating a second layer that they must get through to enter your house.
- A storm and screen door adds another layer of protection against prospective threats. Any intruder who tries to enter through the front entrance will have to go through two doors rather than one. Getting through a locked door is rarely easy, so doubling it is a considerable obstacle.
- It lets in the most light possible and allows air to flow while artistically framing your front door.
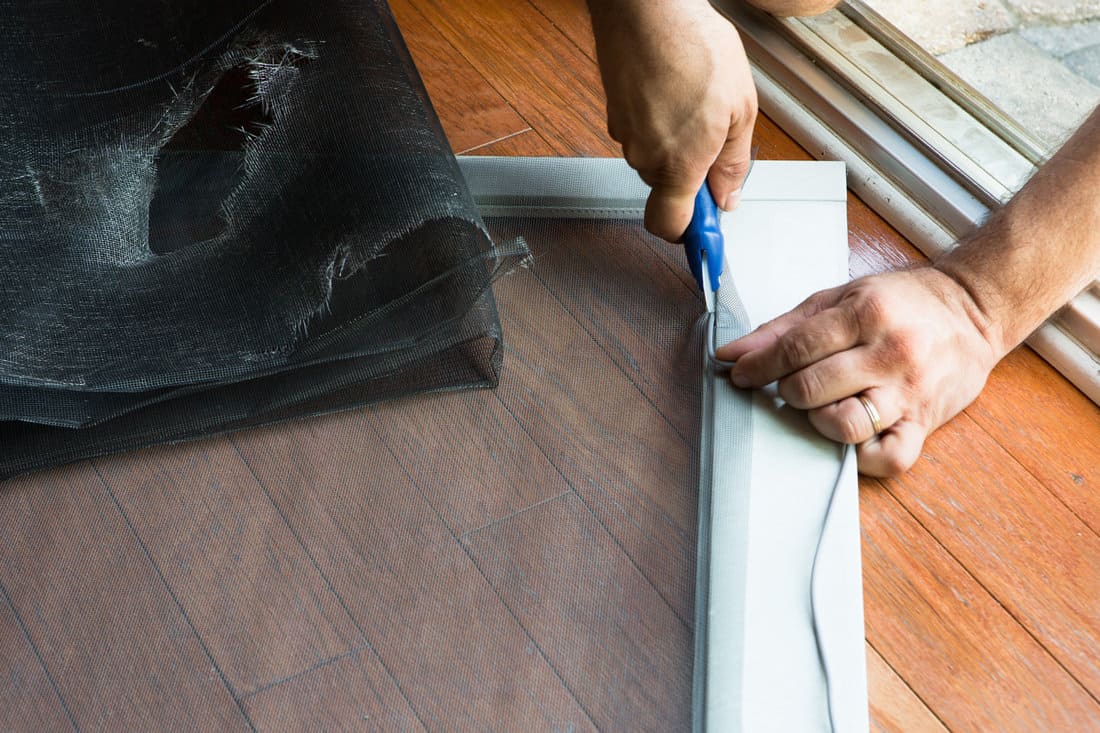
The Andersen storm and screen door is equipped with a screen and glass panel. When summer comes, you can remove the glass door to let fresh air come in.
For more insight, check out this post: How To Remove Glass Panel From Storm Door.
How Much Is An Andersen Storm Door?
An Andersen storm door typically costs around $200 to $600. Prices for Andersen storm and screen doors vary depending on the features, options, and styles that suit your preferences.
Does An Andersen Storm And Screen Door Have A Lifetime Warranty?
Andersen storm doors have a limited lifetime warranty for paint resistance, frame, and hinges. Other parts of the storm and screen doors are covered by a limited warranty of 5 years.
Can You Install A Storm and Screen Door Yourself?
Yes! It is possible to install it yourself, as long as you have the necessary tools and the appropriate detailed guide from the manufacturer.
Andersen storm and screen doors have several creative features that make them not only simple to operate but also simple to install.
In Closing
We have discussed the steps to install an Andersen storm and screen door and provided tips that you can use whenever you want to install your own door.
Having the correct storm door may be crucial for the comfort of your home and for protecting your entry door. Use the right tools for installing the door to achieve and maximize its usability and longevity.