One of the first things that people see when they go past your house is your mailbox. It sits right on the edge of your yard, and it's your first chance to show your property off to the neighborhood. Unfortunately, new homes don't always come with mailboxes. They 6985can also become damaged by storms and wear down over the years. So when it comes time to replace it, you need to know what you're doing. That's why we have researched how to install new mailboxes on existed wooden and metal posts, so you don't have to!
Installing a new mailbox on an already existing post is a fairly easy process. The two types of posts that you will see are either wooden or metal. The steps to installing a mailbox differ a little depending on which type of post you have. So we have broken down the process for both situations.
Metal
- Gather your materials
- Find the best placement for the mailbox
- Place the bracket onto the post
- Attach your mailbox to the bracket
Wood
- Secure materials
- Take measurements and cut wood
- Center and install wood plank
- Find the best placement for your mailbox and mark for drilling
- Drill the holes and finish the installation
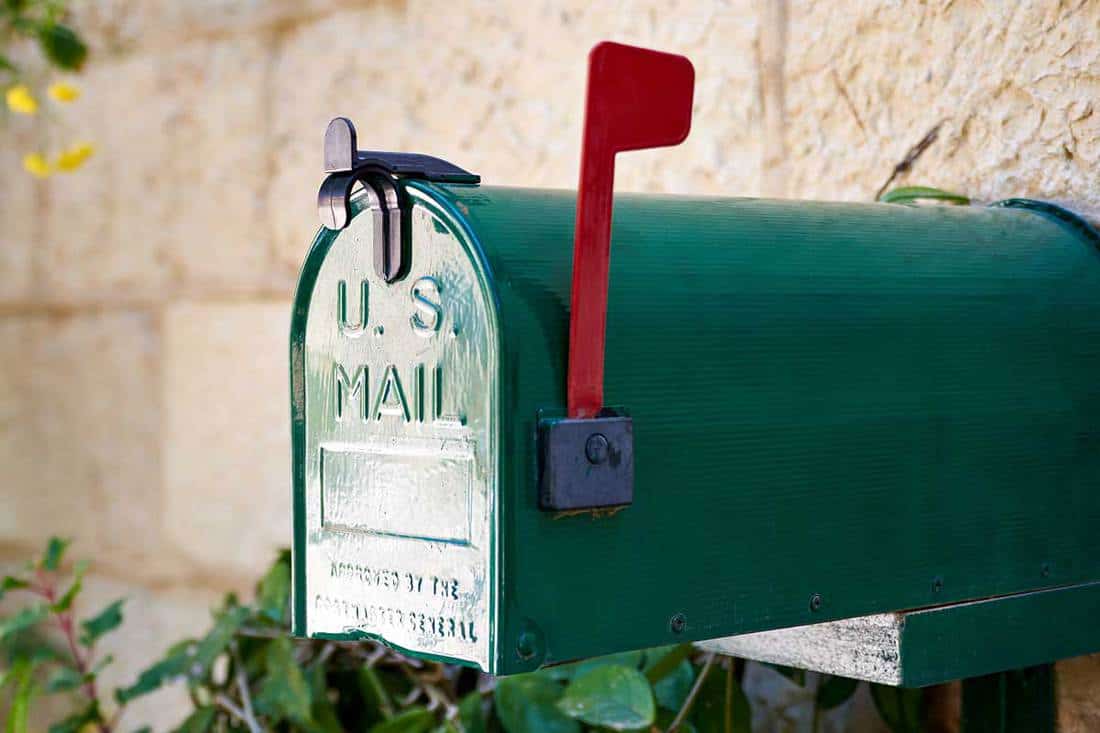
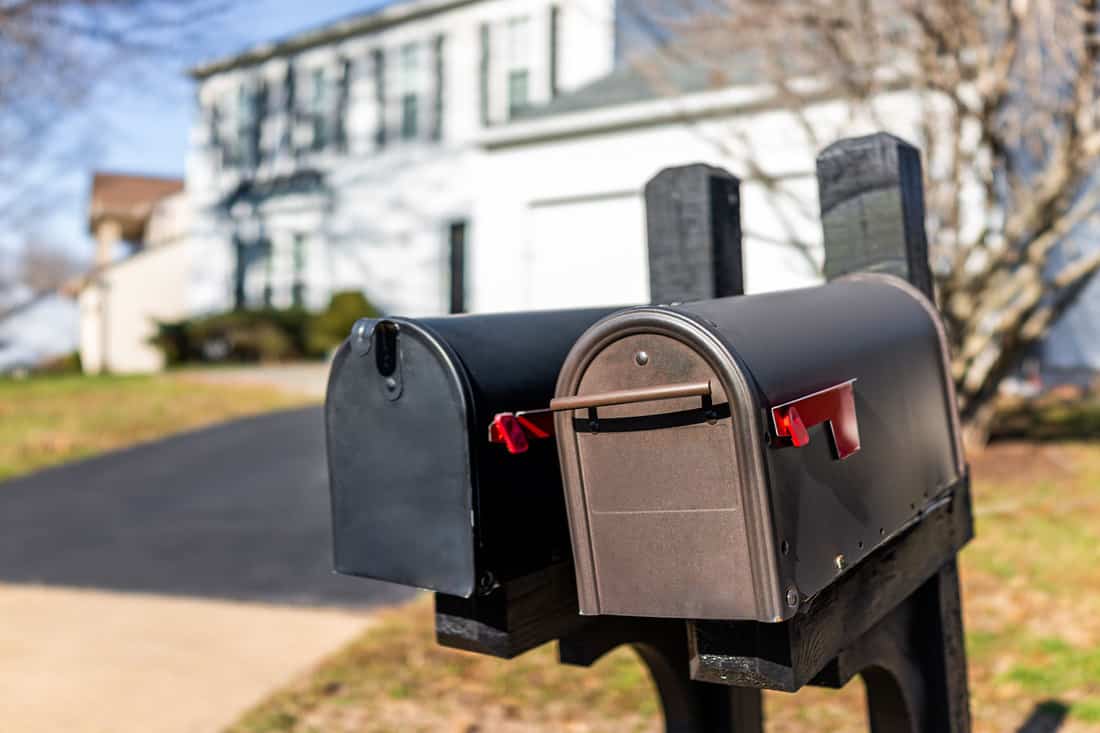
Mailboxes are obviously very important to have. You need them to receive your mail in a way that's convenient for your local mail carrier, and they can help you make a statement. Mailboxes come in an endless variety of shapes and sizes for you to choose which one suits you best. That's why it's so important that they are installed on their posts properly and securely. Make sure to keep reading down below so you can know exactly how to install your mailbox as best as possible!
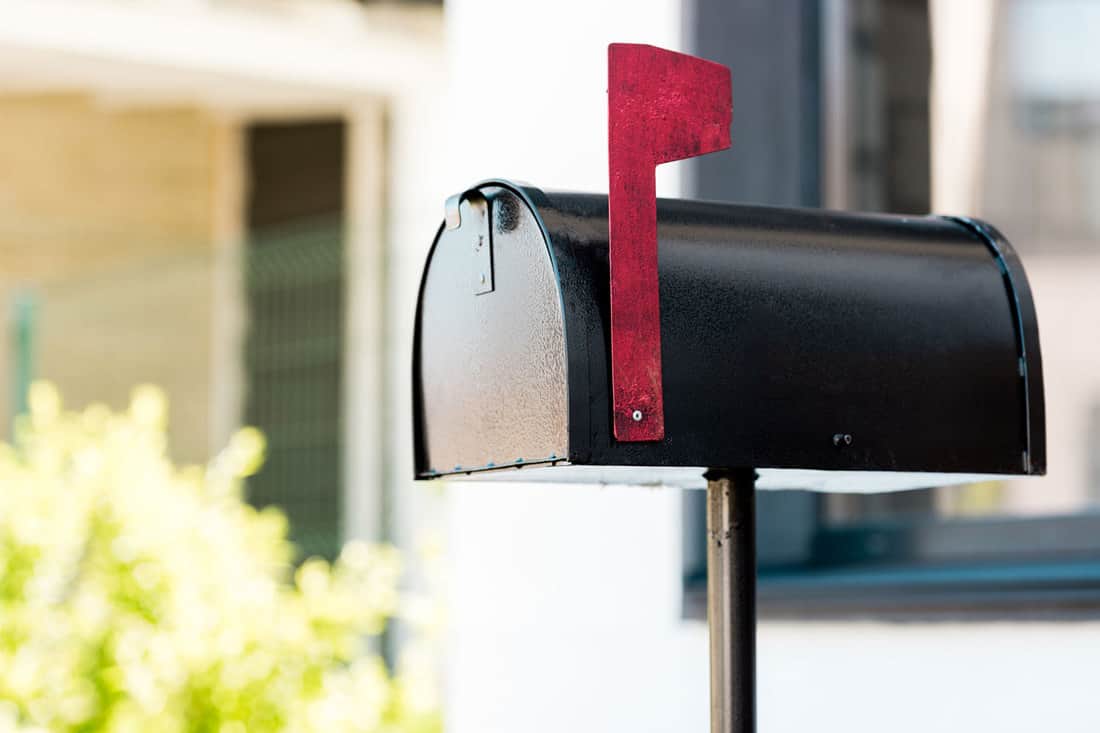
How Do You Install A Mailbox On An Existing Metal Post?
If your existing post is metal, you might be happy to know that it takes a little less work than with a wooden post! With a metal post, you will need to purchase a kit and make sure that you have the proper tools to do the job safely. There are fewer steps than installing a mailbox on a wooden post has.
We may include affiliate links and curated AI content to highlight top design styles.
1. Gather Your Materials
When getting your materials together for this job, you will need a few tools and some pieces of hardware. Aside from the mailbox, you will need to purchase a mounting bracket for your existing metal pole. Ensure that the bracket you get fits with the type of metal post you have since there are few different varieties. If you purchase a kit, it should come with any necessary screws and instructions for that specific bracket.
Once you have the mailbox and bracket, you will need your tools. The main tools you will want for this job are a drill and a screwdriver or powered screw gun. You may also want a pencil or marker to mark spots for drilling if necessary. Finally, don't forget any essential safety equipment.
2. Find The Best Placement For The Mailbox
This step should be easy regardless of what kind of metal post you are installing your mailbox on. All you need to do is set the mailbox loosely on the post to determine the best placement. Do this before you do any drilling to make sure it will be properly centered on the post. Use a pencil or marker to help remember the exact placement if necessary.
3. Place The Bracket Onto The Post
After determining the best placement for your new mailbox, it's time to install the bracket. There are a couple of different kinds of brackets, so depending on which one you have purchased, you either install it onto the post or the mailbox first.
Regardless of which kind you are dealing with, make sure to follow the directions included either with the bracket kit or the mailbox. Since there are so many different kinds of mailboxes, the instructions are important for this project.
4. Attach Your Mailbox To The Bracket
The final step is to put everything together. Use the screws provided along with your screw gun to attach the mailbox to the bracket or brackets. Then, make sure that it is firmly attached to the post if the bracket wasn't previously installed.
Since you are installing on an existing post, there may be existing holes for the screws on the post. However, they may be incorrect for the type of mailbox you purchased. Whether that's the case or there weren't any holes at all, you can use your drill to make the necessary holes.

Click here to shop for metal post mailbox brackets on Amazon!
How Do You Install A Mailbox On An Existing Wooden Post?
If you have an existing wooden post for your mailbox, you may find that there are a couple more steps than with a metal post, but it is still pretty straightforward.
1. Secure Materials
For installation on a wooden post, you'll want similar tools to installing a mailbox on a metal post. Except, instead of brackets, you'll want a piece of wood to cut and place under your mailbox. You can use a 1x4 or 1x6, depending on the size of your mailbox.
Then you will need a saw to cut your wood and a measuring tape, pencil, drill, screwdriver, and screws. Make sure to use any necessary safety equipment for this job as well!
2. Take Measurements And Cut Wood
When measuring for the wood placed on the bottom of your mailbox, you want to make sure not to make it the exact measurements. You'll want the wood plank to be slightly smaller than the bottom of the mailbox. You can measure the bottom of the mailbox and subtract half an inch or so.
This is to make sure that the piece of wood fits into the bottom of the mailbox and that the box can still properly open without the bottom of the door hitting the wood. Lastly, use your preferred saw to cut the wood to your measurements.
3. Center And Install Wood Plank
You can either center the wood on the post or place it slightly forward if you want the front to stick out a bit more. It should be secure either way. Once you have the wood plank where you want it, you can start drilling. Place the holes and then screw through the wood and directly into the top of the post. The amount of wood screw you use is up to you, but use at least four of them. One screw for each corner will make sure your new mailbox secure!
4. Find The Best Placement For Your Mailbox And Mark For Drilling
Once the wood is secure on the post, you're in the home stretch! Now you need to center your mailbox over the wooden plank. This should be easy to do as the wood will fit into the bottom of the mailbox. The metal will overhang around the wood, and you shouldn't be able to see it at all. After you get the placement correct for the mailbox, you will notice that there are holes along the side of the metal that you can put the screws through to attach to the wood. If there are no holes, then you can drill some. Then, use our pencil to mark those spots for drilling.
5. Drill The Holes And Finish The Installation
Now that the holes are marked, you can drill your holes into the wood. This will help to secure the screws a little easier. Use a drill bit that is a little smaller than your screws. Make sure to drill the holes as straight as possible since it is only a 1-inch deep piece of wood.
Finally, you can set your mailbox onto the wood plank and finish the installation. The holes on the mailbox side should line up with the holes you just drilled into the wood. Then, you have to place your screw or bolts, depending on what you choose to use. Now your new mailbox is all set up!
Here is a great video showing the process in more detail!
Other Mailbox Installation Questions
Before you use this new knowledge to install your mailbox, there may be some more questions that you will want to be answered.
How Much Does It Cost To Install A Mailbox?
The cost of this project can vary depending on many different factors. According to this mailbox installation cost breakdown, if you do it yourself, it will cost an average of $125. If you hire someone to do the job, it can cost an average of $285. However, the price tag on doing this job yourself can be as low as $20, depending on how much you spend on a mailbox and materials.
Which Side Of The Driveway Does The Mailbox Go On?
There are some rules for where you can place your mailbox. However, it doesn't matter if it is on the right or left of your driveway. As long as it is on the right side of the road and 6 to 8 inches back from the curb, then your mail carrier can reach it.
Can I Put A Sticker On My Mailbox?
You can place stickers and customized decals on your mailbox. Many individuals put a customized version of their family's name and similar things on their mailbox. Just make sure that you can still read your house or apartment number clearly on the mailbox.
Final Thoughts
Whether you have a metal or wooden existing post, it still makes the job easier than putting in a new post. While there are a couple of differences in installation for the two types of posts, both jobs are simple enough to do on your own. While installing your new mailbox, make sure that it adheres to the postal regulations in your area and that it is securely attached. Once the job is done, you can look forward to having a new mailbox that the whole neighborhood will envy!
To learn more about mailboxes, make sure that you click on the links below!

![Get Your Roof Ready: How to Apply Aluminum Roof Coating [Step by Step Guide]](https://homedecorbliss.com/wp-content/uploads/2023/08/shutterstock_1624204837-600x400.jpg)