
Are you working on a project to replace or install sidings on your house, and do you want to know how to install them around an electric meter? You’ve come to the right place, for we have researched this question, and we have the answer for you.
Here is a summary of the steps that you could follow to install sidings around the electric meter.
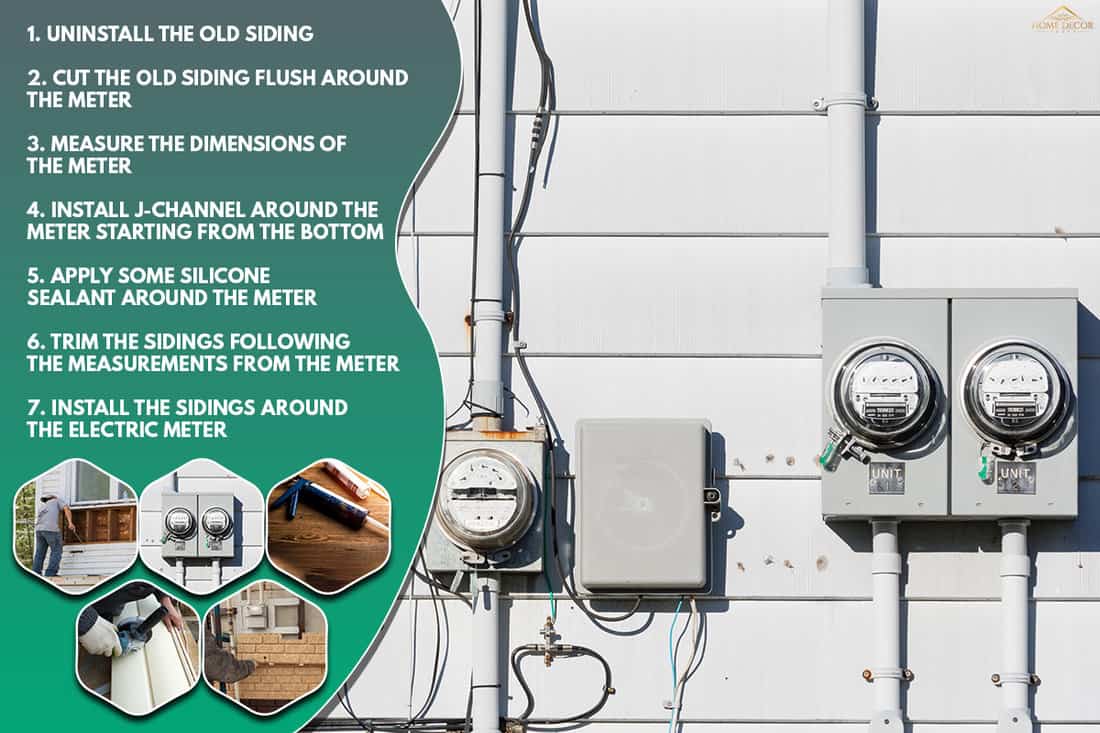
- Uninstall the old siding.
- Cut the old siding flush around the meter.
- Measure the dimensions of the meter.
- Install J-channel around the meter starting from the bottom.
- Apply some silicone sealant around the meter.
- Trim the sidings following the measurements from the meter.
- Install the sidings around the electric meter.
Let’s talk more about installing siding around an electric meter in the succeeding sections. Learn how to install weatherproofing around the electric meter before installing the siding in the sections below.
Read on!
Sidings And Electric Meters
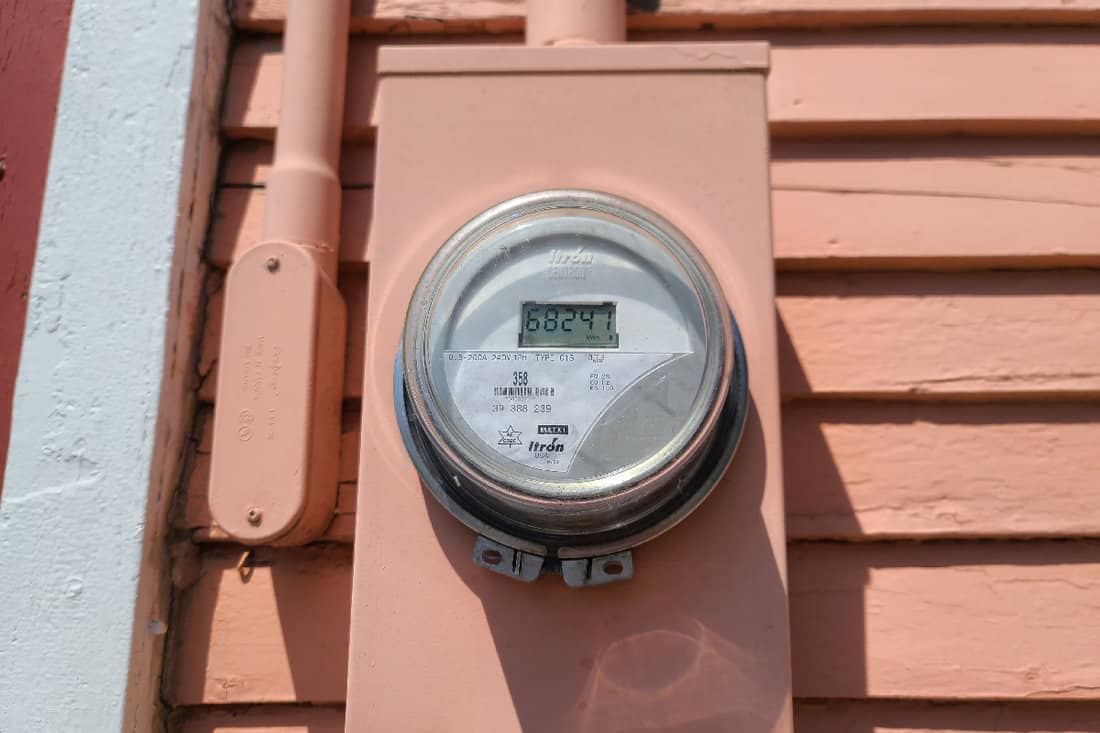
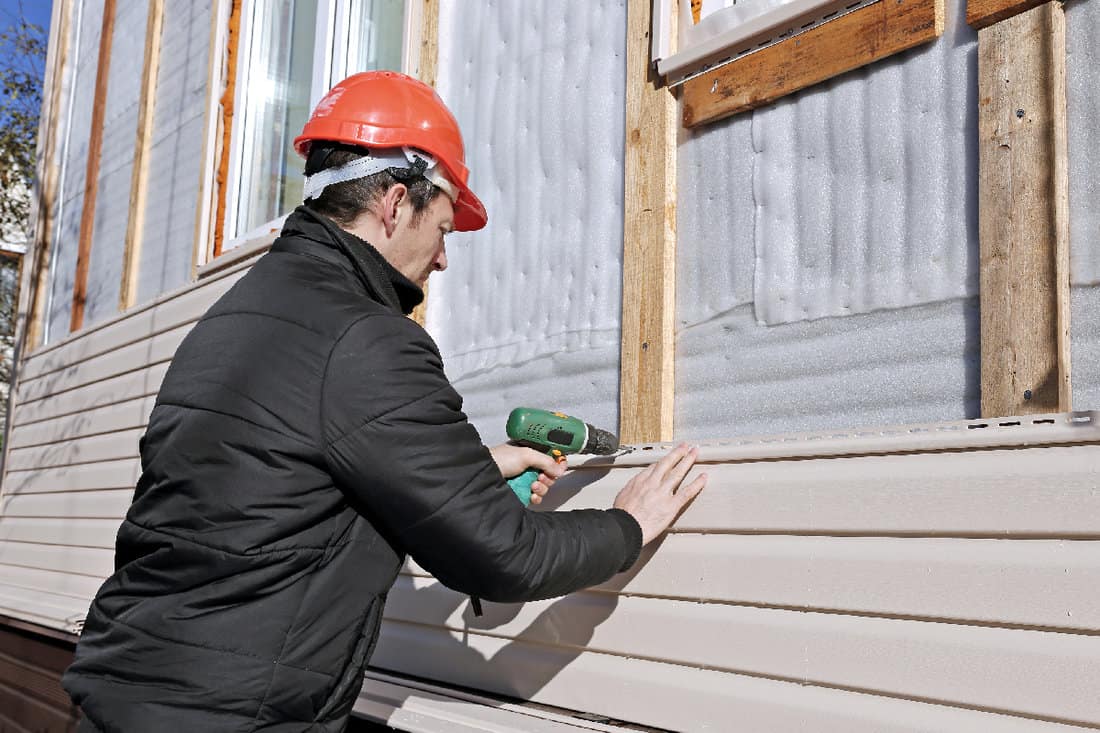
Installing siding is an easy weekend DIY for most people. However, an electric meter on one of the walls can make it more challenging because there is a large object that is jutting out of the wall that blocks the smooth siding installation.
We sometimes add affiliate links and content that was curated and created by our team with the help of advanced ai tools to help showcase the best design styles.
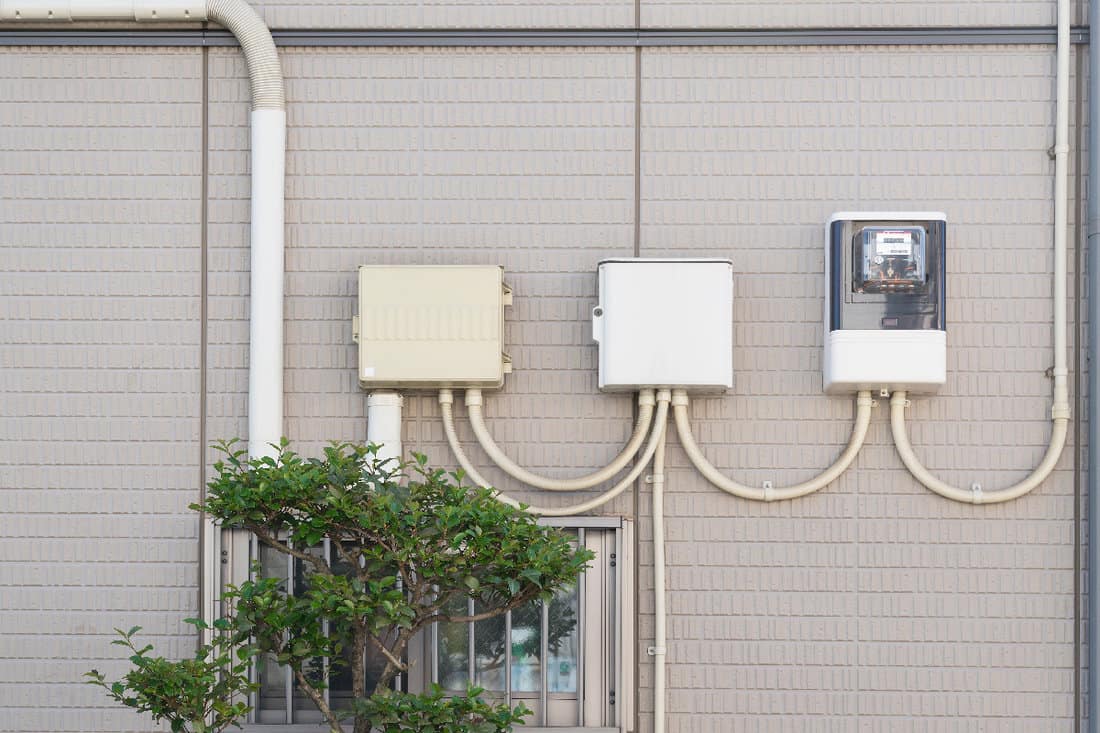
This problem is the same for other objects that are sticking out of your exterior walls, like an outdoor electrical socket or a faucet. Fortunately, you can follow the same steps below for all of these issues, modifying them slightly for other objects.
You can start the installation of your siding on the exterior walls that do not have any obstruction, including the installation of the corners and the starter strip for the sidings.
Once you finish the installation on those walls, you can proceed with the steps below.
However, it is a good idea to read through the first few sections below. You might pick up some tips that will help you with the initial installation of sidings on the other walls.
How to install siding around an electric meter?
Ideally, you should install the electric meter over the siding. Install a J-block over the wall, then install the meter over the J-block.
Alternatively, you can install a wooden board at least half an inch thick over the siding. Install your electric meter over the wooden board. Next, connect the conduit from the bottom of the ground to the bottom of the meter.
This installation minimizes the amount of siding that you need to trim around the electric meter.
The less siding you cut away, the better protection it will provide.
However, if the siding is around the electric meter, the priority would be to water seal the siding installation. If water gets into the back of the electric meter, it will be hard for it to dry because there is very little air circulation. Water and moisture here can lead to water damage, wood rot, and mold growth.
Additionally, since the electric meter is metal, water getting through will make the insulation less effective around the area of the electric meter. The water damage will also cause the insulation in that area to become less effective.
Thus, the best first step is to get the utility company to turn off the electricity that goes to the meter. This will allow you to remove the electric meter and inspect the current state of the wood behind it. If there is water damage, you will need to fix that first before proceeding with the installation of the siding.
Once you have the new siding there, it will be a waste if you have to remove the new siding to fix any damage later.
Let’s look at the complete steps to installing siding around the electric meter below.
Removing The Old Siding
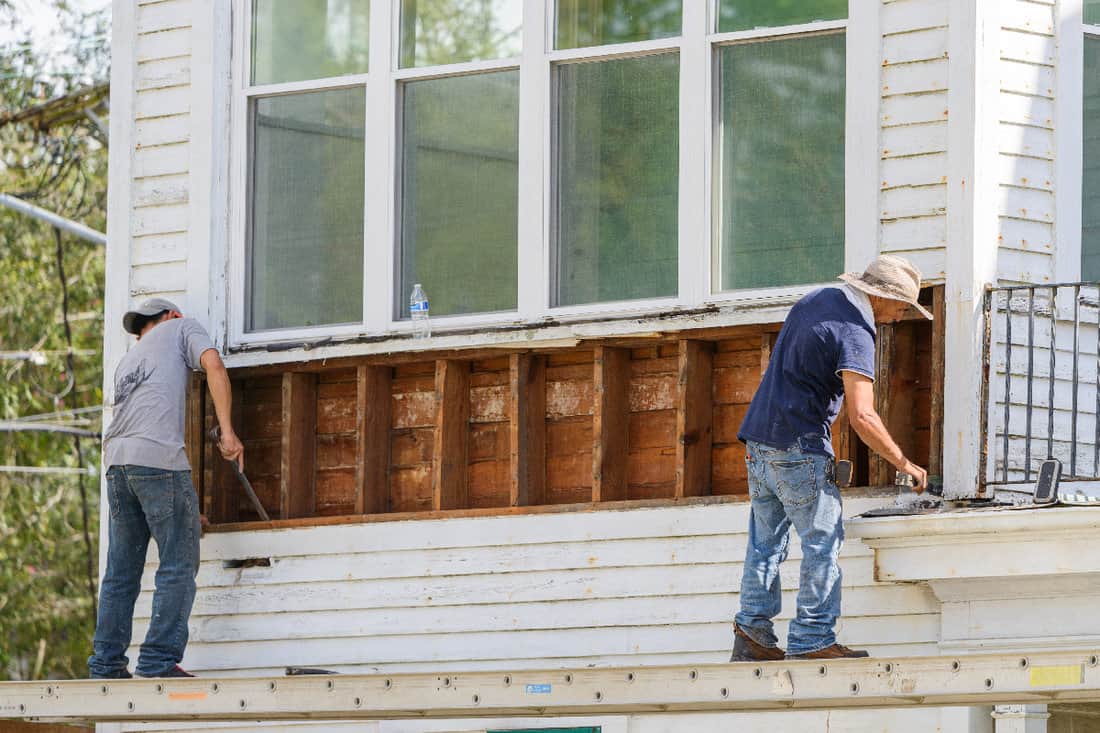
- Remove all surrounding sidings. If some of the sidings are under the electric meter, cut them off. Do not force them off by pulling or tugging at them because that could loosen the electric meter or damage the connections.
- Trim all the old siding that you cannot remove. You can trim any old siding under the electric meter until it is flush with the meter.
- Once you have all the old siding out, check the house wrap under the siding.
-
- Instead of the old tar paper or asphalt felt that you see in older houses, a house wrap serves as the new weather-resistant barrier for modern homes.
- If the house wrap is still intact, you don’t need to do anything else to it other than make patches where you need to.
- However, if your house still has the old tar paper or asphalt felt, this is your chance to replace that with house wrap if you want. Asphalt felt is not a sustainable building material because it comes from crude oil.
- Replace or repair the house wrap before proceeding to the next step.
Making Measurements
- Measure the dimensions of the electric meter.
- Next, measure the distance from the ends of the walls to the nearest edge of the electric meter. When making your measurements, add a quarter-inch distance from the edge of the electric meter.
-
- This gap is to allow the expansion of vinyl or wood sidings that you will install.
Starting At The Bottom
- Measure two J channels that are equal to the width of the meter plus two inches. The first is for the bottom and the second is for the top of the meter.
- Notch out one inch from the bottom of both ends of the J channel for the bottom of the electric meter.
-
- Make sure to cut the J channel with a sharp cutting tool to prevent any uneven edges. One side of the J channel will be the front side.
- Be careful when cutting J channels in cold weather. They can crack when the weather is cold.
- Press it against the bottom of the meter until it is flush.
- Use aluminum nails to fasten it. One edge of the J channel has a flange for nailing them in place.
-
- Do not nail the J channel too tightly to the wall.
- Make sure that it can still slightly slide left to right. This is important to give the J channel the ability to expand and contract with temperature changes.

Crescent Wiss MetalMaster Compound Snips is available on Amazon through this link.

Minuteman Aluminum Ring Shank Nails is available on Amazon through this link.
Weatherproofing The Sides
- Take a J channel and mark it with the height of the electric meter plus two inches.
- Cut the J channel according to your markings. Repeat these first two steps so you’d end up with two J channels with equal height. Tin snips are effective in making a clean cut on your J channel.
- Take one J channel and position it the way you will install it on the side of the electric meter.
- Make a miter cut on the face of the bottom end of one J channel.
- Cut a rain tab next to the miter cut. Fold the rain tab 90 degrees to the bottom of the J channel.
- Notch out one inch from the bottom of the opposite end of the J channel.
- Take the first J channel and place it against the electric meter.
-
- The bottom miter cut should overlap the edge of the bottom J channel.
- The rain tab should overlap the bottom J channel.
- Use aluminum nails to fasten the J channel.
- Place a few more nails in the same way until you have the first J channel secure. Place one nail every 12 to 16 inches of the J channel’s height.
- Repeat Steps 2 to 8 for the J channel on the other side of the electric meter. Make sure that you’re cutting the correct end because the cut at the top and bottom end of the J channel is different.
-
- Make sure that the J channel can slide up and down after you install all the nails.
Weatherproofing The Top
- Make a miter cut at the one-inch mark on both ends of the top J channel.
- Cut a one-inch rain tab on both ends.
- Fold the rain tab at a 90-degree angle to the bottom of the J channel.
- Place the J channel on top of the meter.
-
- The rain tab should overlap the J channels on the left and right of the meter.
- Insert the tabs of the right and left J channels into the miter cut of the top J channel.
- Nail the top J channel, but not too tightly.
-
- Make sure that the top J channel can still slide a little from left to right after you install all the nails.
- Apply some silicone sealant on the corners of the J channels where they meet and overlap.
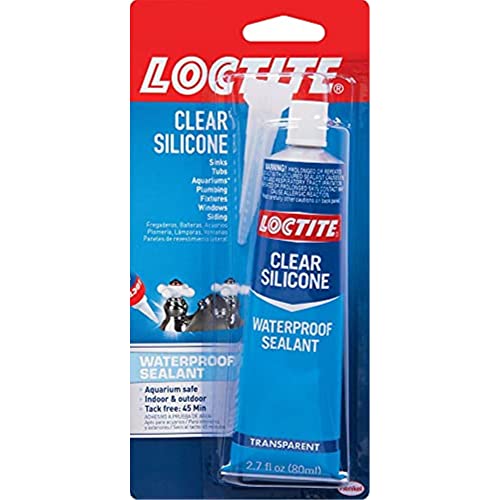
Henkel Clear Silicone Sealant is available on Amazon through this link.
Installing The Sidings
- Measure your sidings from the edge of the wall to the nearest side of the meter. Take off a quarter of an inch from the total measurement.
- Trim the sidings based on this measurement.
- Install the sidings. The end of the siding nearest the meter should slide inside the J channel.
- Continue with the same steps until you complete the siding installation.
Conclusion
The most important part of installing siding around the electric meter is waterproofing it with a J channel. Install the J channel and seal it before you install the sidings.
If you enjoyed reading this article, you might find the articles below equally enjoyable to read: