
Bedside tables are an important piece of bedroom furniture. Not only do they hold your emergency glass of water, but they can also add a touch of elegance or style to your bedroom. But as we all know, preferences and styles can change. You want to update your room but don't want to shell out the extra cash for new bedside tables. How do you paint a bedside table? We've done some research and have information for you!
To do a thorough job painting your bedside table, you must:
- Thoroughly clean the table after removing any hardware.
- Strip/sand the previous finish
- Apply primer in a well-ventilated area
- Paint the bedside table
- Apply sealant/finisher to protect
- Reattach any hardware
These are the basic steps to painting your bedside table, but there are many more details involved. Keep reading as we elaborate on each step and recommend some great products for your project. We'll try to cover some additional questions you might have too. Continue scrolling!

What tools will you need to paint a bedside table?
Every good project starts with an assembly of the proper tools. There's nothing worse than getting midway through a do-it-yourself job and realizing you don't have everything you need to complete it. For this project, you'll need:
- Furniture cleaner
- multiple tack cloths or clean, lint-free cloths
- Screwdriver (if removing any hardware)
- Sandpaper or paint stripper
- Putty knife (if using paint stripper)
- Primer
- Multiple paintbrushes
- Newspaper
- Appropriate paint or stain
- Furniture sealant/finished
1. Thoroughly clean the table after removing any hardware
Begin by setting up your workspace. Complete your project on smooth flooring. Put down newspaper to set the furniture upon so that no stray paint or other detritus makes its way onto your floors.
A well-prepped surface is key to a great paint job. Before starting, use your screwdriver to remove any hardware on your bedside table. Once done, clean the entire surface well with a mild soap or furniture cleaner and a clean, lint-free cloth. Allow to fully dry before moving on to the next step.

View this wood cleaner on Amazon.
2. Strip/sand the previous finish
You need to remove the previous paint job and/or give some grit to your bedside table to get it ready for the next steps. The best way to accomplish this is with medium-grit sandpaper. If you don't want to put in the elbow grease to get this done with just your hands and sandpaper, most hardware stores have power sander rentals to make the job a breeze. Also, consider using a sanding block instead of just sandpaper, as the block tends to be easier to grip.


View this sandpaper on Amazon. View these sandpaper blocks on Amazon.
Alternatively, you can use a stripper to get the old paint off. Although sandpaper is preferred, stripper takes the manual labor out of removing the old paint or stain. Stripper uses harsh chemicals to "strip" the finish from the furniture. Follow the manufacturer's instructions for whatever stripper you use. After it sits on the surface for the appropriate amount of time, use a putty knife to scrape away the paint. You will likely still need some sandpaper for stubborn spots. After stripping, be sure to follow the stripper's instructions to clean up afterward. Any stripper left on the wood's surface could make priming and painting difficult.
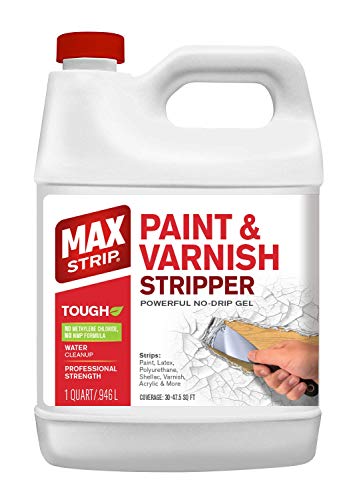

View this stripper on Amazon. View this putty knife on Amazon.
3. Apply primer in a well-ventilated area
After the furniture has been sanded or stripped, make sure the surface is fully dry and clean. Use a tack cloth over the table's entirety to ensure the surface is free of any debris or lint.
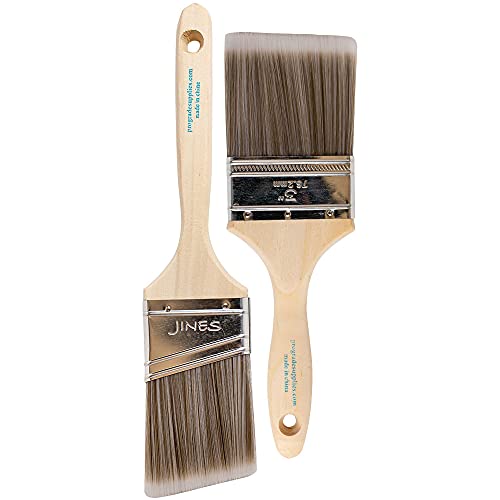
With a clean, dry brush, apply primer to the bedside table. Priming is an essential step to hide any imperfections and ensure the primary paint has a strong base on which to adhere. Using a high-quality brush will assist in even distribution and make your work much easier. Always apply a primer or paint along the grain of the wood.
Primer also comes in spray form. Spray primer allows quicker application but can be tricky, especially if applying outdoors and there is any wind. Either method you do, allow the primer to fully dry before moving on. We recommend applying at least two coats of primer before continuing. Sand in between coats to handle any places where the primer was overapplied, or there are visible drip marks.

4. Paint the bedside table
Once the primer is completely dry according to the manufacturer's instructions and the table is sanded, it's time to apply the paint. Use a tack cloth over the table's surface just before painting to ensure the surface is free of dust.

View this tack cloth on Amazon.
Use smooth, even strokes with a nylon paintbrush, again going with the grain. Avoid overapplying and excess dribbles; try to catch them before they set. Apply at least two coats of paint, allowing the table to fully dry in between coats. Use a tack cloth and sand any imperfections in between coats of paint. Once you're finished painting, allow the table to dry for a full 24 hours at least before applying sealant or finisher.

5. Apply sealant/finisher to protect
Once it's time to apply the protective coating over your paint job, once again ensure you use a tack cloth to ensure the surface is free of lint. Sealant is applied using a paintbrush, cotton rag, or it comes in spray form. This sealant or finisher will protect your piece from stains or moisture. Apply two coats if desired, ensuring the surface is dry before applying the second coat.

6. Reattach any hardware
Before reattaching any hardware, make sure the entirety of the table is completely dried. Most products will be ready after being left to cure for about 24 hours. Use a screwdriver to reattach all the hardware. Now you have a fully customized bedside table you've revamped all on your own!
If you are more of a visual learner, check out this youtube video on the furniture painting process:
Looking for some tips on how to revamp your bedroom? Read our post, "11 Cool Bedroom Decor Ideas".
How do you paint furniture without sanding?
Using an oil-based primer can assist with prepping furniture without sanding. Alternatively, you can use stripper, as discussed above. If you just use an oil-based primer, be aware your paint job likely won't last as long. To get the most life out of your furniture, paint, sanding, and prepping is the best method. Without any grit on which the paint can adhere, the color or stain just isn't going to stand the test of time. Though many paints advertise "no sanding or priming," skipping those steps can be detrimental.
Do bedside tables need to match?
Though we most commonly see matching bedside tables, they definitely do not have to be the same table. If you opt for hodgepodge bedside tables, try to maintain a cohesive look, such as using the same color and basic style. Of course, the most important part of interior decorating is your own personal taste, and the bedroom could arguably be the most important place to feel content. Do what looks good to you!
What is the most popular color for bedroom furniture?
Light-colored furniture is the most popular in bedrooms because they open up the space and make it feel larger. Light colors also make one feel at ease. Neutral, easy on the eye colors are best for the bedroom, such as white, light gray, or cool blue.

In Closing
Painting your bedside table is a fairly simple, straightforward task. The biggest barrier is waiting on the primer, paint, and stain to dry. With a little patience and beautiful paint colors, you can refresh the look of your room! Enjoy.
Now that you know how to paint that bedside table, how will you decorate it? Read our article for some inspiration!
Very informative blog! All the information provided by you is really helpful for all. I agreed that tack cloth is the best cleaning tool than any other, it is really helpful for removing tiny dust particles over any surfaces. A good tack cloth makes your work easier. Thank you for sharing this article. Keep posting!