
You can find almost any furniture you need at an IKEA store. Though, we can't always have our preferred color of it. When this happens, the solution is to paint it! How do you that? If you need help painting an IKEA dresser, let's go over the details!
Painting an IKEA dresser is a relatively simple job. The steps are nearly the same as painting any wood furniture. However, most IKEA dressers are medium-density fiberboard, so we can't sand it down to the wood. Instead, we'll have to:
- Clean the surfaces that will be painted.
- Lightly sand the dresser and drawers.
- Apply a primer.
- Apply the paint.
As you can see, the steps don't look too complicated. But, it's not always as easy as it seems. You want to avoid making mistakes when applying the primer and the paint. Learning about the process before you do it helps a ton. So, if you'd like to learn more, keep reading.
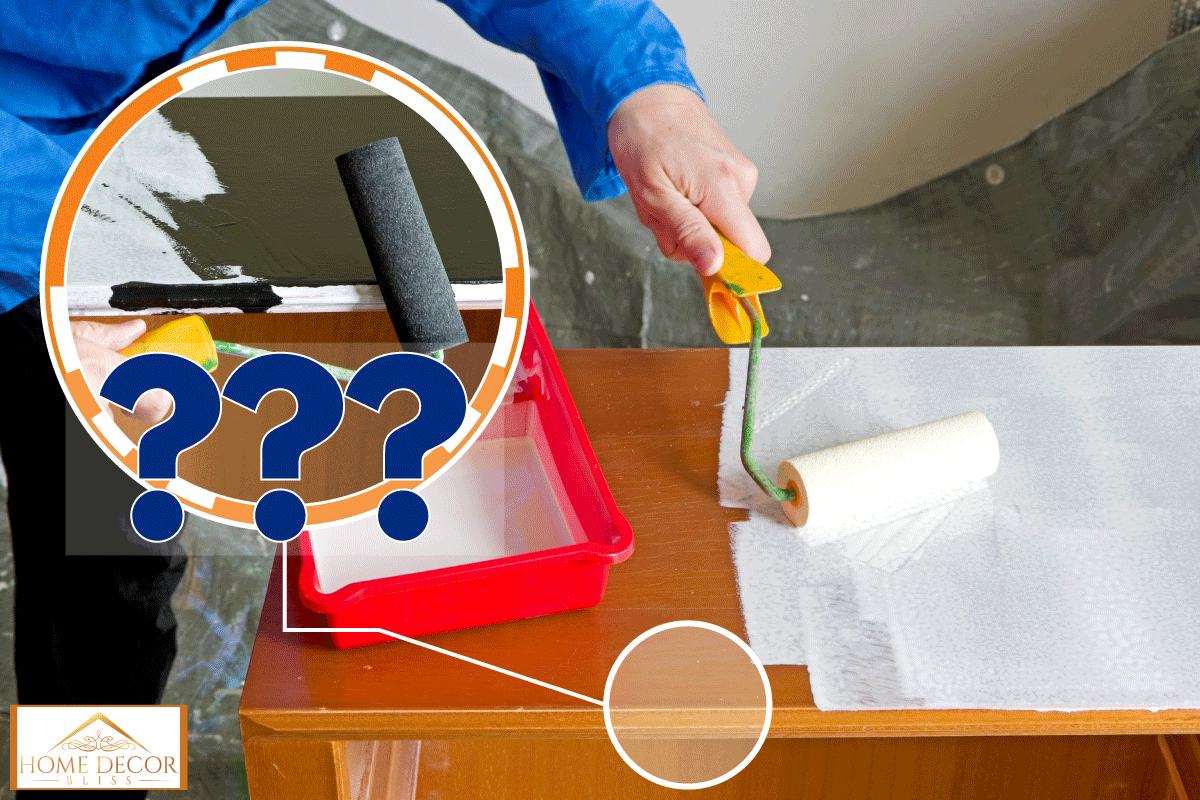
Painting tan IKEA Dresser
Before we start, let's clear up a few things. First, you have to check the material of the dresser. IKEA sells dressers that come from different materials. Some are a type of particleboard.
Others are made of wood like oak, pine, and birch. It's nearly impossible to confuse authentic wood with the particleboard IKEA uses.
We sometimes add affiliate links and content that was curated and created by our team with the help of advanced ai tools to help showcase the best design styles.
Medium Density Fiberboard
If you need help seeing the material composition of your dresser, here's an example of MDF:
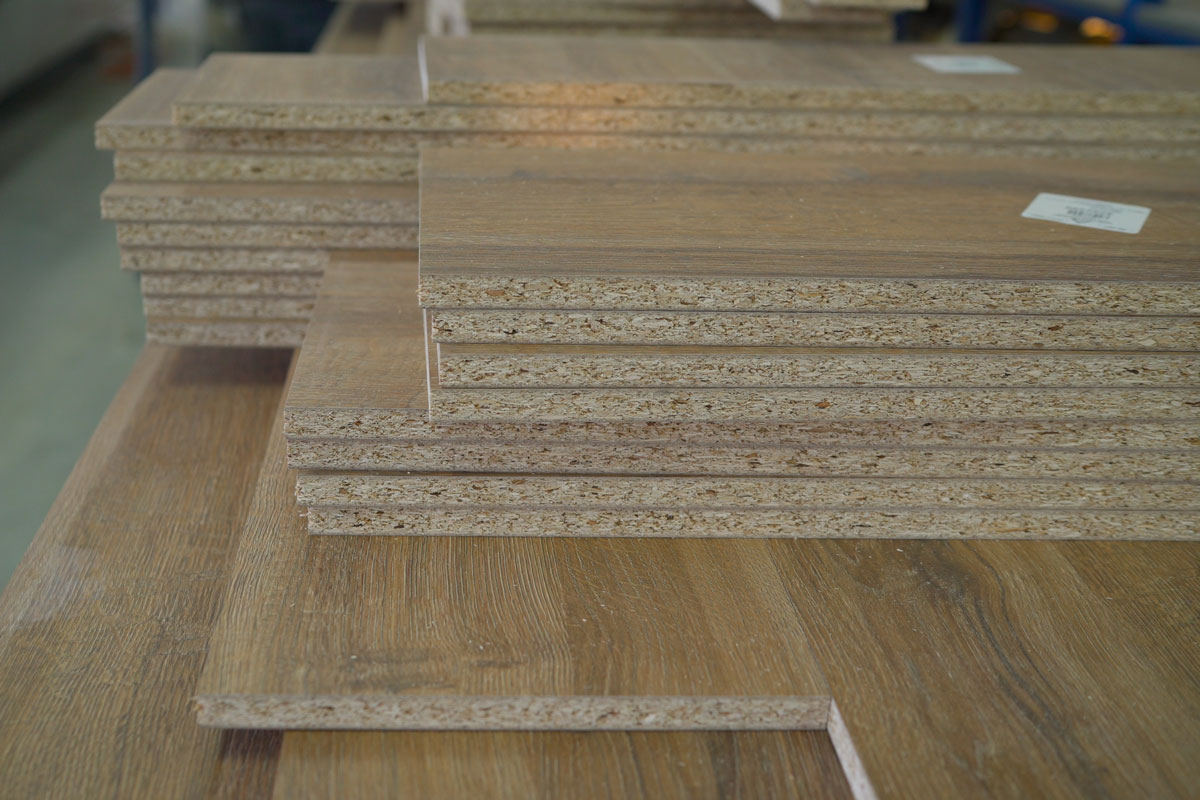
As you can see, it looks like wood. But, the sides reveal the truth. MDF is an acronym for medium-density fiberboard. It's like particleboard. However, it's denser and stronger. MDF is a mix of sawdust and shavings.
Manufacturers use resin and wax to hold them together. If you have an MDF dresser, be careful when sanding. Sanding MDF carelessly produces lots of dust that linger in the air.
It can irritate your lungs and eyes quickly. Luckily enough, IKEA uses acrylic paint over them. So, you won't have to sand too much.
Wood
If you own a wood dresser, you can follow along without taking extra precautions. You may also sand the dresser down to the bare wood. Of course, that's if you want it to take on a fresh coat of paint.
Otherwise, painting over the old acrylic paint should be fine too. You will need a shellac-based primer to do this. In any case, let's start preparing the dresser!
Clean The Surfaces You Will Paint
Before you can start, you will need to clean the surfaces you will paint. There are two ways you can go about this. The first option is to leave the dresser as is. Otherwise, take out the drawers.
The second option is better since you'll need to take them out anyway. This way, you won't have to avoid painting over the gaps. Make sure to leave a space where they can dry.
After removing the drawers, you can start wiping the surfaces. Do this by using a clean cloth and dishwashing detergent. If you have an MDF dresser, be careful not to wet the exposed material.
Wipe down the laminate surfaces only. The objective is to eliminate built-up grit and any grime in general. Go over the surfaces again with a dry cloth.
Lightly Sanding the Dresser and Drawers
Once the surface is dry, you will need sandpaper. A 120-grit sandpaper should be good for this project. Regardless of the dresser you own, we'll have to scuff the surface.
If the dresser is painted, you won't have to remove the current paint. We need to sand it enough to create a surface that will help the new coat stick. Sanding also helps to remove any imperfections on the dresser.
Keep in mind not to sand the surface too hard. That's especially the case for MDF dressers. Doing it on wood dressers will create imperfections.
So, lightly go over the surfaces you will paint with sandpaper.
Apply A Primer
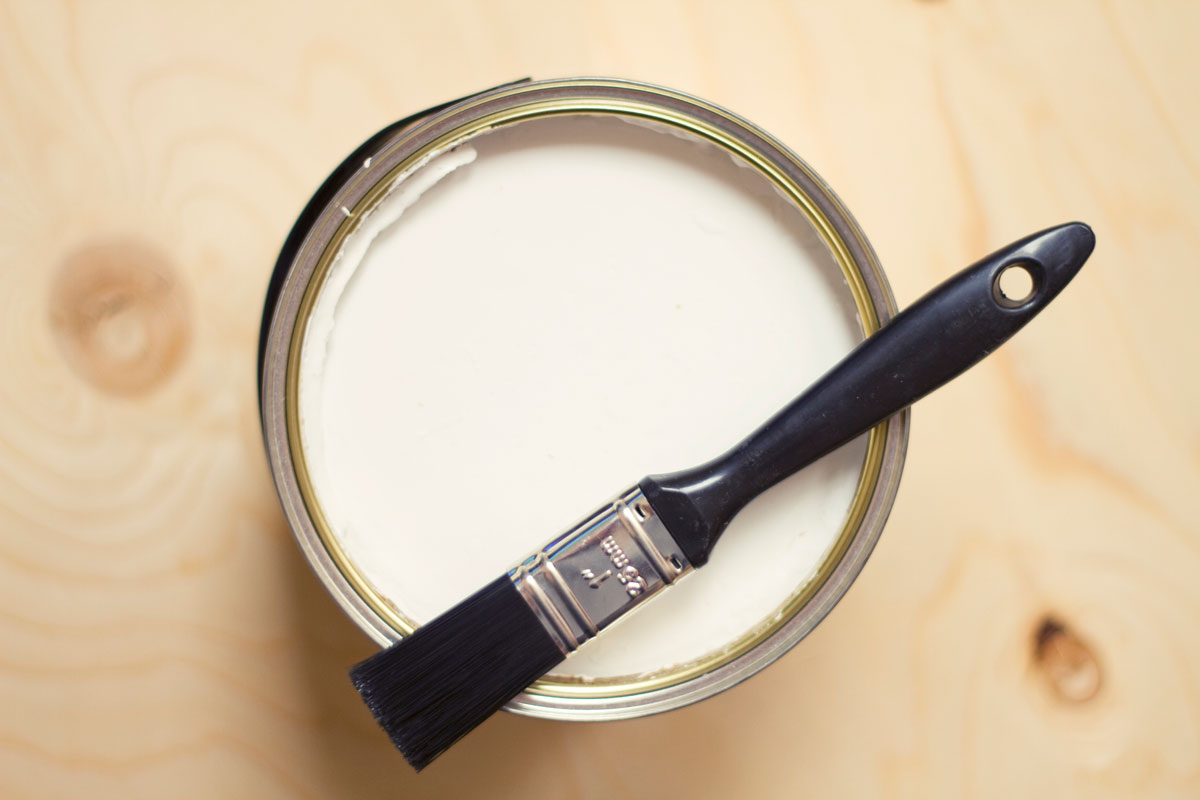
Before painting the dresser, you need to apply a primer. Painting without the primer is not a great idea. Skipping the primer means that you will have to repaint the dresser sooner.
The paint can react in a few ways. It depends on the material you are painting. It's possible that the grain of the wood can show through the paint.
Additionally, paint usually has trouble sticking to the surface without a primer. As a result, it can begin to flake and peel off. Lastly, it might even raise the grain of wood dressers. So, the dresser would gain a rough surface instead of keeping a smooth one.
Use a general-purpose primer for this step. Once you finish applying it to the surfaces, follow the instructions of the primer you use for drying time.

Click here to see this primer on Amazon.
Applying A Second Coat
Once the first coat of primer dries, sand the surfaces again. You will need the help of 400-grit sandpaper. After sanding, wipe the dresser with a clean rag.
Apply the second coat of primer. Multiple coats of primer help create a smooth surface. This way, you can apply the paint without too much trouble. It also ensures a better bond between the surface and paint.
You can apply a third coat. However, two coats should be fine for most situations. In any case, wait for the final coat of primer to cure. It can take as long as a few hours to a few days.
As soon as it's dry to the touch, you can start the painting process. Still, be careful when you sand it. The surface dries relatively quickly. However, it might not be dry throughout.
If you want to avoid any problems, wait a day or two before you start painting the dresser.
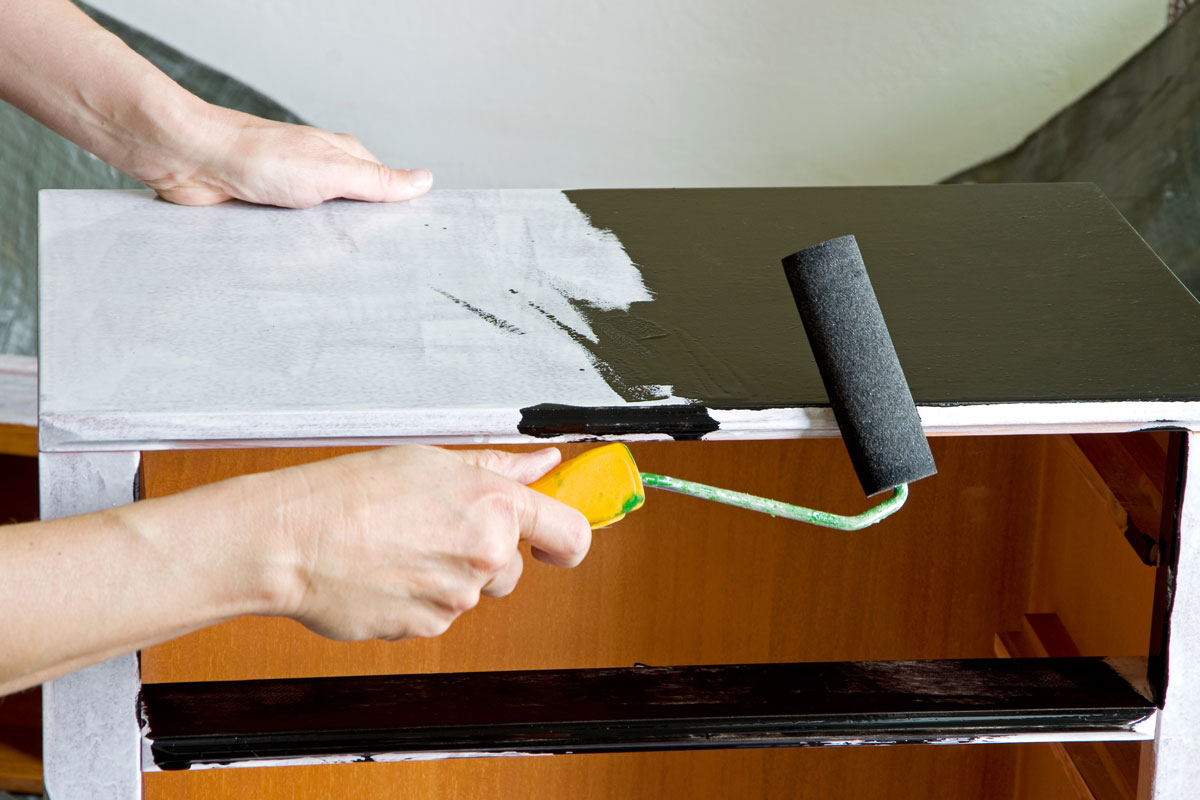
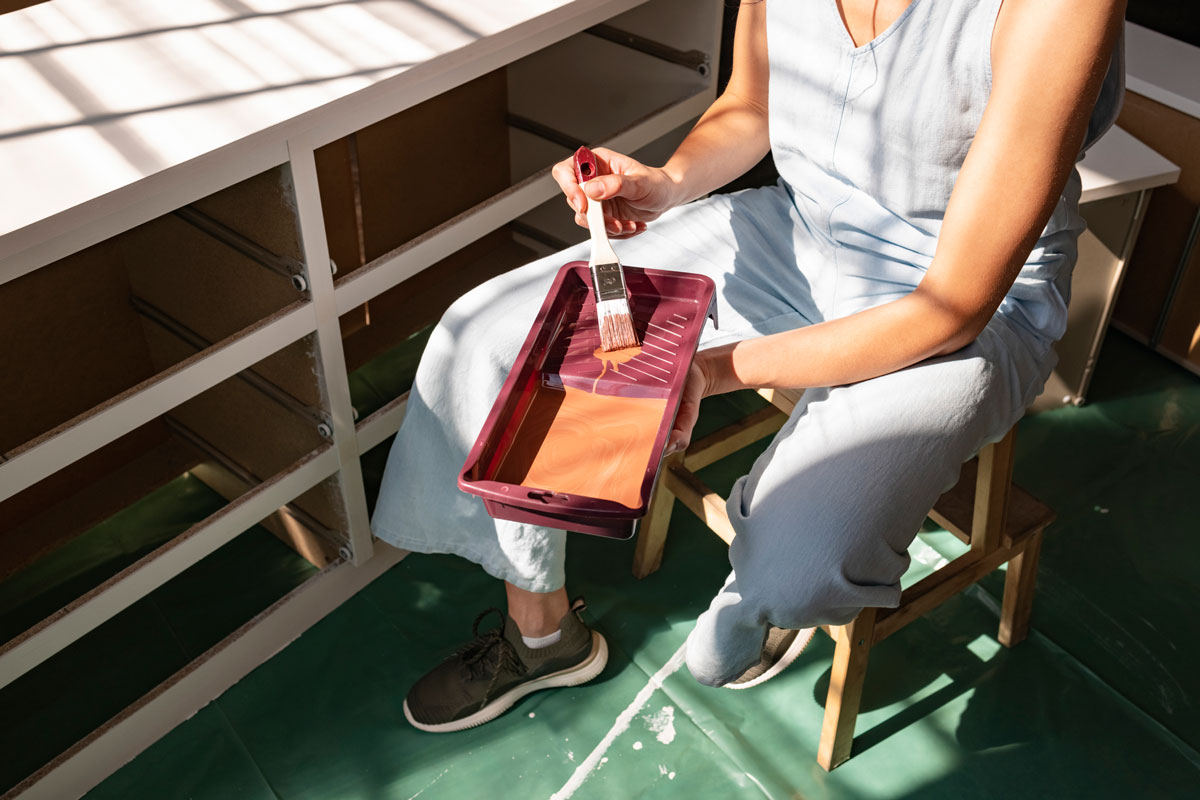
Applying the Paint
Once the primer is ready, lightly sand the surface. Use 120-grit or 140-grit sandpaper for this. Of course, you'll also need to wipe away any dust it produces.
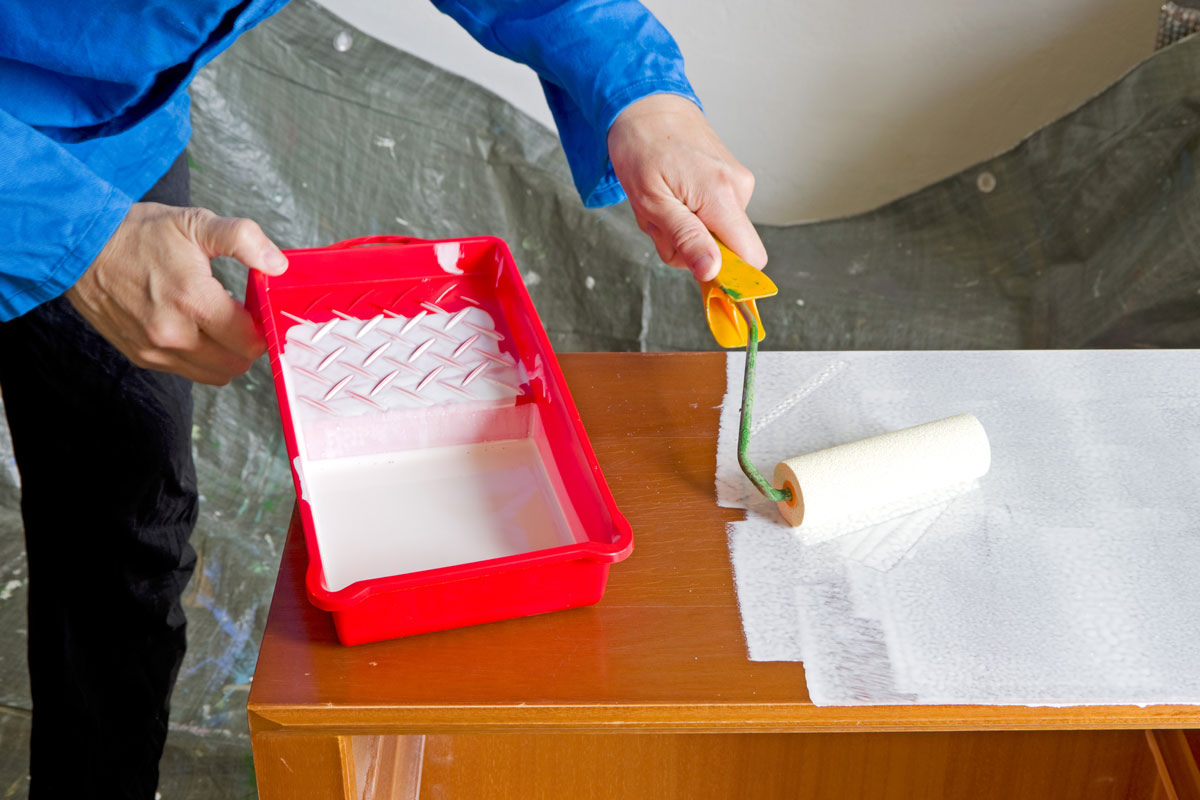
After sanding and wiping down all the surfaces, you can apply the first coat of paint. Choose any you like. Some options you can consider are latex and chalk paint.
Regardless of the one you choose, follow the manufacturers drying instructions. Generally, it takes a day or two for the paint to dry. Then, sand the surfaces one more time.
Wipe the dust off and apply a final coat. Give the dresser and drawers a few days to dry.
Optional Step
As you can see, the painting process is not a tough job. Though, you'll have to play the waiting game. It takes a long time between primer and paint coatings.
There is an optional step you can take. However, this one applies if you're painting a dresser that will probably take a beating. So, if you're painting a dresser for a kid's room, you might want to apply a finishing.
Since you want to avoid changing the color, you'll want to use a non-yellowing one. Therefore, lacquer and polycrylic are your best options. If you plan to use them, you'll need to prepare the surface and apply the finishing.
Generally, as long as the furniture isn't going to take a beating, it won't need a sealer. However, sealers usually make paint durable. It also makes it easier to clean.
Can You Sand and Stain IKEA Furniture?
Rocking a wood's natural color is the way to go for some people. If you're one of them, you might be wondering if it's possible to sand and stain IKEA furniture. After all, one concern comes to mind.
As mentioned, some IKEA furniture is made of medium-density fiberboard. Surprisingly, it's possible to stain it! However, it won't achieve the same effect as it would on authentic wood.
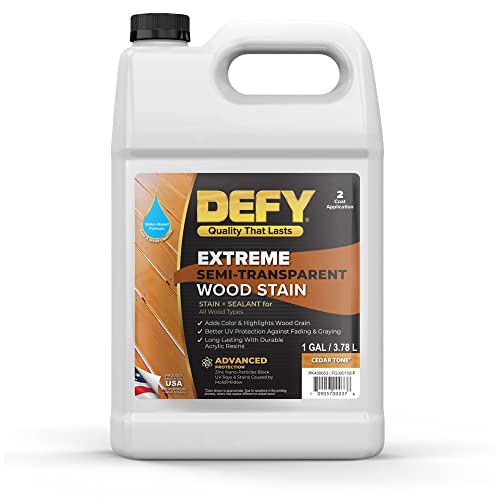
Click here to see this semi-transparent stain on Amazon.
Medium-density fiberboard lacks wood grain. Therefore, it won't have the same well-polished and glossy look. Professional carpenters recommend using a semi-transparent stain for any pressed wood. Here's a YouTube video explaining what you can do if you want to pursue this project:
What Are Other Ways You Can Update IKEA Furniture?
A fresh coat of paint is the first step to renovating furniture. But, it doesn't have to end there. You can apply unique designs to the drawer using spare wood. This way, you can add more depth to the appearance.
Here's a YouTube video with a person's unique design on the drawers:
The easy way to remodel it would be to change the hardware. So, replace any knobs or handles with new ones. If your dresser has no knobs or handles, add some! You can apply some contrasting handles to add more color variation to your dresser.
You can also consider installing unique legs for the dresser! However, that's a drastic change that won't please everyone.
In Closing
Painting an IKEA dresser or any dresser is a relatively easy task. Still, waiting is the most painful part of the process. It can take you several days to complete it! In any case, now you have the steps to paint your IKEA dresser.
We hope you found the information above helpful. Before you go, do you need help painting other furniture? What about a bookshelf? If you need help choosing a paint, check out:
Are you planning to paint your doors? We can help in that area too! For more information, check out: