
Adding a fresh new coat of paint to your bathroom cabinets can do wonders for your bathroom. Not only can it change the feel and texture of your bathroom, but it can also help to simply make it more appealing. In this post, we will discuss the easiest way for you to paint your bathroom cabinets in no time.
Here are a few simple steps to use to paint your bathroom cabinets:
- Clear the cabinets
- Wipe down the cabinets
- Apply painter's tape to cabinet edges
- Apply wood filler to holes
- Sand down the cabinets
- Apply paint primer
- Paint the cabinets
- Apply additional coats/topcoat
- Let it dry and then reassemble
Seems easy enough, right? Continue reading to learn about the tasks involved in each step. We'll also cover more painting tips and tricks for your bathroom.
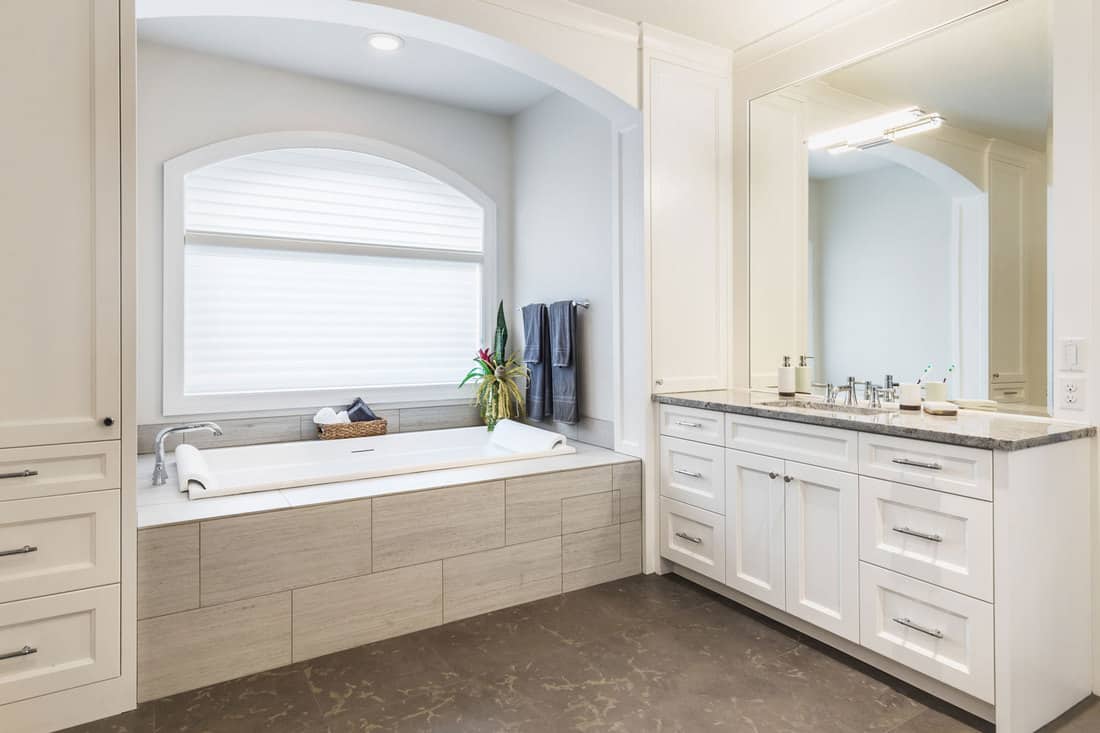
![detail closeup of sink, faucet, countertop,yellow cabinets, and mirror, How to Paint Bathroom Cabinets [9 Steps]](https://homedecorbliss.com/wp-content/uploads/2020/12/How-to-Paint-Bathroom-Cabinets-9-Steps1.png)
How To Paint Bathroom Cabinets
We sometimes add affiliate links and content that was curated and created by our team with the help of advanced ai tools to help showcase the best design styles.
The best way to ensure a beautiful finished result for your painted bathroom cabinets is to make sure that you prepare the area thoroughly. This can help you to avoid issues such as paint chipping and visible brush marks on the surface of the cabinets. Let's take a look at some of the prep items that you need.
Tools you’ll need:
- Angled paintbrush
- Cleaning cloth
- Sponge
- Drop cloths
- Dust mask
- Fine-grit sandpaper (180+ grit)
- Primer
- Paint
- Masking tape
- Mini paint roller
- Paint trays
1. Clear The Cabinets
The first thing you'll want to do is remove all of the drawers of the cabinets, the attached hardware, and any personal items stored in them. Also, if your cabinet doors are designed to where you can't paint the edges completely, you may need to take a screwdriver and remove the doors to paint them separately.
Be sure to place a drop cloth around the base of your cabinets so that you don't get any drips or splatters on the surrounding tile. Also cover any appliances or furniture in the bathroom such as vanity tops, chairs, the toilet, and the bathtub. The drop cloths are also a great place to gather all of your tools for the project.
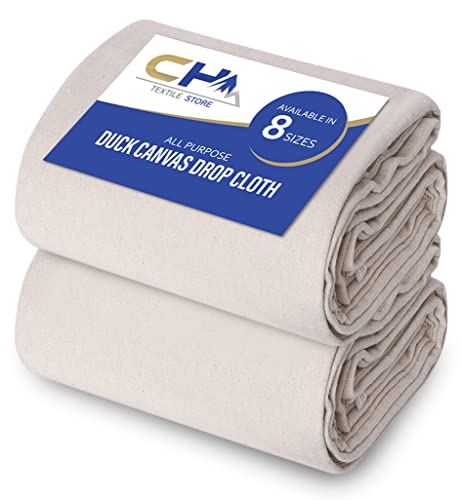
Check out this drop cloth set on Amazon.
2. Wipe down the cabinets
Now it's time to clean the cabinets. Cleaning the cabinets helps to remove any dust (which tends to collect easily on cabinetry), debris, and any oils that have built up on the cabinetry and that may hinder the primer's ability to adhere to its surface. For this task, a simple degreaser, all-purpose cleaner, or even everyday dish soap will suffice. Use a damp cloth or sponge to wipe down the cabinetry and be sure to rinse it twice with clean water and allow it to dry before going to the next step.

Check out this all-purpose cleaner on Amazon.
5. Apply painter's tape to cabinet edges
Next, take your painter's tape and apply it to the surrounding edges of the cabinet that you don't want to be painted. This includes the top of the cabinet, the bottom of the vanity, and the bottom of the cabinet where it meets the floor and the back wall.
If you have any hardware or fixtures that can't be removed, be sure to carefully place the tape around them (you may need to cut the tape into smaller pieces) so that it doesn't get painted.

Check out this masking tape on Amazon.
3. Apply wood filler to holes
Before painting the cabinets, it's important to check them for holes and any damaged areas to ensure that the final paint surface will be smooth and clean. Inspect your cabinets for holes and areas where the wood may be chipped, punctured, or split. Use your wood filler to fill them up.
You can use a mini putty knife to apply the filler or you can even use your finger if the hole is really small. The better you are at covering up the wood's imperfections, the better your finished results will be.
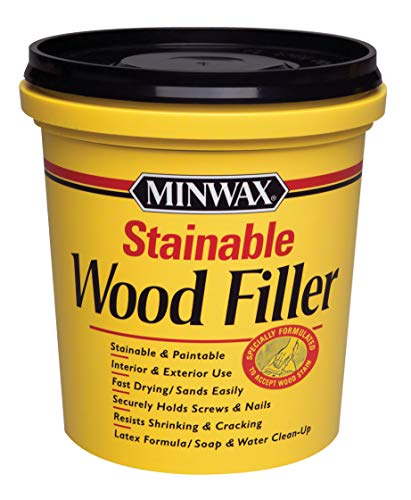
Check out this wood filler on Amazon.
4. Sand down the cabinets
Though your cabinets can be painted without being sanded, it's typically recommended to help make sure that the wood as smooth as possible before applying the paint. A smoother surface will allow for a cleaner and more professional look--that is unless you are specifically going for a more textured look or a rustic feel.
Sanding can also help to remove any previous stain or polish from the cabinetry. Use your sandpaper to go over the front doors of the cabinet, the outer sides, and the baseboards. Be sure to smooth out any irregular or rough edges and to sand down any areas where the wood may have splintered or chipped, as well as the areas wearing you've placed the filler.
After you have sanded the cabinets, wipe them down with a damp cloth or sponge to remove any dust so that it does not get painted onto the cabinets.

Check out this sandpaper set on Amazon.
6. Apply paint primer
Use a paint stirrer to gently mix up your primer. Starting on the left side of the cabinet, paint the inside of the cabinet walls from left to right, then top and bottom. While you can use a mini roller on the cabinets, it may be easier just to use a regular paintbrush.
After you have primed the interior of the cabinets, start on the outer left of the outside of the cabinet and work your way to the right, painting the cabinet's outer doors and edges. Allow the primer to dry, and then use your 220-grit sandpaper to very lightly sand the cabinets to remove any paint bubbles from the primer. Then, apply your second coat.

Check out this paintbrush set on Amazon.
7. Paint the cabinets
After the second coat of primer has dried, take your paintbrush and apply the paint in the same order in which you apply the primer. When painting the cabinets it's best to use long even strokes with the paintbrush to ensure minimal paintbrush lines and a smooth, even coating.

Check out this semi-gloss paint on Amazon!
Step 8. Apply additional coats/topcoat
After you apply your first coat of paint, take a look at the cabinets to inspect your work. Also, be sure not to accidentally paint the hinges of your cabinet doors, or you will not be able to shut them once the paint dries. It can also be a bit cumbersome to remove paint from them. Next, apply your topcoat or a second coat of paint.
9. Let it dry and then reassemble
It's best to let the cabinet dry overnight before reassembling it and reattaching the hardware. You may also want to leave your paintbrush and the paint can in the bathroom in case you need to do a quick touch-up on any areas that were missed.
Pro Painting Tips:
- If your bathroom cabinets already have a stain on them, it's better to use a rougher sandpaper grit (such as 80-grit) to quickly remove the stain before priming or painting.
- If you'd rather not prime the cabinet, you can simply purchase an all-in-one paint/primer.
- Before painting the bathroom cabinet, be sure to fully open any windows in the bathroom as well as the door to allow for complete and easy ventilation of the paint fumes.
- Don't be afraid of stripping the stain or paint from your cabinets, as most natural wood surfaces can be stripped and then repainted multiple times.

Check out this all-in-one paint on Amazon.
Can you paint your bathroom cabinets without sanding?
Yes, you can definitely paint your bathroom cabinets without sanding them first. Sanding the cabinet just helps to create the smoothest possible surface before the paint is applied. However, if this is not an issue for you or if you're going for a textured appearance, then you can just skip this step.
What is the best paint for bathroom cabinets?
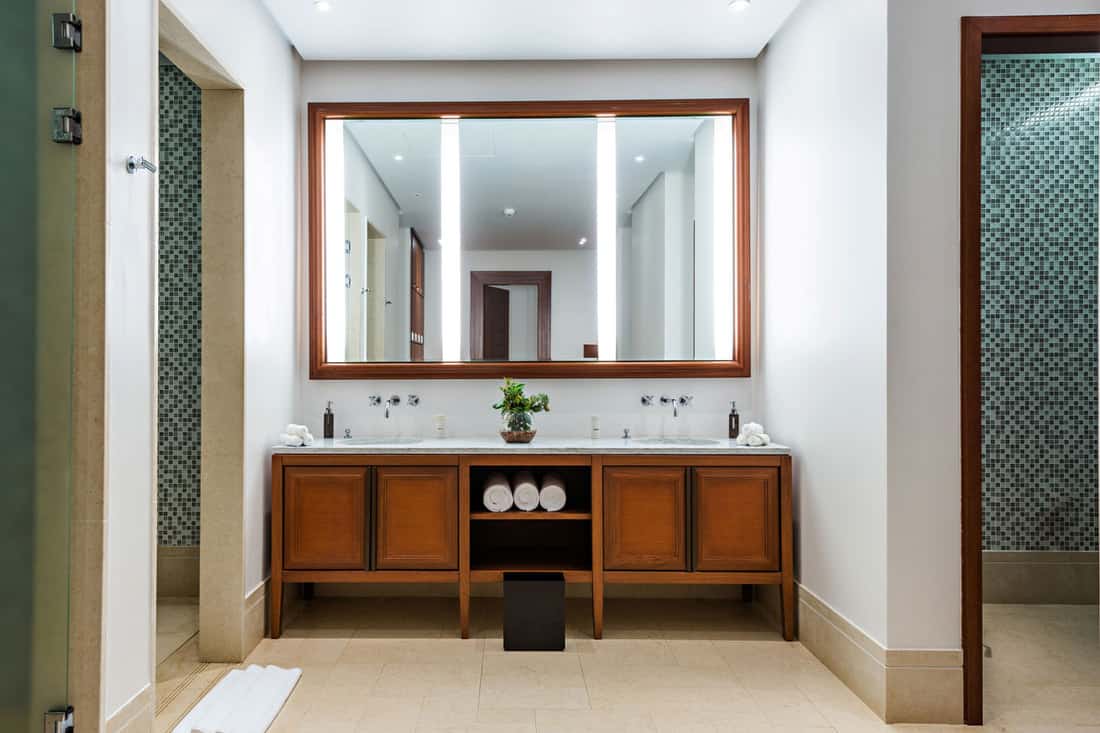
![detail closeup of sink, faucet, countertop,yellow cabinets, and mirror, How to Paint Bathroom Cabinets [9 Steps]](https://homedecorbliss.com/wp-content/uploads/2020/12/detail-closeup-of-sink-faucet-countertopyellow-cabinets-and-mirror.jpg)
When painting a bathroom, gloss and semi-gloss paints that are oil-based work best. They can withstand the high moisture levels of most bathrooms. This means less peeling and chipping over time. In fact, semi-gloss oil-based paints are typically recommended for bathrooms by most home improvement experts.
Is chalk paint good for bathroom cabinets?
Yes. In fact, chalk paint is a commonly chosen paint for bathroom cabinets. This particular type of flat paint (which has more of a matte finish) is designed to stick to almost any surface without the need for priming or sanding. It will, however, need to be sealed. As with any other type of paint, chalk paint comes with its advantages and disadvantages.
Chalk Paint Advantages
- It does not require priming or sanding to create a smooth final finish
- It is thick and doesn't require as many coats as other types of paint
- Its viscosity allows it to hide imperfections in woods that have heavy grains such as rosewood, walnut, and oak
- Chalk paint dries very quickly
Chalk Paint Disadvantages
- If not painted properly, it can easily chip and peel from the surface
- Because of its viscosity, it can leave very thick brush marks on the surface of the wood
- It can be challenging to paint over areas that haven't been sealed or have been freshly sanded, as it may require a few coats for a smooth finish

Check out this chalk paint on Amazon.
How do you waterproof bathroom cabinets?
The fastest way to waterproof a bathroom cabinet is to use a paint finish or a clear topcoat that is water-resistant. You can find these easily online or at any local home improvement store. To ensure that the finish is applied properly, it's best to first remove any old finishes or polishes from the cabinets.
If waterproofing your cabinet, it's also a good idea to add caulking around the areas of the cabinet that connect to the vanity and the bathroom wall. This ensures that any splashed water will not leak behind cabinets. You may want to sand the cabinet first and then apply the finish, or at a minimum apply a base coat to the cabinets first.

Check out this waterproof sealer on Amazon.
What color is best for bathroom cabinets?
The best color for your bathroom cabinets will really depend on the current colors in your bathroom. Remember that cabinets that are painted with light colors will work better for reflecting light and helping the entire space look bigger. Dark colors, on the other hand, will make the bathroom look smaller, but can create a very sophisticated and modern look. Overall, most people tend to go with lighter colors for their bathroom cabinets.
Here are some of the most common colors you'll find for bathroom cabinets:
- Bright White
- Charcoal
- Light Blue
- Cerulean Blue
- Light Green
- Brown
- Soft Gray
- Creamy White
- Taupe
- Pistachio
Also, keep in mind that painting your cabinets a color that contrasts with the main color of the bathroom can be a great way to add a contemporary feel to the bathroom and make the cabinet stand out more. Warm and bright-colored vanities can also help to offset a dark-colored cabinet.
Does a medicine cabinet have to match the vanity?
It depends on the type of bathroom decor that you are going for. Some people prefer their vanity to match their cabinets to create a sense of cohesion in the bathroom. But you can also have alternating colors for them to add a modern sense of style and different focal elements in the space.
Wrapping Things Up
Hopefully, this post has provided you with enough information to get your bathroom cabinets painted easily and quickly. Remember, the better prep job that you do, the better your finished results will be.
Before you go, be sure to check out our other posts:
Dark Or Light Cabinets In Bathroom? [5 Tips To Keep In Mind]
Thanks for sharing the detailed information with images! Really helpful.