
Ceiling fans are a popular fixture in many rooms and for good reason. Their constant breeze cuts down on electric bills and keeps rooms feeling airy and comfortable. However, you may find that your ceiling fan is beginning to look a little rough. Your fan blades may need a touchup or even an entire makeover. How is this accomplished? We've looked into this process, and have prepared step-by-step directions on how to paint the blades on a ceiling fan.
Painting or re-painting ceiling fan blades seems more intimidating than it really is. Beginner level experience and our instructions are all that is needed to begin this task:
- Turn the fan off and allow it to come to a stop
- Remove the fan blades from the fan and from the brackets
- Sand, clean, and thoroughly dry the blades
- Apply several coats of paint, allowing the fan blades to dry in between coats
- Reassemble the fan
That's it! Now, there are few details that should be considered, and some tips that we will go over, so don't start quite yet. Keep reading to learn more about painting your fan blades.
![Ceiling fan with colorful blades, How To Paint Ceiling Fan Blades? [5 Simple Steps]](https://homedecorbliss.com/wp-content/uploads/2020/10/How-To-Paint-Ceiling-Fan-Blades-.jpg)
How To Paint Ceiling Fan Blades
Let's take a closer look at each step in the painting process.
Turn The Fan Off
We sometimes add affiliate links and content that was curated and created by our team with the help of advanced ai tools to help showcase the best design styles.
Begin your project by turning off the fan. You can simply flip the switch off, or turn it off at the breaker. If you are merely removing the blades from the fan, the switch should be sufficient. However, if you plan on dismounting the entire fan, you will need to turn the fan off at the breaker to eliminate any risk of electric shock. Allow the fan to come to a complete stop before endeavoring to work on it.
Remove The Blades
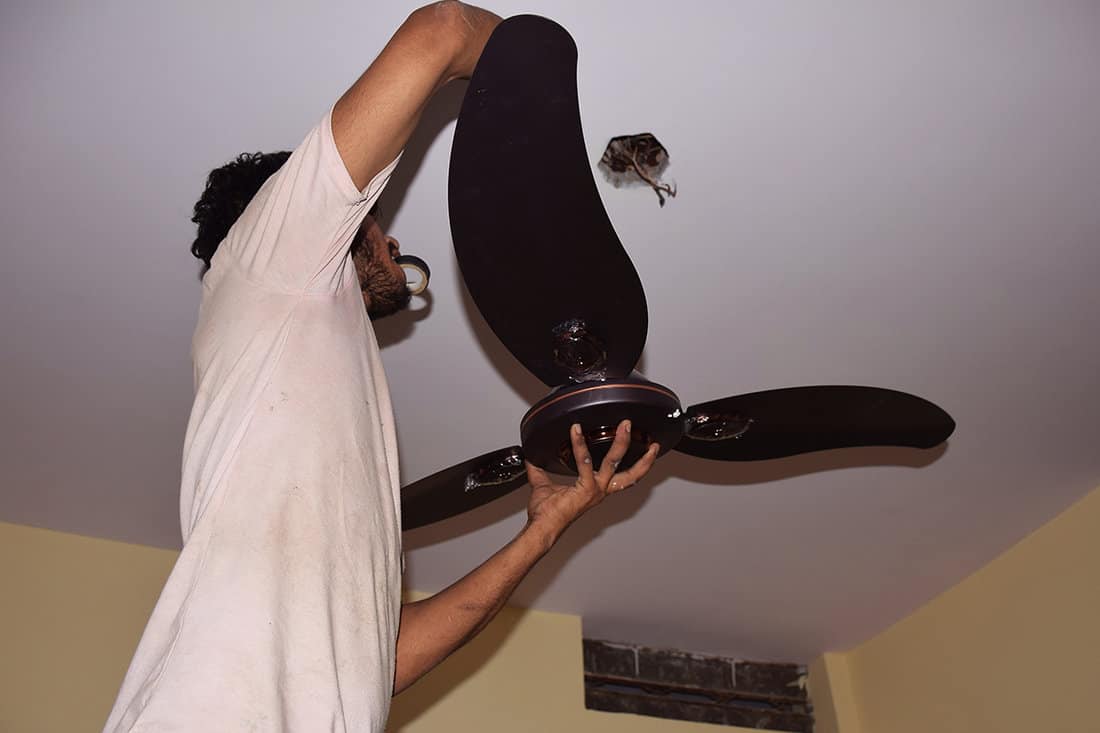
As long as you are not painting the fan itself, it is far easier to simply remove the blades than to take the entire fan down. Locate the screws that hold the blade to the fan and unscrew them. There are usually two screws holding each fan blade up. Be sure to put them in a safe place for later.
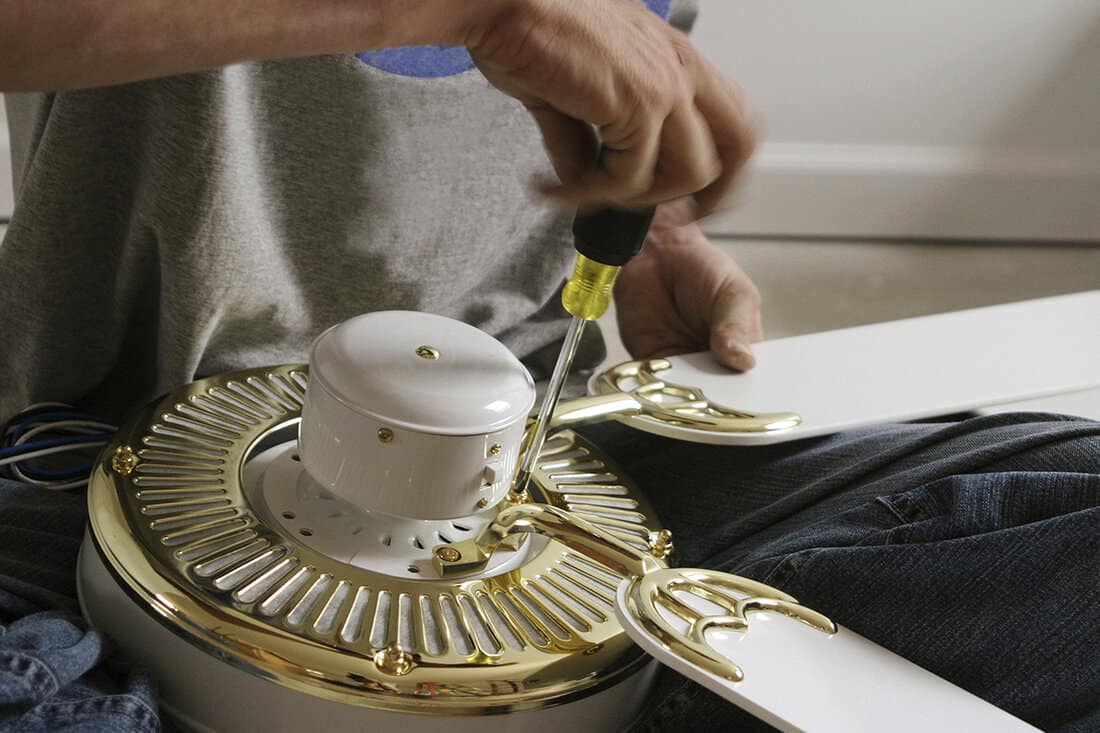
After this is completed, you will want to separate the actual blades from the mounting brackets. There are typically three screws keeping them in place. These will need to be unscrewed and set aside.
Sand, Clean, And Dry
Fans are notorious dust collectors. They can accumulate quite a hefty amount of dust, despite their constant motion. Fan blades will need to be thoroughly cleaned. Any old paint should be scraped or sanded down if it is chipped or peeling. Once they are clean and dry, lightly sand the entire surface of the fan blades with fine-grit sandpaper to enable the paint to stick better. Be sure to get the edges!

Click here to find these 120 grit sanding sponges on Amazon.
Paint
Now you're ready for the fun part! For painting your fan blades, choose a location that has good airflow. This will allow any fumes to dissipate quickly. Cover your workspace with newspapers or a dropcloth to keep the mess contained.

Click here to find this dropcloth on Amazon.
Primer
Whether or not you use a primer coat will depend largely on what material the fan blades are made of and what paint you use. Vinyl fan blades will always require a special primer in order for paint to adhere properly to them. With other materials, primer helps to provide better coverage.
Paint often comes with primer included, so check your paint before purchasing a primer. Regardless of whether or not you use primer, you will want to apply a minimum of two coats of paint. More coats may be required if the original color is dark and the new color is light.
Method
As far as painting methods go, you can certainly use a paintbrush and paint, applying thin coats and allowing it to dry between applications. This being said, spray paint is usually a better option. Spray paint goes on faster and more evenly, resulting in a smoother finish. It also dries quicker, so you get the end result faster.
Apply spray paint with long, even strokes, keeping 6-8 inches from the surface of your blades. Refer to the directions on the can to determine the drying time between coats. Be sure to give the paint plenty of time to dry and harden before continuing on to the next step.
Reassemble The Fan
The final step is to reassemble your fan. Find those screws that you stashed safely away and attach the fan blades to the brackets. Next, mount each blade back on the fan and marvel at your finished product!
What Kind Of Paint Do You Use On Ceiling Fans?
When it comes to painting ceiling fans as well as their blades, the best paint to use across the board is a high-quality enamel spray paint, such as Rustoleum Protective Enamel Spray Paint. Enamel paints dry hard, providing a durable, easy to clean, long-lasting finish. Most professionals recommend painting wood fan blades with only oil-based paints. Enamel paint fits the bill perfectly.

Click here to find this product on Amazon.
Latex paint can be applied to vinyl fan blades, as long as a vinyl-specific primer is used prior to applying the paint.

Click here to find this vinyl-specific primer on Amazon.
What Color Should You Paint Your Ceiling Fan?
Many older ceiling fans are metallic colors with fan blades made of finished wood. However, lighter-colored fans are becoming more and more popular. Painting your fan lighter, more neutral colors will allow it to blend into the room more effortlessly.
White is always classic, fitting into almost any room and style. Because most ceilings are also painted white, a white ceiling fan can almost disappear against the ceiling.
Ivory is another good color for fans. Ivory can be softer and warmer than white. It also allows the fan to blend against a white ceiling. However, ivory can provide a stunning contrast to a colored ceiling.
Gray can be a lovely color for a ceiling fan and works well with numerous decorating styles. Consider painting only the fan gray and leaving the fan blades with their natural wood.
Painting your ceiling fan black can produce a remarkable effect. Black can be both simple and elegant. It's suitable for a variety of styles.
Metallic colors are a standby for fans and can be paired with natural wood blades or with painted fan blades. Silver, gold, copper, bronze, and brass are all great colors.
Another fun variation when it comes to metallic paint colors is the hammered effect. Rustoleum carries a broad spectrum of hammered paints that add a unique finish.

Click here to find this product on Amazon.
How Can You Make Your Ceiling Fan Look Better?
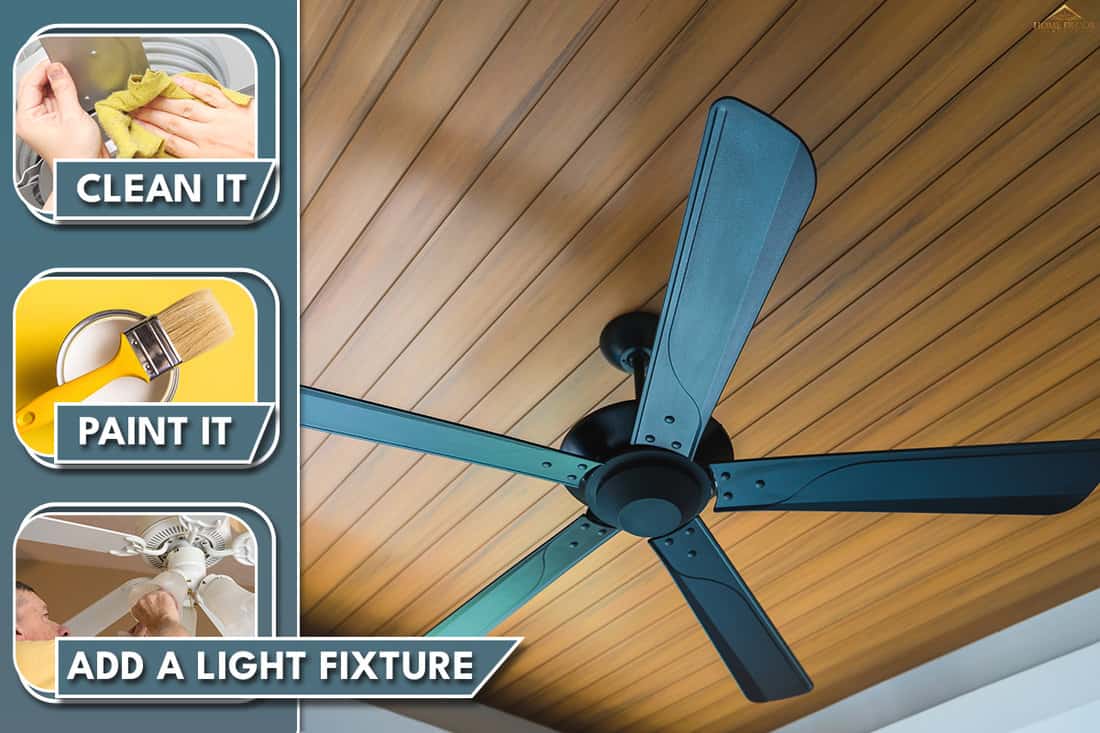
Truth be told, ceiling fans are sometimes an eyesore. They can appear dirty, outdated, and out of place. Here are a few tips to improve the look of your ceiling fan
Clean It
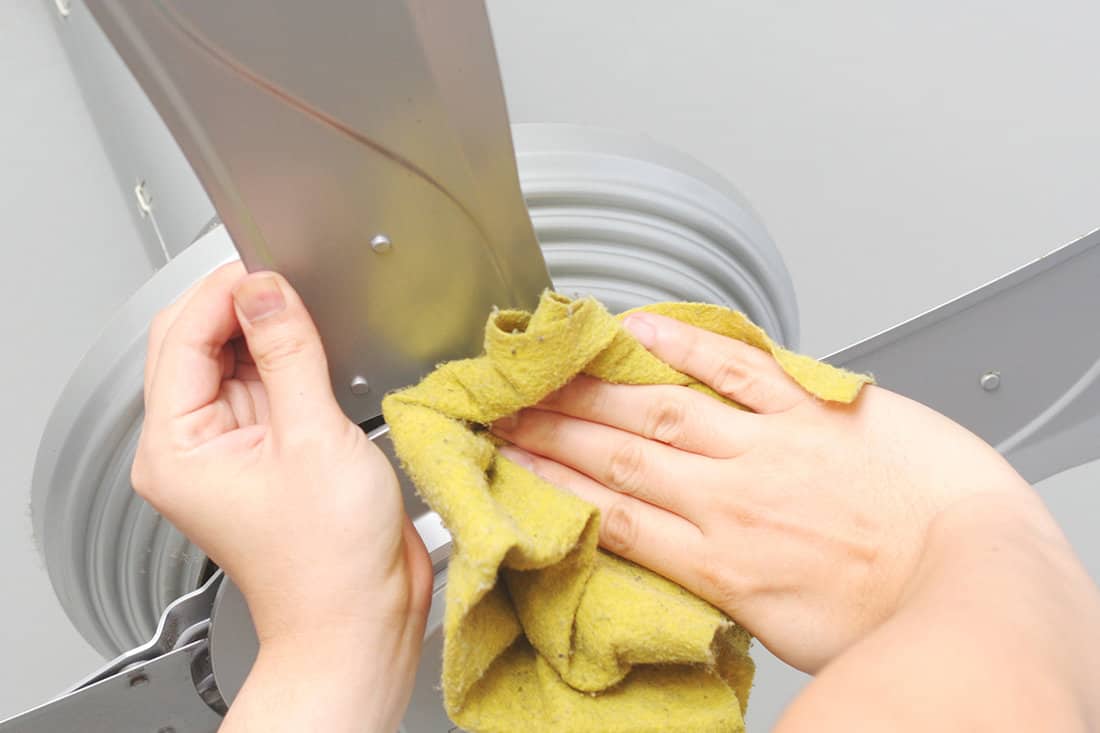
It may sound overly simplistic, but a thorough cleaning can work wonders. This is the first and easiest option to improve the appearance of your ceiling fan.
- To be safe, be sure to turn your fan off at the breaker before you use any wet rags or water.
- Start with a good dusting, making sure to get in all the crevices.
- Wipe down the fan and blades with a wet rag.
- If the blades are greasy, use a little vinegar and water to cut the grease.
- Hand wash or dishwash the glass light shades.
- Make sure everything is dry before turning the power back on.
Paint It
Painting your fan and/or fan blades can give it new life. It can also transform an outdated fan into a modern appliance. To paint your fan blades, refer back to the earlier portion of this article. To give the fan itself a makeover, follow these steps:
- Turn off power to your fan at the breaker.
- Remove any light bulbs or light shades that your fan may have.
- Remove the blades from your fan.
- Unscrew and slide back the canopy that covers the mounting bracket.
- Disconnect all of the electrical wires, making sure to note how they are connected for future reference.
- Dismount the fan from the bracket and lay it on a prepared surface for painting.
- Thoroughly clean and dry the entire fan.
- Lightly sand any surface that you will be painting and wipe away the dust.
- Apply 2-3 thin coats of paint and allow it to dry completely.
- Reinstall your fan, connect the wires, turn on the power, and admire the new look!
Add A Light Fixture
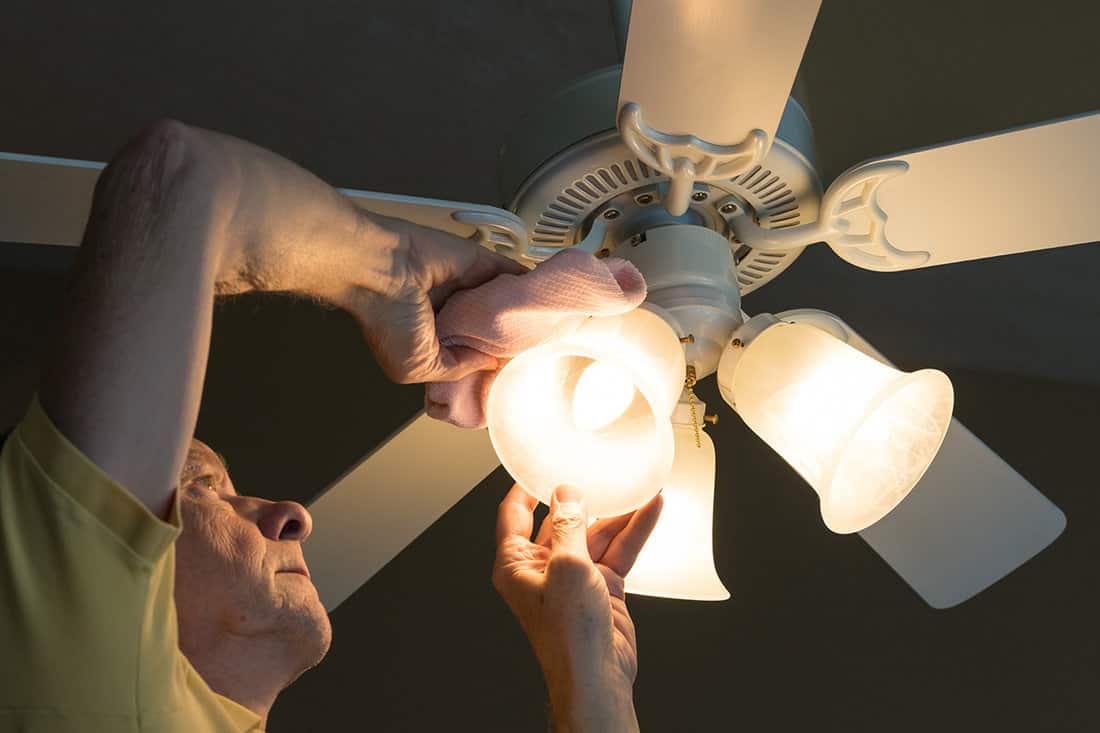
Adding a light fixture can improve the look of your fan as well as brighten your room. Many fans will accommodate the addition of a light kit. This can be purchased separately. Alternatively, you may want to remove an existing light fixture or switch it out for another type of light.

Click here to find this ceiling fan light kit on Amazon.
In Closing
If you're not happy with your ceiling fan as it is, don't hesitate to change it up or try something new. Whether you want to paint just the blades on your fan, paint the whole thing, or add lighting, now you know your options. Get going and customize your ceiling fan to fit you and your decorating style.
Before you go, be sure to check out these other articles that may be of interest: