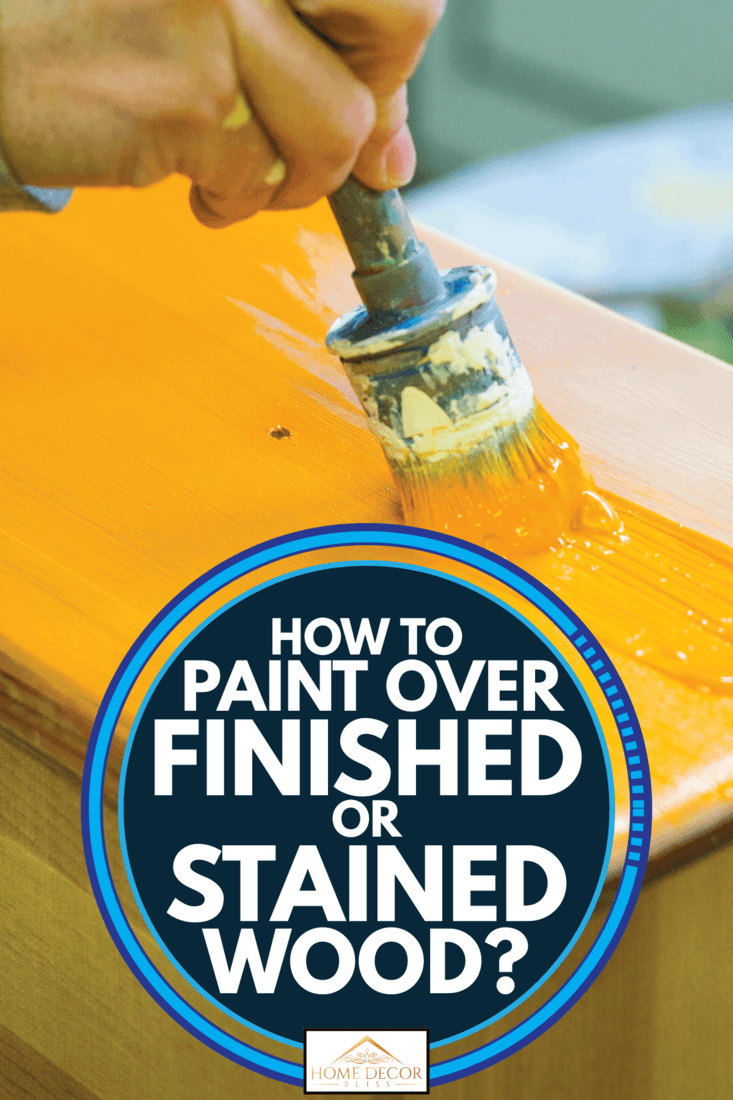
Wooden decor makes up a large part of our home’s style. From furniture pieces to columns, fixtures, and baseboards - finished and stained woods can be found everywhere. Painting over finished wood allows you to preserve and freshen up older decor. Before you risk taking a paintbrush to your cherished family heirloom dresser, though, you should ask yourself - How do I paint over finished or stained wood correctly?
To paint over finished or stained wood, follow these steps:
- Sand the wood surface.
- Apply a layer of primer to create a base for paint and to cover imperfections or uneven spots.
- Paint over the primer with your chosen color.
- Add a final step of a clear protective coating to ensure the paint doesn't easily chip.
We've researched the best ways to paint over stained or finished wood and have written this article to help you along the way. Read on to get an in-depth explanation and great tips on how best to breathe colorful new life into your finished wooden decor!
The Process
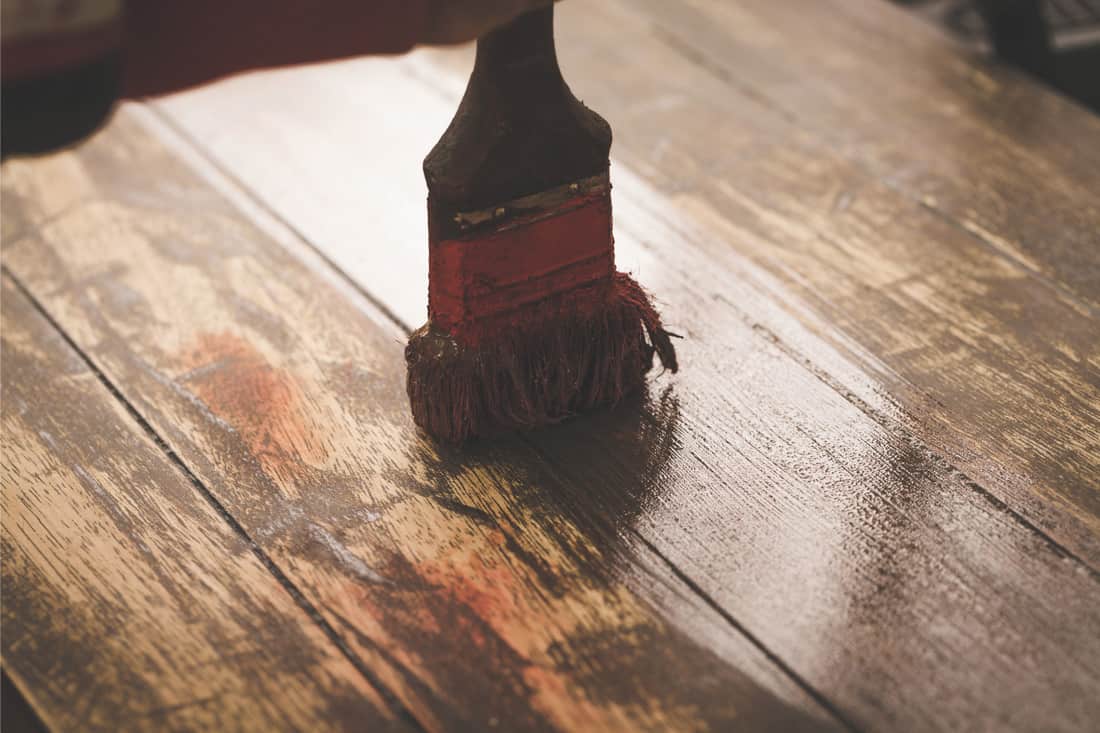
Surface Prep
The first step to painting decorated wooden surfaces is to prepare the surface for paint adhesion. If you try to paint over wood with only a stain on it, the stain colors can leach through and affect the paint's color. The layer of new paint may also not adhere properly due to the oils in some wood stains. Wood that has been finished with a wax coating or shiny layer may also not allow the paint to stay properly. You can start by sanding the surface to create a texture outer layer.
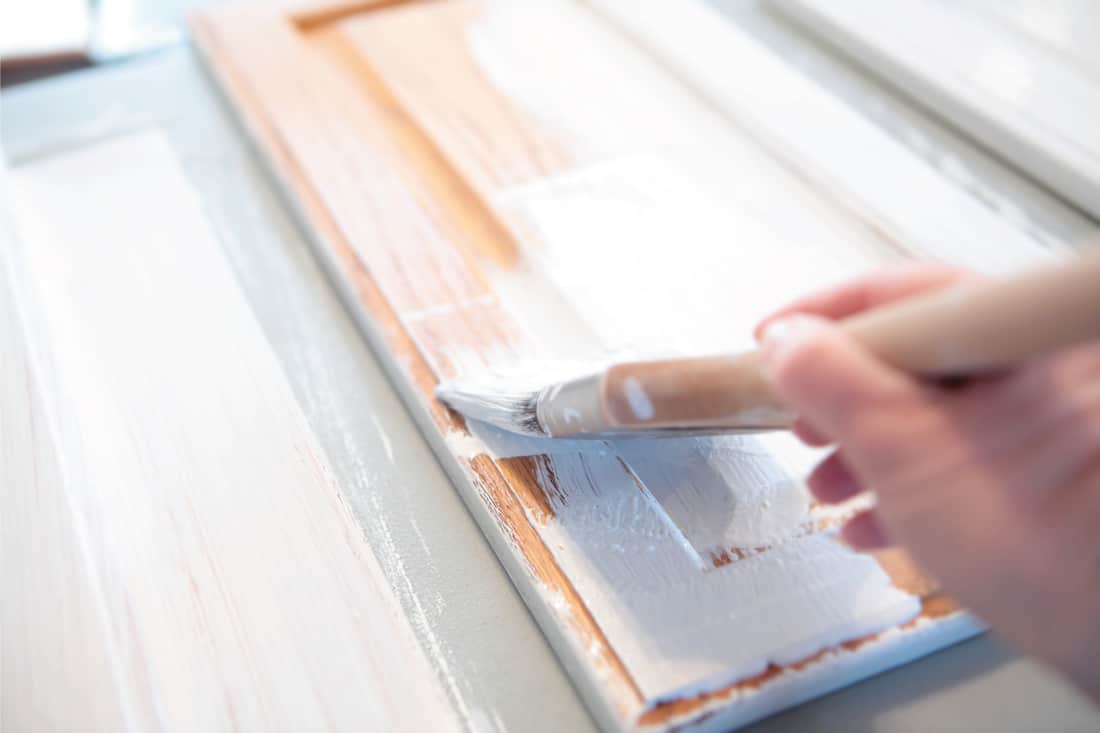
Primer Time
Once you have sanded the wooden surface's outer layer, the next step is to apply a primer. Primer serves a multitude of purposes, especially when painting over something that was previously stained or finished. It creates a middle layer that provides coverage for blemishes or small holes in the wood. The primer layer creates a barrier between stain and paint, so there is no negative interaction. The new layer of paint can adhere cleanly to the primer layer for even coats.
We sometimes add affiliate links and content that was curated and created by our team with the help of advanced ai tools to help showcase the best design styles.
Paint
The last step would be to paint and possibly apply a new finish to the wood. Once the primer has dried, you can begin applying your new paint with a brush or roller. Any brush or applicator will do, but you will want to get the best quality you can afford within the project budget. Follow proper brush techniques by holding it in your
hand like a pencil and feathering out the edges of your strokes.
Once you are satisfied with the coat of paint, wait for it to dry. Oil-based paints will be ready for another coat or finish in 24 hours, while latex paint would be ready in about
four hours. You can apply as many coats as you need to achieve full coverage.
Apply Finish
At this point, the surface has been prepped, primed, and painted. If you're satisfied, you can finish up and go on enjoying your newly updated decor. Especially if the repainted wood is part of a piece of furniture, many people have noticed that it is easy for the paint to chip off. Furniture gets moved, adjusted, and bumped into often, and most of it arrives from the store with a clear protective outer finish for a reason.
To make sure your new paint job stays looking nice, you may want to use a thin layer of polyurethane or a similar clear coating. Especially thicker paints like chalk and milk paint that distress easily will require a finish to remain in good condition.
Tools of the Trade
To complete all these steps, you will need sandpaper, primer, paint, brushes, and a cleaning rag. You will need a cleaning rag to clean the wood surface and make sure there are no debris or dirt stains. The sandpaper will be used to sand down the initial wood surface before primer application. You can also sand the primer layer before paint application for an even better coat of paint. You’ll need the primer itself and brushes to apply both it and the paint that will go over it once it has dried. A coat of polyurethane or polyacrylic finish can also be used to preserve the longevity of the paint.
All in all, it is not a very long list of things to have to repaint finished wood decor. The equipment you will need is easy to find at the hardware store or online. You also don’t need to find someone to help as there are no deeply technical parts to the process. All of the steps can be done over the course of about one day. You might find yourself wanting to repaint all kinds of wooden surfaces in your home!
This
oil-based primer is designed to cover wood stains and provides a great base for painting.
Is There Only One Way to Properly Paint Over Stained or Finish Wood?
In this article, we've discussed the best general way to paint over stained or finished wood. You can apply this process to almost any wood surface and get great results regardless of your skill level, quality of tools, or paint type. As we will discuss below, some paints allow you to paint directly over stained and finished wood. Even though it's possible, it's not always best to rely on this method because there can be problems. The finish or stains could not adhere properly to paint, or the paint could peel off very easily within only a few days. The method we discuss here is the best way we've found to ensure you get a great end product.
What Kind of Paint Do You Use on Stained Wood?
Most people would agree that using a primer first is the best way to paint over stained wood. However, some paints allow you to paint directly onto the stained wood. Thick, opaque paints with high bonding properties can be used directly over stained wood. Another option is to go for high-end paint that includes primer mixed in. These paints coat the surface in a thick layer and won't leech colors from the wood underneath.
Can You Use Chalk Paint Over Stained Wood?
Yes, chalk paint is a thick paint that contains opaque minerals. When it dries, it has an almost rough, matte quality, leading it to be called chalk paint. Chalk paint "covers" the wood underneath it, so you don't need to apply a primer or even bother with sanding much. Though this may seem like the easiest way to paint over stained wood, there are also drawbacks. Chalk paint has a unique finish that you may not always want on whatever you're painting. Because of its rough texture, it also chips and cracks more easily.
We would recommend chalk paint in the cases where you're after a matte distressed look with your project or when you need to complete it very quickly and for less money. Chalk paint is used all the time by people who love DIY furniture upcycling. You can find some inspiration in our post, "50+ Upcycled Furniture Ideas (Photo Inspiration) ".
Can You Use Stain Over Stain?
Yes, you can apply wood stain over another layer of itself. In fact, you can mix stains, use them to balance each other out, and apply multiple layers of stain. Stains do not form barriers over wood because they soak in and affect the actual color. Because of this, you can apply more than one without worrying about whether it will stick or adhere like paint. However, you should be careful not to apply too much as it is challenging to remove. You also don't want to apply stain over a waxy finish like polyurethane as it won't penetrate and soak into the wood like it's supposed to.
If you are wondering whether to stain or paint something for the best look, we have a great article that
compares the two options!
A Fun Way to Update Your Decor
We all come across furniture or parts of our home that we wish we could make better but aren't exactly sure how. Learning how to paint over stained or finished wood will open up many opportunities to update your home's design. Maybe you can move a chair from the dining room to the living room with a vibrant new paint color. It's fun to work on something you already own and give it new life. We hope you feel more prepared to get out there and try your hand at this process!