
Painting a room with a sprayer is a bit different than using a paintbrush or a paint roller. But how exactly do you paint a room with a sprayer? And is it better or worse than using a roller? Good questions. We've looked into these inquiries, and in this post, we will go over them.
Here are the steps to paint a room with a sprayer:
- Prepare the room
- Thin the paint
- Fill the sprayer reservoir
- Do a test spray
- Start on the ceiling
- Spray the walls
Many people prefer using a sprayer if they are looking to save time when painting a room. However, other benefits come with using paint sprayers. Continue reading to learn more about these benefits and how using a sprayer compares to other paint methods.
Steps To Paint A Room With A Sprayer
Similar to paint applications using rollers and brushes, preparation is everything. It helps to list all of the tools you need ahead of time before painting the room.
Things you'll need:
- Airless sprayer
- Paint
- Paint strainers
- 2-gallon bucket
- Painter’s tape
- Paint thinner
- Canvas tarps
- Goggles
- Full respiratory mask with chemical filter
- Rubber gloves
- Test wood or scrap board
We sometimes add affiliate links and content that was curated and created by our team with the help of advanced ai tools to help showcase the best design styles.
1. Prepare the room
Mask off anything in the room that you don't want to accidentally get paint on. This includes furniture, trim, countertops, etc. It's important to note that paint mist from the sprayer can easily get on objects located way on the opposite side of the room, so this is a step you don't want to skip.
You'll also want to cover any windows and walls that won't be painted using tarp and tape. Suppose you don't have enough tarp to consider using old bedsheets or newspapers. Next, put on your safety equipment.
2. Thin the paint
Start by pouring the paint into the bucket. Next, add in a bit of water and mix it with your paint mixing stick. Keep in mind that you want to add about 1/2 cup of water per one gallon of paint. Check the consistency after you add each half cup of water to ensure that the paint will flow sink seamlessly through the sprayer.
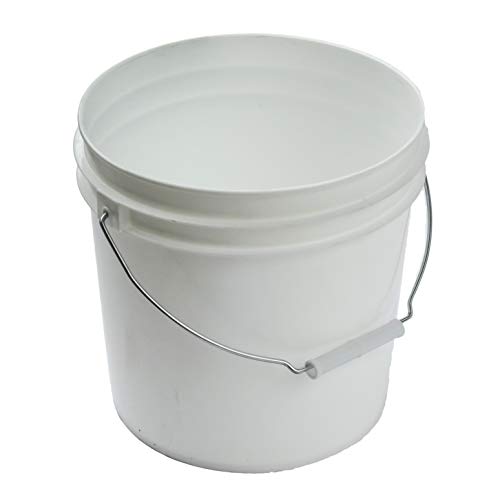
Find this two-gallon bucket on Amazon.
3. Fill the sprayer reservoir
Once you're satisfied with the viscosity of the paint, fill the paint sprayer reservoir with the paint. If you've never used the sprayer before, be sure to read the instructions on how how much paint to add--you don't want to clog it accidentally.
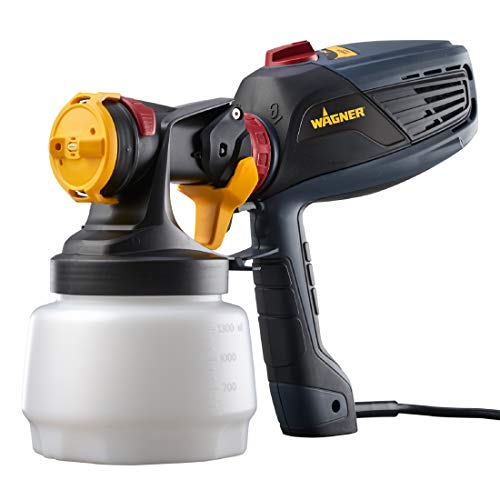
Check out this paint sprayer rig on Amazon.
4. Do a test spray
It helps to have a piece of scrap plywood or discarded cardboard box hanging around to do a bit of testing. Start by placing the tester on top of the tarp. Next, adjust the sprayer nozzle on the rig as needed and give the tester a few sprays. Use sweeping horizontal motions and turn the nozzle to adjust it as needed.
5. Start on the ceiling
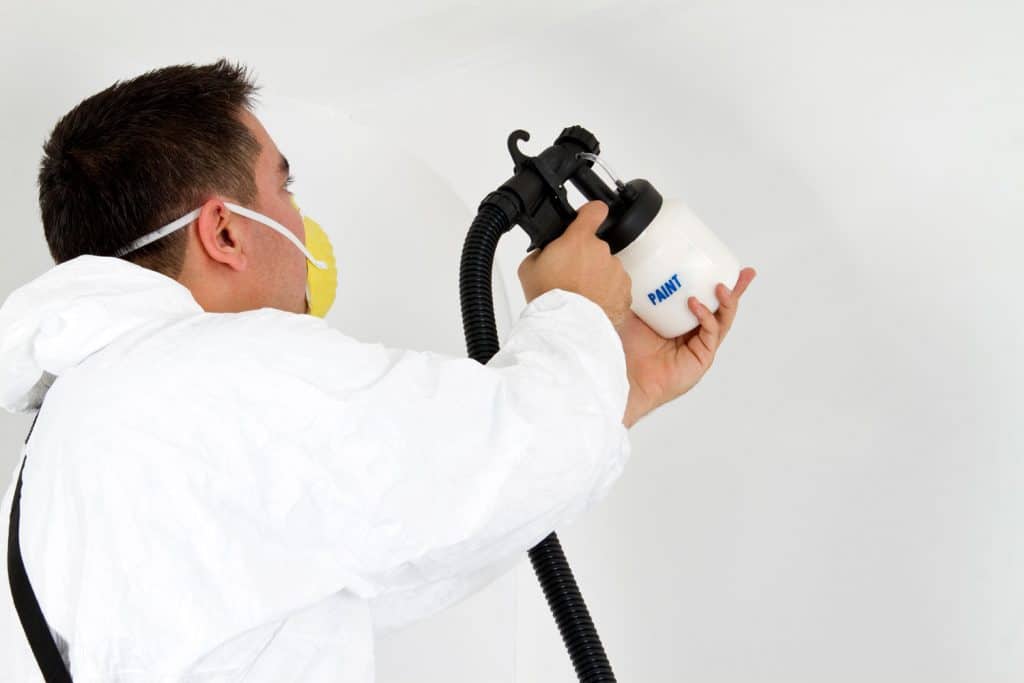
After you perform a few test sprays, start on the room's ceiling, grab your ladder, and place it in the corner farthest away from the door.
Spray about 10 to 12 inches away from the ceiling and pull the trigger. Use sweeping horizontal motions or vertically up and down motions to make a consistent spray pattern. Typically, you don't want to cover more than about 2 to 3 feet at a time. Work your way across the ceiling until you reach the other side of the wall.
Then go back and grab your ladder and move it to cover the next spray area. Do this until you have sprayed the entire ceiling. Let the paint dry for the recommended time, and then apply additional coats as needed. Be sure not to overspray, as you don't want the paint to drip off the ceiling.
6. Spray the walls
After you've painted the ceiling, start on the walls. Start on the wall located on the immediate left of the room's door. Start at the top corner of the wall and work your way down using left to right sweeping motions. Continue this pattern until you make your way to the other corner of the wall. Afterward, paint the adjacent wall and then the wall after that.
Wait for the recommended drying time, and then repaint the walls in the same exact order. Apply any additional coats as needed. Typically one or two thick coats will work best when using a sprayer. Sometimes the sprayer makes become clogged after being used for the first coat or two.
If this happens, remove the reservoir from the spray rig and clean the sprayer with water and paint thinner. Be sure to rinse the rig out thoroughly with clean water. Afterward, re-attach the reservoir and do a quick test before using it again.
Need a visual? Check out this video:
Is it better to spray or roll interior paint?
It depends on what's most important to you. Using a paint roller is more affordable, as most paint sprayers start at around $75 to over $200. Even if you rent a paint sprayer, it'll cost you about $50 per day.
So if your budget is on the lower side, using a roller may be the best option for you. However, if you're painting a room with narrow crevices or irregular shapes that may prove too challenging to paint with a roller, a sprayer may be the best option.
Or, if you're painting areas like attics and crawl spaces that have tons of nuts and crannies or textured surfaces such as brick walls, crown molding, or popcorn ceilings, a sprayer may be more ideal when it comes to good coverage.
Also, keep in mind that paint sprayers aerate the paint, so the chances are that you'll have a smooth finish without lap marks, mainly when working with flat smooth surfaces such as interior walls. So if you're worried about doing a shoddy paint job because of your lack of experience with interior painting, a sprayer may be better (if you have the budget for it).
Is it easier to paint a room with a sprayer?
Overall, yes. While using a paint sprayer may require more preparation before performing the paint job, sprayers are typically easier to use.
Also, you don't have to worry about your technique as much with a paint sprayer. If you make a mistake, it won't be as noticeable when the paint dries. When using a sprayer, the biggest thing you want to prevent is spraying too close to the surface and not using a sweeping motion.
Doing this will cause the paint to drip, resulting in a bad final finish. It's easier to leave paintbrush lines when using a roller or brush. Lines can be really obvious when you're working with thicker paints such as chalk paint or heavy oil-based paints.
So, yes, using a sprayer can help the paint spread more easily than using a brush or roller. Not to mention that it can significantly cut down your application time.
How long does it take to paint a room with a sprayer?
It can take you anywhere from 10-30 minutes to paint a 10 by 12 room or a standard-sized room, compared to the typical 45 minutes to 2 hours that it may take to use when using a brush or roller. As you can see, the clear winner when it comes to saving time is a paint sprayer.
Does spraying use more paint than rolling?
Overall, yes. A paint sprayer itself will cost more than even your most expensive paintbrush or roller usually. On average, they can range from $100 or more for beginner rig sets. Also, paint sprayers tend to use about 30% more paint than paint rollers. So this means that you'll be paying more for tools and materials overall.
Do you spray ceilings or walls first?
It's generally recommended to spray the ceilings first. This way, if the paint drips on the wall, you won't ruin the paint job. However, in some cases, spraying the walls may be recommended if they're going to be painted a darker color. This will make it easier when it comes to taping off the ceiling.
Wrapping Things Up
As you can see, using a paint sprayer is relatively easy, and it can save you time if you're looking to paint the room as quickly as possible. Remember to keep the sprayer at least 10 to 12 inches away from the paint surface and continuously use horizontal sweeping motions to prevent paint drips.
Before you go, be sure to check out some of our other posts: