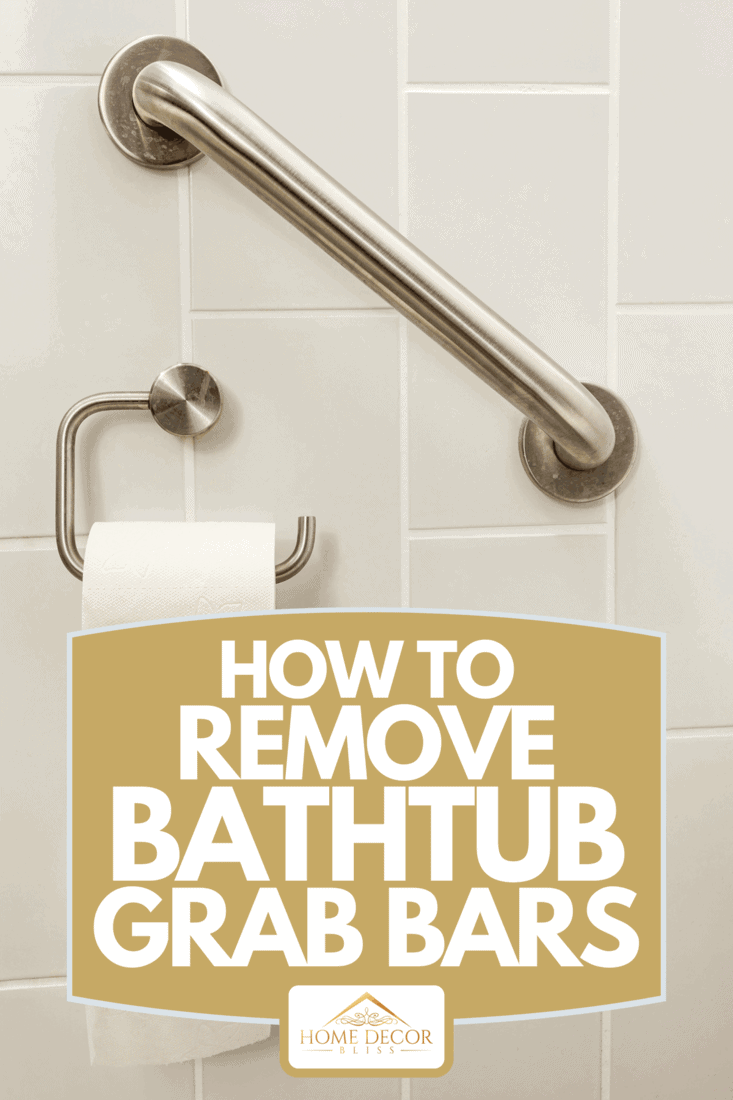
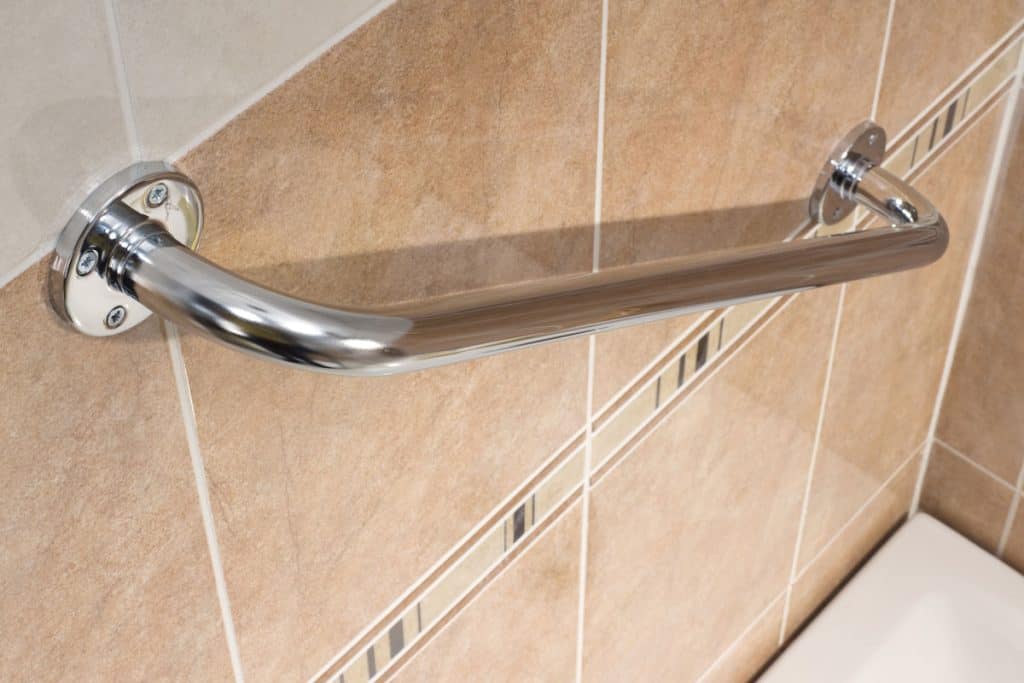
Grab bars provide safety for bathrooms by allowing you to grab hold of a secured rail to support yourself. They are very effective at preventing falls and slips and are generally considered a great option for bathroom safety. How do you remove grab bars from the bathtub? We researched the best method to do this, including grab bars located in showers, and in this post, we will walk you through it.
Here are the steps to remove a grab bar from your bathroom:
- Unscrew the current hardware
- Remove the grab bars
- Apply acrylic silicone caulk (if not installing new bars)
- Patch up the drywall or cabinetry (if not installing new bars)
Grab bars can be removed within a few minutes as long as you have the right tools. So it's best to make sure that you know everything that you'll need beforehand. Continue reading to learn more about the tools you need and how to carry out this project.
Steps To Remove Grab Bars
Most grab bars are installed directly on top of tile surfaces, drywall, or on the side of wood cabinetry. However, the removal process is pretty much the same for the most part. If you are replacing the bars with new ones, there are a new few extra steps that you don't need to include. Take a look below.
We may include affiliate links and curated AI content to highlight top design styles.
Things you'll need:
- Screwdriver or power drill
- Sponge
- 300-grit sandpaper
- Putty knife
- Wrench
- Bathroom cleaner
- Wall spackle
- Replacement tile or mortar or (if applicable)
- Fiberglass patching kit (if applicable)
- Wall paint (if applicable)
1. Unscrew the current hardware
First, take a power drill or a screwdriver and remove the screws on the side of the grab bars. These are the areas where the grab bars have been drilled into the tile or to the wall. This process will create a bit of dust, so it's best to keep a sponge handy to clean up around the area.

Check out the sponge set on Amazon.
2. Remove the grab bars
Remove the grab bars and any screws from the wall surface. If the grab bars were installed using nuts and bolts, start by turning the nuts counterclockwise to loosen them up, then remove them with your hand once they're loose enough.
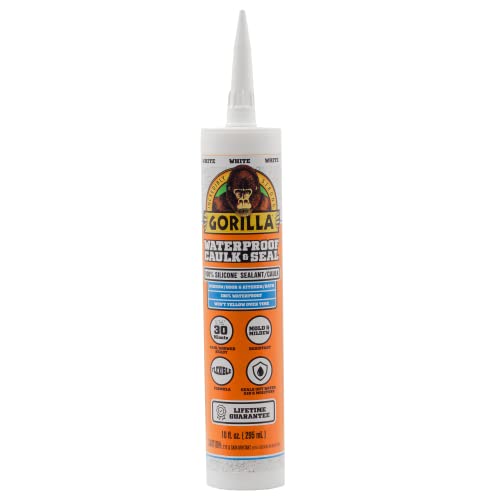
3. Apply Acrylic-Silicone Caulk (if not installing new bars)
If the grab bars were installed on tiles, pull out your patch kit at this time. The patch will typically include fiberglass paint, patchwork, and epoxy resin that will need to be applied to the area. Apply the resin to the areas where the drill holes were made and allow it to dry.
Next, sand down the resin to smooth over any rough spots and ensure that the area is even with the rest of the tile. Then apply the patchwork to the area and allow it to dry. Once it has dried, paint the area using epoxy paint and allow it to dry.
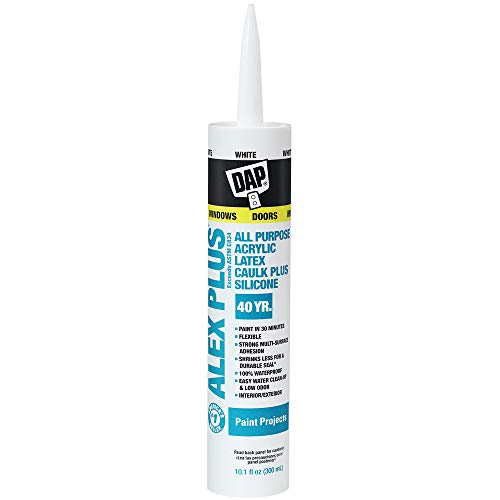
Learn more about this acrylic caulk on Amazon.
4. Patch up the drywall or cabinetry (if not installing new bars)
If you're not installing new bars on the wall or side of the cabinetry, you'll likely need to purchase a small container of spackle or wood putty to cover the area where the holes have been drilled. For this process, apply the putty or spackling to the area where the screws a drilled after the bars have been removed. Next, use your putty knife to smooth the area over so that the spackle is flat with the rest of the surface. Then take your sandpaper or block and sand down the area down to be painted over.

Take a look at this wood filler on Amazon.
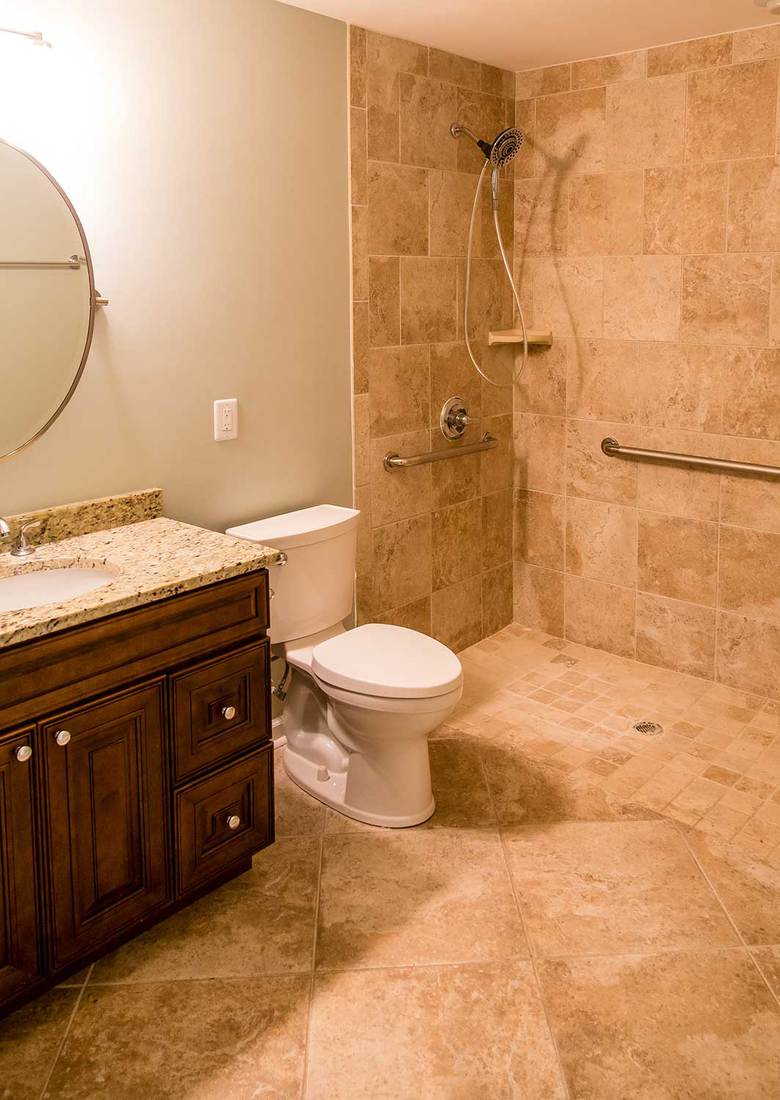
How Do You Remove And Replace Shower Grab Bars?
The overall process of removing shower grab bars involves unscrewing any nuts or bolts used to install the grab bars on the wall. Next, you'll need to physically remove the bar from the wall by pulling it away from the surface. If there will not be another installation, it's best to patch up the surface using epoxy, putty, spackle, depending on the surface.
The most secure way to install any grab bars in the bathroom is to use a stud finder. Ensuring that the grab bars are installed directly on studs increases their security and provides sufficient weight support. Let's take a look at how to replace shower grab bars.
Things you'll need:
- Grab bars
- Grab bar screws and other hardware
- A stud finder
- A level
- A drill and drill bits
1. Locate the studs in the wall
Use your stud finder to locate the stud behind the shower tile. If the tile doesn't reach the ceiling, try to locate a stud above the tile on the drywall of the shower area.

Check out the stud finder on Amazon.
2. Remove the grab bar plate
This is the plate that is located on the edge of the grab bar's handle. The plate is a circular metal piece with a hole in the middle, though the design may vary according to the type and brand of the grab bar. You may need to tap the plate with a hammer to remove it from the grab bar.
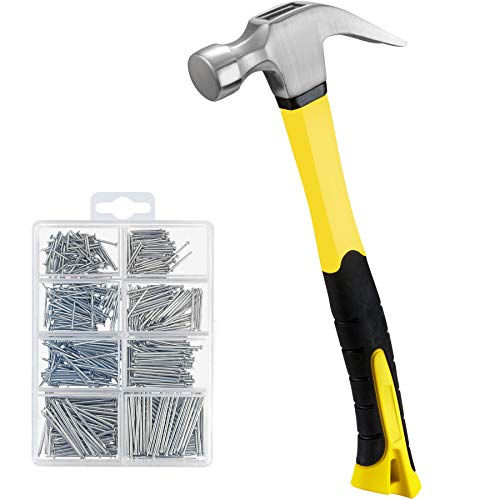
Learn more about this hammer on Amazon.
3. Hold the grab bar in position
Next, take the grab bar and position it on the wall area where it will be located. Keep in mind that the ends of the grab bar should be located on top of the areas where studs were found, as this is where the mounting plates will go.
4. Mark the mounting areas
Take a dry erase pen and mark the areas on the tile or wall where the mounting screws will go. You'll usually find that there are two screws per grab bar plate--so you should have a total of four markings.
5. Drill the pilot holes
Next, prepare your drill by inserting the correct size drill bit according to the hardware that came with the grab bar. You'll usually find at this is a 1/8 drill bit. Drill holes into the wall for the mounting screws.
6. Install the grab bars
Next, take your mounting plates and slide them on the grab bar. Then apply a thin layer of silicone caulk on the bottom edges of the mounting plate--this will help protect the wall. With the bar held up against the wall, drill the screws into the wall one plate at a time. It's best to drill the grab bar slowly to make sure that they are perfectly aligned. Give the caulk about an hour to set, and then give the grab bar a light tug to make sure that it is securely attached to the wall.
Check out this silicone caulk on Amazon.
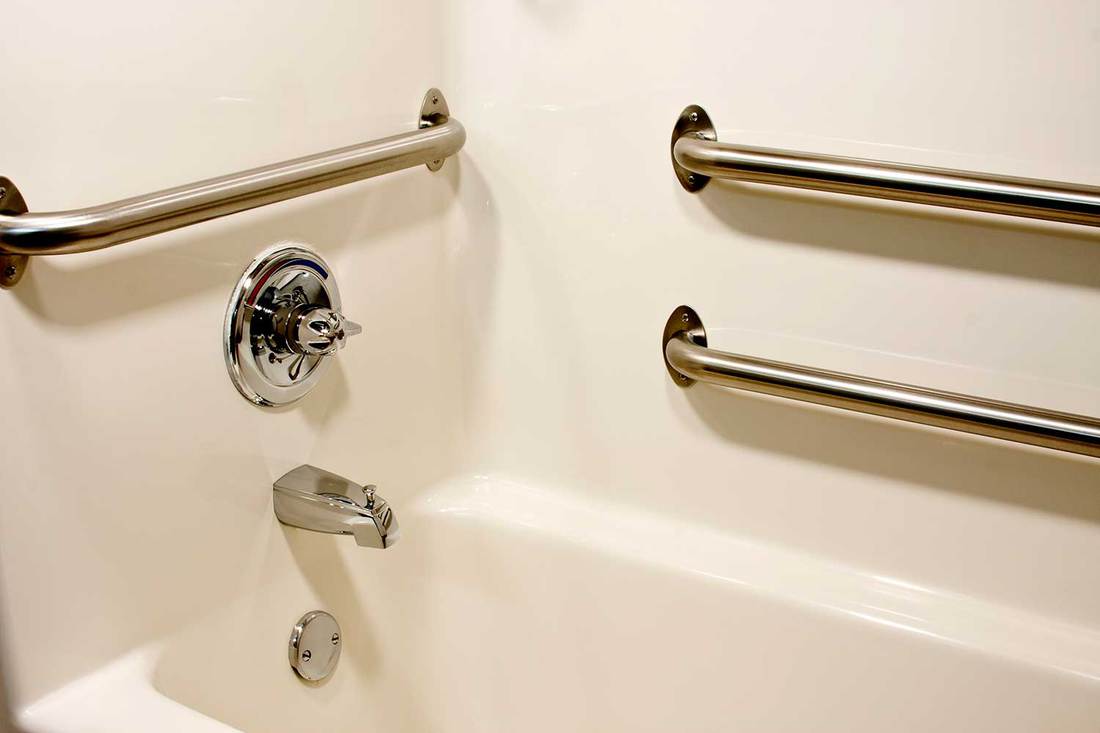
Should Grab Bars Be Horizontal Or Vertical?
The angle of the grab bar depends on the location and the use for the grab bar. Let's discuss the advantages of both angles.
Vertical Placement
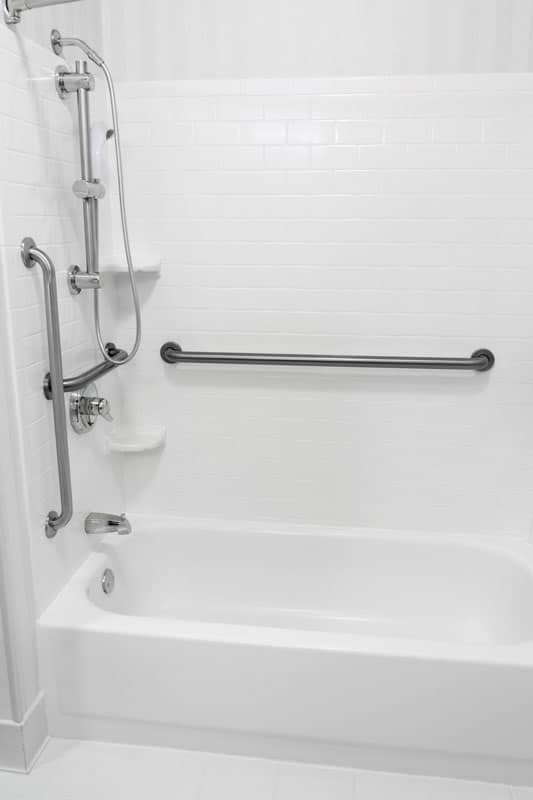
Vertical grab bar placement is usually best for bars installed in the shower or tub areas. These bars work to facilitate exit and entry. It's easy to lose your footing stepping in and out of the shower, so being able to easily grab onto a vertical bar while on your way in and out can help you prevent injury. The bars are usually placed about 36 inches high, but their ideal height will depend on your personal specifications. For example, a shorter person may want the bars to be lower to the ground for easier access.
Horizontal Placement
Horizontal grab bars help to provide support in scenarios where a lot of movement will occur. For example, if you're standing up or sitting down in the bathtub, these bars can be beneficial. You also find that horizontal bars are often located on the sides of the toilet to help with standing and sitting.

Check out this grab bar on Amazon.
Are Grab Bars With Suction Cups Safe?
Not really. Grab bars are meant to help support movement in or around the shower area and the bathroom. Suction cups are not anchored well enough to provide support for body weight. You will find that suction cups work great for mounting lightweight shower hardware such as soap bars and shampoo racks, however.

Check out the shampoo rack on Amazon.
Where Are The Best Places In A Bathtub For A Grab Bar?
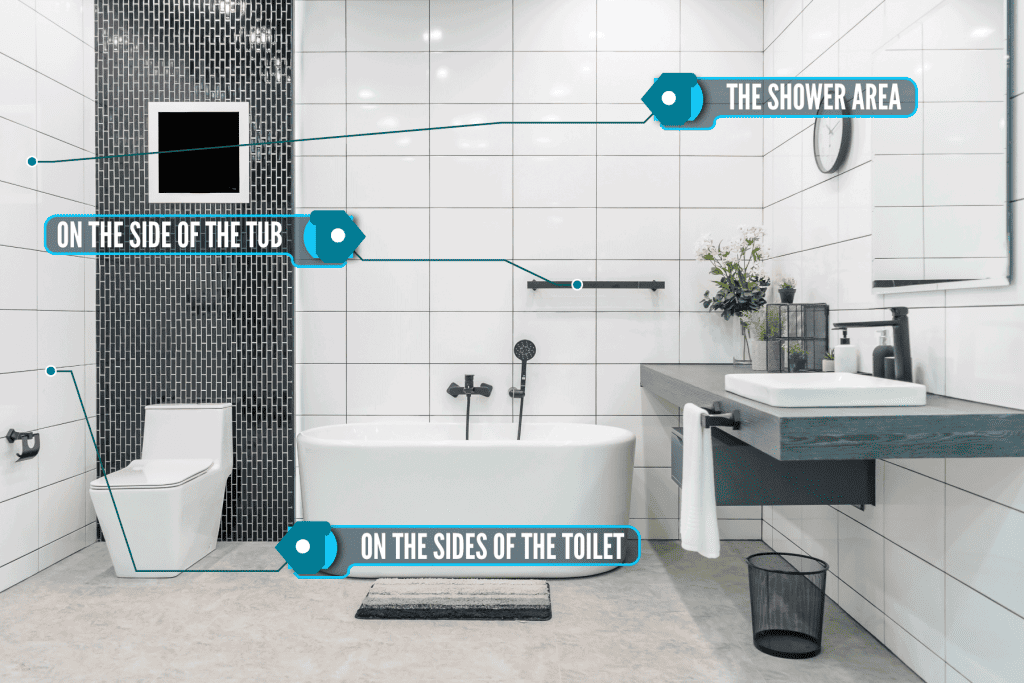
The shower area
Grab bars are typically located inside near the outside of the shower area to provide entrance and exit support. However, if you have a huge shower, you may want to place more than a couple of grab bars inside it for extra security.
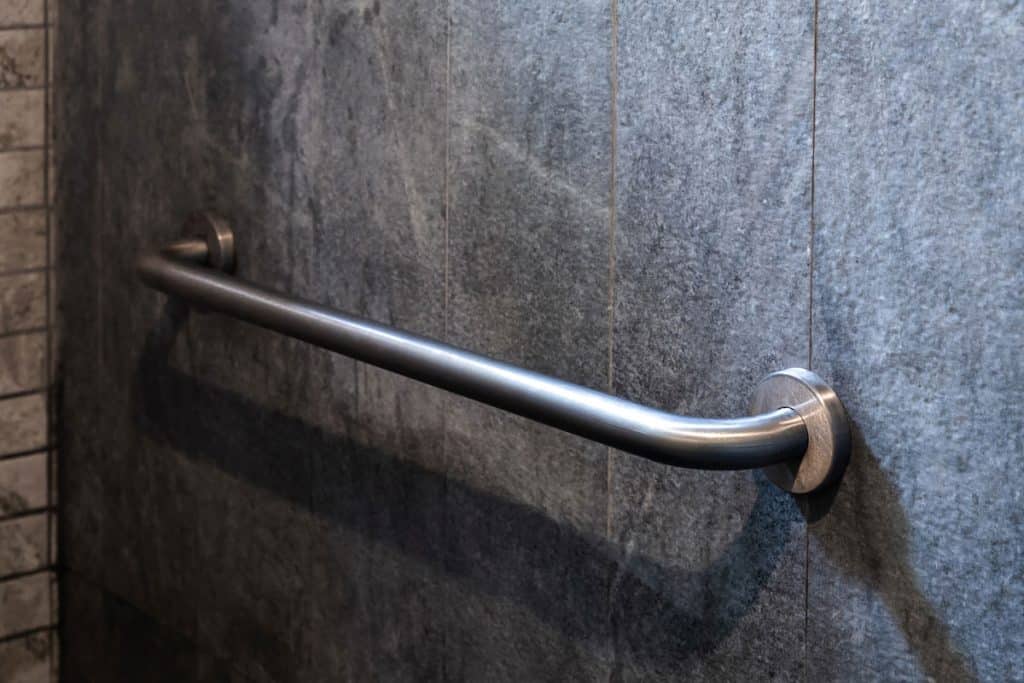
On the side of the tub
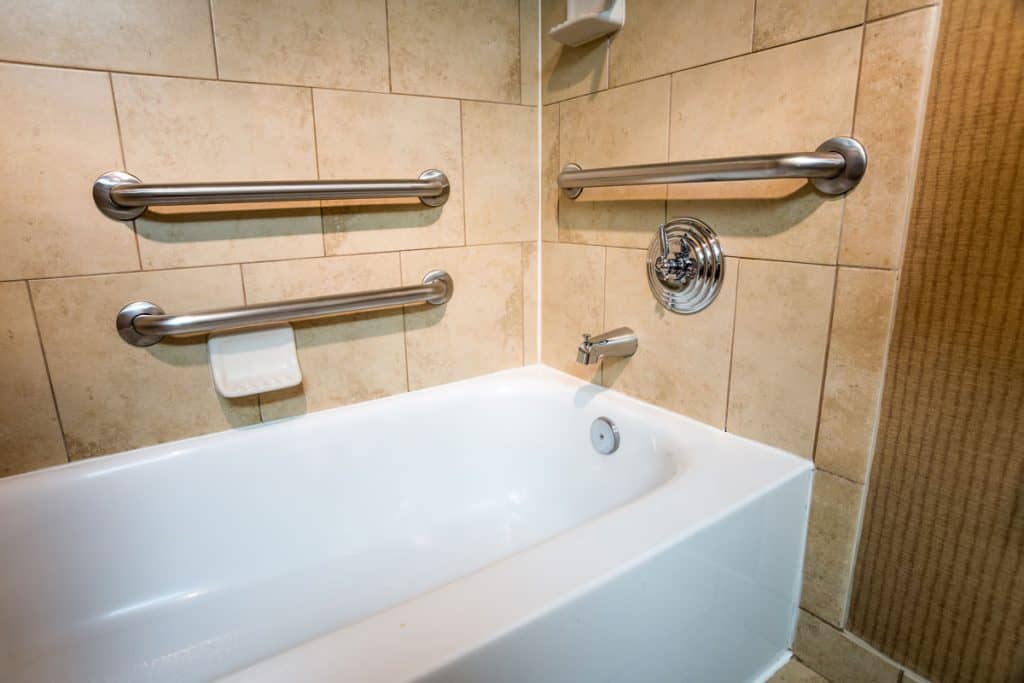
It's common to place grab bars on the sides of bathtubs to help people sit and stand in the bathtub. You'll usually find that there will be one grab bar on either side of the tub to provide steady support.
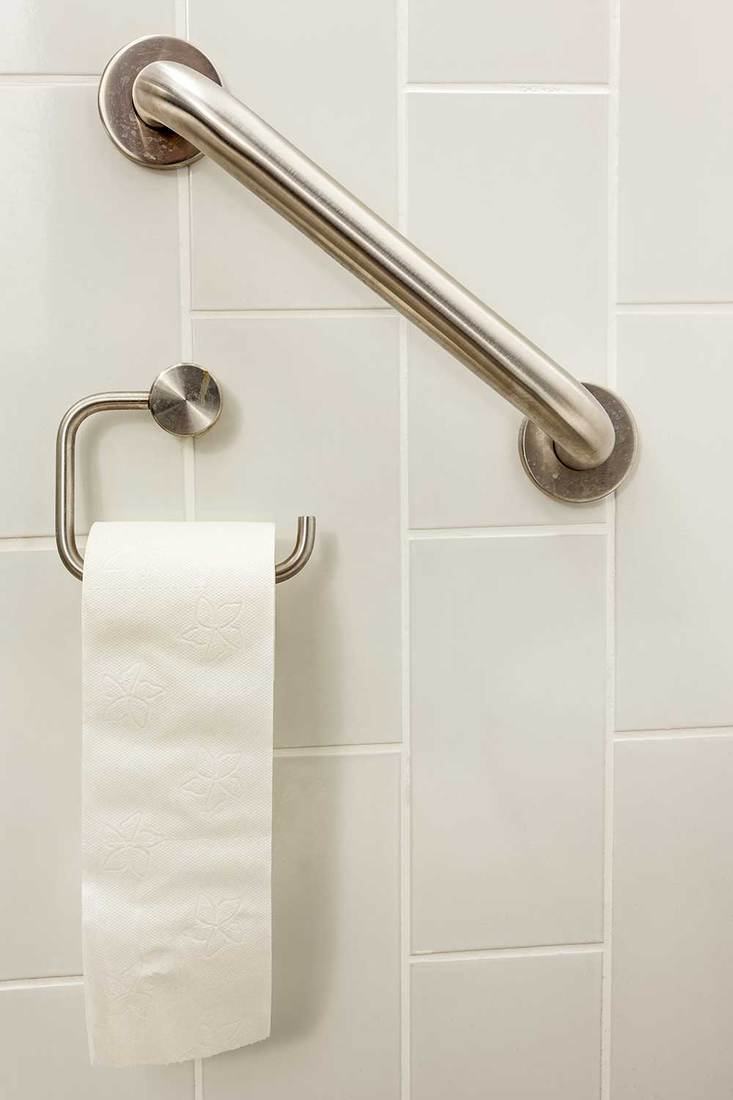
On the sides of the toilet
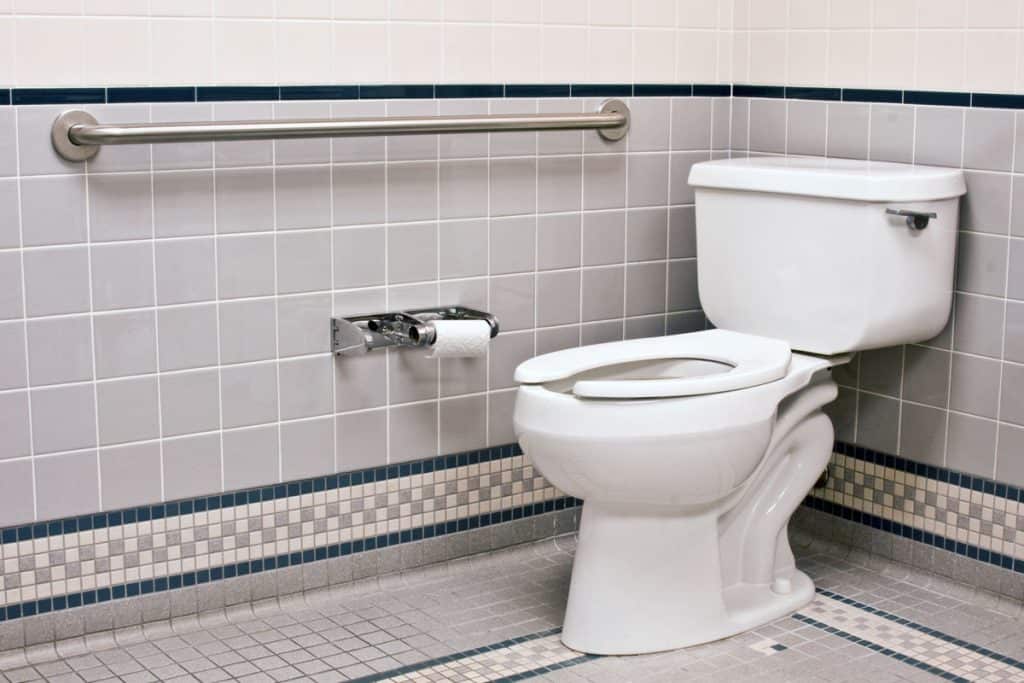
The toilet area is another common area where accidental falls may occur, especially with persons with disabilities or the elderly. Grab bars may be located on nearby walls on either side of the toilet and are usually placed about 24 inches high or near the height of the toilet.
How Many Grab Bars Should Be In A Bathroom?
It varies. This usually depends on the size of the bathroom, the capabilities of the persons frequenting the bathroom, and personal preference. However, you will find that a bathroom can have anywhere from three to six grab bars located in the shower area and around the toilet, as these are the most common areas where slips and falls occur.
Wrapping Things Up
We hope that this helped to illustrate how to remove grab bars from your bathroom. If you're replacing the bars, be sure to secure them tightly on the wall to prevent potential injuries.
Before you go, be sure to check out our other posts:
![Marble walled shower wall, 5 Best Types Of Shower Wall Panels To Consider For Your Bathroom Renovation [The Ultimate Guide]](https://homedecorbliss.com/wp-content/uploads/2023/07/shutterstock_2138160219-600x400.jpg)