
Even the best looking and most well-maintained home can suffer from unsightly mildew on wood siding from time to time. If you find mildew on your wood siding, you may be wondering the proper way to remove it. We've researched this for you, and we have answers that may help.
Removing mildew from wood siding is not usually difficult, but it can be time-consuming. Resist the urge to grab the power sprayer and instead follow these steps:
- Cover delicate plants near your home.
- Put on protective gloves and other necessary safety gear.
- Mix a cleaning solution containing water and a hydrogen peroxide household cleaner, such as OxiClean, in a bucket.
- Rinse your home with a low-pressure hose.
- Using a brush or sprayer, cover the outside of the home with the solution and let it sit for 15 minutes.
- Use a brush to scrub areas where mildew appears. This may require more cleaning solution.
- Rinse away the cleaning solution with clean water.
This process should take care of the mildew problem on your wood siding. If you prefer, there are commercially available cleaners. Avoid using strong chlorine bleach cleaners on your wood siding, as the chlorine can damage wood fibers and is dangerous to plants. We discuss this process in detail below, so please keep reading!
![Mildew growing on the side of a wooden wall, How To Remove Mildew From Wood Siding [7 Steps]](https://homedecorbliss.com/wp-content/uploads/2020/12/How-To-Remove-Mildew-From-Wood-Siding-7-Steps-683x1024.png)
Cleaning Mildew From Wood Siding
You work hard to make sure your home has just the look you want, right down to the wood siding you prefer. Then one day, you are out mowing the lawn or walking the dog, and you see it; mildew on your siding. If this is the situation you find yourself in, some steps will help you clean it properly and get your siding back to its full glory.
For this process, you will need the following:
- Protective gear, including gloves and eye protection
- Peroxide-based cleaner
- Scrub brush
- Sprayer (optional)
- Garden hose
- Tarp to cover plants (optional)
1. Cover Plants
The first step to cleaning your home's exterior is to cover up any delicate plants or shrubbery nearby. Some cleaners are harsh and harmful to your plants. While the one we recommend below is less harsh than others, it is always best to protect your plants by covering them with a tarp or something similar.
2. Protective Gear
Whenever you are working with cleaners or other chemicals, gloves are a necessity! Make sure to cover your hands up, and it would be best to protect your eyes as well since some of the cleaning solution could splash. Something like these household cleaning gloves should work fine for this project:
Tusko Rubber Cleaning Gloves
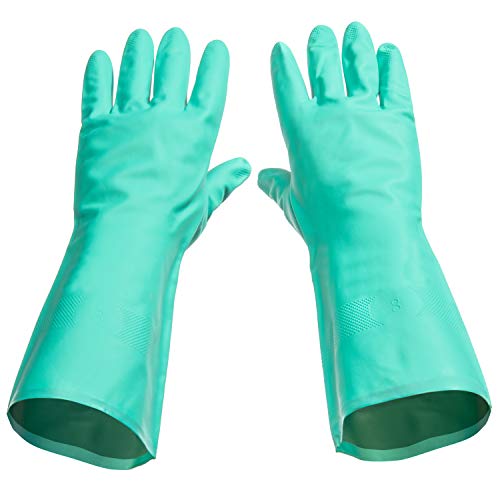
Click here to see these gloves on Amazon.
For eye protection, you may want something like these:
BearKat 3 Polycarbonate Safety Glasses

Click here to see these glasses on Amazon.
3. Mix Cleaning Solution
For this project, you will need a good cleaning solution. One that many people recommend is a mixture of water and a peroxide-based cleaner. Mix the two in a bucket to prepare it for use. These cleaners usually come in a powder form, like this one:
OxiClean Stain & Odor Remover

Click here to see this cleaner on Amazon.
The amount of powder necessary will depend on the specific cleaner you get. You should follow the directions on the container. This kind of cleaner is gentler on your wood and on nearby plants than chlorine mixtures are. There is a chance that OxiClean and similar cleaners could discolor your painted surfaces, so you should test a small area before you use it. The good news about this kind of cleaner is that you may already have it around your home. If not, it is common and easy to find.
Several companies sell siding cleaners that you can use instead of the mixture above. Most of the rest of this process is the same from here on, even if you select one of those cleaners. If you choose a commercially produced cleaner, make sure to read the package carefully to ensure it is safe for your plants. Here is an example of this kind of cleaner:
Simple Green House And Siding Cleaner

Click here to see this cleaner on Amazon.
4. Rinse Your Home
Before applying cleaner to your home, it is important to rinse away loose dirt and grime. Give your siding a good rinse with your garden hose. This also saturates the area with moisture and prepares it for cleaning.
Be careful not to use a strong power washer on your siding. While you can use a power washer to wash your home, there is a chance you will damage your paint or your wood siding. Power washers may leave behind grooves in the wood, and they can force water up into areas it would not normally go, which could create moisture and mold problems behind your siding. Stick with the garden hose, it will work just fine.
5. Apply Cleaning Solution
Now you need to apply the cleaning solution you mixed up for this purpose. For this step, you may want to limit yourself to only the amount of space you can cover in about 15 minutes since you'll need to come back soon and rinse the cleaner off after it has time to work. You don't want to wait too long and allow the cleaner to dry onto your surface, or it will be more difficult to rinse away.
You can brush the cleaner on with a brush similar to this one:
Rubbermaid Heavy Duty Scrub Brush
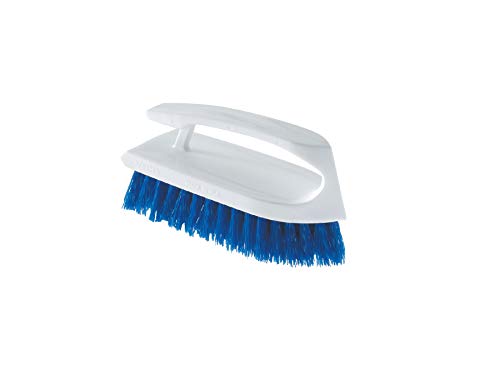
Click here to see this brush on Amazon.
Or make your initial application with a sprayer, such as this one:
Chapin Lawn Sprayer
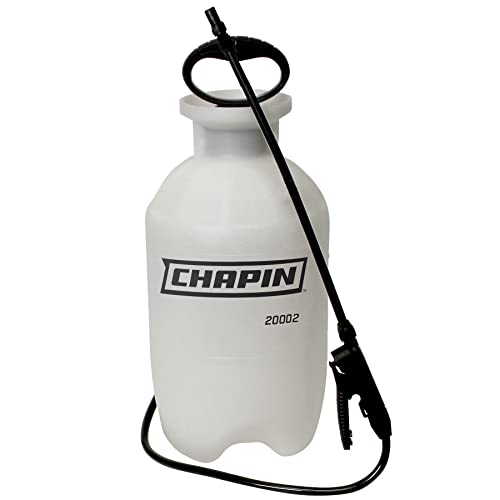
Click here to see this sprayer on Amazon.
Once you apply the cleaner to your home, you need to let it sit for about 15 minutes so the cleaner has time to work, especially in areas where there is mildew.
6. Scrub Difficult Mildew Deposits
In areas where there is a large amount of mildew or mildew that did not come off in the previous steps, you need to scrub at the mildew with a sturdy brush. This may require you to add more cleaning solution to that area to help remove the mildew.
7. Final Rinse
At this point, all that remains is a final rinse to wash away the cleaning solution. Make sure you rinse well and have removed all of the cleaner from your siding. If there are any areas where the cleaner dried on your siding, pay special attention to make sure you get it all off.
Your siding should be clean and free of mildew when you've completed these steps. If there are remaining mildew stains, you may need to go back to step 6 and scrub the area again, adding more cleaner. Otherwise, the process is complete, and you can uncover your plants and put away your hose and bucket.
How Long Does It Take To Remove Mildew From Wood Siding?
The amount of time needed to remove mildew from wood siding will vary. A large home may take longer than a small one, and a heavily mildewed section may add even more time to that.
You should probably allow around four to five hours for a small to mid-sized home. For many people, that will be enough time to comfortably complete the process outlined above.
Is Wood Mold Dangerous?
Many molds are dangerous to people exposed to them. While wood mold may not always damage your wood, it does produce spores that can be harmful to anyone who breathes them in. This is especially true for people who have respiratory problems, such as asthma or allergies.
Mold can cause headaches, breathing problems, an increase in asthma attacks, and other medical problems. On top of that, mold can take hold deep into the wood, making removal very difficult. It is best to treat mold as soon as you see it. For most mold this is simple, but some larger outbreaks may require a professional to remove it safely.
While wood mold itself doesn't typically damage the wood or cause rotting, it is often a symptom of larger problems. It usually means there is excess moisture in an area, and you should deal with the problem immediately. Too much moisture can cause rotting. Mold often accompanies rot since it also thrives on excess moisture. The rot can damage the wood, so be sure to treat the issue as soon as possible.
Does Black Mold Grow On Wood?
Black mold, like most molds, needs only moisture and some kind of fiber to grow on. This can be fabric, drywall, or wood, among many other things. It grows very easily on wood and can spread quickly.
Black mold is one of the most dangerous forms of mold for most people. It can cause various health problems when inhaled, and its spores spread easily through the air. If you have black mold you will likely need a professional to remove it since it requires the proper safety equipment and training to remove it safely.
In Conclusion
Cleaning mildew from wood siding is a fairly simple DIY project. It requires only a few simple items, which you may already have around your home. If you follow the process we've outlined above, you should take care of it in a single weekend.
Check out our related articles for more great mold removal tips:
How do you kill mold on wood? With a simple cleaning solution of dishwashing soap and warm water. Add a teaspoon of soap to a spray bottle filled with water and shake it up. Spray the affected area and use a soft-bristled brush to gently scrub away the mold, sponging up any excess liquid as you clean.
Regards,
Raul