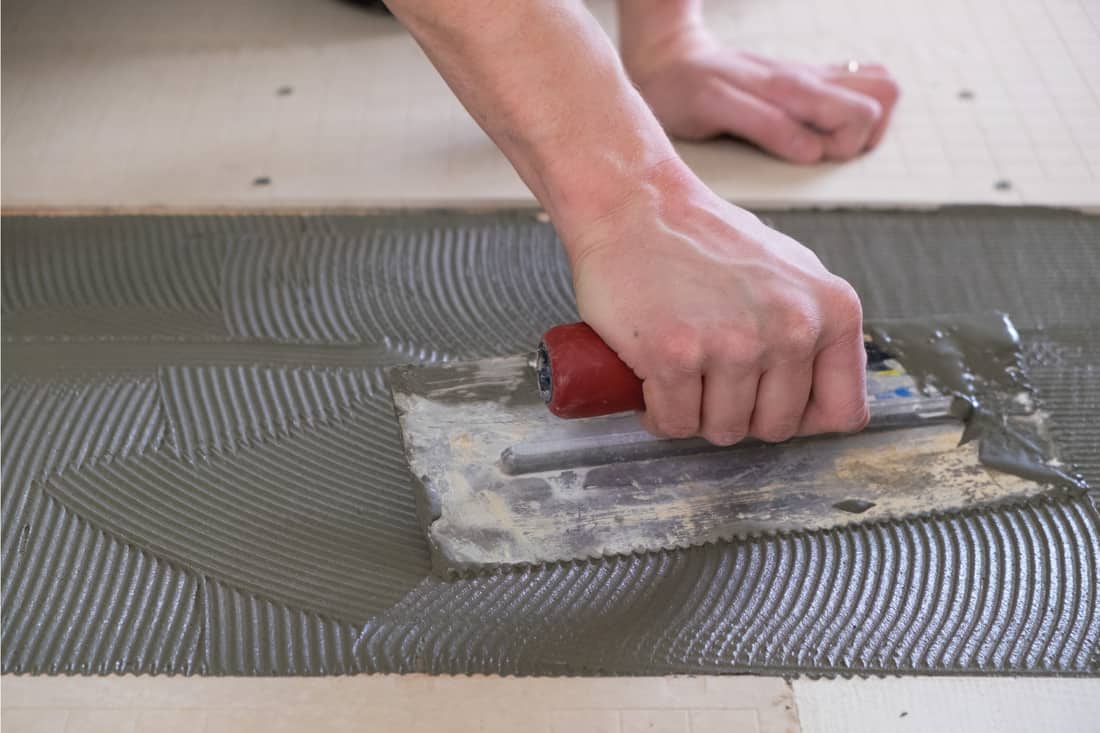
Thinset is commonly used as an adhesive in tile and flooring projects. Not only is it very strong, but it can hold floor tiles in place for well over 15-20 years if applied correctly. If you are looking to remodel your bathroom, you may find yourself wanting to remove the current tiles.
To do so, you also need to remove the thin-set as well. This is easier said than done, as dried thin-set is as hard a rock. So, we've decided to look at the various ways you can remove thin-set safely and effectively, and in this post, we will share them with you.
Here a couple of methods to remove thinset from tiles:
Method 1. Use a chisel and hammer
- Pour hot water on the tiles.
- Apply chisel and hammer to break up tile
Method 2. Use a hammer drill
- Select an appropriate drill bit
- Apply hammer drill to thinset
Removing thin-set from tiles will typically take a bit of elbow grease. If you are embarking on this task alone, it's best to prepare to spend a day or two on the project. Continue reading to learn about the steps involved in each method for removing thin-set.
![Collaged photo of setting tiles, How To Remove Thinset From Tile [2 Methods]](https://homedecorbliss.com/wp-content/uploads/2021/01/How-To-Remove-Thinset-From-Tile-2-Methods-1024x683.png)
How To Remove Thinset From Tile
We sometimes add affiliate links and content that was curated and created by our team with the help of advanced ai tools to help showcase the best design styles.
Method 1. Use a chisel and hammer
Using a hammer and chisel is one of the quickest ways to remove thinset. However, it can create a lot of dust in the workspace, so it is best to use eye protection and a dust mask to protect yourself. You may also want to cover the workspace flooring with a plastic or a drop cloth so that you can save time on the cleanup effort afterward.
Things you'll need:
- Eye goggles
- Dust mask
- A hammer
- Rubber gloves
- Citrus degreaser
- A chisel
- Clean cloths
- Hot water
Pour hot water on the tiles.
Start by mixing 1/2 of a cup of a citrus-based degreaser with a gallon of hot water. The hot water will help to soften the thinset just a bit, making it easier to remove. Pour the hot water on the thinset on the tiles, and be sure to use rubber gloves when doing so.
Buy citrus Degreaser on Amazon.
When pouring the water, it's best to start in a corner of the room next to the door and work your way from left to right, covering no more than 2 to 3 feet at a time to ensure full application.
Apply chisel and hammer to break up tile
Once you begin to notice cracks appearing on the thinset, use a chisel and a hammer or a putty knife to chip it away. Use the hammer to tap on the back of the chisel and break the bond between the flooring and the layer of thin-set. Be sure not to tap too hard, as you don't want to damage your flooring in the process. If you can't get the tile off after tapping for about 20 seconds, go back to the area later after having poured more hot water on it.
Method 2. Use a hammer drill
Select an appropriate drill bit
Start by attaching a small bit to the front of your hammer drill (the size will vary by application). For most hammer drills, you need to hold the nozzle and twist the end counter-clockwise to loosen up the current bit, and then turn it clockwise to tighten it back up.
Apply the hammer drill to thinset
Start in the corner of the room on the left side of the door and then place the hammer drill at a 45° angle against the surface of the thinset. Next, gently squeeze the trigger and then run the hammer along the surface of the thinset using a short vertical motion. Be sure not to place too much pressure on the drill, as you don't want to damage the flooring beneath the thinset.
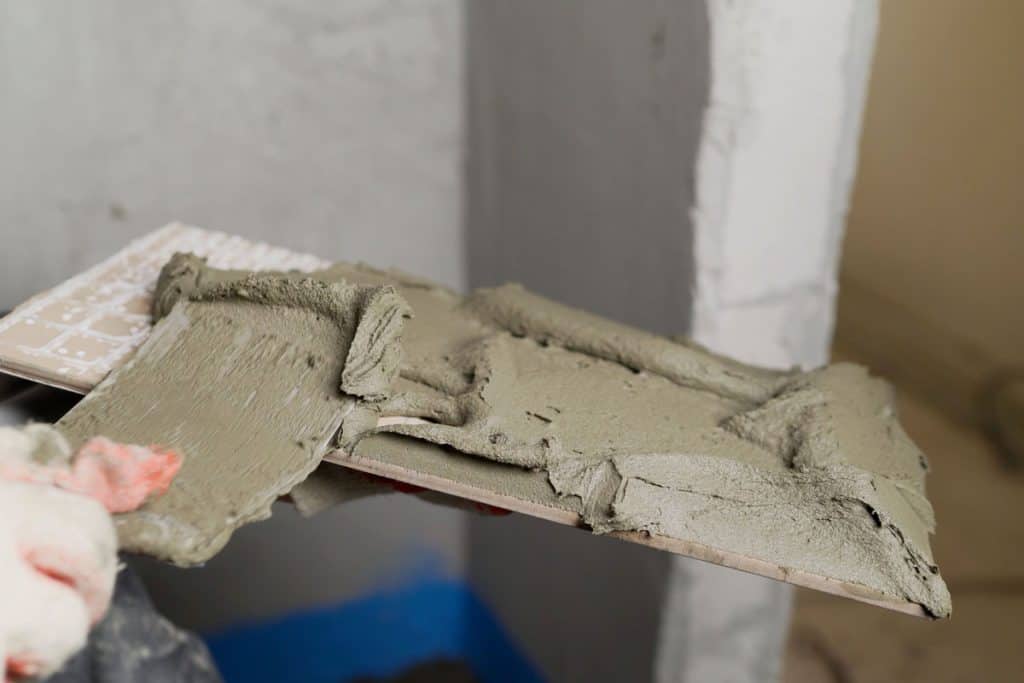
If you come across any stubborn areas when using the hammer drill, try working around them, drilling the edges of the area first. You can rent a hammer drill from Home Depot or Lowe's for around $50.
ou will need to decrease your blade's angle to power through thick layers of thinset. Depending on the brand and model that you have, you may also be able to lock the bit at a particular angle. However, it's best not to increase the angle over 45 degrees, as it can make the blade more susceptible to damage.
What Will Dissolve Thinset?
Being that thinset actually contains concrete, one of the most durable and hardest building materials available, dissolving it will take some work. Once thinset has hardened, there are only three known compounds that can safely dissolve it. They are trisodium phosphate, phosphoric acid, and muriatic acid, an industrial-grade of hydrochloric acid.
The latter would be the last choice, as it is more dangerous to work with. It's best to have a professional advise you on the best way to dissolve thinset before dabbling with these types of chemicals on your own. And always be sure to don the correct safety equipment which includes the proper types of gloves, ventilation masks, goggles, etc.
Can You Put Thinset Over Old Thinset?
Yes. The most important thing that tiles need to adhere to correctly is a smooth and level surface. So while it is possible to place a new layer of thinset over an old layer of thinset, the old layer must be level and very smooth for the installation to be successful. This presents a certain challenge, as removing old tiles usually leaves an uneven surface of chipped thinset on the wall or floor.
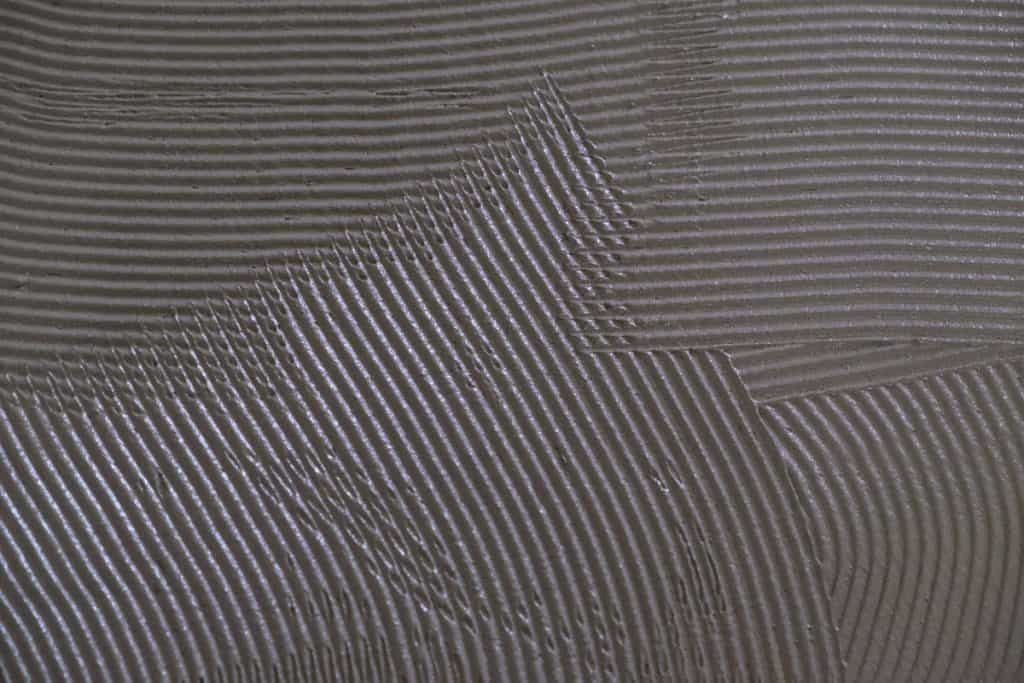
The best way to smooth out the old layer of thinset is to use a grinder to even it out. Only after which can you successfully add a new layer of thinset. If the previous layer is not smooth and evened out perfectly, the newly-installed tiles will be susceptible to cracking and breaking as a result of uneven pressure being placed on them.
Can You Sand Down Thinset?
Yes. If you apply a layer of thinset that is too thick you can sand it down afterward. It may take a bit of work, but it's possible--and common. There are a couple of ways that you can sand it down. Let's take a closer look at them.
Wooden Block & Sandpaper
If you are working with a small area, you can wrap 50-grit sandpaper around a small wooden block to sand down the thinset. Thinset is extremely hard once it dries. Sanding it down can take a lot of elbow grease if you decide to do it with just a few pieces of sandpaper. To use this method, take a 24-grit to 50-grit piece of sandpaper and wrap it around a small wooden block that's big enough to fit inside your hand comfortably.
Handheld Grinder
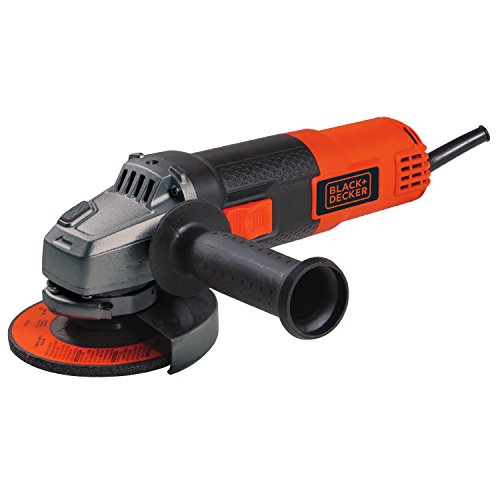
If you are working with a larger area, using a hand-held power grinder would be more efficient. You will still need a fairly rough grinder wheel such as 24-grit or 50-grit, but no finer than 80-grit. As you apply the grinder to the thinset, be sure to wipe or sweep away the accumulated dust so that you can keep track of your work. This will help you avoid uneven areas. If you plan on painting the thinset, be sure to go over the area one more time with a finer grinder wheel such as 80-grit or 120-grit. Sanding thinset produces a lot of dust, so be ready to don a dust mask and goggles.
Buy a handheld grinder on Amazon.
What Is The Difference Between Thinset And Mortar?
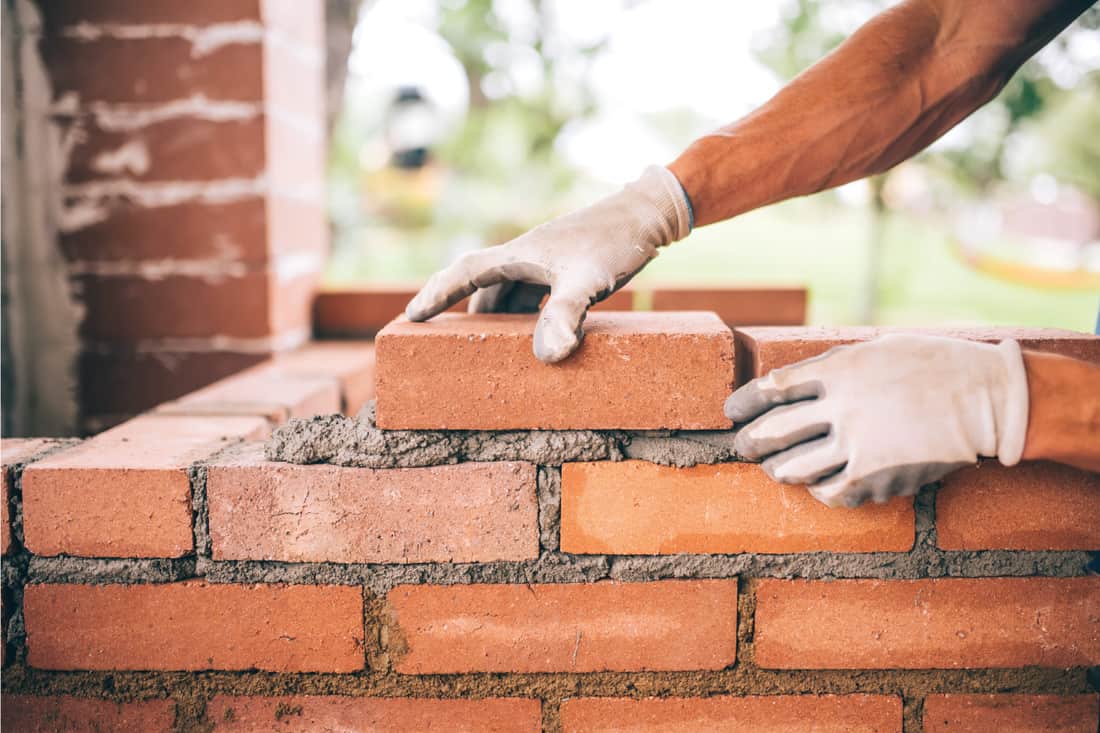
Sometimes you'll hear the terms "mortar" and "thinset" used interchangeably. Thinset is actually a type of mortar. It's a fairly strong adhesive that helps to bond tiles to floors and walls. Its main ingredient is cement, and it is typically the foundational material used to lay floor tiles. Thinset also contains sand and a cellulose derivative for hydration. At its core, thinset is meant to hold materials together so that they will remain bonded for several years.
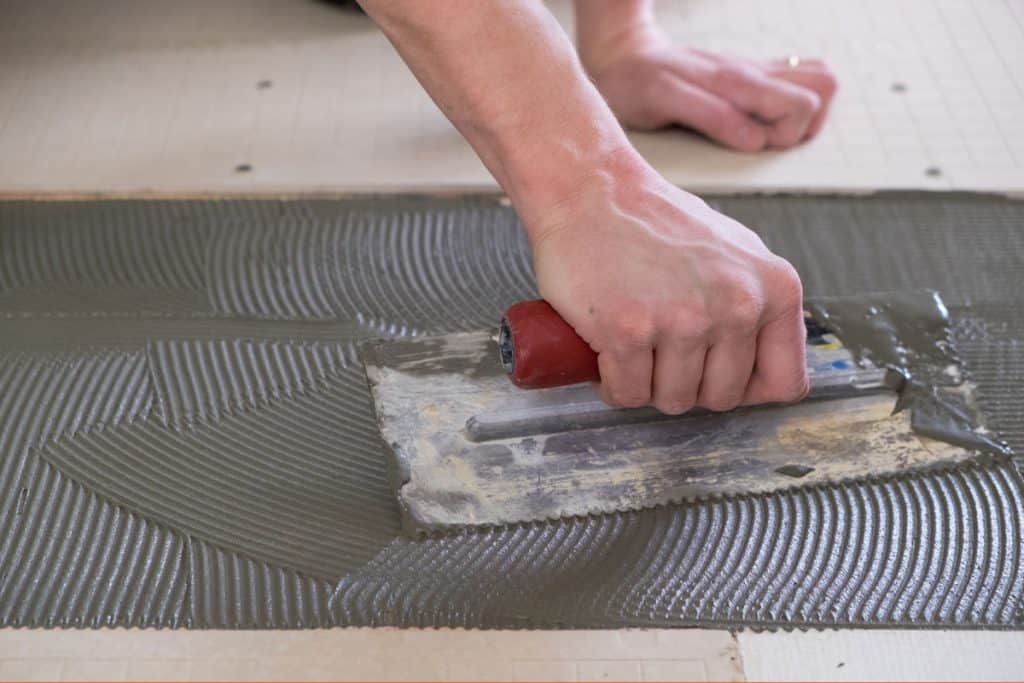
It's usually purchased pre-mixed, but can also be purchased as a powder to be mixed with water. It is not meant to be an aesthetically pleasing material, or even a visible one, but more so a functional one. Lastly, home improvement experts typically recommend that thinset be installed by a professional, or someone with extensive building experience.
Mortar also contains fine sand, along with lime and water to help improve its durability. Before mortar can be applied it must be combined with water so that it may harden and cure. Unlike thinset, mortar is used to hold concrete blocks, bricks, stone, and various other building materials together instead of interior tile flooring.
However, it's never used as an exclusive building material as it isn't as strong as concrete cement. Mortar is typically sold in 5, 10, or 20-lb bags in a powdered form, and it's usually mixed on-site right before application.
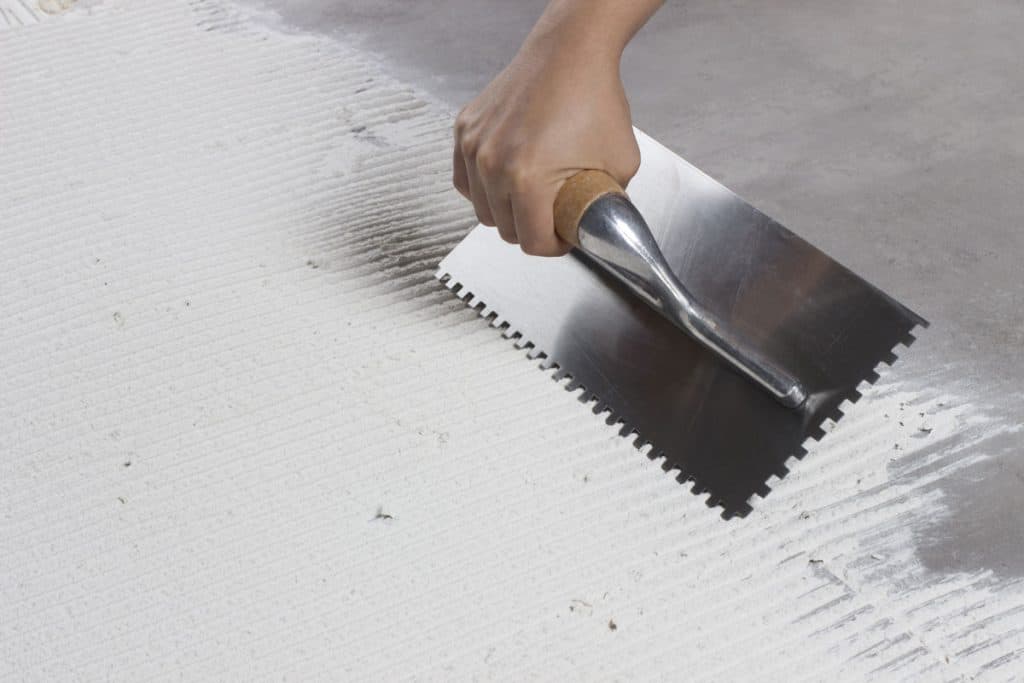
So to sum things up, the biggest difference between mortar and thinset is that thinset is typically used on interior flooring and wall applications, while mortar is used for exterior applications involving masonry.
Wrapping Things Up
We hope that this post has shown you the number of ways that you can remove thinset from tiles. Remember, before attempting this type of job be sure to don the necessary protective equipment to avoid injury. This includes protective goggles, a dust mask, and heavy-duty gloves.
Before you go, be sure to check out our other posts:
What Can You Put On Bathroom Walls Instead Of Tiles?
How To Transition From Tile To Carpet [Carpet Installation Plan In 5 Steps]
![Gray ceramic tiles, tile setting using thinset, How To Remove Thinset From Tile [2 Methods]](https://homedecorbliss.com/wp-content/uploads/2021/01/gray-ceramic-tiles-tile-setting-using-thinset-How-To-Remove-Thinset-From-Tile-2-Methods.png)


