
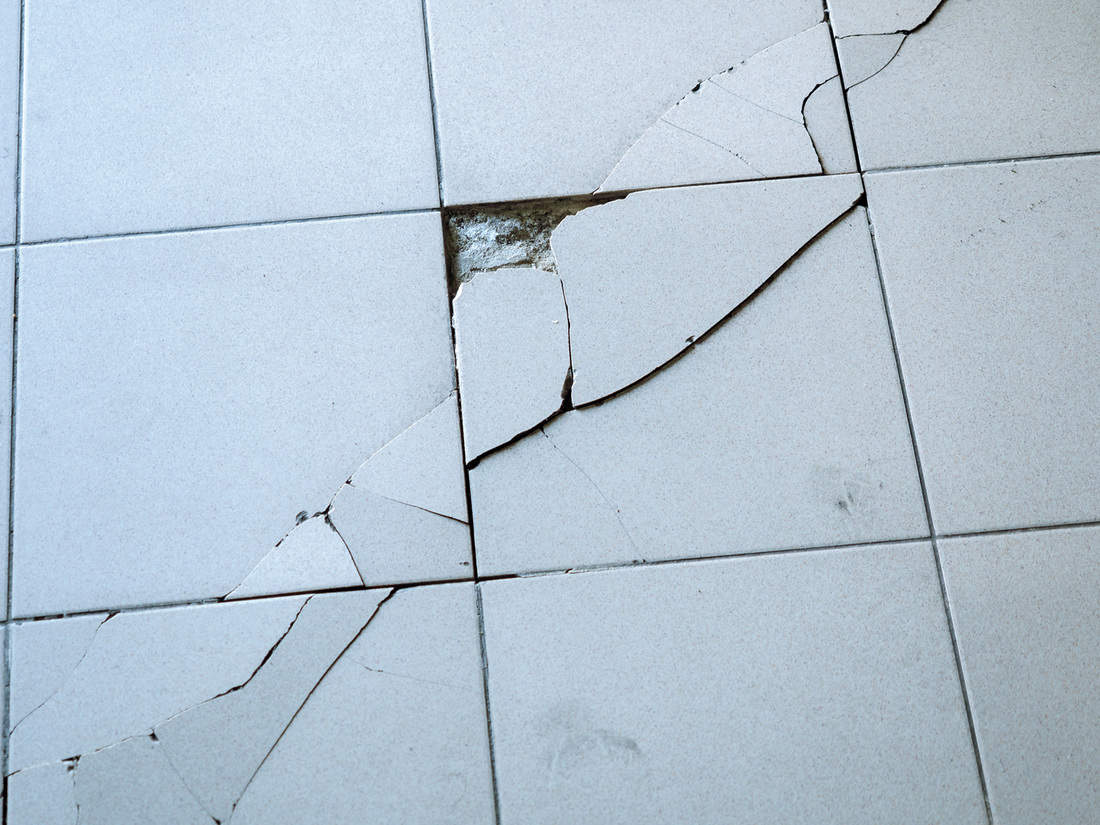
Ceramic tiles are popular for flooring and backsplash due to being durable and easy to clean. Unfortunately, when heavy objects are dropped onto the tiles, they can crack or break. If you have a cracked ceramic tile in your home, we're here to teach you how to repair it.
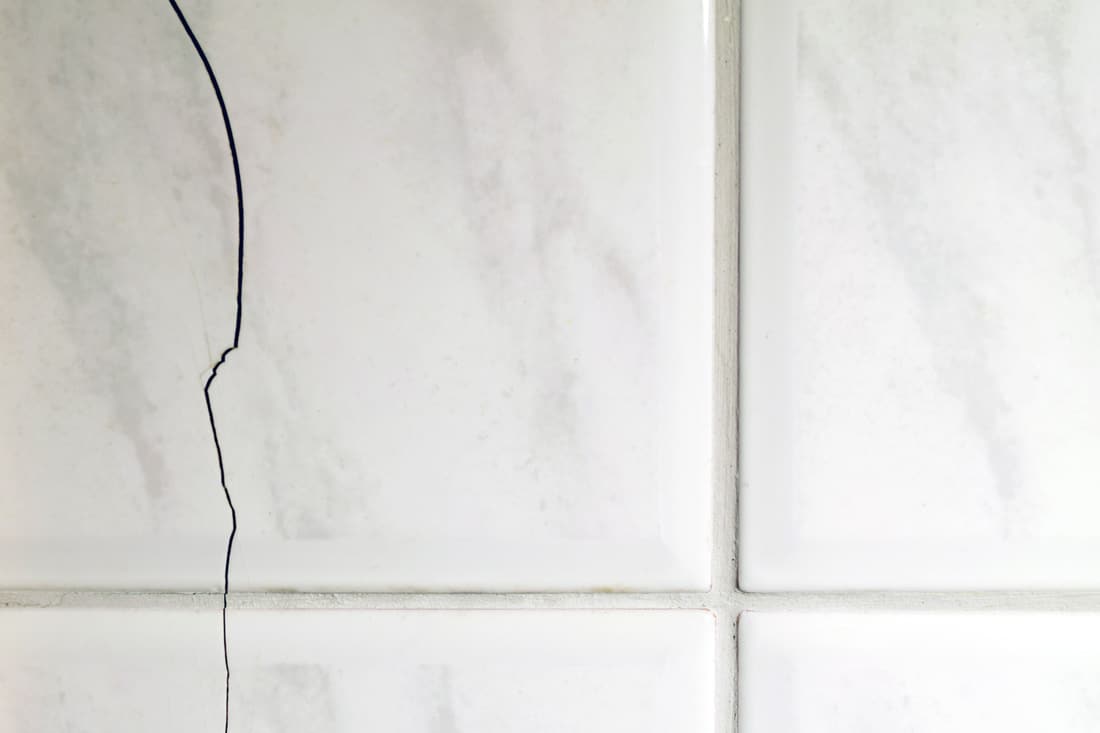
To repair hairline cracks in ceramic tile, all you need is some clear epoxy, a thin paintbrush, paint, and sealer. To repair the crack, follow these steps:
- Clean the crack and the tile
- Apply epoxy to the crack
- Scrape away excess and allow the epoxy to dry
- Paint over the crack
- Apply a paint sealer
It's fairly easy to repair thin cracks in ceramic tile, but repairing larger cracks may involve replacing the whole tile. For specific materials and more detailed steps on how to repair cracked ceramic tile, keep reading.
![Looking down at a floor full of cracked and broken ceramic tiles, How To Repair Cracked Ceramic Tile [5 Simple Steps]](https://homedecorbliss.com/wp-content/uploads/2021/02/How-To-Repair-Cracked-Ceramic-Tile-5-Simple-Steps.png)
Why Should You Repair Cracked Tile?
We sometimes add affiliate links and content that was curated and created by our team with the help of advanced ai tools to help showcase the best design styles.
Besides the unattractiveness of it, there are other reasons as to why you should repair a cracked ceramic tile. Ceramic tiles are most frequently used as flooring and backsplash in bathrooms, showers, and kitchens. These are all places that produce a lot of moisture. That moisture can seep through the crack and damage the flooring underneath.
If too much moisture passes through the crack to the flooring underneath, it can cause the wood to rot. It can also cause mold and mildew to form, which aren't good for the health and safety of you and your house. The crack can also become bigger over time, which will allow more water to pass through. Tiles with larger cracks will need to be replaced as they are harder to repair.
Repairing Cracked Ceramic Tile
Now that you know why it is important to repair cracked tile, let's look at each of the steps in more detail. Here are the materials you will need:
- Scraper
- Tile cleaner or dish soap
- Cleaning cloth
- Vacuum or hairdryer
- Clear epoxy
- Thin paintbrush
- Paint
- Paint sealer
1. Clean Out the Crack and Tile
When repairing a cracked tile, the first step should be to clean out the crack. This will help remove any dirt or debris so that the epoxy will be able to seep down into the crack. To clean out the crack, stick a thin scraper into the crack and scrape out as much dirt as you can.
Once the dirt has been scraped out, use a tile cleaner or dish soap to clean out the crack. You can use an old toothbrush to clean deeper into the crack if necessary. Clean the tile as well to remove any dirt or grease, otherwise epoxy and paint may not stick.
Wipe the tile with the cleaning cloth and allow the tile and crack to dry. It may take the crack longer to dry. To speed up drying, use a vacuum to remove excess water from the crack or plug in a hairdryer, turn it on, and run it up and down the crack for about 15 minutes.
Try this plant-based tile cleaner on Amazon.
2. Apply Epoxy to the Crack
Once the tile is dry, it's time to apply the epoxy. If the epoxy requires mixing, follow the instructions on the packaging. Pour the amount of epoxy needed onto a piece of cardboard or disposable plate. Do not pour epoxy into a bowl or plate that you don't want to get ruined. Once the epoxy hardens, it is almost impossible to remove.
Apply the epoxy to the crack. For thinner cracks, apply it with a toothpick. For wider cracks, use a craft stick. Scrape the epoxy across the crack to level it out. Do not use a knife or scraper to apply epoxy, as it will harden quickly.

Click here to see this epoxy on Amazon.
3. Scrape Away Excess Epoxy
Use a craft stick of scraper to scrape excess epoxy off the tile. This step must be done quickly so that the epoxy doesn't harden onto the tile. If you used a scraper, wipe it off as soon as you finish scraping off the excess so that it doesn't have time to harden. Allow the epoxy inside the crack to dry completely.
4. Paint Over the Crack
After the epoxy has dried, paint over it to make the crack disappear. Choose a paint color that closely resembles the color of the tile. Oil or urethane-based paints work best as these aren't easily removed with water. Use a thin paintbrush to paint over the crack until you can no longer see it.
Try this all-purpose interior and exterior paint on Amazon.
5. Apply A Paint Sealer
Allow the paint time to dry. After the paint is dry, apply a urethane paint or wood sealer over the tile. The sealer will prevent the paint from chipping and keep water away from the repaired crack. After applying the sealer, let it dry completely before walking on the tile.

See this grout sealer on Amazon.
Does Ceramic Tile Break Easily?
Ceramic tile is loved because it is extremely durable and can withstand heavy use. The tile is difficult to crack, meaning it would take a severe impact in order to crack it. Here a few instances that could cause a ceramic tile to crack.
Something Heavy Fell on the Tile
This problem happens most often in the kitchen. Dropping heavy pots and pans or setting down or dropping grocery bags filled with cans can all cause ceramic tile in the kitchen to crack. This is true especially near doorways where things can get dropped when the door is open.
Low-Quality Tile Was Used
It's possible that the tile that cracked was of low-quality or not properly treated. Tiles that are made of quality materials are harder to crack than tiles that are cheaply made. If you have to repair a tile, make sure to use tiles that are bought at home improvement stores or from reputable retailers.
See more: Where To Buy Bathroom Tiles
Materials Underneath Were Installed Improperly
If your tile is cracked, it could be that the floor joists underneath the tile weren't correctly spaced apart or the concrete flooring didn't have time to dry completely. If either of these were the case, the floor may begin to weaken over time or be unable to support the tile, causing it to crack.
The Load on Top is Too Heavy
Sometimes heavy things that are placed on top of tile can cause it to crack. Usually, ceramic tiles can support up to 250 pounds, but refrigerators, washing machines, and dryers can sometimes weigh more than that. The tiles underneath and around these appliances can't support always the weight.
Can You Paint Over Ceramic Tile?
Ceramic tile can be painted as long as the tile doesn't get too wet or frequently walked on. It is okay to paint ceramic backsplashes or tiles that are attached to the wall, but floor tiles that are exposed to high traffic or tiles around a bathtub that get wet frequently should be avoided.
This is because walking on the tile or exposing it could cause the paint to chip and peel. Small cracks can be painted over as long as they are sealed properly.
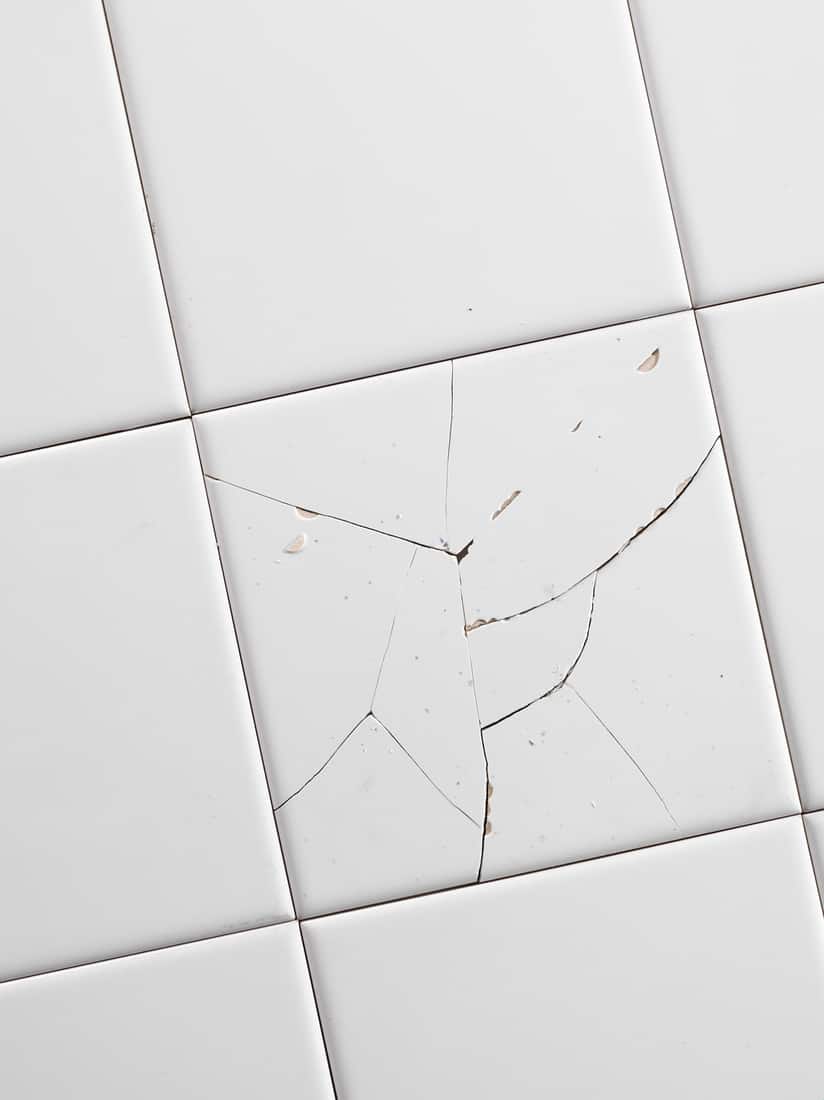
How Do You Replace A Broken Tile?
Some cracks are so large that it is better to just replace the whole tile. Luckily, replacing a broken tile is not a hard process. Follow these steps to replace a broken tile.
1. Remove The Old Grout
Use a grout removal tool to take out the old grout. It is recommended to wear safety glasses during this step to avoid getting pieces of grout in your eyes. Be careful not to damage the surrounding tiles in the process.
Check out this grout removal tool on Amazon.
2. Loosen The Tile
Use painter's tape to cover surrounding tiles in order to protect them from damage. Crack the broken tile with a hammer or use a drill to drill holes into the tile so that is it easier to remove.
3. Remove The Pieces
Use a chisel to remove the old pieces of tile. You can also use a flathead screwdriver. Slide the chisel up underneath each piece of tile. You may have to wiggle it to loosen the tile. Once the pieces are removed, use the chisel or screwdriver to remove the tile adhesive from the floor.
4. Place The New Tile
Spread mortar or another tile adhesive on the surface where you want the tile to go. Spread a little on the back of the tile as well. Set the tile in place and press it down until it is level with the other tiles. This will also help to set the adhesive.
See more: 3 Types Of Tile Glue
5. Fill In With New Grout
Wait for the tile adhesive to dry. Mix up new grout and use a grout float to spread the grout into the spaces around the new tile. Allow the grout to harden, then use a damp sponge to clean off any grout on surrounding tiles. Allow 24 hours for the grout to dry before walking on the tile.

See this grout float on Amazon.
In Closing
Now you know how to repair ceramic tile with small cracks or how to replace tile with larger cracks. Both processes are easy and can be done fairly cheaply. Whichever repair method you use, remember to allow plenty of time for it to dry before walking on the tile or getting it wet. Enjoy your newly repaired tile!