
You may have unintentionally damaged your drywall, or maybe some issues may have caused it to break, and you are wondering how to replace it. Don't worry, because in this post we gathered all the information that will help you solve your problem.
Here's how to replace a drywall section:
- Cut out the damaged section.
- Attach the new drywall.
- Apply the drywall joint tape.
- Apply paint.
Replacing a section of drywall is not quite as difficult as it seems and does not require much skill. Continue reading as we outline a thorough procedure for replacing a section of drywall, along with a list of the necessary equipment.
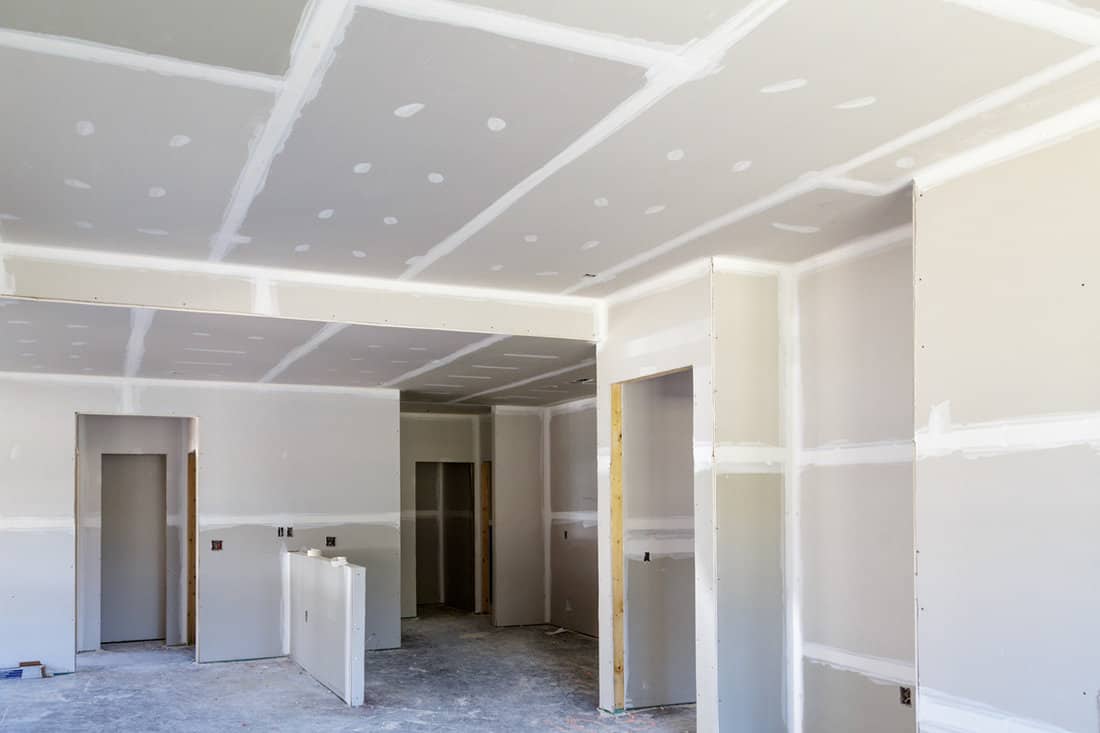
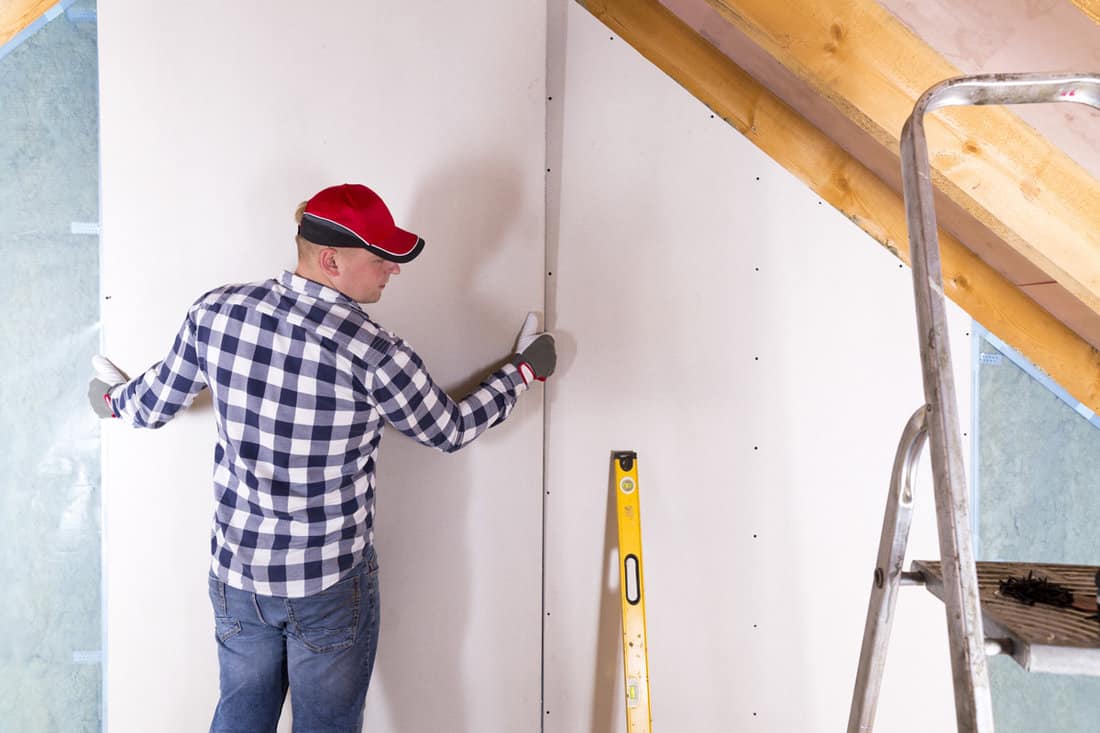
![Workers are assembly gypsum wall. Plasterboard is under construction using wooden ladder., How To Replace A Drywall Section [Inc. Large and Small]](https://homedecorbliss.com/wp-content/uploads/2022/10/12.-How-To-Replace-A-Drywall-Section-Inc.-Large-and-Small.jpg)
How To Replace A Drywall Section
We sometimes add affiliate links and content that was curated and created by our team with the help of advanced ai tools to help showcase the best design styles.
Safety first! It is necessary to consider your safety before using the tools below. Make sure that you are equipped with personal protective equipment.
Before replacing a drywall section, prepare the following tools:
- drywall board (same thickness as the replaced drywall)
- utility knife
- 1x4 backer board
- power drill
- screwdriver bits
- drywall screw
- putty knife
- joint compound
- sandpaper
- paint
After preparing your tools, you can now do the following:
1. Cut Out The Damaged Section
Remove the damaged sections by cutting them into a square-shaped hole using a utility knife. You can use your backer board that will serve as a ruler to make a straight cut.
While cutting, make sure that there are no electrical conduits on your cut path. You will probably encounter one when you are cutting a large section of drywall. It may cause another problem.
After creating a square-shaped hole around the damaged section, cut a piece of drywall panel to fit the drywall piece. Either measure the square-shaped hole and then cut the necessary amount of drywall, or if the square you cut out is still connected, trace it onto the drywall piece.
You can sand down any rough edges with sandpaper and wipe away the dust with a paper towel.
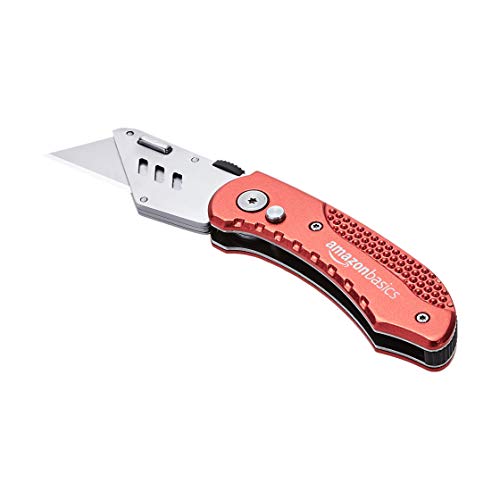
Click see to this aluminum folding utility knife on Amazon.
2. Attach The New Drywall
Incorporate the 1 x 4 backer board behind the existing drywall before attaching the new drywall. It will act as a frame for the drywall screws. You need to connect the holes you previously cut in the square piece of drywall.
Maintain close contact with the drywall's backside when fastening them. If the screws pop out of the rear, take care when handling the boards to prevent injury to your fingers.
The drywall screws will firmly secure the boards. Screw-heads ought to be situated just below the drywall surface.
3. Apply The Drywall Joint Tape
The four edges of the patch should then be taped using mesh drywall tape. It comes in a roll and has certain sticky properties. It makes the joint compound adhere better to the cracks.
Use your putty knife to apply joint compound over your patch, feathering it out from the center and making sure to extend at least a few inches past the patch. A putty knife can be used to flatten the surface as well as to grab the joint compound.
Apply a second coat after letting it cure for the night. You will need to repeat the previous processes. Sand any rough areas first, then clean them.
Apply one more layer of the joint compound after that. This time, you should extend the edges of your application a little bit to blend into the existing drywall.
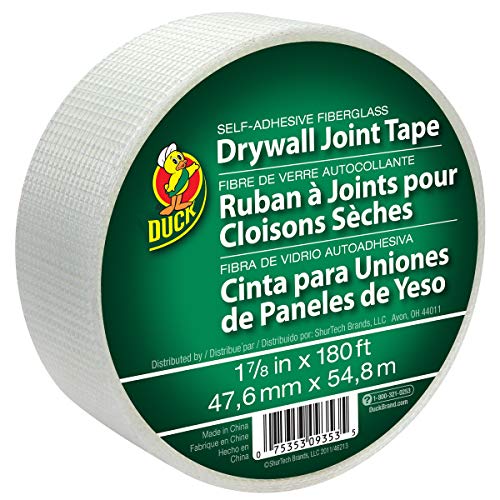
Click to see this self-adhesive drywall joint tape on Amazon.
4. Apply Paint
To make it appear as though the surface is not patched, use 100-grit sandpaper as the final step to flatten and smooth the surface. Clean the drywall after sanding to remove dust, and then apply a layer of primer. You can then apply 1-3 layers of paint.
If you are interested in using primer paint and painting ideas, you can read these other posts as well:
What’s The Best Paint Finish For Bedroom Walls And Ceiling?
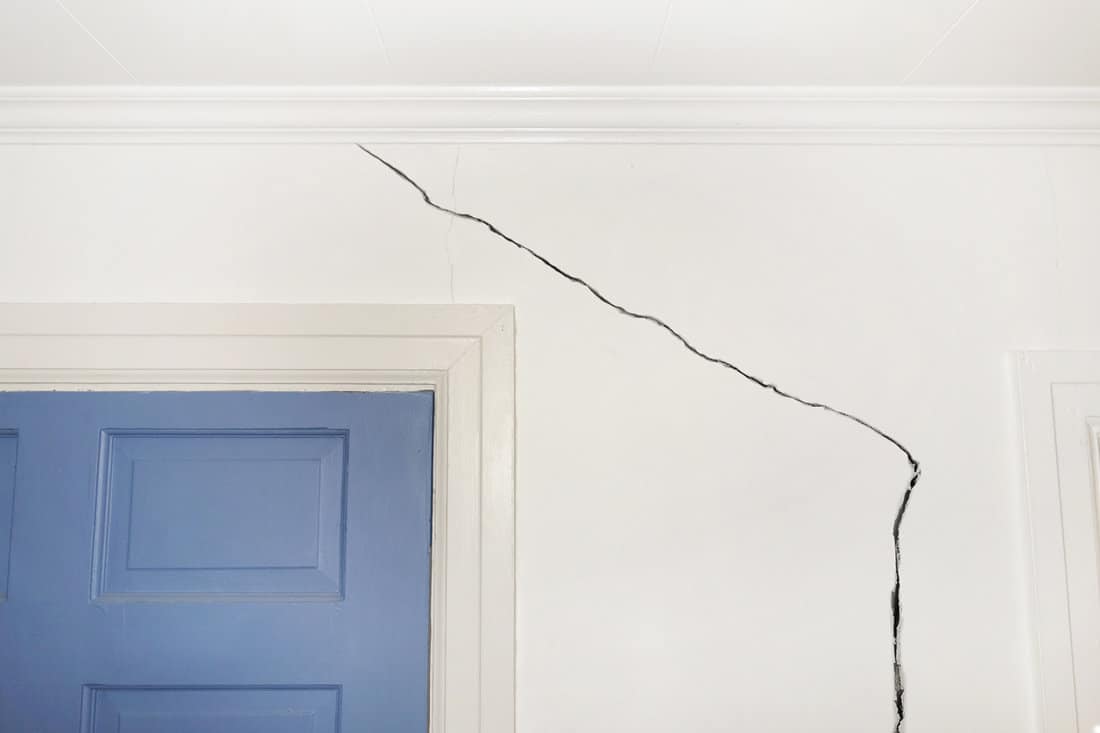
What Are the Causes of Drywall Damage?
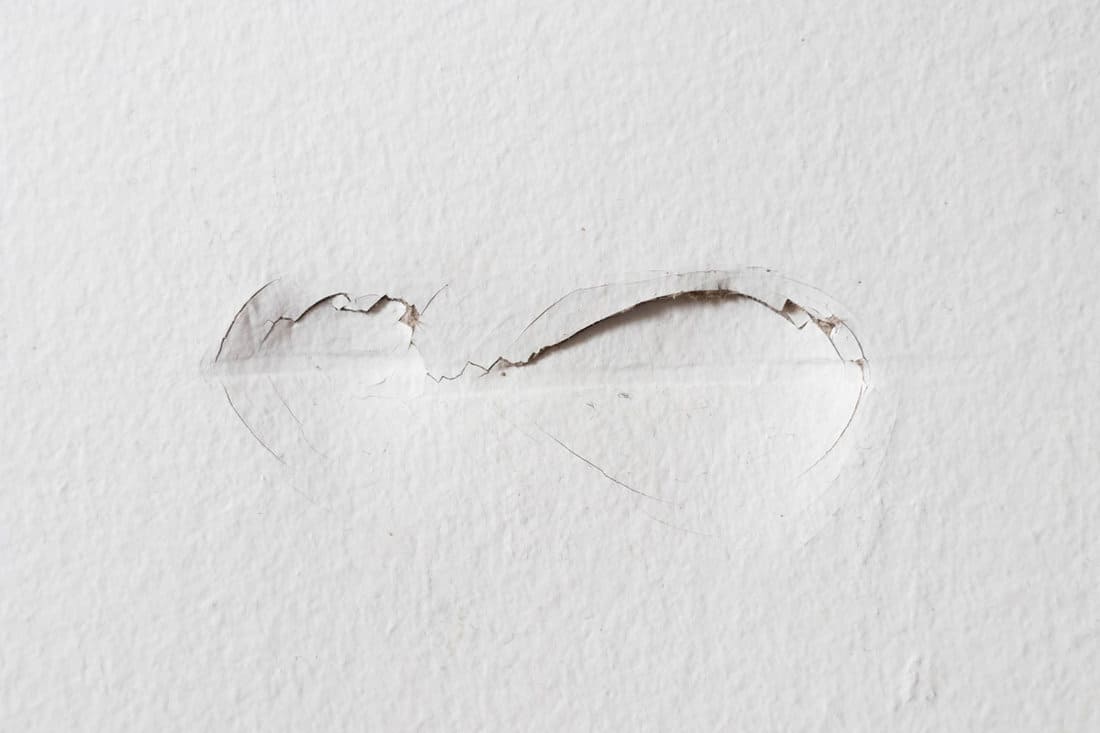
Aside from unintentionally damaging your drywall, here are the other causes of drywall damage:
- Water leakages: Water damage is a leading cause of broken drywall. It will cost you more because you must first repair the broken water line before you can repair your drywall.
- Furniture scratches: These are among the most common causes of drywall damage. Homeowners who have large pieces of furniture and small homes usually experience these kinds of issues. They usually look like a pencil or marker stains and are less severe. Carefully moving items around your home and keeping larger furniture away from walls will help you avoid scuffs.
- Termites: Termite infestation also causes damage to drywall. The indications of damage can imperceptible or painfully obvious, depending on how quickly you can spot them. Small pinholes, a hollow sound when banging on the wall, paint bubbling, and deteriorated baseboards are some of the indications of termite damage.
How To Prevent Drywall Cracks
Good installation is the best way to avoid drywall cracks. You don't want to take any shortcuts because you want the seams to be as strong as possible. To strengthen the seams and prevent cracks, use the proper drywall mud and tape.
Drywall mud comes in a variety of grades. Some of it is stickier than others. Most adhesive muds are ideal for the initial coat. You can use a lower grade of mud on the second and third coats.
For the first coat, look for quick-setting "hot" mud or all-purpose drywall compound. The finishing coats should then be applied with lightweight mud. Using the proper mud will result in the strongest, most resistant seams.
It is also important to use the proper tape. Paper tape has traditionally been used to cover drywall seams. Fiberglass mesh tape is also available.
Paper tape is generally thought to be stronger and more effective at preventing cracks. Unless you're going to use "hot" quick-setting drywall mud, avoid using mesh tape.
Can You Use Drywall For External Walls?
Drywall is made for internal walls only. But you can use Sheetrock (a brand name of drywall) outside, provided that there is protection from moisture, as it will deteriorate quickly when left unprotected.
What Are The Alternatives To Drywall?
You may have decided to change your wall material instead of using drywall again. Here are some alternatives to drywall that you can try:
- Plywood: It is commonly used for furniture, but it is also good for internal walls. Additionally, it is quite simple to use and is available for purchase at a very low cost. It does not require much skill to attach, making it one of the simplest materials to utilize when creating an internal wall.
- Concrete: Compared to drywall, cement is much more difficult to build with because it requires a skilled worker to install it. However, with this kind of material, you will be free from elements that can damage your walls. Concrete offers a sturdier foundation for your wall system. It doesn't decay when exposed to moisture, unlike conventional drywall.
- Plastic wall panel: Maybe you want to try some new material that you can use for internal walls. Plastic wall panels are best to use in areas with moisture, like the bathroom.
In Closing
Drywall adds another layer of security between rooms and from the outside world. Its density makes it a sound weather barrier. It also provides insulation, and that's why proper maintenance is important.
We have discussed simple ways to replace your drywall section and some tips which you can use to maintain your drywall. Remember to use the proper tools and materials so you will not face more problems down the road.