![A briefcase filled with lots of different colors of acrylic paint, How To Use Acrylic Paint On Metal? [5 Steps]](https://homedecorbliss.com/wp-content/uploads/2020/12/How-To-Use-Acrylic-Paint-On-Metal-5-Steps-1-1024x683.png)
1. Gathering necessary materials
Drop cloth
Preparing the area you will be working in is key in keeping your area and belongings clear of dust, debris, or paint. If the area is small, place a small piece of plastic or another impermeable barrier between your project and the surface that you are working on. For larger areas, plastic or canvas drop cloths, like those pictured below, are an efficient way to protect your area or belongings.
Click here to find these plastic drop cloths on Amazon.
Click here to find this canvas drop cloth on Amazon.
Rags
Cleaning rags come in handy in a couple of different steps in this process. Having a few on hand will help your project go smoothly. As in the example of cleaning rags below, microfiber material is a great material to trap dust from your project, which helps to create a smooth finish in the end.
Click here to find these microfiber cleaning cloths on Amazon.
Painters tape
While applying painter's tape to prevent paint on certain areas of your project may seem like an unnecessary step, but it will be worth the extra time. Painters tape can come in handy to protect surfaces that you don't want to come into contact with paint when painting surrounding surfaces. Painters tape is specially made to prevent damage to surfaces when taken off and doesn't leave any sticky residue behind.
Click here to find this painter's tape on Amazon.
Cleaner
Cleaning dust and debris from your metal surface before painting is a crucial step in your preparation process. A rag soaked in warm soapy water should be used to clean up dust and residue from your project after scraping and sanding. While soap and water may work for small jobs or on those surfaces without any stubborn residue, some projects require a cleaning solvent. Cleaning solvents similar to the one pictured below are designed to cut through stubborn residue or built-up grease.
Click here to find this fast-drying thinner solvent cleaner on Amazon.
Gloves
Gloves come in handy to protect your hands from the dust and paint while working on your metal project. Keep a box of disposable gloves nearby to change out between steps during your project.
Click here to find these Nitrile gloves on Amazon.
Wire brush
A wire brush has stiff wire bristles sturdy enough to scrape off old paint, rust, and other debris that may have gathered on your surface. Different sized brushes like the smaller sized wire brushes pictured below may be useful for cleaning hard to reach crevices on your metal piece.
Click here to find this wire brush on Amazon.
Click here to find this wire brush set on Amazon.
Sandpaper
Fine grit sandpaper should be used to remove any remaining paint or rust and smooth the surface after scraping with a wire brush and before painting. 150 grit sandpaper, as shown below, is recommended for use on metal.
Click here to find this 150 grit sandpaper on Amazon.
Primer
Primer is necessary on your sanded metal piece for a couple of reasons. It creates a protective coating on a metal surface that will cover up old rust and prevent the surface from rusting in the future. It also acts as a cohesive base to attract and hold onto the paint. Spray primer, such as the one pictured below, is a convenient alternative to traditional primer paint, coating your surface evenly and smoothly.
Click here to find this spray primer on Amazon.
Paint
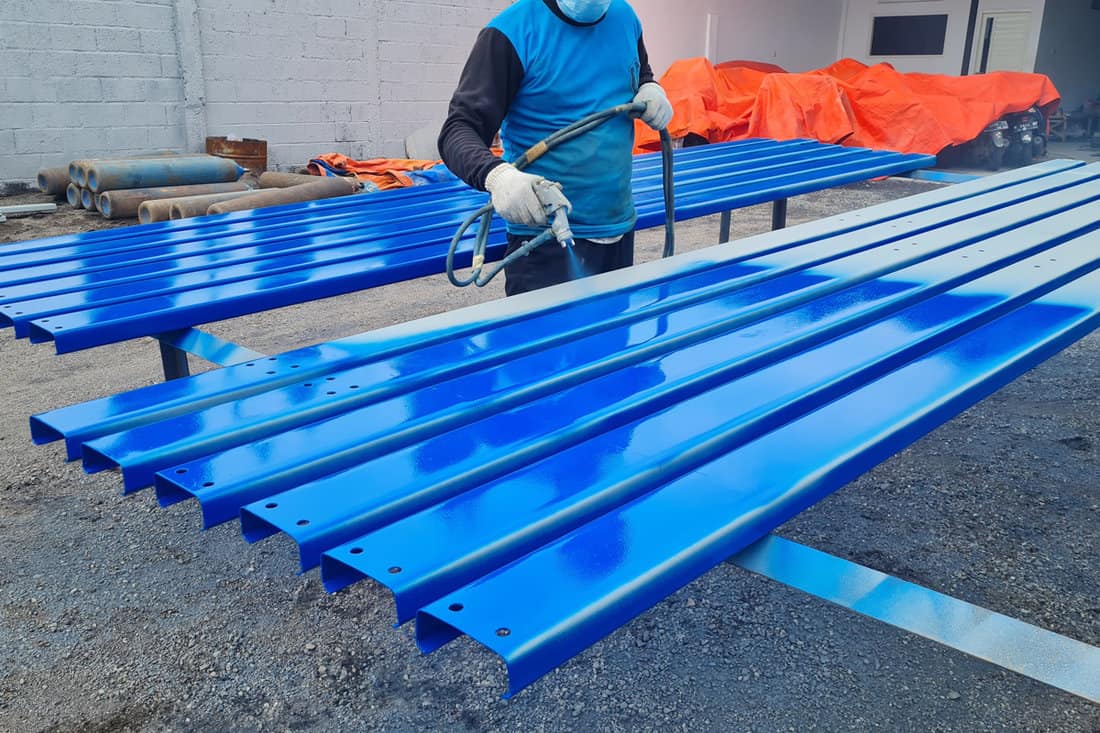
Versatile acrylic paint is available in various forms for various surfaces. Leading experts recommend an acrylic spray paint, as shown below, for metal pieces. Exterior or outdoor acrylic paints, as shown in the second example below, should be used on metal that will be located outdoors.
Click here to find this acrylic spray paint on Amazon.
Click here to find these outdoor acrylic paints on Amazon.
Paintbrush
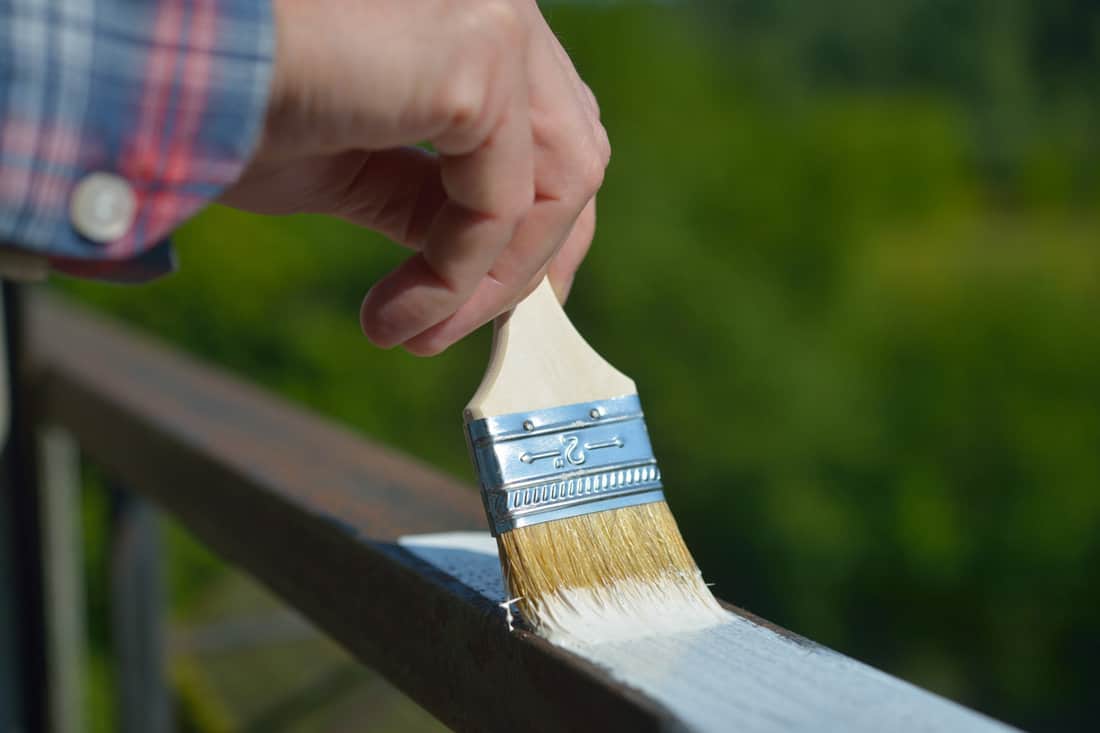
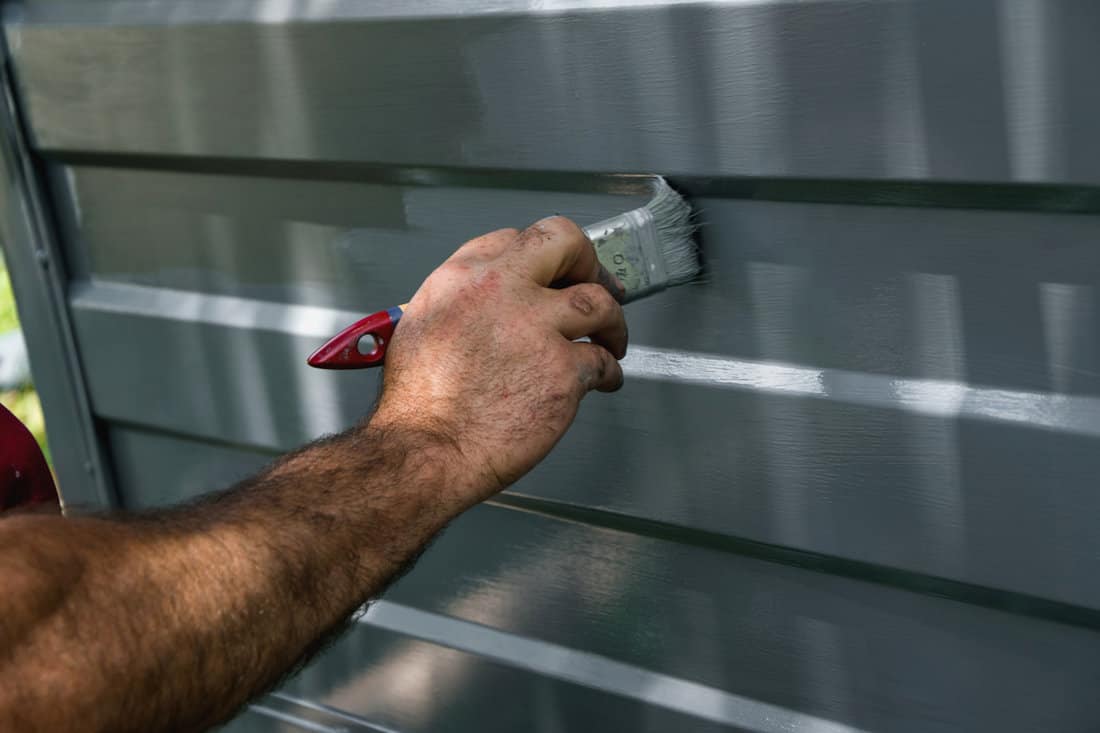
If acrylic spray paint is not appropriate for your project, a paintbrush, like one of the ones pictured below, can be used to apply paint to your project. Multiple sizes of paintbrushes may be necessary to reach hard to get to spaces.
Click here to find this acrylic paint brush set on Amazon.
Sealer
Sealers are applied to your finished dried project to protect against moisture and scratching and give your project a finished look. If exterior paint is used, no sealer is necessary, as exterior paint already has sealer built-in. If traditional acrylic paint is used and additional protection is desired, a sealer like the one pictured below can provide long-lasting protection.
Click here to find this acrylic paint sealer on Amazon.
2. Remove old paint or rust
After gathering all of your needed materials, using a wire brush, as discussed above, ensures that the entire metal surface is free of old paint, rust, or residue. Using any of the sizes shown above, the entire metal surface should be brushed clean, including small crevices. After thoroughly brushing your entire surface, sand the entire surface with fine-grit sandpaper as shown in the earlier example, until the surface is smooth to the touch.
3. Clean surface
After scraping and sanding old paint and rust from your old surface, there will be leftover dust and debris that will need to be completely removed. This is best done by thoroughly cleaning the freshly scraped surface with soap, water, and a rag. If the surface requires more than a basic cleaning, a cleaning solvent, as shown above, is a great way to break up any stubb0rn residue or remove small dust particles. Let the surface dry completely.
4. Prime surface
Apply two coats of primer over a freshly cleaned and dried surface. Spray primer is an efficient way to get even coats of primer on your project. Allow the primer to dry completely between coats.
5. Paint surface
After allowing your primer to completely dry, you are ready to paint your surface. Acrylic spray paint can create a smooth, evenly covered look. Two coats of paint should be applied, drying completely between coats. As discussed above, if your metal piece is to be located outdoors, always use an exterior or outdoor acrylic paint.
6. Seal surface
As we discussed earlier, a sealer is not always necessary. Exterior paints contain a sealer, so no additional sealer is necessary. However, sealer can create a glossy finished look for your project in addition to its long-lasting protection.
Can you use acrylic paint on metal without primer?

Metals such as stainless steel that are formulated to prevent oxidation and rust do not need a primer. Traditional metals and those metals previously exposed to the elements will require a primer.
Is acrylic paint waterproof on metal?

Acrylic paint itself is not waterproof. While having some water-resistant properties, acrylic paint is porous and can soften with water exposure.
What can I use to protect painted metal?

Varnishes or sealers are ideal for waterproof your acrylic painted metal project by placing a waterproof seal over your newly painted surface. Spray varnish or sealer, as shown above, will help to protect your painted metal project against water damage and scuffing for years to come.
Final words

Metal projects, at first thought, seem like an overwhelming task. Following these few simple steps to prepare and finish your project properly can simplify this process and make your project a success.
Before you go, be sure to check out these other home decor guides that may be of interest to you:
How To Repaint Or Restain Bedroom Furniture
15 Creative Painting Gift Ideas
![A messy palette with painting brushed and painting equipment, How To Use Acrylic Paint On Metal? [5 Steps]](https://homedecorbliss.com/wp-content/uploads/2020/12/How-To-Use-Acrylic-Paint-On-Metal.jpg)


