You're probably wondering how to use your Zircon stud finder. How do Zircon stud finders work? Don't worry! We've just found the answers to your questions.
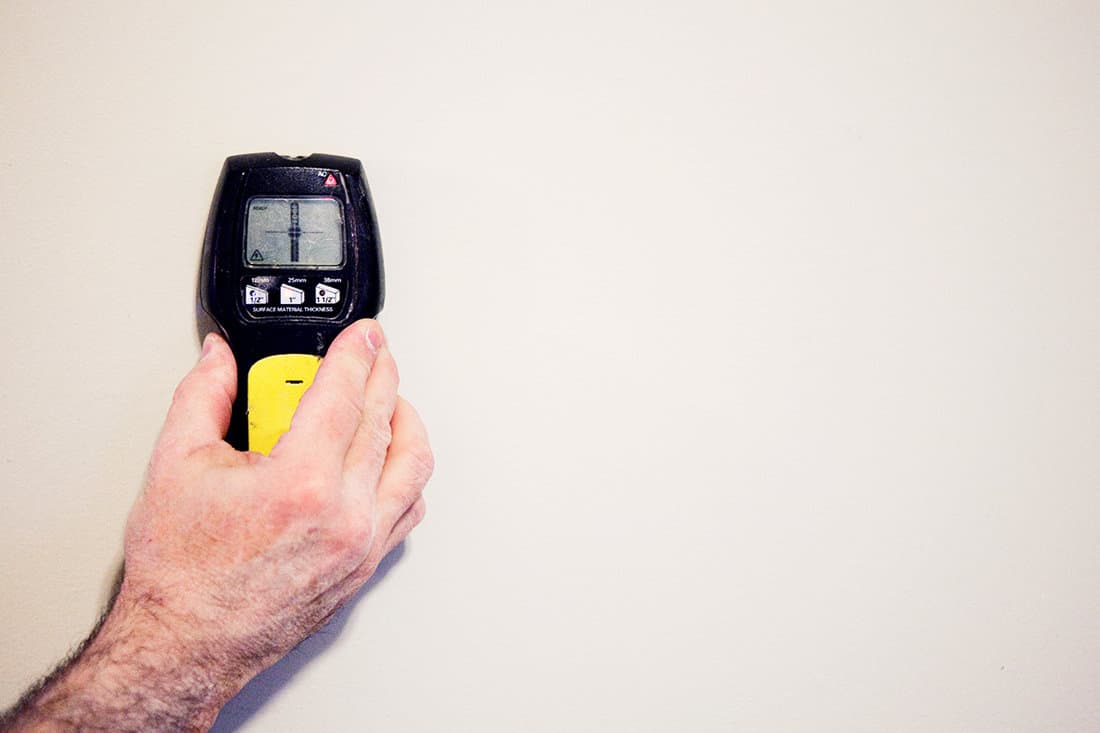
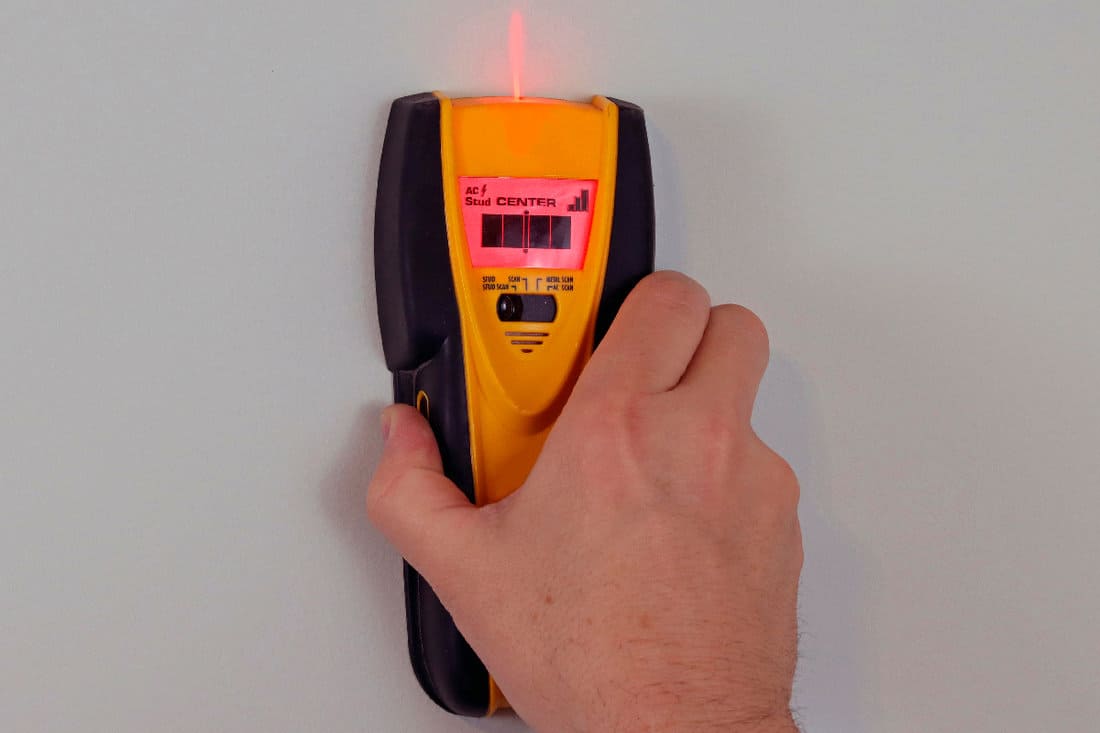
The Zircon stud finder detects wood and metal surfaces behind a wall so that you can safely mount things like a TV or a picture. See below for the steps on how to use it:
- Open the battery case at the back of the unit.
- Insert the battery. Depending on the model, you might need either one 9V or three "AAA" batteries.
- Put the stud finder into the wall and begin scanning. You should press the calibration button once you have placed it on the wall so that it will find the same stud density.
- Slide the unit until you hear a beep sound or see the light flash.
- Mark the stud with a pencil or marker. You can also use temporary tape to prevent permanent markings.
- Continue sliding until the light comes off.
- Reverse the direction so that you'll find where the stud's edge is.
- Mark the stud again. You should have two markings that indicate the stud's edges behind the wall.
In this article, we'll talk about the Zircon stud finder and how to use it properly. We'll discuss its importance and when you should use it. There's a lot more we can talk about. So let's keep reading!
![Electronic stud finder to search wall for studs, How To Use A Zircon Stud Finder [Step By Step Guide]](https://homedecorbliss.com/wp-content/uploads/2022/09/How-To-Use-A-Zircon-Stud-Finder-Step-By-Step-Guide.jpg)
How To Use A Zircon Stud Finder [Step By Step Guide]
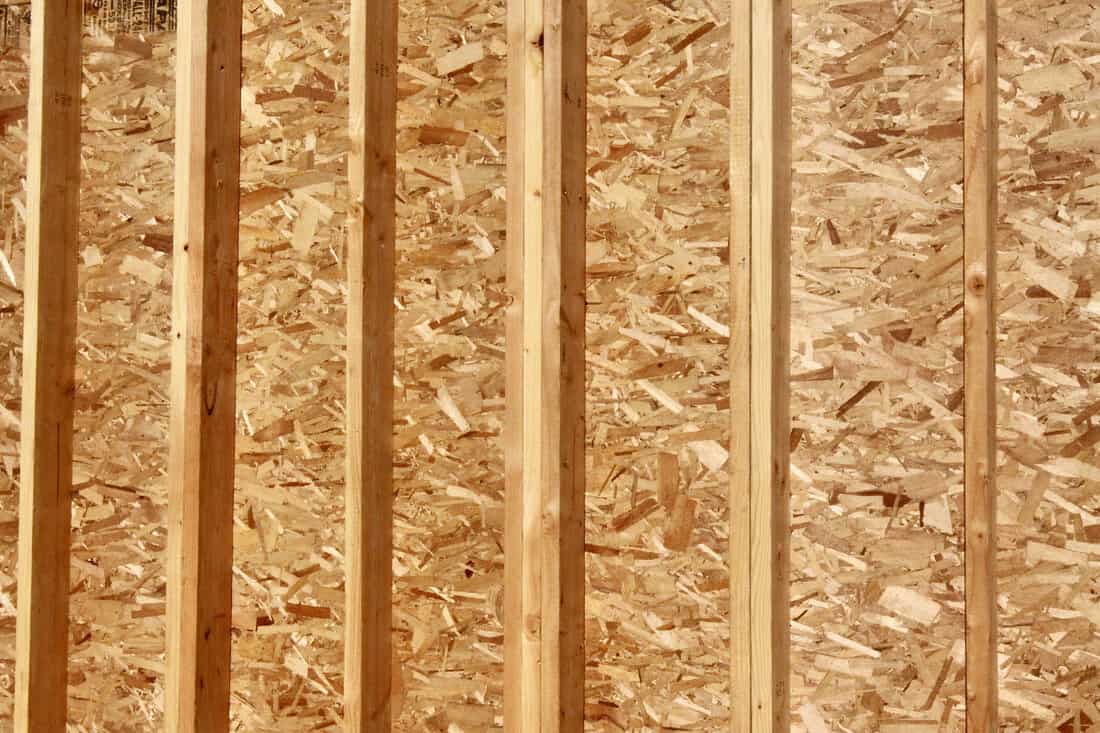
The Zircon stud finder is a useful tool to conveniently find the studs behind the wall. This will help you avoid hollows when nailing or mounting something, such as a picture frame or shelves.

We sometimes add affiliate links and content that was curated and created by our team with the help of advanced ai tools to help showcase the best design styles.
See this Zircon stud finder on Amazon.
Zircon uses scanning technology to detect objects behind a barrier. It will flash a light once it passes over the edges of objects. Some models have an LCD display to tell you if it's a metal or a wood surface. So, you'll easily measure the studs without tearing up the wall.
With regards to the steps in using a Zircon stud finder, you can watch a demonstration here:
Why Is Stud Finder Calibration Important?
Calibration means allowing the Zircon stud finder to identify the hollow behind the wall, so that it will alert you if an unusual thickness is detected.
At first, it will use a weak electrical field until you slide it, and it runs into something denser. Simply put the unit on the wall before pressing the "on" button.
For example, you calibrated it on a dense part of the wall. It may falsely alert you that the hollow is the stud. However, the stud finder will most likely recalibrate.
You can watch a video here for more details:
What Are the Zircon Stud Finder Models?
Zircon has a wide variety of stud finders for your preference. You can choose any of these models depending on what you need. See below for your options.
SuperScan
This series offers accurate results in finding the stud while filtering out mistaken metallic objects such as plumbing pipes and duct tape. This will also help you locate the safe spots for drilling, as well as tell you the direction of studs to find the center and edges.
StudSensor
It features a pivot grip on both sides so that you can comfortably pinch the unit while holding it against the wall. StudSensor also has a pointer for accurate markings and a light in the middle to indicate when the unit is ready to scan.
MultiScanner
This stud finder helps you identify the studs' centers and edges behind walls, joists, floors, and ceilings. It usually has two scanning options, namely the StudScan and DeepScan.
In StudScan, you'll be able to find wood and metal up to 3/4 inches deep. While DeepScan allows you to locate them for up to 1.5 inches deep.
What is the Zircon WireWarning Feature?
It's the ability of the Zircon unit to detect live wires behind the wall so that you'll avoid drilling into them. WireWarning automatically turns on while using the StudScan, DeepScan, and Metal Scan modes. You should see a light blink or the LCD display such a warning.
How Much Is Zircon Stud Finder?
Depending on the manufacturer and model, you can find Zircon stud finders at a price starting from $20 up to $120. It's important to check the quality and instructions of use to avoid inconveniences.
Zircon Stud Finder Is Not Working

If the Zircon stud finder doesn't work, it's probably due to a drained battery. Most alkaline batteries can last for five years or longer.
See this 9V battery set on Amazon.
If the unit still doesn't work after replacing the battery, then it's possible that there's a malfunction in the system. You can contact the manufacturer to fix the problem.
Does the Zircon Stud Finder Have a Warranty?

Yes, Zircon offers a warranty for their stud finder units. However, the warranty is limited only to electrical and system issues. The warranty excludes external faults such as wear and tear, mishandling, and recklessness in use.
You should check where you purchased the Zircon product, as the warranty is applicable only to the United States and Canada. You should talk to the manufacturer about this matter.
Also, Zircon may charge you $10 for shipping costs, depending on your location. This is for returning or replacing defective products. You can expect a similar unit as replacement if the old unit is no longer available.
What Are the Limitations of the Zircon Stud Finder?
Stud finders have limitations, like any other unit. See below for some limitations of a Zircon stud finder.
Difficult to Scan Tiled Walls

It's hard to scan tiled walls using StudScan or DeepScan mode. It may not detect the stud properly due to the tiles' thickness. However, you can use a MultiScanner to identify the screws and nails beneath the tiles.
It May Not Detect Everything
If the studs or wires are two inches behind the walls, then the stud finder may not detect them. It's a common problem when the wall is too thick. That's why you should not assume that there are no wires behind the wall.
Always refer to your house's blueprint to identify where the wires are located. Otherwise, you may need to ask the house contractor to find such wires.
Can You Find a Stud Without Zircon?
You can actually find studs without a tool. However, it may take you longer than using a stud finder. A finished wall may be difficult, especially if there's no visible wood framing.
See below for the steps to find a stud manually:
- Check where the light switches or power outlets are mounted. There's most probably a stud behind them.
- Tap the wall and listen to it. A hollow sound is louder, while studs are quieter.
- Mark the spots where you suspect the studs are. You can use a temporary marker.
- Using a magnet, find the screws and nails behind the wall. However, the effectiveness of a magnet will depend on its strength.
- Try drilling a hole in your markings to find out if there are studs.
How Many Studs Are Behind the Wall?

The number of studs differs per home. It can be due to house structure or measurement of the area. However, there's a way to estimate how many studs are hiding behind a wall. See the steps below:
- Measure the wall length in feet, then convert it into inches.
- Divide the measurement by the stud spaces, which are usually 16 inches.
- Round off the result to eliminate the decimals.
- Plus one to the rounded off value.
- The last amount should be the estimated count of studs.
Now, let's put it into an example.
- Let's say the length of the wall is 32.5 feet. When we convert it into inches, we'll have 438 inches.
- Next is to divide 438 inches by 16 inches, which will give us the amount of 27.375.
- If we round off 27.375, we'll have 27. Then we can add one to it, and the result is 28.
- Therefore, a wall with a length of 32.5 feet has approximately 28 studs.
Keep in mind that the final value may vary depending on the construction of walls.
Conclusion
It's another useful article that provided us relevant information on how to use the Zircon stud finder. We discussed the actual steps from calibration to marking the wall. Remember to check the user manual for the best scanning results.
Did you know there's a lot more to learn? Visit us here:


