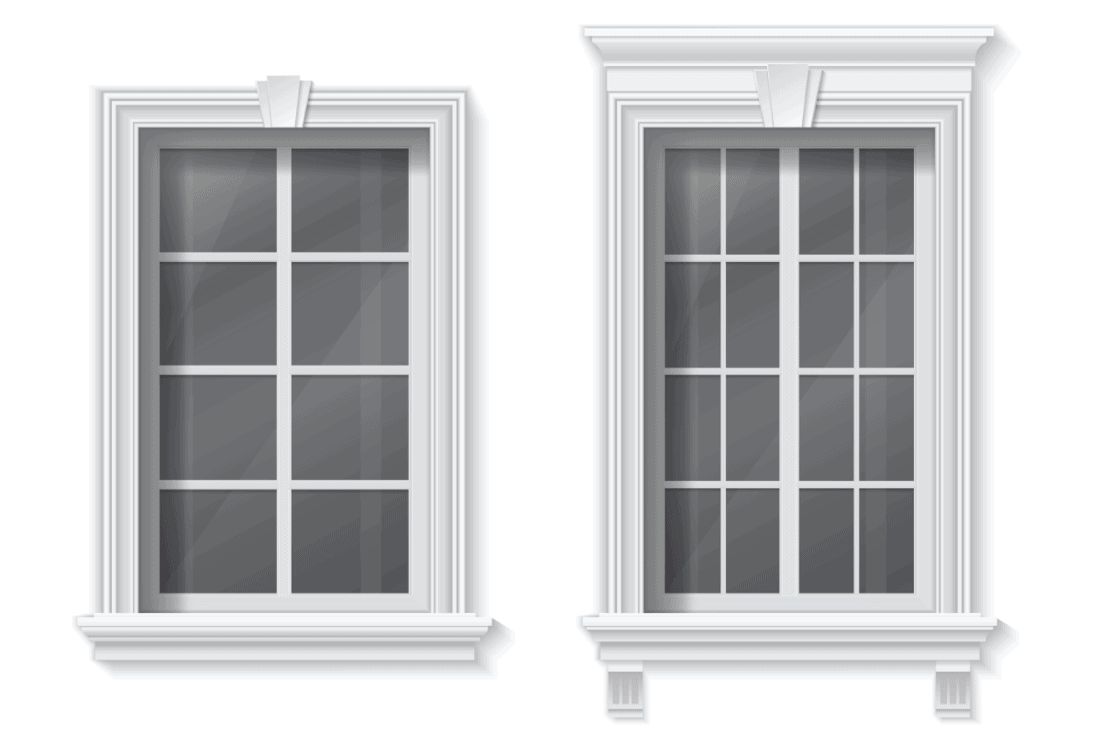
Window trimming is an essential aspect of window design, as it can give your windows a more finished look and increase their energy efficiency. But what is the proper width for window trim? After researching these questions, we have found the answer for you.
According to the Architectural Review Board, a window trim should be 3½ wide and thickness of ¾ inches. This is the standard that most architects adhere to when designing and installing window trims.
Window trim is essential because it covers up unsightly gaps around the edges of a window frame. It also improves the look of your home. Continue reading as we will provide information on installing window trim and helpful tips!
What Does A Window Trim Do To Your Home?
Window trim is one of the most underappreciated details of a home. Yet, it can improve the look of your windows significantly and offer much more functionality.
Window trims act as insulation, helping to keep warm air inside your home during winter and cold air during summer. This is because window trims seal the gaps around the edges of a window frame.
As a result, window trims also help reduce the heat loss or gain from your home, reducing your energy costs, thus saving you money.
They also help keep the elements out, keeping the interior of your home from potential damage and from being susceptible to mold growth.
Window trims are also helpful in adding to the overall curb appeal of your home. When you look at homes lacking window trim, they often look like they could use some work.
Further, a home with window trims adds to the feeling of a more personalized home. It gives off a sense of sophistication and elegance. It's a good reminder that you live in a home that is a beautiful work of art.

Materials Used For Window Trims
Choosing the wrong material for your window trim can lead to costly repairs. With a handful of choices available, knowing which material is best for you can be overwhelming.
You may feel overwhelmed by the options and unsure of where to begin.
That's where we come in. We'll give you a few tips to help you find the best material for your trim and make your windows look amazing.
We'll show you how to choose the right material for your windows and explain the different types and their pros and cons.
Vinyl
Pros
Vinyl windows have become more popular for several reasons, including their affordability, ease of installation, and flexibility.
In addition to being low maintenance and affordable, vinyl windows are also easy to clean and available in an array of colors and styles to suit various tastes.
Cons
One of the reasons that vinyl isn't as popular as wood is that it's more susceptible to wear and tear. Vinyl can chip, peel, and crack, especially in extreme temperatures.
Another reason is that it doesn't have the same appeal as wood.

We may include affiliate links and curated AI content to highlight top design styles.
Aluminum
Pros
Aluminum has a bright and shiny finish, which means it resists staining and oxidation better than other materials. It is also easy to clean because it won't rust or corrode.
You may have heard that aluminum is an excellent alternative to vinyl. It's a popular choice because it's lightweight and easy to install.
While many homeowners consider aluminum window trim, it's not a widely used option.
Cons
It's also important to know that aluminum is a good thermal conductor, making it not the best choice for window trim during winter. Aluminum's conductivity helps to dissipate heat fast and promotes condensation on the glass.
Additionally, aluminum's malleability allows it to be bent and shaped easily into any shape. You may not want to use aluminum if you have kids around because they will probably end up playing with it.
Fiber Cement
Pros
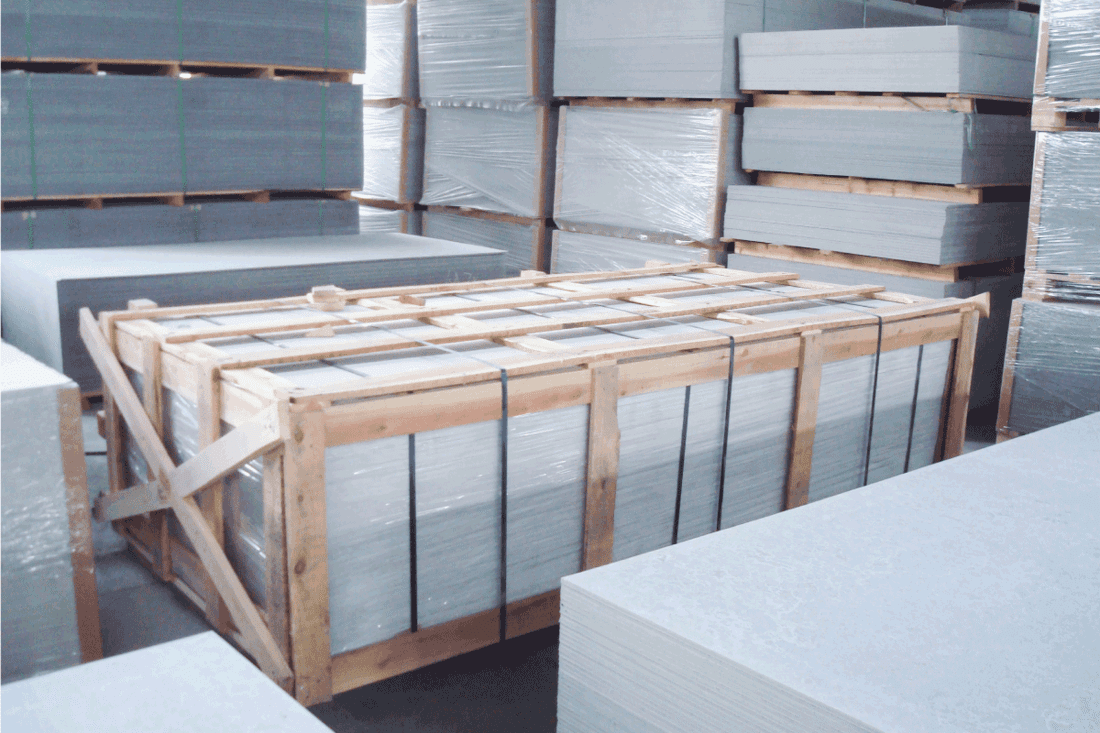
Since fiber cement is a composite of cement, sand, and cellulose fibers, it is solid and durable that can easily withstand the elements. The product is also non-toxic and resistant to decay, which makes it ideal for exterior window trimming.
Cons
Fiber cement does not have an excellent reputation for being cost-efficient.
The cost of trimming windows with fiber cement can be rather pricey. If you're on a tight budget, fiber cement might be the wrong choice for your job.
In addition to it being costly, another obvious issue is that fiber cement is a very dense material. This means that there is a lot of weight involved when installing it.
While this makes fiber cement strong, it can also mean that you'll struggle with installation.

Cedar And Redwood
Pros
Cedar and redwood are easy to work with. It comes in different sizes and colors and is available in many forms. Cedar and redwood are natural wood that can be stained or painted.
You can add cedar as your window trim to give your window a more traditional look and rustic feel. Cedar is naturally resistant to decay and insects, so it's a smart choice for keeping pests and the elements away from your home.
Cons
There is one significant downside to using cedar wood. Its sap is very sticky and can bleed through paint. The sap that oozes from cedar can be problematic when you want to paint or stain it.
This bleeding can cause discoloration to the wood, so you'll have to treat it with a primer before applying any finish. This is also what makes cedar a high-maintenance material for window trims.
Cedar is also appreciated due to high demand, but its value to your home makes it worth it.
Preservative-Treated Wood
Pros
It provides a longer-lasting appearance. The color and wood grain of your windows will not fade over time, and the wood will maintain its color and shape.
It also protects against termites and other wood-destroying insects. It's also pre-primed.
With pre-primed wood, you only need to apply paint. This saves time and effort because you're cutting out the tedious priming process and waiting for the prime to dry.
Cons
Preservative-treated wood uses chromated arsenicals as preservatives and are known carcinogen. A carcinogen is a substance that causes cancer in humans.
However, the EPA and many other health organizations do not consider these substances to be dangerous in general but only to those working in or around the area where the treated wood is made.
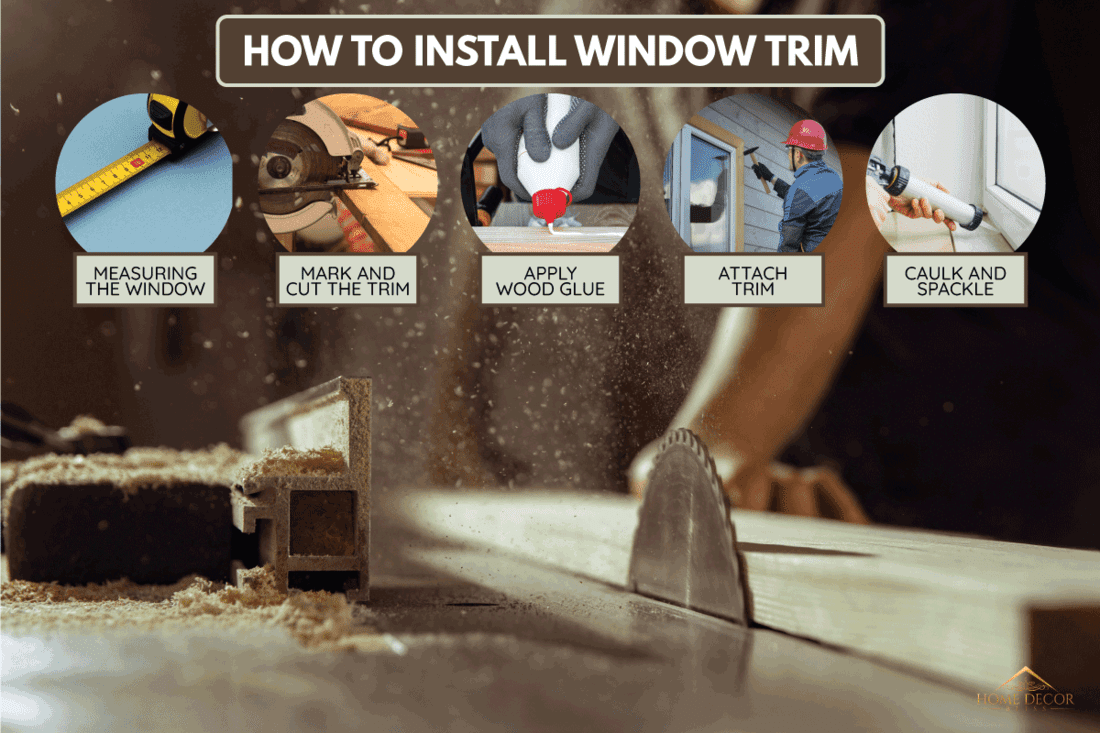
How To Install Window Trim

1. Measuring The Window
You'll first want to measure the window's dimensions to determine the correct measurement for the wood trim. This can be done by using a tape measure along the outside edge of the window frame.
Place the hook slot at the top of the head, then measure from that point down to the bottom of the frame. Do it sideways if you want to measure the width.
See this measuring tape on Amazon.
2. Mark And Cut The Trim
Once you've got the measurement, use it and mark the wood trim where the cut needs to be.
Some people prefer to have 45 degrees corner cut instead of straight cuts, but it doesn't matter (angled corner joints are aesthetically pleasing). This part relies on your careful eye for making nice cuts.
Using a hand saw, start by making a small cut on the mark. Carefully move down the saw and perform the cutting motion until the extra piece is removed.
Once the trim is removed, use a small sandpaper to smooth any rough edges.
Depending on your window's construction, you might need to cut a notch to secure the trim. See the video below to understand what we mean.
3. Apply Wood Glue
After you've made the cuts, position the wood trim in such a way that the edge of the trim will be flush with the outside edge of the window frame.
Apply wood glue to the area of the window frame with which the trim will be in contact. You can also apply wood glue to the trim so it won't shift or move when you're nailing it.
Check out this wood glue on Amazon.
4. Attach Trim
Using a brad nail gun, nail the trim to the drywall. If you're manually driving the nails with a hammer, ensure the nails are flushed, so they don't protrude from the trim.
You might find this brad nail gun on Amazon worth checking.
5. Caulk And Spackle
Make sure holes and unsightly gaps are filled in. A caulking gun or a spackling paste will come in handy for this purpose. We recommend using caulk that is specifically made for wood usage.
This spackling paste is available on Amazon.
What Causes Caulk To Crack Around Windows?
Caulking cracks around windows can be an eyesore and a major hassle. Fortunately, you can do a few simple things to keep caulking in place and avoid a large repair job.
While caulking can help seal gaps between building materials, it's also prone to cracking and flaking. Here are some tips to keep your caulking in place and prevent cracks:
1. Clean your caulking surface. Caulking shouldn't be left in direct contact with a surface without cleaning it. Also, make sure the surface is dry before application.
2. When installing caulking, use a quality product. Caulking isn't like paint, which is meant to be applied by brush and can be repaired if it chips or runs. If you use low-quality caulking, you may be left with a big repair job.
3. Use the right amount of caulk. A thin application that is only enough to bridge the gap may not have enough bonding strength and might split or give in.
See this waterproof caulk on Amazon.

In Closing
The standards specified by the Architectural Review Board are that window trims must have a specific width and thickness to ensure that your home will be built to a high standard. It also ensures that your home has a better chance of passing the inspection process.
Want to read more? You might also like these related posts!
What Color Trim Is Best With Alabaster Walls? [15 Light & Dark Colors To Choose From!]


![Motorized roller shades in the interior. Automatic roller blinds beige color on big glass windows, How To Install Lutron Serena Shades [Step By Step Guide]](https://homedecorbliss.com/wp-content/uploads/2022/11/Motorized-roller-shades-in-the-interior.-Automatic-roller-blinds-beige-color-on-big-glass-windows-600x400.jpg)