
Handrails are usually attached to the studs of a wall because the studs can support more weight than drywall. You might be planning to attach a handrail to a wall without studs. We've done research to provide you with detailed steps on how to go about this process.
Below is a step-by-step guide for installing a handrail without studs.
- Mark the points where you will install the brackets of the handrail.
- Mark out the width of an upright 3/4 inch plywood over the point on the wall.
- Mark out a quarter of the way from both ends of the plywood on the wall.
- Following the markings, cut an opening in the wall.
- Attach a screw on the 3/4 plywood, then feed it into the opening.
- Secure the plywood into the wall.
- Apply joint compound at the back of the cutout piece of wall.
- Return the cutout piece of wall into the opening.
- Seal the cut on the wall with joint compound, then cover it with paint.
- Secure handrail brackets and attach the railing.
Installing a handrail without studs involves creating an anchor for the handrail bracket. This will provide additional sturdiness for the handrail to prevent it from dislodging from the wall. Keep reading as we discuss all the important details for installing a handrail without studs.
![Stairs renovtion. handrails renovation, How To Install A Handrail Without Studs [Step By Step Guide]](https://homedecorbliss.com/wp-content/uploads/2022/11/How-To-Install-A-Handrail-Without-Studs-Step-By-Step-Guide.png)
How Do You Install A Handrail Without Wall Studs?
A handrail can provide support to prevent accidents in stairwells and other areas. A handrail is usually secured to the studs inside a wall, allowing it to withstand force and weight when someone grabs onto it.
Handrails are supposed to be secure and not wobbly. In case of an accident, a person who slips on a stairway may be seriously injured if an unsecured handrail detaches from the wall when they grab it.
We sometimes add affiliate links and content that was curated and created by our team with the help of advanced ai tools to help showcase the best design styles.
In addition to ensuring that a handrail's setup is secure, different states have various building codes that you should review before installation. Below is a step-by-step " target="_blank" rel="noreferrer noopener">guide you can follow when installing a railing without studs.
Mark The Bracket Points On The Wall
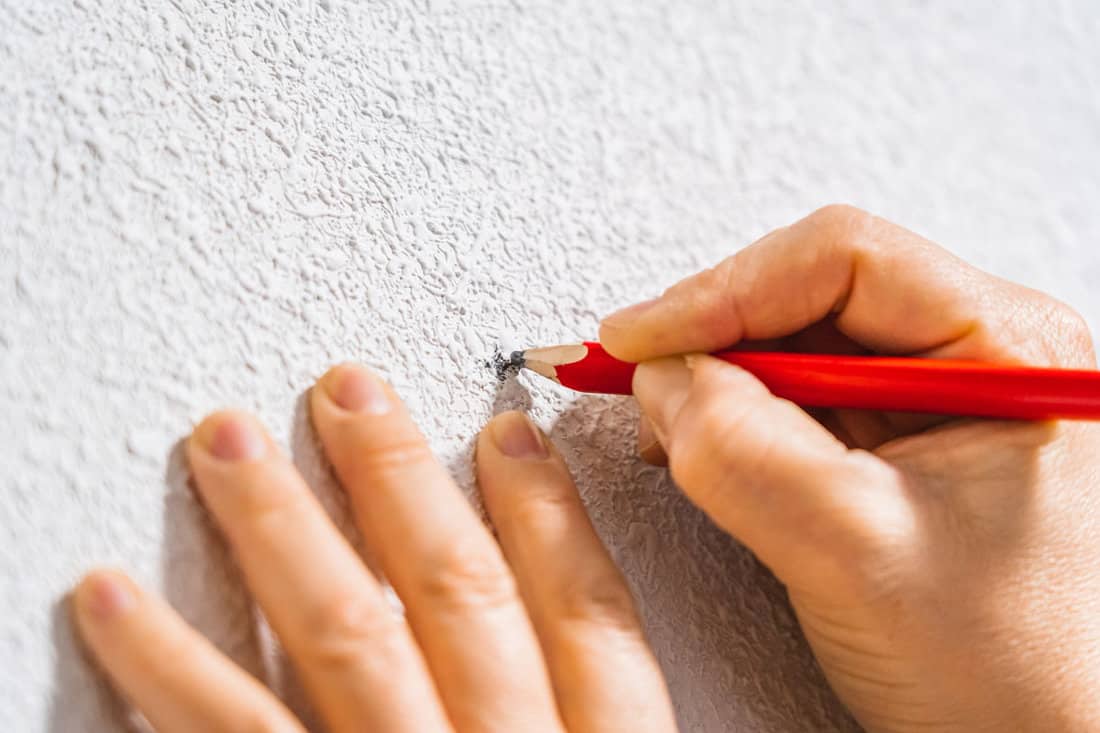
Before installing the handrails on the wall, plan out where it should go on the wall. Again, you should refer to your state's building code to determine where exactly the handrail should be installed.
The handrail height requirement refers to the length of the distance between the threads of your staircase and the handrail itself. On average, the handrail height requirement measures from 32-34 inches.
This provides enough height for the handrail to be comfortably reached by most people. Once you have figured out the height requirement, include the height of the bracket and the thickness of the handrail in the total height.
For example, if your state requires you to " target="_blank" rel="noreferrer noopener">install the handrail about 32 inches above the thread of the stairs, subtract the height of the bracket and the handrail from that 32 inches.
By doing this, you will stay within that 32-inch height requirement instead of adding the height of the bracket and the thickness of the handrail to the requirement. This would result in a much higher handrail than the state requires.
Mark Out The Width Of An Upright 3/4-inch Plywood
The 3/4-inch plywood will act as an anchor for the bracket. The thick, flat plywood will provide the missing support that the studs on the wall are supposed to supply to the handrail.
Place the 3/4-inch plywood over the bracket points, ensuring that the bracket markings are on the center of the plywood. Hold the plywood upright against the wall and trace its measurements with a pencil.
Mark Out A Quarter From The Top And Bottom Of The Plywood
Once the measurements are on the wall, place the plywood on the side of the outline. From there, measure about a quarter from the top and the bottom of the plywood towards the bracket point.
You should end up with a shorter rectangle outline with the bracket point in the center. Make sure the measurements are exact because the plywood will have to fit in the outline. You can make the horizontal measurements a fraction of an inch wider.
Cut An Opening In The Wall
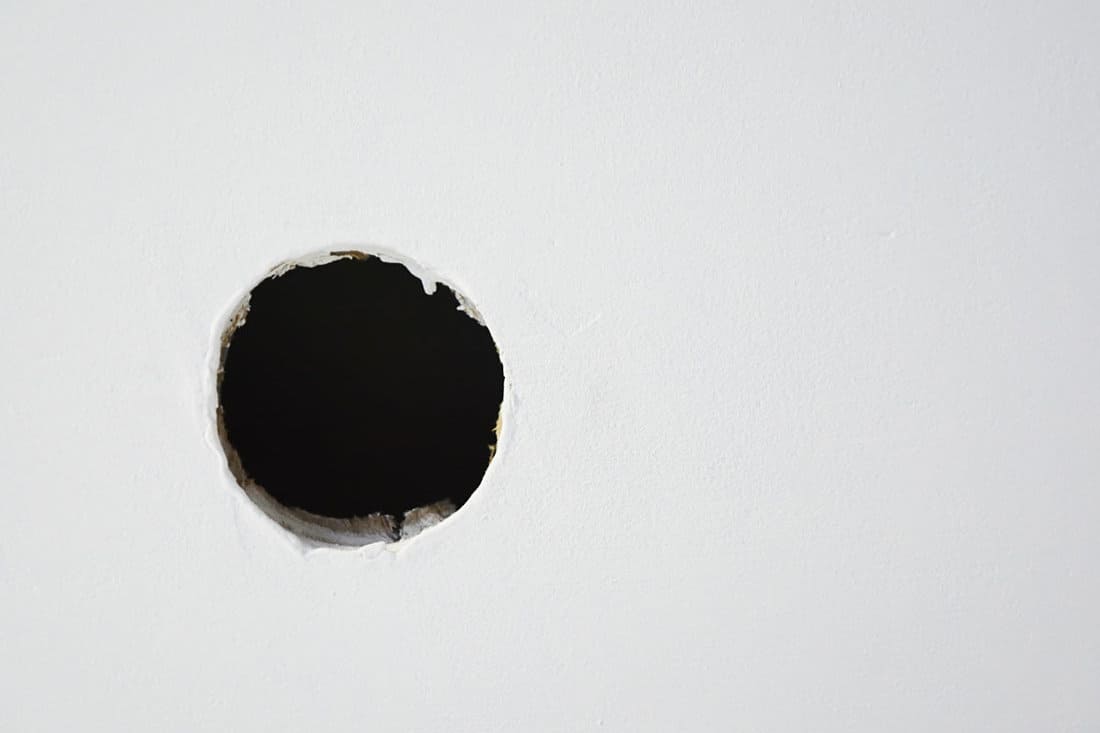
Carefully cut out the shorter rectangle outline. For regular drywall, you can use a utility knife to cut through the surface. You can use a power tool for an easier cut for sheetrock drywall.
Keep this cutout piece of the wall because you will put it back in place later on. Make sure to observe proper safety and precaution when using these tools. Hand and eye protection should be worn while cutting through the wall.
In addition, drywall dust can cause skin irritation, breathing problems, or other health issues. You might have a friend or assistant vacuum the dust immediately while you're cutting through the drywall.
Attach A Long Screw At The Center Of The 3/4 Plywood
After safely creating the opening in the wall, insert a long screw in the middle of the 3/4 plywood. Hold onto the end end of the long screw while inserting the plywood into the opening.
For an easier insert, tilt the plywood until it is fully inserted into the opening. Once the plywood is placed inside the wall, hold it back upright. This positions the plywood against the wall's surface, creating the anchor for the handrail brackets.
Secure The Plywood Behind The Wall
While holding the long screw attached to the center of the plywood, drill in screws on the part of the wall where the edge of the plywood would be behind. Remove the long screw after securing the plywood behind the wall.
Repeat the entire process depending on how many handrail brackets you will install.
Apply Joint Compound On The Back of the Cutout Piece Of Wall
Once you have secured the plywood, use joint compound to reattach the cutout piece or pieces of the wall. You can treat the cutout walls like a tile and back butter them with the joint compound. Back butter is the process of covering the back of a tile with cement.
For the cutout piece of wall, make sure you are using just enough joint compound. Avoid putting too much, or it will slip through the edges, which could then drip onto the wall.
Return The Cutout Piece Of Wall
Once you have covered the back of the piece of wall with a joint compound, proceed to put it back in its original place. Afterward, attach the handrail bracket through the wall and into the 3/4-inch plywood with a screw.
Make sure to do this while the joint compound is still wet. Do not wait for the joint compound to dry before drilling in the handrail bracket because the joint compound will crumble.
Seal The Cutout On The Wall, Then Paint
Fill in the visible cut-out on the wall with the joint compound. Flatten out the surface with a trowel and allow it to dry. Once the surface is completely dry, apply paint to conceal the work.
Secure Handrail Brackets, Then Attach The Railing
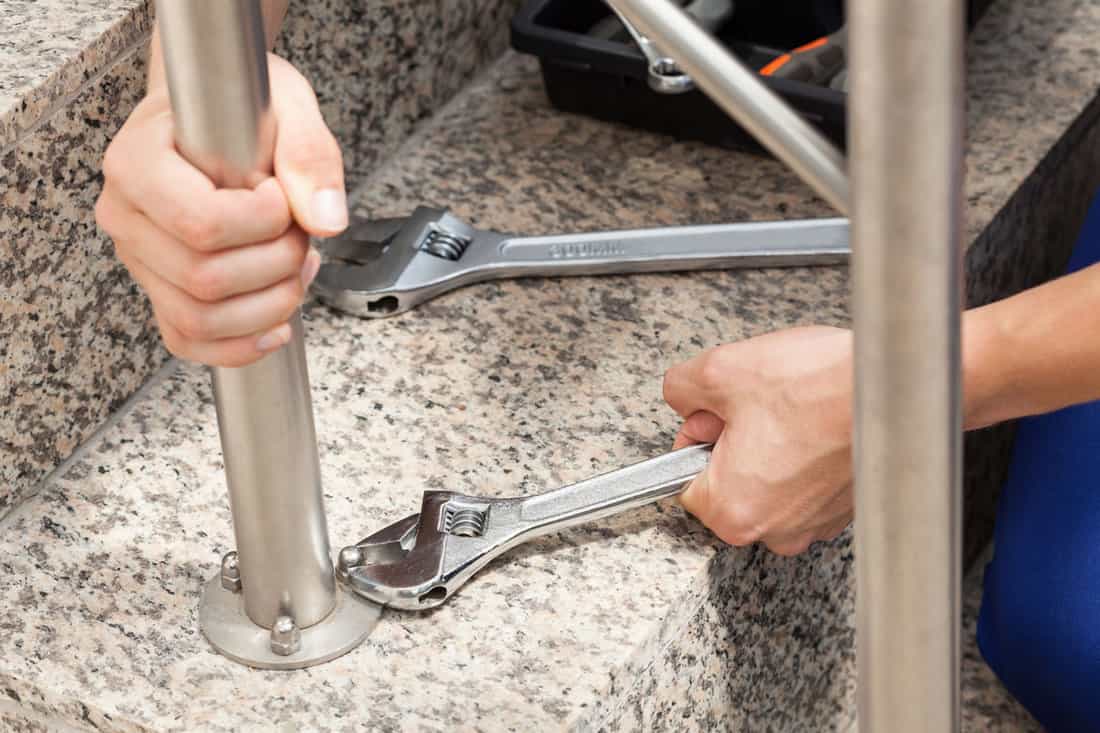
Double-check and tighten the brackets on the wall. If you feel confident about the brackets' sturdiness, you can install the handrails.
Do My Walls Have Studs?
All walls have studs. Studs make up the frame that supports and gives structural integrity to your walls. A wall without studs will not be able to stand because the studs make up the skeleton of the wall.
You might not be able to locate your wall studs for multiple reasons, but they do exist. They're holding up your walls.
How Do I Find My Wall Studs?
If you cannot find a wall stud, you can try using a wall stud finder. Wall stud finders can give you the exact location of the outer edges of a stud.
Some of these devices utilize magnets to identify the metal inside the studs when placed against a wall. Other wall stud finders use modern technology and can locate wires and pipes.

Click here to shop for a wall stud finder on Amazon.
Below is a list of areas where wall studs can be found in your home.
- In line with an electrical outlet.
- About 16 inches off the edge of a window.
- In line with a light switch.
- Behind a regression on the wall.
To Wrap Up
Installing a handrail on a wall without studs requires a substitute for support. Creating an anchor and fastening it behind the wall can be a substitute for wall studs. Make sure to attach the handrail securely to prevent accidents on the staircase.
In this post, we discussed the process of installing handrails without studs. We also learned the importance of wall studs, as well as some tips you can follow when trying to locate one.
Made it to the end? Check out some of our other related posts!
What Kind Of Paint & Finish To Use On Handrails? [Inc. Tips & Tricks]