
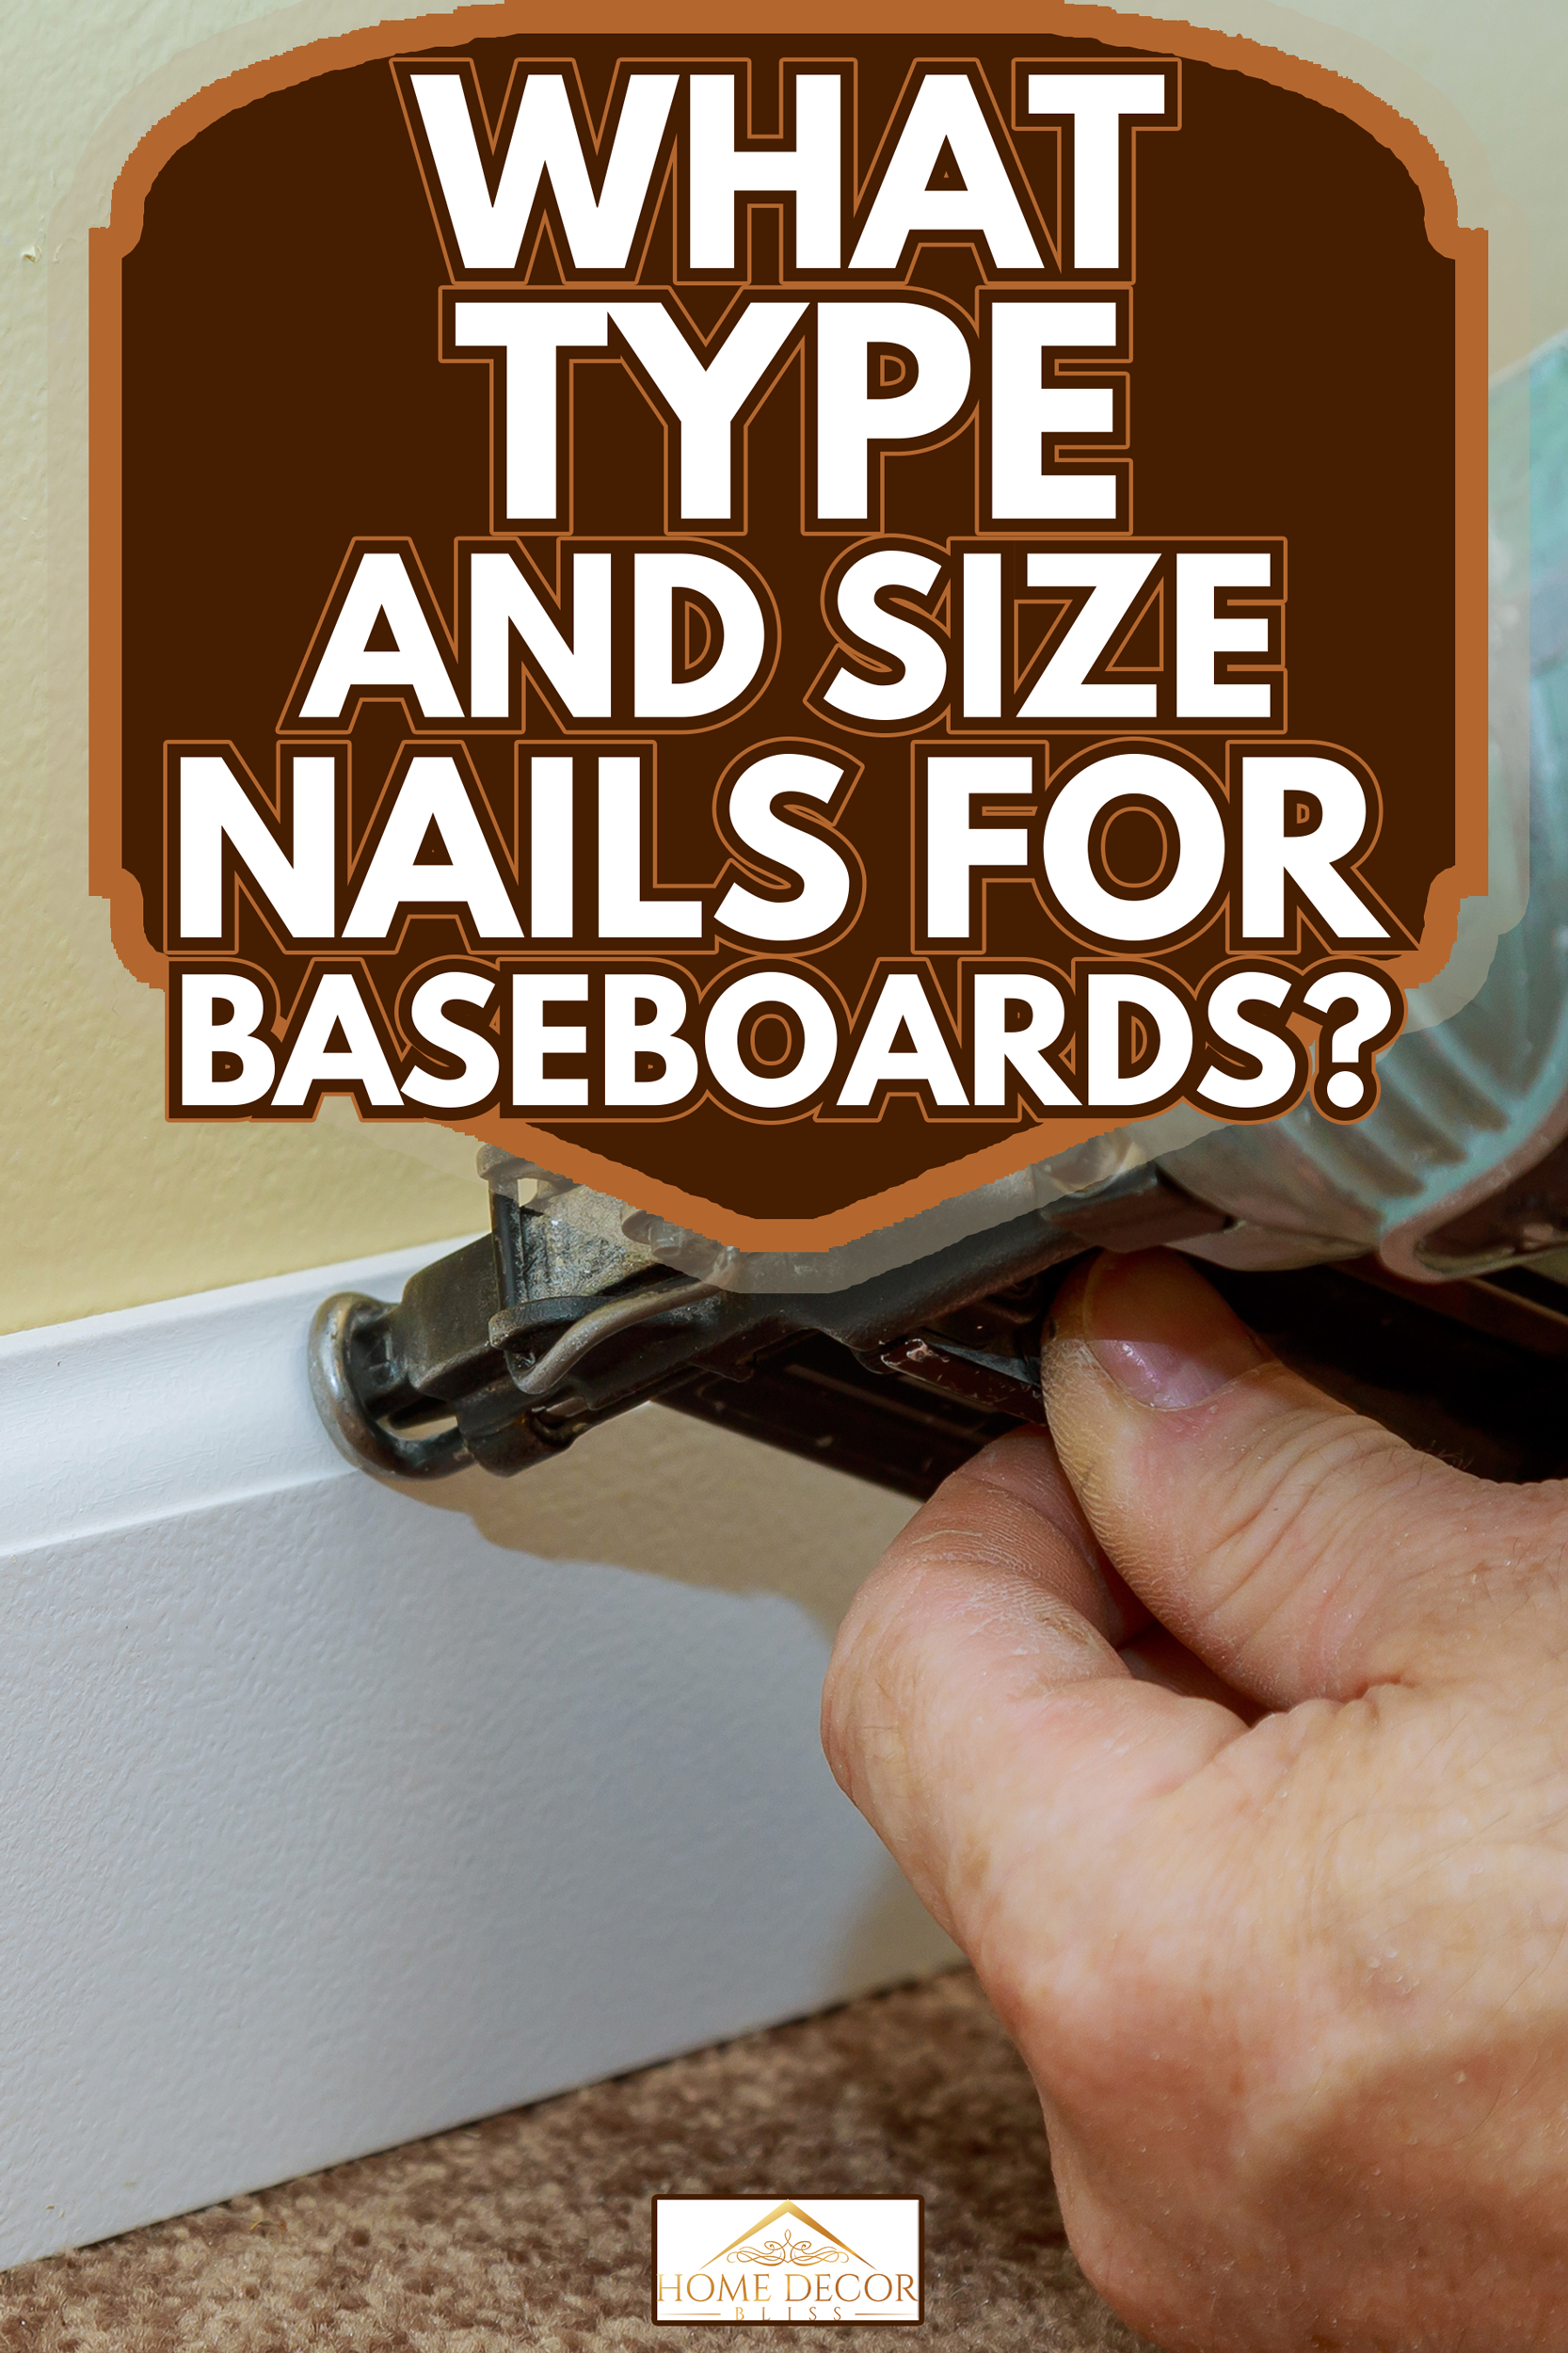
Due to the varied sizes of nails available, it can be confusing which nails to use on your project. Choosing the proper one requires consideration of the nail's size, length, and type. If you are wondering what type and size of nails to use for baseboards, you’ve come to the right place. We’ve researched this topic extensively to give you the best answer.
When nailing baseboards, it is ideal to use nails that are 2 inches (6D) to 2.5 inches (8D), typically 15 to 18 gauge nails. Brad and finish nails are the types of nails commonly used for the baseboards.
Read on as we elaborate more on ideal sizes and types of nails for baseboards. We will also discuss its significance, installation of baseboards, the most efficient way of nailing, and more.
Significance Of Nailing Baseboards
We sometimes add affiliate links and content that was curated and created by our team with the help of advanced ai tools to help showcase the best design styles.
A baseboard is a wooden or vinyl board that runs along the bottom of an interior wall. Its function is to conceal the seam between the wall and the floor. It protects the wall from abrasion, kicks, and furniture, and it serves as beautiful molding.
It is a crucial step in the installation process to secure your baseboards to the wall. But this step is frequently ignored. It is usually presumed that walls are straight and that the corners are at the proper angles. This is unfortunately not the case.
Sooner or later, you begin to see that the wall is bowed in several areas. You will discover some unusual angles that you may have overlooked before. However, if you properly nail the baseboard to the wall, you will find out how tough or stiff it is.
As a result, it is important to have a good nailing job to have a great finished product.
What Type And Size Nails For Baseboards?
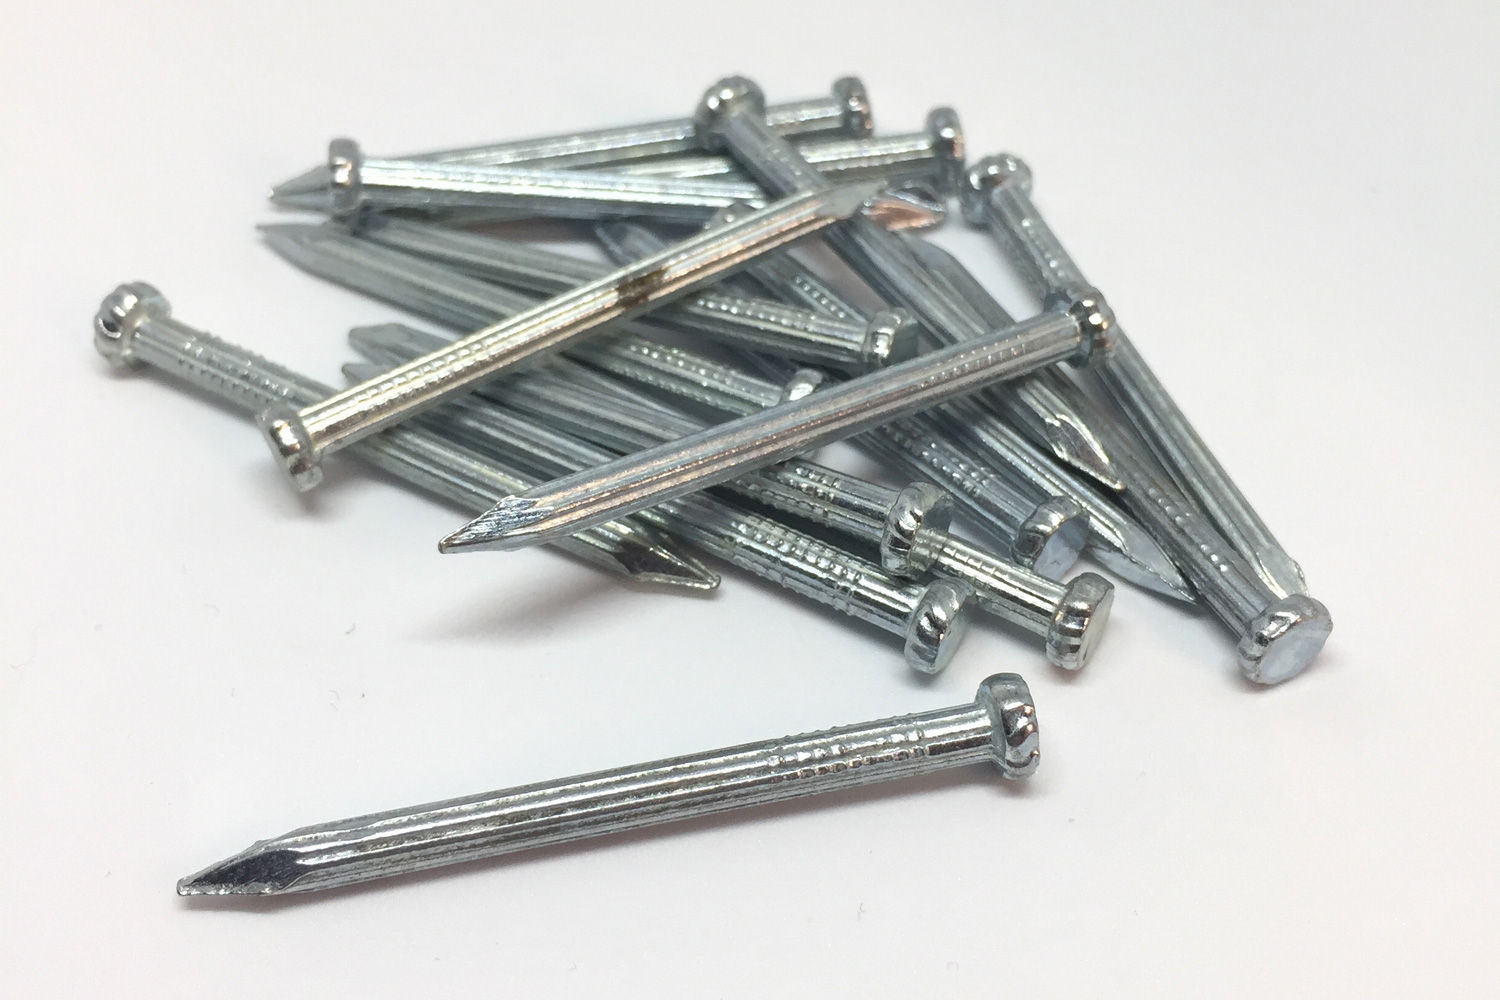
Length
The length of the nail from head to the tip is usually expressed in inches and abbreviated with the letter D. Therefore, a 2D nail is 1 inch long, 4D nails are 1.5 inches long, 8D nails are 2.5 inches long, and so forth. Every increase or reduction in the number equals a 0.25-inch difference in length.
Considering the baseboard is so thin, the nails must be no longer than 2.5 inches (8D), with 1.5 to 2.5 inches being the ideal length.
When driving a nail into a wall, the possibility of hitting an electrical line increases as the length of the nail is increased. For the most part, 0.5 inches is long enough to reach into the wall but not quite long enough to hit an electrical line.
Diameter
The thickness or diameter of a nail is indicated by the nail gauge sizes. The thinner the nail, the higher the gauge number. The 14-gauge nail, for example, is thicker than the 15-gauge nail. It also determines the strength of the nail. The stronger the nail, the lower the gauge size.
Baseboards are best attached with 15- or 16-gauge nails. They're big enough to hold the baseboards in place but not so huge that they split the material. If the baseboards are thicker and stronger than usual, you can go up to 18-gauge nails with the correct nailer.
Types
There are many different types of nails, each with its purpose and finish. They are made to order in a variety of lengths and gauges (diameters). Here are the two types of nails that are usually used for the baseboards:
Brad Nails
These are 18-gauge steel-wire nails. Because they have a smaller diameter than conventional nails, they are ideal for baseboard trim. Their lengths are from 1.5 to 2.5 inches.
They are not only thinner and smaller, but their heads are also smaller. This will help keep your wood from splitting and is almost undetectable.
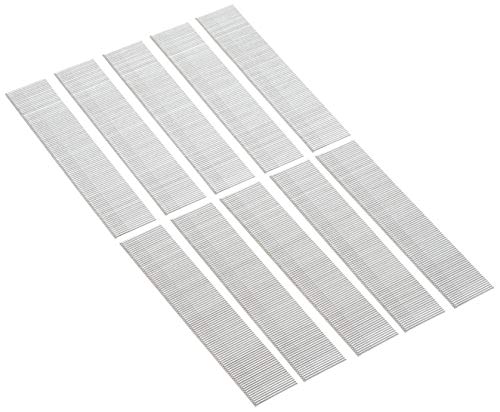
Click here to see these BOSTITCH 18 gauge brad nails on Amazon.
Finish Nails
They are thicker than brad nails because they are made of 15- or 16-gauge steel wire. The additional thickness gives it a better grip. The length of these nails ranges from 1 to 3.5 inches. When nailing heavy-duty baseboard trim or molding, these are the finest option.
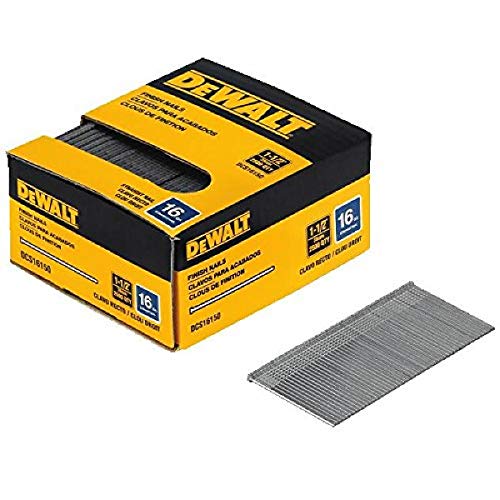
Click here to see these DeWalt finish nails on Amazon.
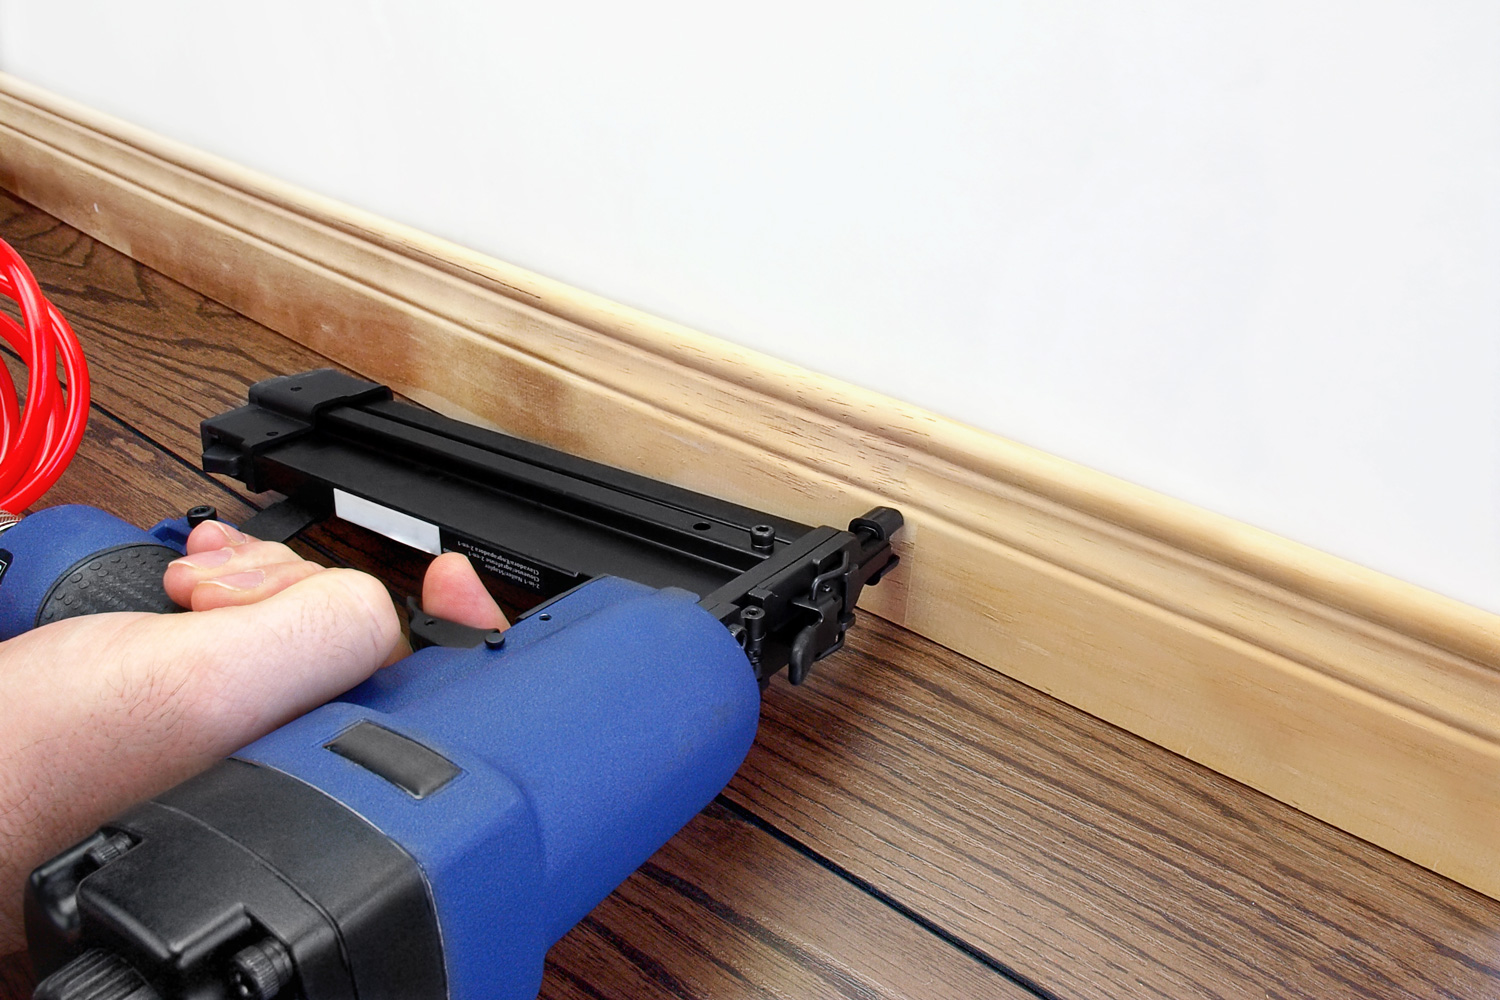
What Is The Most Effective Method For Nailing Baseboards?
Without a doubt, using a nail gun to install baseboards is the simplest and most successful method. But you might still be wondering which nail gun to use. Following are the best nail guns for baseboards:
Brad Nailer
A brad nailer drives 18-gauge brad nails. It is used for minor trim where larger nails might split the board. Some professionals use these to secure shoe molding base tops. Also, they are used to conceal visible nails due to their small size.
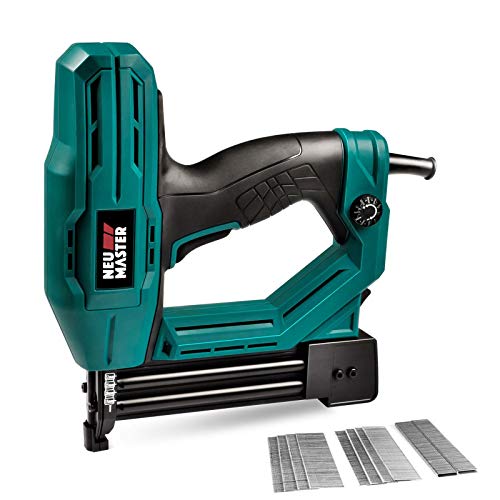
Click here to see this NEU Master electric brad nailer on Amazon.
Due to its ultra-thin pins that flex quickly, driving brad nails with a hammer can be frustrating. That is why a nail gun is ideal for this project.
Finish Nailer
It is a multi-purpose gun that can drive 15- or 16-gauge nails. Baseboards, crown molding, decorative trim, and hardwood flooring are examples of projects where they are utilized instead of framing nails.
Finish nails are strong enough to hold these larger components in place but small enough to be covered with putty for the final product.
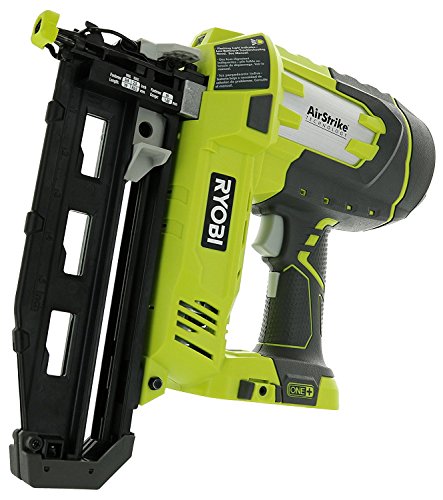
Click here to see this Ryobi finish nailer on Amazon.
Pneumatic Nailer
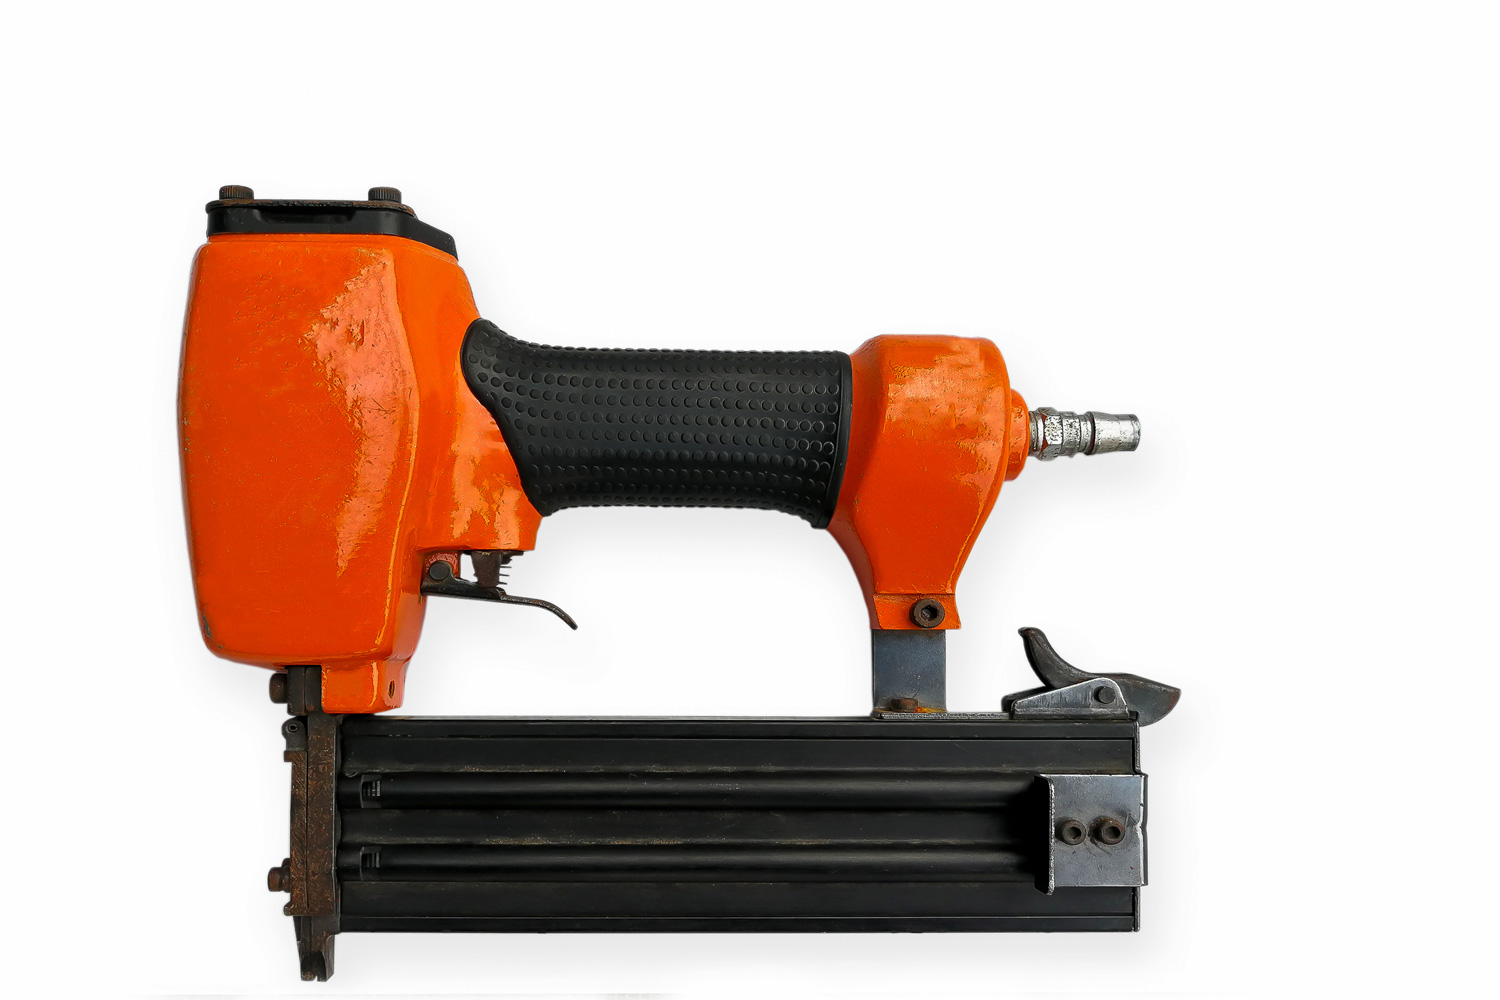
This is the most popular power fastening tool since it is inexpensive, powerful, and convenient. To drive nails, this nailer makes use of pressurized air.
If you go with a pneumatic tool, make sure the air requirements for the nail gun and the compressor are the same. This will ensure that your nail gun works effectively.
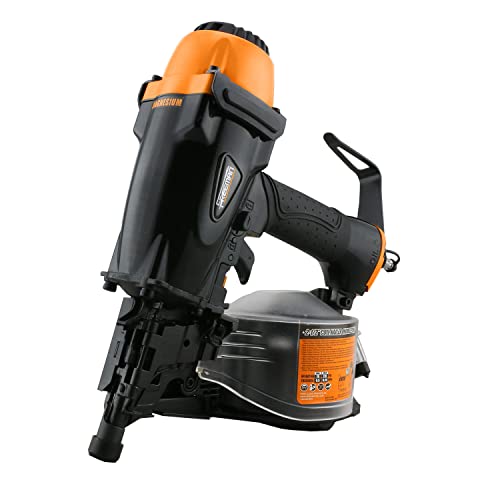
Click here to see this Freeman pneumatic nail gun on Amazon.
How To Nail The Baseboards Using Nail Gun And Hammer?
A nail gun is ideal since it allows you to consistently drive nails through the baseboard without destroying it while also anchoring them to the wall. Installing baseboards without a nail gun usually requires using a hammer.
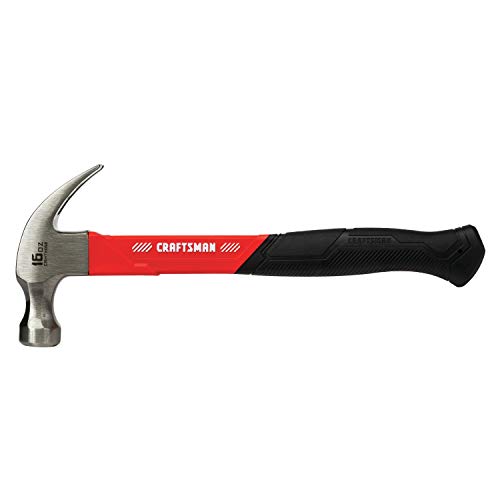
Click here to see this Craftsman hammer on Amazon.
The technique of nailing baseboards with a hammer is similar; however, you will need to acquire nails specifically for use with a hammer as well as many various sizes of nail sets to help insert the nail into the wall.

Click here to see these HORUSDY nail setter punches on Amazon.
Your procedures may vary depending on your setup and equipment, but they are generally as follows:
1. Put Markings On Your Studs
Some of the baseboard nails should go all the way through the baseboard and into studs rather than drywall. Pick up a stud finder and run it down the wall to make this phase of the procedure easier. When the stud finder detects studs beneath the drywall, it will beep.
Make a little, light X with a pencil above where you've pinned the baseboard with those first two nails when you find a stud. As you put the rest of the nails, you'll be able to see where the studs are and prioritize nail placement in those areas.
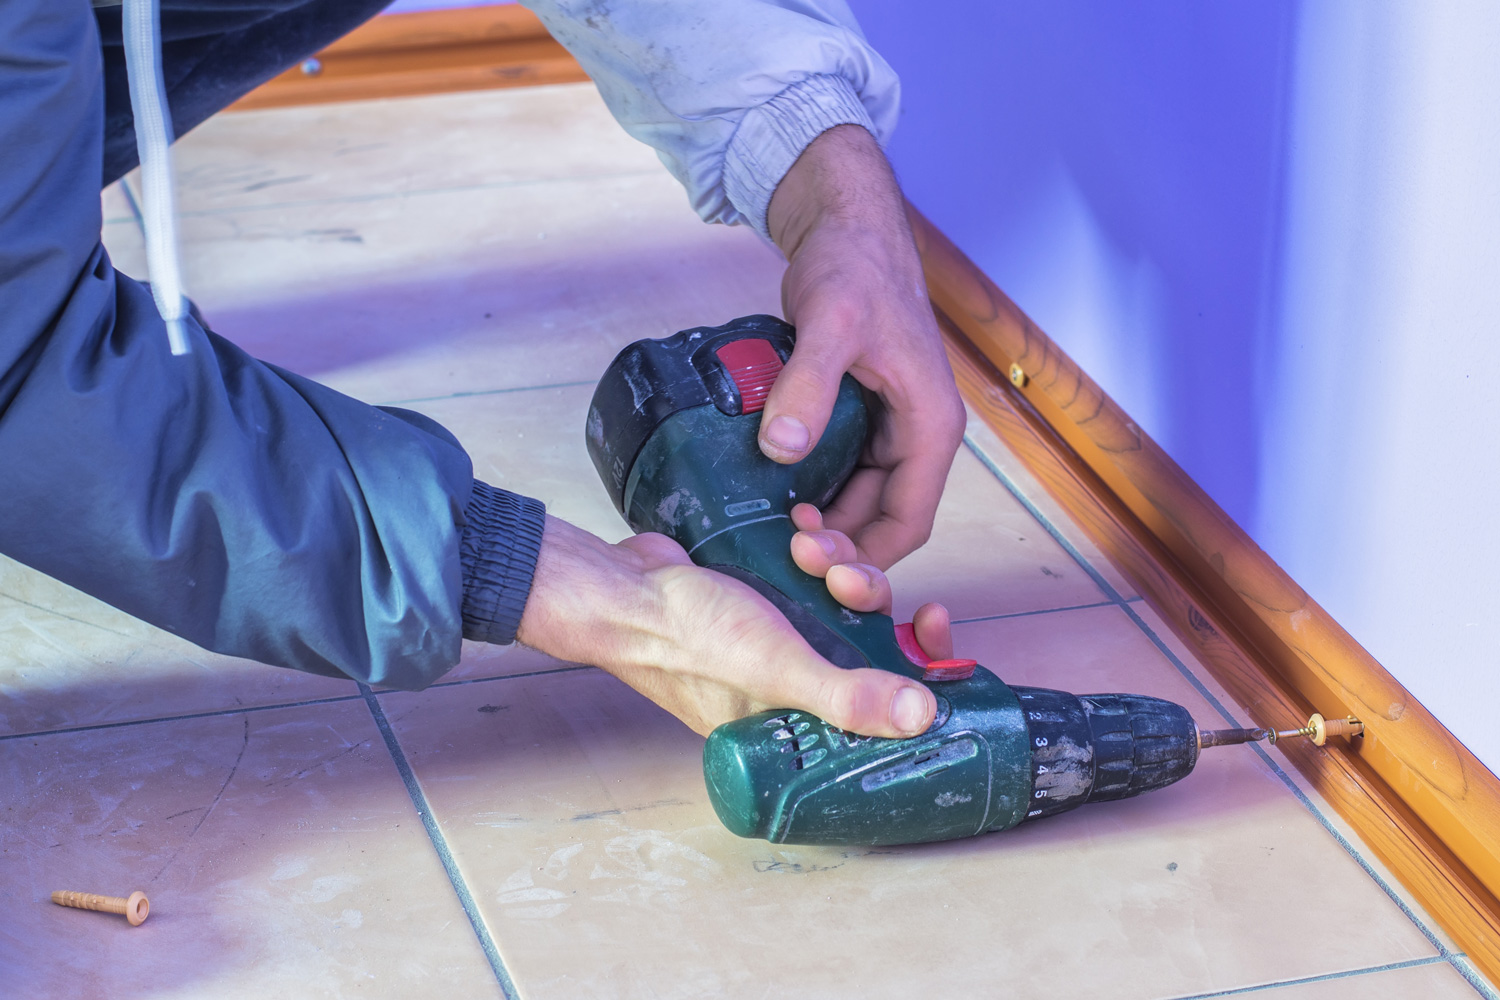
2. Prepare Your Equipment
If you're using a nail gun, you might need a compressor; however, some high-end guns don't. If you're going to use a cordless nail gun, ensure sure the battery is completely charged and ready to go.
If you're going to use a hammer, be sure you have the proper nail set for your nails. To avoid dings and dents in the shape of your hammer on your baseboard, switch to the nailset as soon as feasible.
3. Begin Nailing
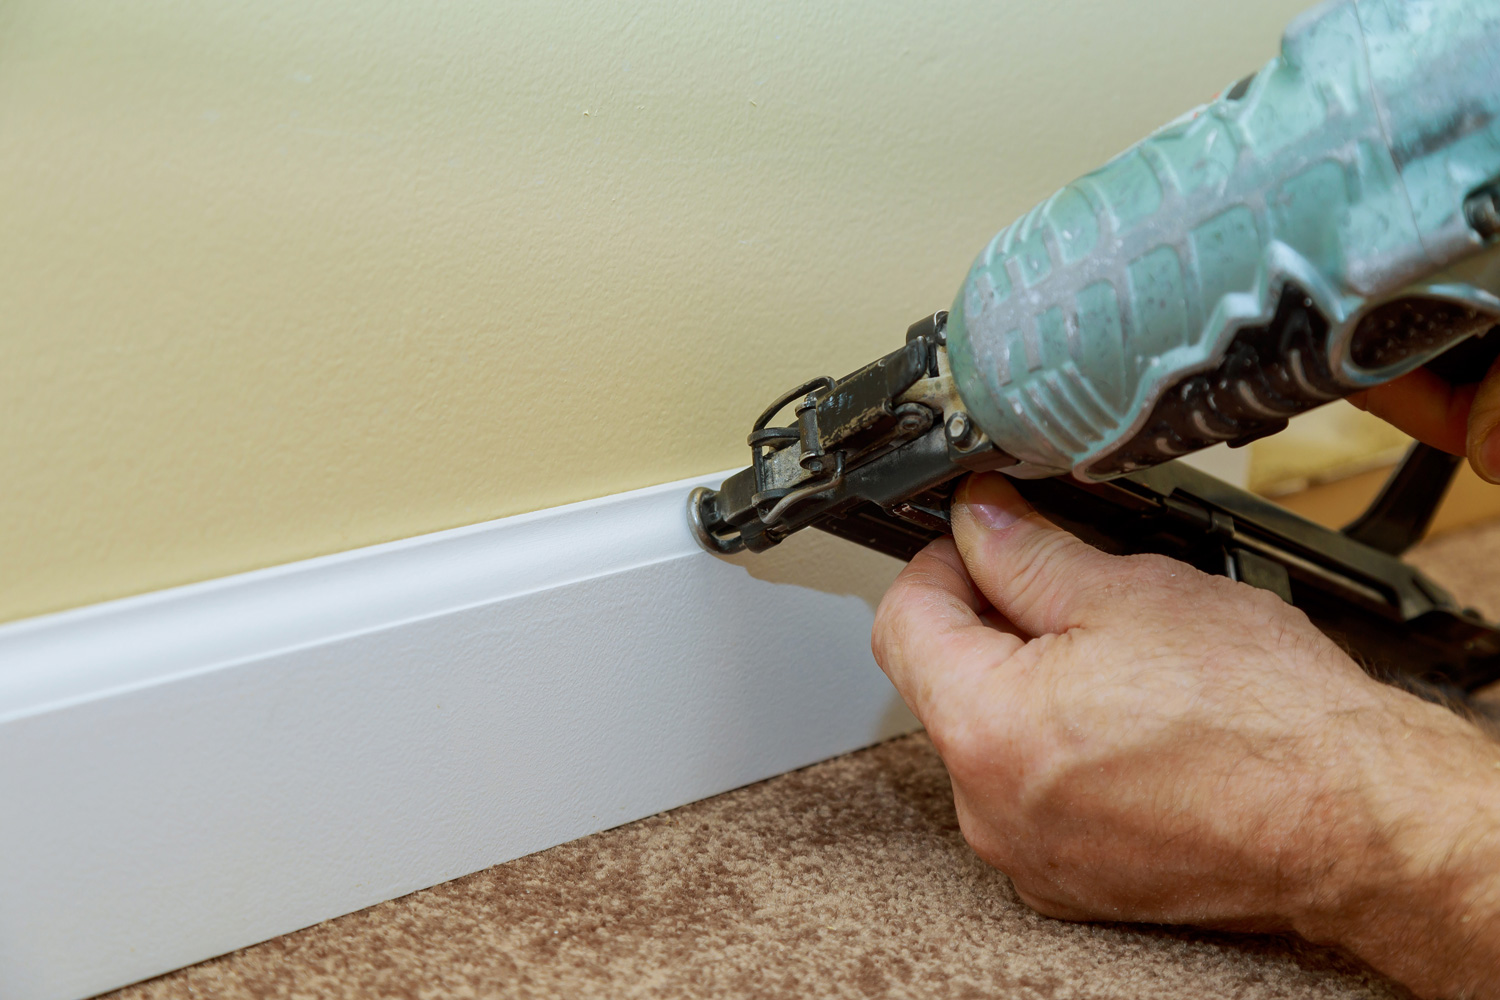
Drive the nails immediately beneath the penciled X lines through the baseboard. The X marks can be erased or painted over afterwards. Always ensure that nails are injected directly into the baseboard and wall, not at an angle.
If you're going to use a pneumatic nailer, make sure you follow the manufacturer's guidelines for PSI, nail size, and how to use it.
If you're using a hammer, simply align your nails with the studs, insert the nail, and hammer until it reaches the end. Use the nail set to get the nail beneath the baseboard and paint it without leaving a trace.
For you to see the actual demo using a nail gun, a video tutorial from YouTube is shown below:
The Problem Of Oversized Nails And Undersized Nails
If you use excessively long nails, you risk accidently piercing wires or pipes through the baseboard and drywall. When choosing your nails, use common sense to avoid going overboard on the nail size.
However, if the nails are too short, they will not bite deep enough into the drywall or studs to which you are fastening the baseboards. The baseboards would not be secure enough in that situation.
They might hold there for a time, but frequent wear and tear, as well as the natural shifting and flexing of the walls, would eventually cause them to come loose.
As the baseboards began to separate from the wall, cracks appeared throughout their length. So, before you start the project, double-check that you're using the correct nail size for your baseboards in your home.
Wrap It Up
Assessing the thickness and type of material being utilized is the first step in selecting the proper baseboard nails. Although no two baseboards are alike, they all have common characteristics that can be used to identify the appropriate nail size or gauge.
Just always keep in mind that the general rule is that the baseboard nails should be no more than 2.5 inches long. In terms of thickness, 15- or 16-gauge finish nails and 18-gauge brad nails are most ideal for the job.
If you like this article, you might want to check out some of our articles for more information: