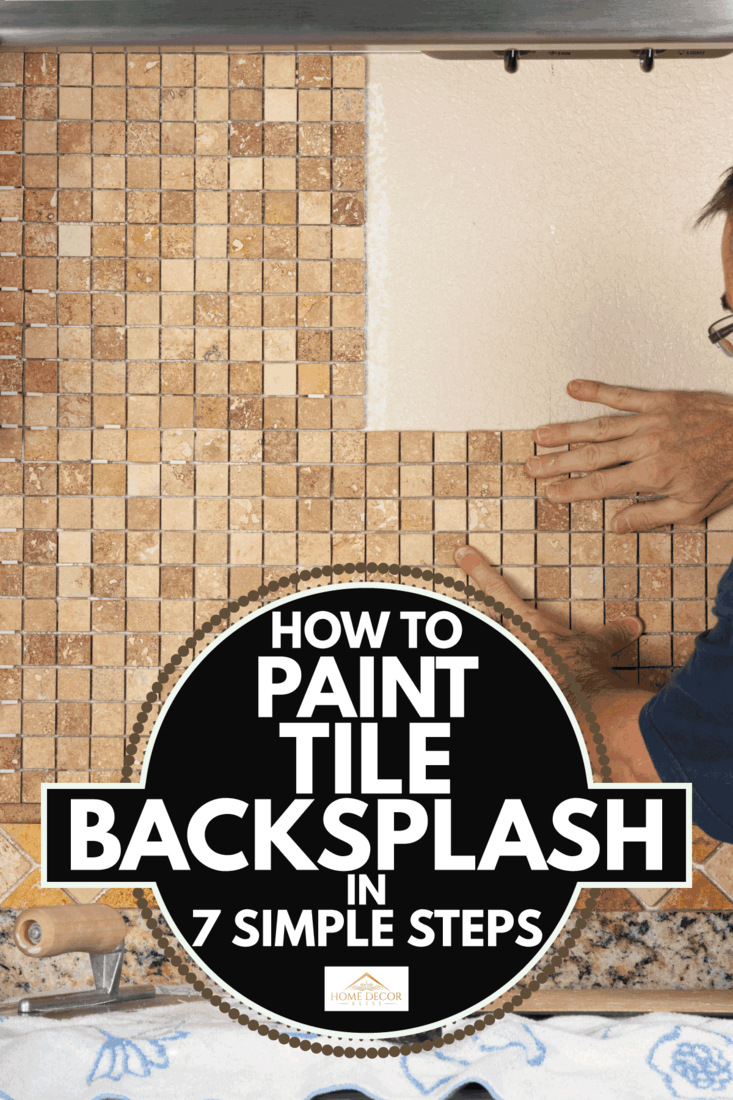
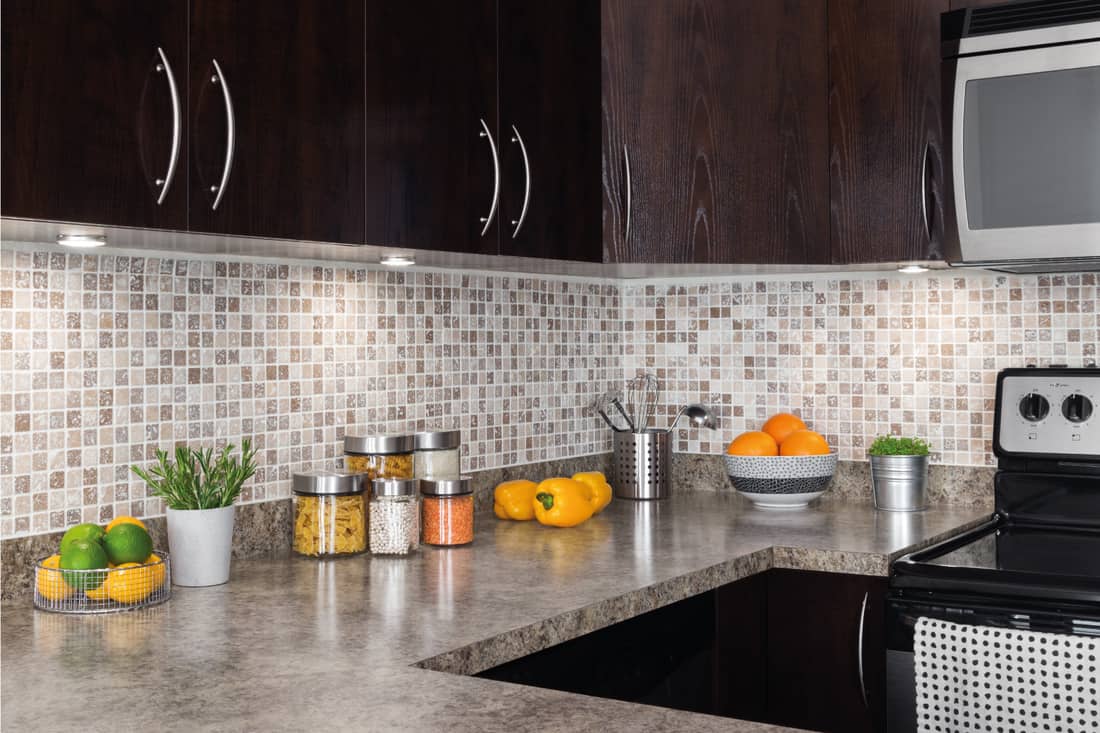
If your kitchen's backsplash tile looks tired and old, you may be wondering whether or not it's time to give it a facelift. Well, a good paint job can do just that. But what is the best method to paint a tile backsplash? We've researched a few ways for you, and in this post, we will go over one of the methods that we've found.
Here are the basic steps to paint a tile backsplash:
- Gather your tools
- Clean the backsplash tile thoroughly
- Sand down the backsplash tile
- Apply painter's tape to the backsplash tile
- Apply primer to the backsplash tile
- Apply paint to the backsplash tile
- Apply additional coats as needed
You can save yourself hundreds of dollars by painting your tile backsplash yourself instead of hiring a contractor to do it. All you need is a handful of tools and around 2 to 4 hours of free time, and you can have your backsplash looking brand new. Continue reading to learn about how to paint your backsplash.

Steps To Paint Tile Backsplash
We sometimes add affiliate links and content that was curated and created by our team with the help of advanced ai tools to help showcase the best design styles.

The most important step to remember when painting your backsplash is to do a thorough preparation job beforehand. If not, you may find that your new paint job peels and flakes in a matter of weeks. Let's take a look at how to do a great prep job when painting the backsplash.
Things you'll need:
- Paint primer
- Epoxy. latex, or oil-based paint
- 2-inch angled paintbrush
- Paint roller tray
- Painter's tape
- Heavy-duty cleaner or degreaser
- Drop cloths
- Paper towels
- Rubber gloves
- 220-grit sandpaper
- Painters tape
- 3-inch roller
1. Gather your tools
Gather all of your cleaning and painting materials in the kitchen and set them aside for easy accessibility. Next, place a drop cloth down on top of the stove, counter or sink so that these areas are not exposed to paint drips or splashes. You'll also want to wear a painter's mask and open up windows and doors before you paint the backsplash--the paint fumes can be pretty strong.
2. Clean the backsplash tile thoroughly
Next, scrub down and clean the backsplash area with your degreaser or an all-purpose cleaner. You'll want to make sure that the backsplash is squeaky clean and completely free of dirt, grime, and debris. It's important not to rush through this step as it can greatly affect your finished look. If there is any dirty grout between the seams and corners of the tile, be sure to apply an appropriate cleaning solution such as bleach or peroxide to lighten it up.
You'll also want to make sure to wear gloves during this step. After cleaning the backsplash, wipe it down with clean, warm water and then buff it dry with a dry towel.
Buy microfiber cloths on Amazon.
3. Sand down the backsplash tile
Now that you've cleaned your backsplash, it's time to sand it. Take a piece of 220-grit sandpaper and run it over the entire backsplash. Start on the top left of the backsplash and work your way to the right. Be sure not to apply the sandpaper too firmly, as you want to create fine scratches to its surface.
Etching the backsplash will help the primer and paint to adhere to it better. After you're done, take a semi-moist towel and go over it to remove all of the accumulated dust. Next, buff the surface dry again.
Find this sandpaper set on Amazon.
4. Apply painters tape to the backsplash tile
Next, take your painter's tape and apply it to the edges surrounding the backsplash tile. If you have any hardware or decorative ornaments inside the tile, be sure to place the tape around them or cover them completely.
Check out this painter's tape on Amazon.
5. Apply primer to the backsplash tile
Pour your primer into the paint tray. Next, use your angled paintbrush to apply the primer to your backsplash. Start at the top left and then work your way to the right, applying a thin, even layer to the backsplash. If your backsplash is on the larger side, paint the surrounding edges first, and then use your paint roller to paint the middle area.
Buy an angled paintbrush set on Amazon.
6. Apply paint to the backsplash tile
After applying a couple of primer coats, take out another paint tray and pour the paint into it. Perform the same steps that you did with the primer. However, when applying the paint, use a zig-zag pattern and be sure that there is full coverage on every inch of the tile surface. Next, give it a second look-over after applying the first coat to ensure that you haven't missed any areas near the edges of the backsplash.
Find this latex paint on Amazon.
7. Apply additional coats as needed
It's best to wait at least 24 hours before applying another coat of paint on the backsplash. However, this may vary with some paints, but generally, this wait time will allow the paint more time to bond. It's also helpful to do a light, quick sanding job before applying additional paint coats. After applying one or two additional coats, you should be good to go. Wait until the last coat of paint is completely dry before removing your painter's tape.
Backsplash Tile Painting Tips
Don't be afraid to mix things up repaint your backsplash. Here are some additional ideas for creating unique and interesting looks on your kitchen backsplash.
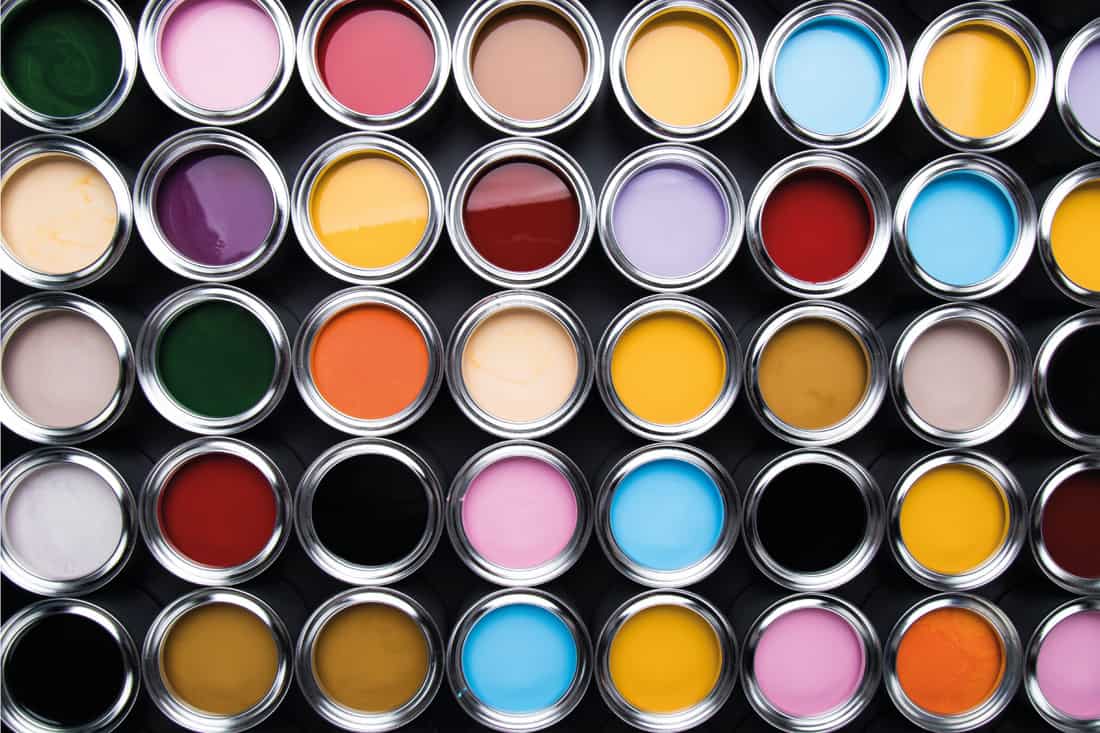
- Instead of simple colors like black and white, try interesting colors such as sage green, teal, or cranberry red to make your backsplash pop out.
- Before painting your backsplash, take the colors of your cabinets and countertops into consideration. For example, if the colors are on the darker side, consider a lighter backsplash to help brighten the kitchen. If the elements are lighter hue or white, consider going with dynamic darker colors such as burnt orange, navy blue, or hunter green.
- Instead of going with the same seamless look on your tiles and grout lines, consider using an artist's brush to go over the grout lines to make them a complementary or contrasting color to the tile.
- Consider painting different rows of tile or individual tiles using different patterns to create a more dynamic look--perhaps even paint the tiles in a way to emulate stone or brick.
- Use stencils to add additional visual elements to your backsplash tiles.
- Maybe add a bit of texture to the backsplash tile using chalk paint instead of oil-based or latex paint.
Check out these art stencils on Amazon.
What kind of paint do you use on ceramic tile backsplash?
The best type of paint to use for tile backsplash is either epoxy, latex, or oil-based paint. However, when it comes to the best resilience and durability, epoxy paint takes the cake. Latex paint dries quickly, but it also may peel off faster than oil or epoxy paint due to its soft texture. On the other hand, oil-based paint will take longer to dry, though it is way more durable. Also, you'll want to use an epoxy or urethane bonding primer to ensure that the tile's surface is ideal for painting.
Learn more about this primer on Amazon.
Does tile paint scratch off?

It depends on the type of paint and primer that you use, as well as how good of a sanding job you do beforehand. Tile can be challenging to paint due to its slick surface. The best way to ensure a long-lasting paint job is to use appropriate painting agents (primer/paint).
How long does tile paint last?
Given certain factors, tile paint may only last anywhere from five to ten years. These factors include the type of paint & primer used on the tile. It also depends on the level of wear and tear that the tile endures. If the tile is located in the kitchen, where it'll likely be continuously exposed to humidity, grease, and grime, it will probably peel or flake sooner than if it hadn't been exposed to these elements. It also depends on the type of tile in question.
When painting tiles, do you paint the grout?
You can, but it really depends on the look that you are going for. If you prefer a seamless and simple paint job, you can paint both the grout and the tile. And if you do, it's best to use epoxy paint if you plan to paint the tile and the grout to ensure that it bonds well to the surface.
Wrapping Things Up
We hope that this post has provided you with all of the information you need to get your tile backsplash painted quickly and properly. Remember, a good paint job starts with a good prep job.
Before you go, be sure to check out our other posts:


