
Applying silicone caulk is a popular way to keep water from getting into unwanted places, like between the tub and wall or floor. However, this caulk will eventually get mildewed or ineffective. So what happens if you need to remove the silicone caulk? We've researched this question and are excited to show you the best way to accomplish this.
Here are the steps to take to remove silicone caulk from your acrylic tub:
- Soften the caulk
- Cut it with a sharp edge
- Clean up the residue with an acetic acid
- Thoroughly clean the area
You don't want to damage your tub's acrylic surface, so it's important to know exactly how to do this project safely. Please keep reading for a deeper explanation of each step, plus answers to other related questions. Here we go!
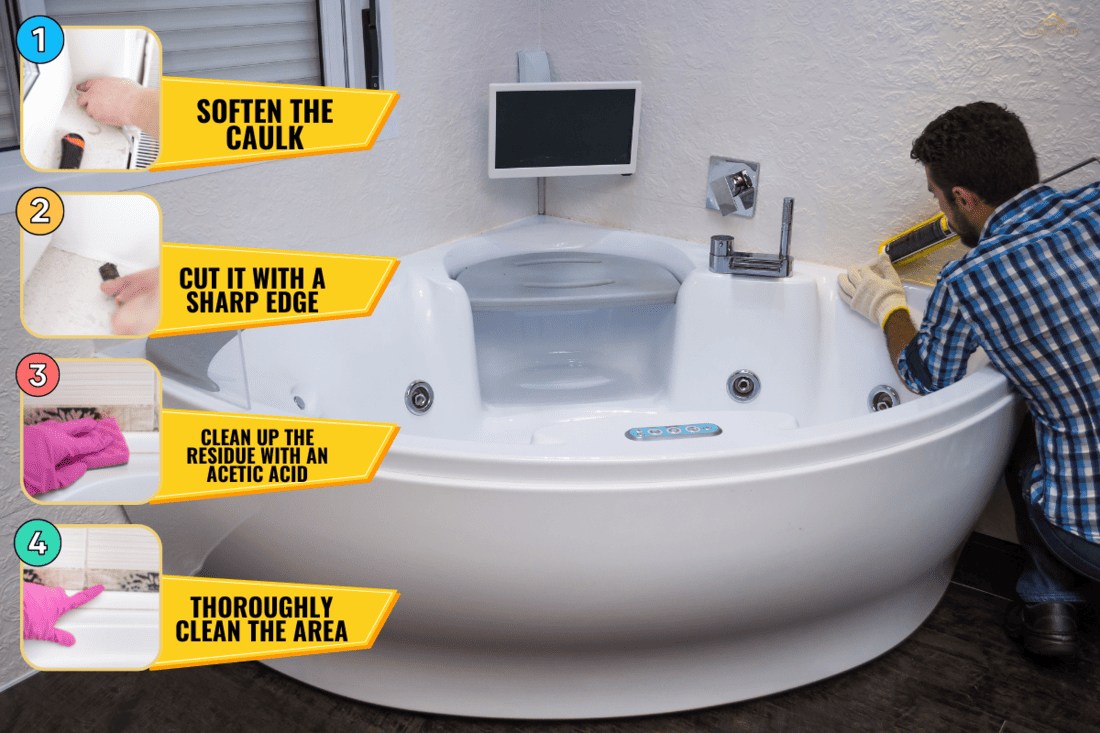
How To Remove Silicone Caulk From Acrylic Tub In 4 Steps
We may include affiliate links and curated AI content to highlight top design styles.
Necessary materials
Here are the things you'll need in order to get rid of the silicone on your bathtub:
- Softening agent (choose one):
- Isopropyl alcohol
- WD-40
- Hairdryer
- Razor, knife, or caulk removal tool
- Vinegar or another form of acetic acid
- Bleach and warm water
- Rag or scrub brush
1. Soften the caulk

Silicone caulk is designed to be incredibly tough. This is so that it can bond to the surface of the bathtub or whatever location it's being applied. While this is how it's made, that makes it frustrating to remove.
Thus, the first step is to soften the caulk to make it easier to cut away, as described in the next step. You can do this by applying isopropyl alcohol to the top of the caulk. Isopropyl alcohol will react with the silicone to soften the material.
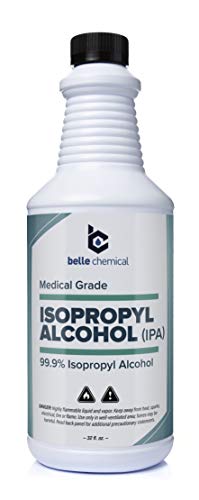
Click here to view this alcohol on Amazon.
Another option, if you don't have alcohol handy, is to use a hairdryer. Hold the hairdryer eight to ten inches away from the silicone for 30 to 40 seconds. Then, use the knife to cut away that section of silicone. Be careful with this method, however, to make sure that the heat from the hairdryer doesn't melt the acrylic on the tub. If the acrylic is old or worn down, you might want to try a safer option.
Does WD-40 remove silicone?
The safest and most effective option is to use WD-40, a great way to soften the silicone, before using a knife to cut it away. It does not dissolve the caulk, however. As a bonus, WD-40 is safe to use on acrylic, so it's a great option for this problem.
This tactic works best if you have the straw applicator that comes with most WD-40 bottles, including the ones below. Simply use the straw to spray the WD-40 onto a corner of the caulk you want to remove. Wait for a couple of minutes, and then begin to use the knife as described below. Continue to apply WD-40 as necessary.

Click here to view this WD-40 on Amazon.
Have other bathroom repairs that need to be done? This article can help: "6 Shower Tile Repair Solutions [Easily Fix Cracks, Chips, And Holes]"
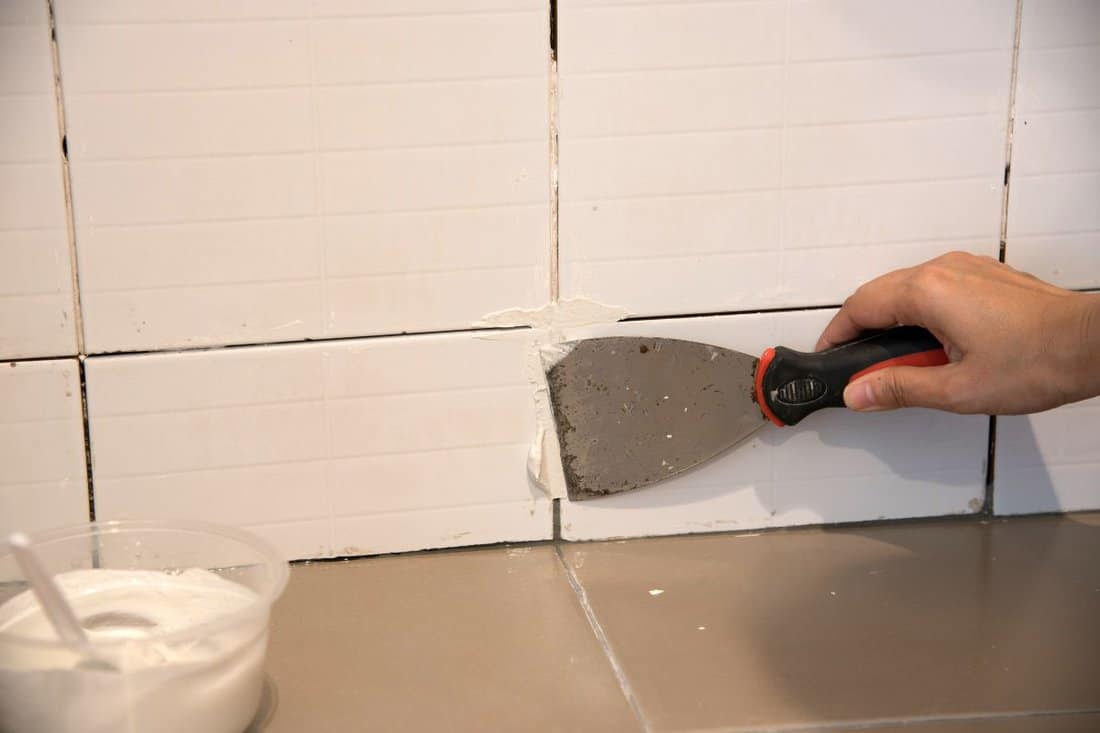
2. Cut it with a sharp edge
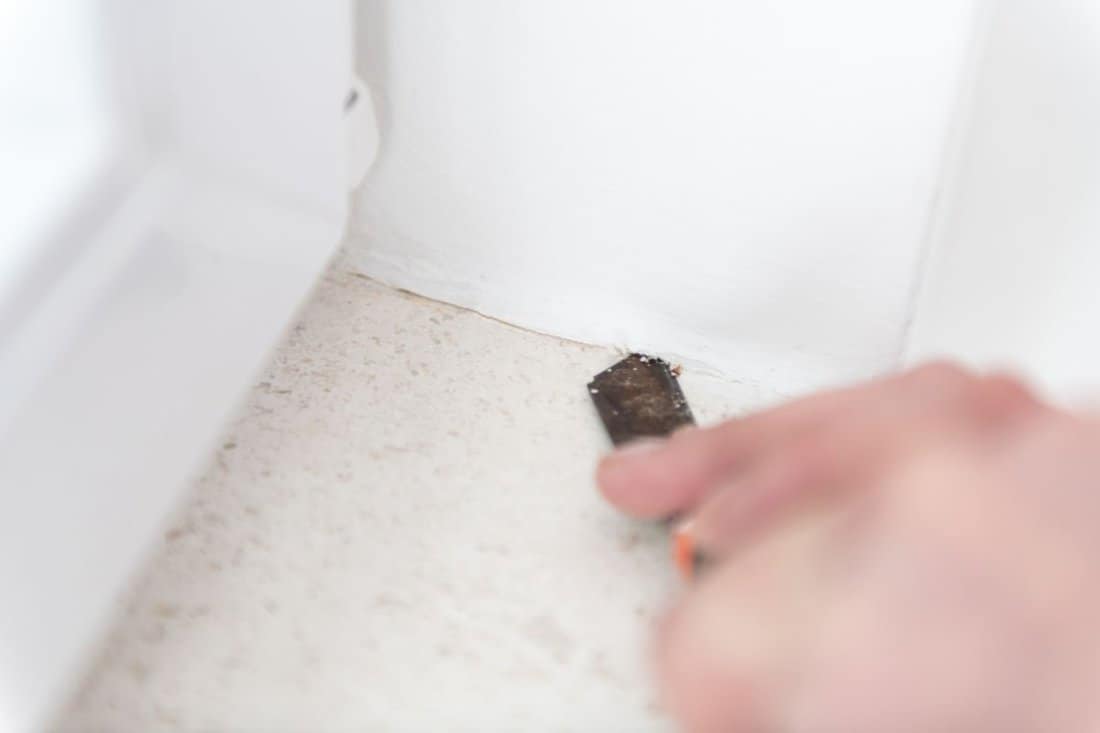
After the silicone has been softened, use a sharp edge to cut the silicone away from the surface. Be cautious with this step because you don't want to damage the acrylic on the tub. No matter what type of sharp edge you use, make sure to angle it parallel with the tub, so it doesn't dig into the surface.
Start by cutting each corner of the silicone, then pull it away from the surface. If there is an even layer of residue, you can go back over it with your sharp edge. Otherwise, leave the residue for the next step in the process. Continue applying the softening agent as needed.
You can use a razor utility knife, putty knife, or another sharp blade. Here are a couple of examples if you don't have anything handy.
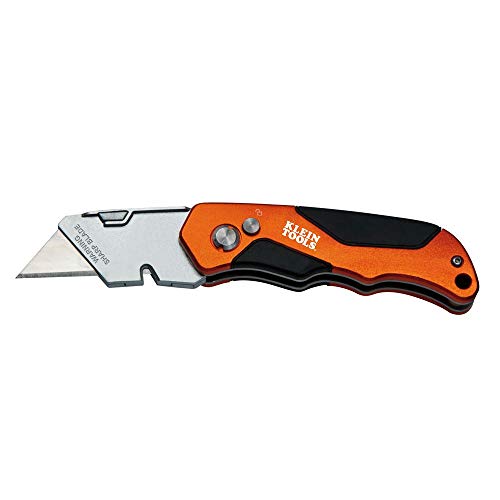
Click here to view this utility knife on Amazon.

Click here to view these putty knives on Amazon.
Or, if this is a big job, you might want to purchase a tool specifically designed for the project. Here is an excellent caulk removal tool you can consider.

Click here to view this caulk removal tool on Amazon.
3. Clean up the residue with an acetic acid
No matter how hard you try and how accurately you cut the silicone, there will still be some bonded to the tub, wall, or floor. You'll need to get rid of this remnant if you plan to reapply caulk to the area. To do this, you'll need some sort of acetic acid that will loosen the bond between the silicone and the surface.
Household vinegar contains at least 4% acetic acid. So, if you have some in your home, you can try that first. Use a rag, Q-tip, or cotton ball to rub the vinegar onto the residue. Apply enough pressure to pull up the silicone.
If regular vinegar isn't powerful enough, try this strong version of vinegar.
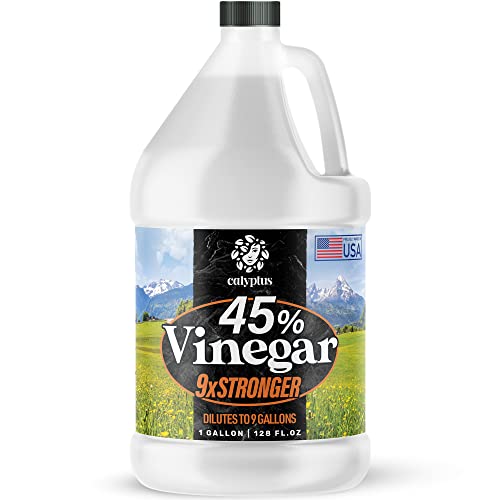
Click here to view this acetic acid on Amazon.
Do you need to completely replace your bathtub? Check out this article for advice on how to do it: "How to Install A New Bathtub (Including Renovation Cost)."
What dissolves silicone caulking?
Unfortunately, there aren't any safe-for-home solvents or chemicals that can dissolve silicone caulking. Instead, silicone solvents digest the silicone caulking. Essentially, when these products are applied to the silicone, it permeates the material enough for it to hold liquid. Then, the silicone puffs up enough to loosen the bond with the surface.
However, please keep in mind that most of these digesting products are not safe to use on an acrylic tub. They are so powerful that they can damage the bathtub's acrylic layer, which is hard to repair. Instead, use one of the products listed above to soften the silicone enough that you can cut it away from the surface.
4. Thoroughly clean the area
Whenever you're done cleaning off the residue, you should thoroughly clean the rest of the area.
How much does it cost to re-caulk a bathtub?
If you're looking to hire someone to re-caulk your bathtub, you can expect to spend somewhere between $75 and $150 for the project and materials. This includes the removal of the old caulk and the application of the new caulk. A handyman will be able to complete this project reasonably.
However, this is a project that you can complete on your own. If you take on this task, you can expect to spend somewhere between $40 and $75 for materials depending on what tools you already own, the size of the bathtub, and the quality of the materials.
Can you caulk over silicone caulk?
You should not caulk over silicone caulk since this won't give you a watertight seal. While the caulk might bond to the previous layer, you cannot guarantee that it will seal to the edges of the surface to which you're trying to cover.
Instead, you'll need to completely remove the previous layer of caulk and reapply. Even though this requires a lot of work, it will be worth it in the long run.
How long will silicone caulk last?
As long as it's treated correctly, silicone caulk will last for at least 20 years around your home. This is longer than other forms of caulking since silicone is an inorganic material that doesn't break down under normal wear and tear.
In Closing
Getting rid of the silicone caulk on your bathtub will take some hard work, but it can be done! You'll want to soften the caulk, use a knife or other sharp edge to cut it away, then use an acidic product to clean up the residue. With these steps, you can confidently remove the silicone and finish the project successfully!
![Marble walled shower wall, 5 Best Types Of Shower Wall Panels To Consider For Your Bathroom Renovation [The Ultimate Guide]](https://homedecorbliss.com/wp-content/uploads/2023/07/shutterstock_2138160219-600x400.jpg)

These four steps are simple to follow, and I can remove silicone caulk from the acrylic tub easily with these steps. Again, I am thankful to the writer for sharing this great information here.