Kohler is known for intricate designs in plumbing. Therefore, it might be intimidating and daunting to change their shower handles. We've researched and found simple steps to remove it if you are in this situation.
To remove a Kohler shower handle, locate the bell housing and turn it counterclockwise to separate the handle from the trim, or unscrew the screws on the trim and shower handle.
As you can see, there's nothing complicated in removing a Kohler shower handle when you need to. Read on as we walk you through every step.
Why Do You Need To Remove A Kohler Shower Handle?
Kohler is among the leading companies in the manufacturing and distribution of plumbing appliances worldwide. However, any plumbing appliance undergoes wear and tear over time.
You could want to take the shower system apart for several reasons. They might include maintenance, replacing rusted parts, repairing malfunctioning parts, correcting a leakage, or adjusting the water temperature.
The reasons are not limited to the ones mentioned above but are the most common ones. Follow the steps below to detach the handle from the trim and expose the valve stem.
Removing A Kohler Shower Handle
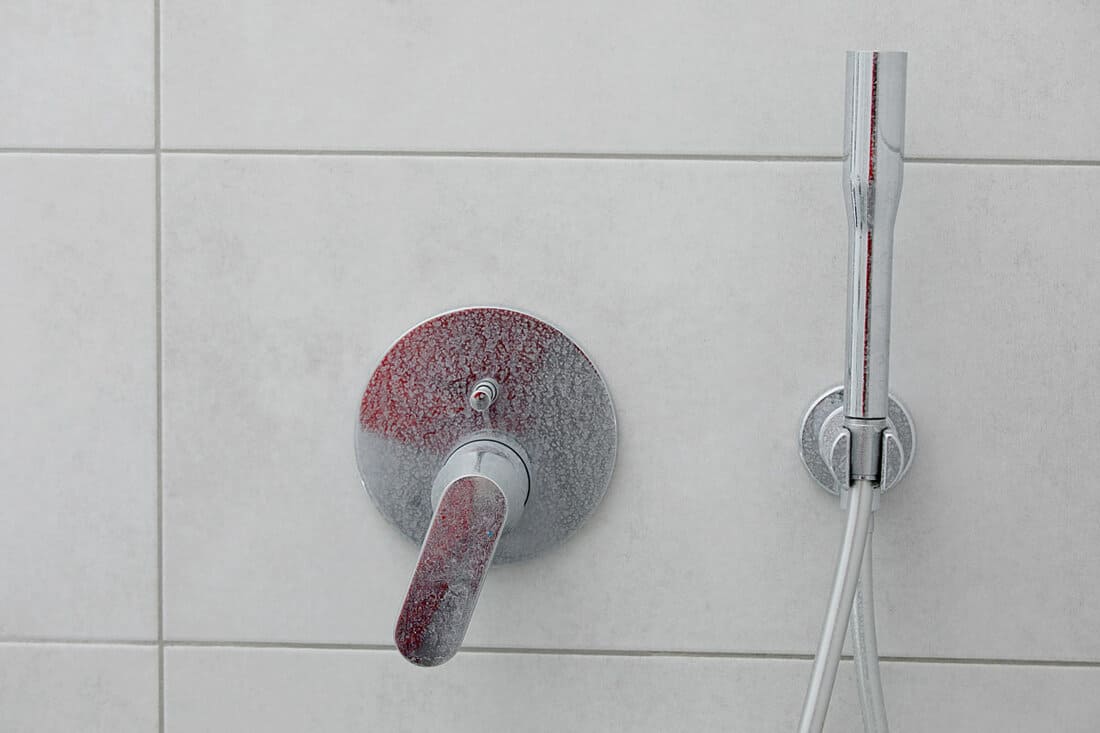
![Bath control heat or cold , drops water on the shower valve handle, How To Remove A Kohler Shower Handle [Step By Step]](https://homedecorbliss.com/wp-content/uploads/2022/10/How-To-Remove-A-Kohler-Shower-Handle-Step-By-Step.png)
We may include affiliate links and curated AI content to highlight top design styles.
Before tearing your shower handle apart, you will need tools to make the work easier and faster.
Tools needed can be found in any DIYers toolbox, and they include:
- Flat head screwdriver
- Pliers
- 1/16-inch hex wrench
- 3/32-inch hex wrench
- Measuring tape
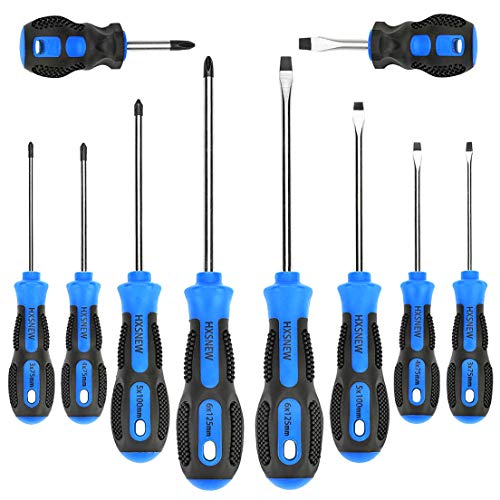
Have a look at these magnetic Philips screwdrivers on Amazon.
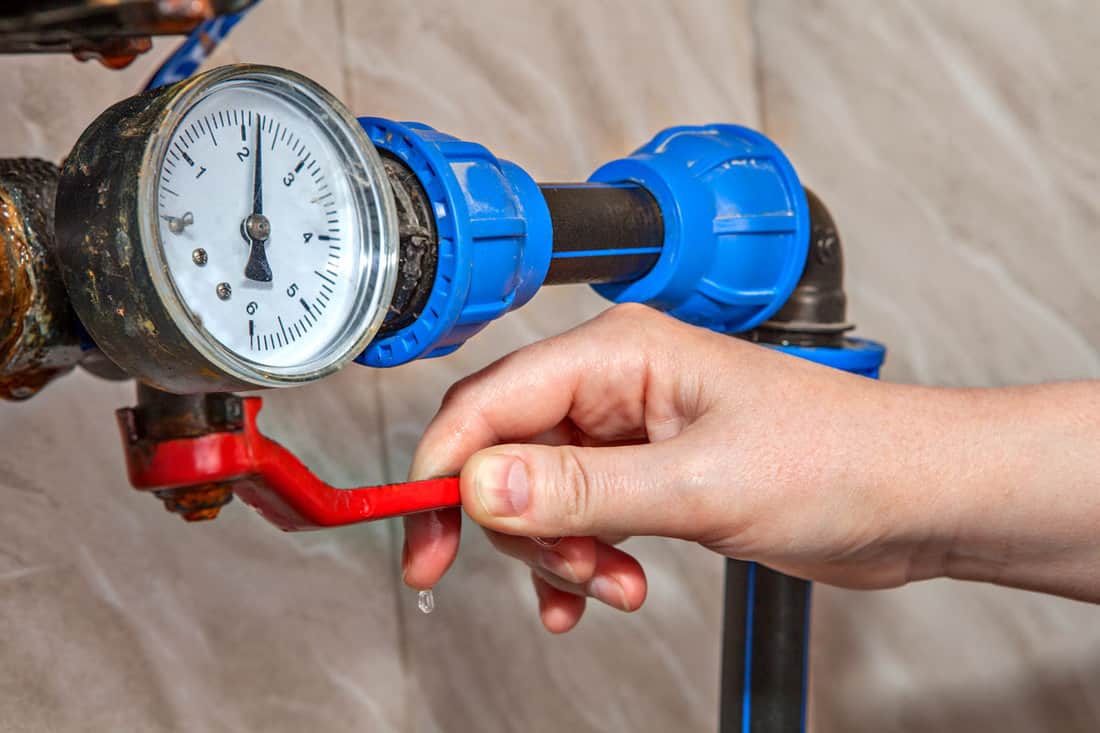
There are a few things to do before removing the shower handle.
First, close the water valve to prevent water from gushing out of the valve. Drain any excess water from the shower handle after removing the trim. Finally, cover the drainage with tape or a towel to prevent the screws and other smaller parts of the shower from falling in.
Now that the preparation process is complete, you can remove the handle. Depending on your Kohler shower handle, you might need to choose from these two removal methods.
The steps are standard for both methods, differing only in the location of the screws. You should:
Remove Diverters
Some handles come with a diverter button that you must remove before the handle. You may skip this next step if your shower system has no diverter button. Kohler has three types of diverters; below is how to remove each of them;
1. Diverter With Screws
If the diverter has a set of screws, detach the diverter sleeve by unthreading it. Under the valve trim and on the button, you will see screws. Use the sixteenth-inch hex wrench to loosen the screws to take off the control.
2. Knob Diverter
The knob diverter can be unthreaded from the diverter button. To unscrew the button, you must hold the diverter firmly with a flat-blade screwdriver. Next, unthread the diverter sleeve to remove it.
3. Threaded Diverter
For this type of diverter, you need to unthread the diverter sleeve to take it apart, remove the valve trim, and hold the stem in place when unthreading the diverter button.
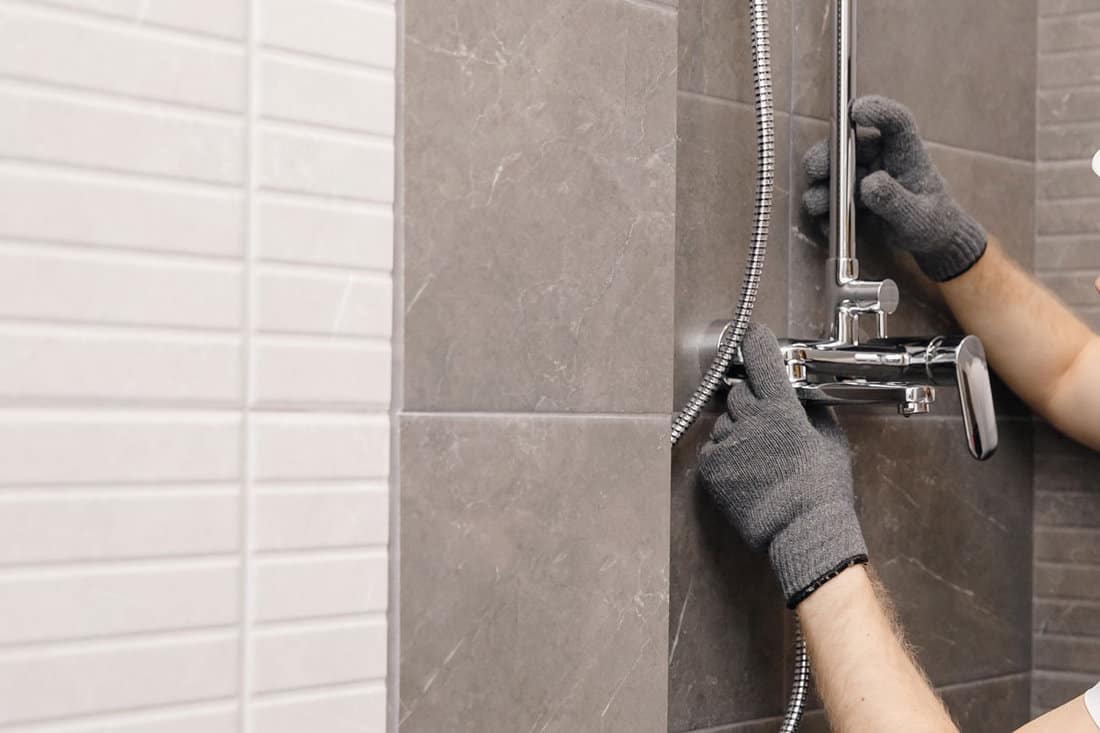
Remove Handle
Kohler has different shower handle designs; below are the types commonly installed and how to remove them.
Threaded Bonnet Trims: Kohler Forte
If your shower ">model has threaded bonnets, there are about three ways to remove them.
- Method one: Start holding the handle firmly and turn the bonnet anticlockwise. Remove the bonnet and the handle from the valve system. If necessary, detach the pivot ring first, then the faceplate using a Phillips screwdriver to unthread the screws from the retainer.
- Method two: Hold the handle as the first method to remove it and the bonnet from the valve system.
- Method three: Remove the handle sleeve, faceplate, and shroud after turning the bonnet counterclockwise.

Check out this Kohler trim on Amazon.
Plug Button Trims: Kohler Finial & Kohler Revival
Should your shower trim contain a plug button, depending on the shower handle, there are two ways to take it off.
First, you can gently use a flat-blade screwdriver to pry the plug button from the valve trim. Use a screwdriver to unthread the screws to remove the handle and the adapter.
In certain situations, remove the face plate screws and detach them using a flat-blade screwdriver. Next, separate the pin from the adapter and then the adapter.
The alternative method requires you to pry the plug button from the valve trim and then unthread the screws to remove the adapter and the handle from the valve stem.
- Use the 3/32-inch hex wrench before sliding off the bonnet and removing the sleeve.
- Turn the sleeve counterclockwise to remove it.
- Unthread the collar, remove the faceplate, then take off the seal plate.

Click here to buy this shower faucet handle kit on Amazon.
Exposed Screws Trim: Kohler Purist
If this is your type of shower handle, it should be easy because it has visible screws. Remove the screws to loosen the grip, the bonnet, and the sleeve.
Center Cap Trim: Kohler Memoirs
Hold the handle firmly, unread the cap, and take it off with the washer and the short sleeve. Afterward, remove the handle arm from the bonnet, ensuring the O-ring and long sleeve stay intact.
Setscrew Trim
This model has four ways of removing the handle;
One, use a 3/32" hex wrench to remove the screws to remove the handle from the valve. Second, use the same hex wrench to remove the screws to release the bonnet and the handle from the valve.
In the third method, loosen the screws, which will remove the sleeve and the handle from the valve. Finally, remove the screws and slide off the valve's handle, adapter, and sleeve.
When you remove the handle and the trim, it will be easy to access the valve stem. Now, you can adjust the water temperature and fix or repair any of the parts of the valve system.
Adjusting Water Temperature On A Kohler Shower

When disassembling the Kohler shower handle, it is easy to ">adjust the water temperatures. All you need to do is:
- First, turn the valve clockwise to allow water to run. The flow should be for about five minutes.
- Take a thermometer and check the water temperature.
- For minor adjustments, use a hex screw for this.
- If you wish to increase the water temperatures more, remove the O-ring from the valve stem, and rotate the valve stem to the desired temperatures.
- Reinstall the collar on the set screw and the O-ring.
- Turn the valve counterclockwise to shut the water off.
- Lastly, run the water and recheck the water temperature.
You can repeat the process until you get the ideal water temperature. Please note, never increase the temperatures to more than 120 degrees Fahrenheit.
Repairing The Valve System
The parts in the valve system include the valve trim, pressure balancing cartridge, temperature control, and O-rings.
The part that often needs repairs is the valve cartridge, and repairing it is relatively easy. It is responsible for the water pressure and temperatures. Replace the valve with the correct one because they differ immensely.
To access the cartridge, open the handle and remove the trim plate. Keep everything assembled and the water off when working with the shower handle. Ideally, you could use a magnetized screwdriver to hold the screws.
Once you install a new cartridge, reinstall the other parts back. Run a test before you secure the trim.

Check out this Kohler diverter and valve on Amazon.
Here is a short video documenting the removal process.
Reassembling A Kohler Shower Handle
Returning the shower handle should be relatively easy after learning how to remove it. You will follow the same process but in reverse. Start by fixing the last piece removed, ">followed in the same order until you return to the first piece.
Observe your working area to ensure no parts were left and out before turning on your water valve. The trims are covered with a gasket ring at the back with about an inch gap. Always ensure that this gap faces downwards when assembling to allow any excess water to drain from the valve stem.
You could take photos of the shower handle when ">disassembling it for reference during assembly.
How To Know Which Kohler Shower Model You Have
Usually, when purchasing any product, you'll find the model or serial number on a label attached to the product. However, if you don't see the number on the item, it is of the manual or pamphlet that comes with it. It often starts with the letter S and has nine digits in total.
Where To Purchase Kohler Shower System Parts
If you want to buy a whole set or parts of the Kohler shower, you can purchase directly from the Kohler official website, other distributor websites, or most plumbing supply stores. Lowes and Homedepot always have these luxury showers available.
Final Remarks
Kohler shower systems come in different designs. Importantly, you need to identify the type of shower you have and follow the basic steps of disassembling or assembling them.
Here are some posts to help you do remodeling in the shower area.