
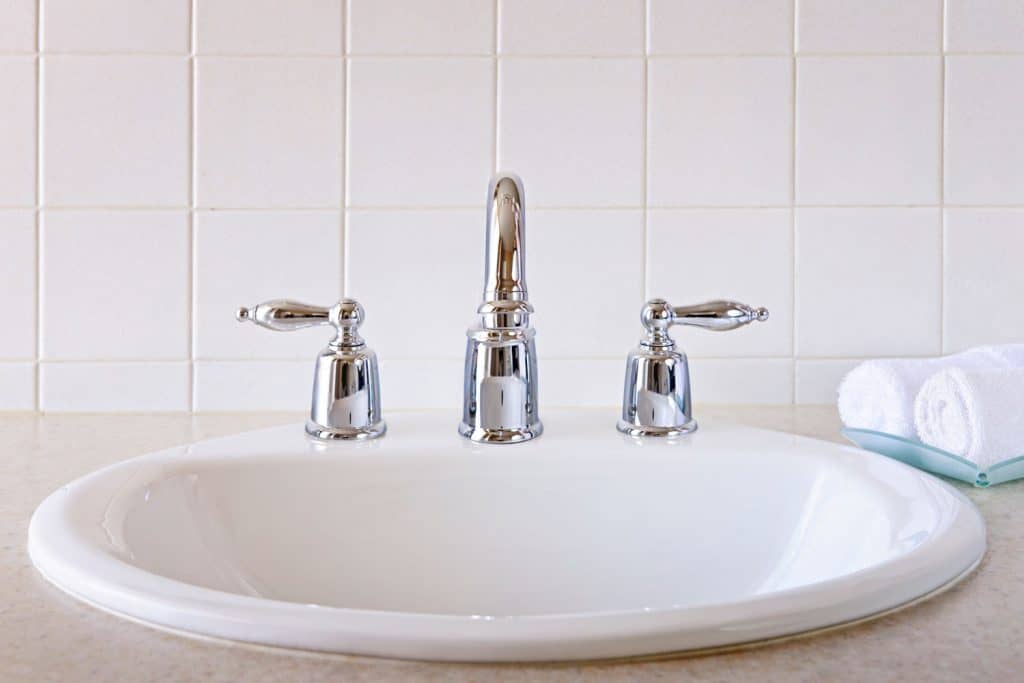
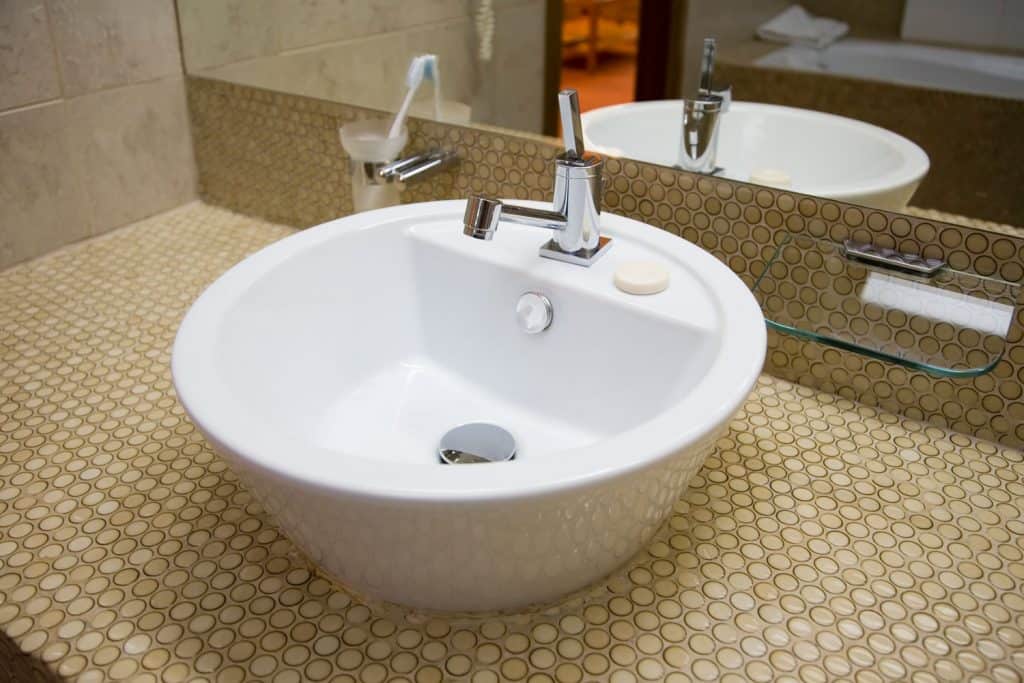
One of the greatest things about porcelain sinks is that they are easy to clean and maintain. However, the material itself is on the brittle side and can be prone to cracking under high-stress conditions. If you notice that you have a hairline crack in your porcelain sink, don't worry. You can easily repair these small cracks all on your own. We've looked at the best methods to do this. In this post, we will share them with you.
Here are the steps to repair a hairline crack in your porcelain sink:
- Thoroughly clean the sink
- Sand the affected area
- Prepare the epoxy
- Apply the epoxy compound
- Apply the repair kit pain
- Re-gloss the sink (optional)
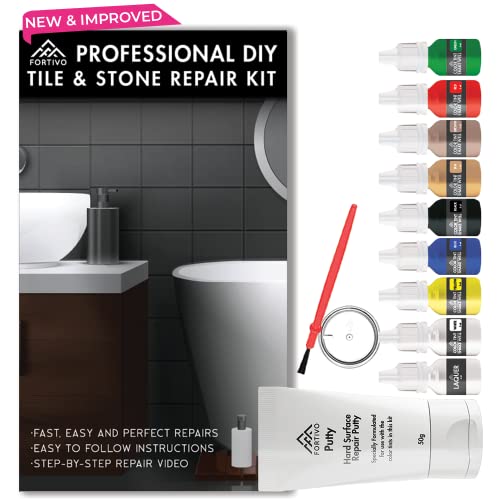
When shopping for porcelain sink repair kits, you may notice that there are quite a few on the market. However, it's essential to be mindful of the color of the epoxy inside the kit, as well as its ability to fill the gaps in your sink effectively. Continue reading to learn more about the steps to repair small cracks using a porcelain repair kit.
![Modern contemporary interior of a bathroom with white and gray tiled walls, How To Repair A Hairline Crack In A Porcelain Sink [6 Simple Steps To Follow]](https://homedecorbliss.com/wp-content/uploads/2021/03/How-To-Repair-A-Hairline-Crack-In-A-Porcelain-Sink-6-Simple-Steps-To-Follow-683x1024.png)
Steps to Repair a Hairline Crack in Porcelain Sink
Things you'll need:
- Porcelain repair kit
- Stirring sticks
- Fine-grit sandpaper
- Dust mask
- Towels or microfiber cloths
- Cotton balls
We sometimes add affiliate links and content that was curated and created by our team with the help of advanced ai tools to help showcase the best design styles.
1. Thoroughly clean the sink
Before repairing any cracks or chips in your sink, you should always thoroughly clean the sink using an all-purpose cleaner. Use a scrubber or sponge to remove any grime, dirt, and residue from on top of or around the sink. After scrubbing the sink thoroughly, rinse the sink with warm water and then pat it dry with a towel or a microfiber cloth.

Make sure that your sink is completely dry before you apply the epoxy from the repair kit. If you don't, you will find that the repair job will not last, and the crack will likely reappear.

Find microfiber cloths on Amazon.
2. Sand the affected area
Next, take your sandpaper and lightly apply it to the crack. When rubbing the sandpaper over the crack, make sure to rub it hard enough so that the edges of the crack become rough. This will help the epoxy from the repair kit to adhere better to the surface.
After applying the sandpaper, rub your finger over the crack to ensure it is no longer smooth to the touch. Also, pay special attention to the areas that you are applying the sandpaper, as you don't want to scratch the areas around the crack, but solely the crack itself.

Click here to see sandpaper on Amazon.
3. Prepare the epoxy
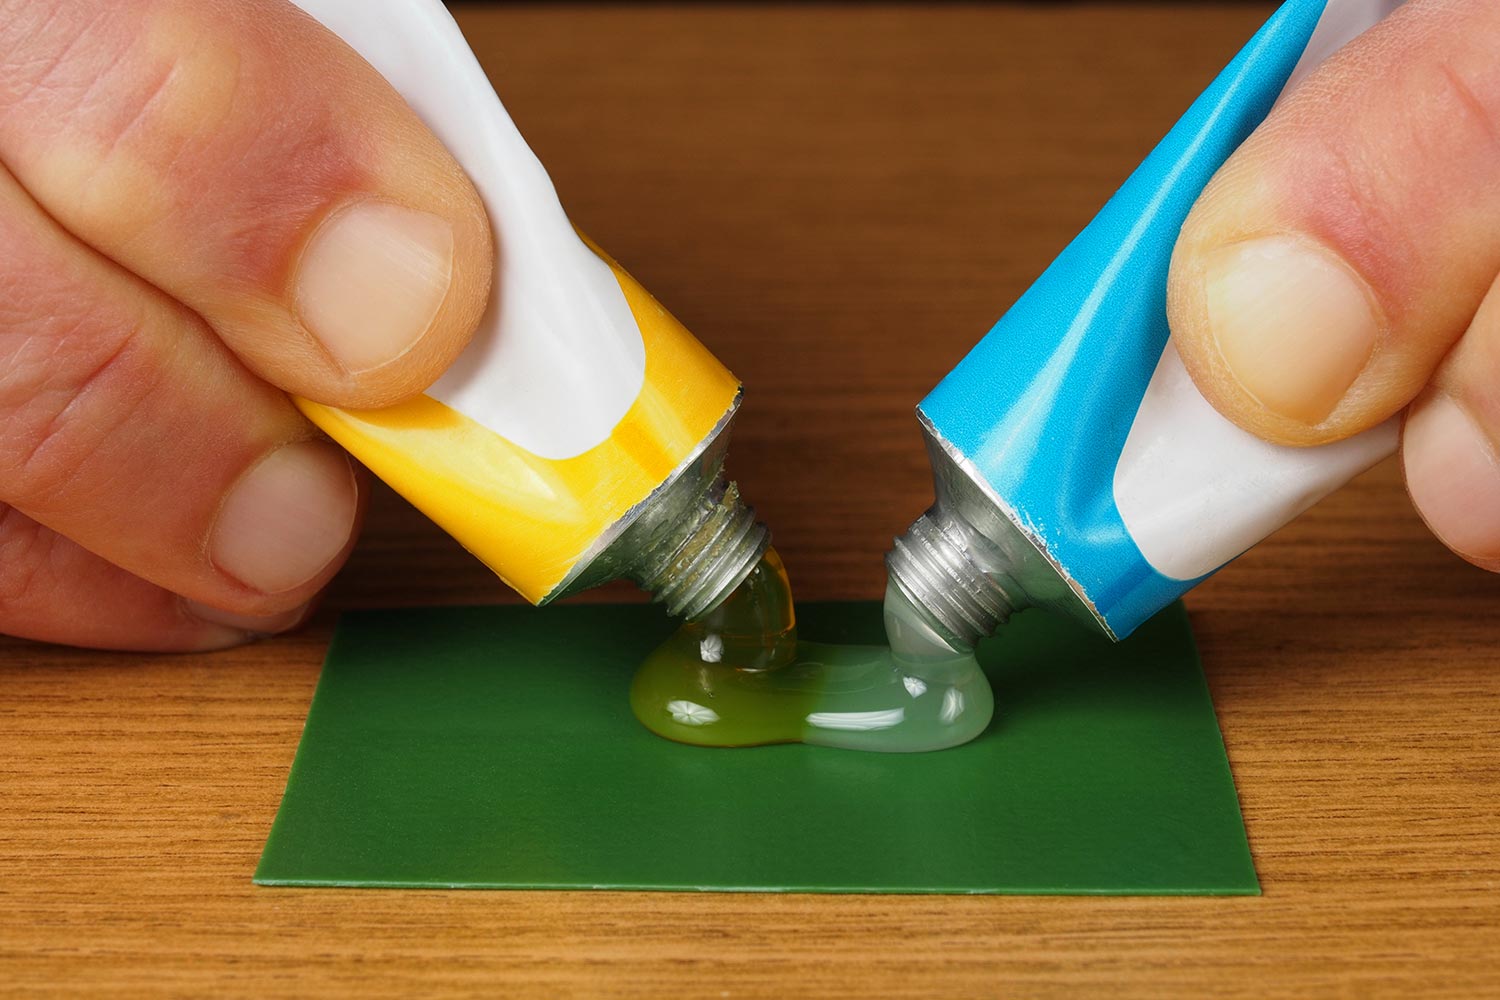
Grab your repair kit and take out the epoxy. It's best to lay all of the materials on a counter so that you can know where everything is. Some repair kits may have epoxy pre-made for you, while others may require you to combine two ingredients to create the epoxy on the spot.
If you don't have a pre-made formula, this is the time to mix the epoxy ingredients. Be sure to follow the manufacturer's instructions carefully when doing so.

Find a sink repair kit on Amazon.
4. Apply the epoxy compound
After you have prepared your epoxy solution, take the applicator brush and apply the filler directly to the crack in the sink. If the crack is on the deeper side, make sure that you apply the epoxy until it fills the crack to the sink's surface level. You may need to add multiple applications of the epoxy after each layer dries.
While each repair kit may differ, you will typically need to wait at least five minutes before applying each additional layer. After each layer dries, take your sandpaper and lightly sand the epoxy to level it out with the sink's surface.
The epoxy can take anywhere from 20 minutes or up to 3 hours to cure and set completely, So it's helpful to have a timer ready so that you know when you can use the sink again. Keep in mind that there are several solutions available for sink repair, and the most important thing to consider is the color of the epoxy.
You don't want to have a sink that contains noticeable discolorations where you have repaired cracks. It's also helpful that you note whether or not the epoxy solution is waterproof. If you are repairing damage in a sink, you'll want a solution that can form a tight seal after it is applied.
5. Apply the repair kit paint
After the epoxy solution has dried, take your touch-up paint and go over the areas where you have applied the epoxy. Again, be sure to follow the manufacturer's instructions for trying times and proper application. You may need to apply anywhere from two to five coats of paint, especially if the crack is deep or long.
6. Re-glaze the sink (optional)
If your sink is over 10 or 20 years old, it may be time for a re-glaze, especially if you have had multiple cracks over the years. A re-glaze can make your sink look brand new and help it become more resilient against chips and cracks.
To re-glaze your sink, you can apply a glaze or even a high-gloss paint that matches the color of the porcelain. This can be an easy DIY project that you can tackle on your own, or you can hire a contractor to re-glaze your sink for you. While local prices may vary, a typical sink re-glaze can range anywhere from $300 to $600.
Click here to find porcelain glaze on Amazon.
What causes hairline cracks in porcelain sinks?
Structural Changes & Nature
You shouldn't always assume that something is necessarily wrong with your sink because it suddenly has a hairline crack on its surface. Sometimes hairline cracks can occur all by themselves. This can result from the shifting of the structure of the home or a natural occurrence of the porcelain material itself. The best thing to remember is that once you see a crack, the chances are that it will continue to spread if you do not repair it immediately.
Temperature Changes
Temperature changes are also a common reason why a porcelain sink may crack. If your home has inside temperatures that fluctuate regularly, especially in cold seasons, this can be a contributing factor to cracks in your sink. This usually happens when there are extreme fluctuations of 20 or more degrees.
It can also occur if you frequently use hot and cold water in the sink in a relatively short period. When running hot water in your sink, always give your sink time to cool down before turning on cold water. Porcelain is a delicate and sensitive material, which makes it especially vulnerable to extreme temperature fluctuations.
Blunt Force
As you may expect, blunt-force can cause cracks in your porcelain sink. These cracks can come from moving heavy items over the sink or accidentally bumping the same area on the sink day-to-day. Cracks can also occur from you or other family members dropping heavy items or fixtures inside the sink.
What Is The Best Adhesive For Porcelain?
There are several different adhesives on the market that you can use to repair your porcelain surfaces. But which ones are the best? Let's take a look.
Gorilla Super Glue
Gorilla Glue has made its name as one of the most dependable adhesive brands in the home improvement industry. This glue contains unique adhesive particles engineered to increase impact resistance and bond strength when applied to surfaces. It works perfectly for ceramic repairs.
If you have a chip on your porcelain sink, this glue can help to mend it in no time. Not only does it dry fast, but the bond is simply unbeatable. You can also use this glue on fabrics, paper, stone, and metal. The only downside about this glue is that it's not water-resistant.

Click here to find this on Amazon.
Pratley Quickset White Epoxy
If you are looking for an adhesive that dries super fast, look no further. This fast-acting epoxy adhesive can quickly bond porcelain surfaces to fill any cracks or holes in a matter of seconds. It's important to note that the drying color of this epoxy will be white. So if your sink is off-white or eggshell, you may want to go with a different adhesive. You can also use this epoxy on other surfaces such as wood, metal, plastic, and vinyl.

J-B Weld MinuteWeld Epoxy
The J-B Weld epoxy is another excellent solution for bonding broken or chipped ceramic. It will not break down in the water and can be used for both indoor and outdoor applications.
The great thing about this particular epoxy is that it is water-activated and contains polyurethane, which helps to expand its bond. This gives it an upper edge over other adhesives when it comes to repairing sinks and bathtubs. If you are looking for an adhesive that won't break down when it comes in contact with water, look no further.

Click here to see this on Amazon.
Should I Use A Porcelain Repair Kit?
Yes. Unless you have advanced skills and porcelain or ceramic repair, it will be much easier to use a porcelain repair kit for small cracks and chips. However, If the cracks or chips in your sink are larger than 1/8 of an inch deep, you may require a more advanced repair solution. You may also need to contact a contractor if you are not familiar with applying compound resins and epoxies to ceramics.
Repairing a porcelain sink can be pretty involved if the crack is large. Not only will you need to fix the sink, but you will need to find the right paint or glaze to coat the sink after the crack has been repaired.
Wrapping Things Up
We hope that this post has provided you with a quick and effective way to repair hairline cracks in your porcelain sink. Before you go, be sure to check out some of our other posts:
How To Clean Shower Base With Baking Soda [6 Simple Steps]
At What Height Do You Install A Shower Rod?
FAQs
How do you cover cracks in a ceramic sink?
There are several ways to cover cracks in a ceramic sink. The easiest and most effective method is to use an epoxy repair kit specifically designed for ceramic sinks. These kits come with a two-part epoxy that can be mixed and applied directly to the crack. Once the epoxy dries, it will form a strong bond and cover the crack. Alternatively, you can cover the damage with a thin layer of acrylic caulk. This will provide a waterproof seal and should last for years. Lastly, you can use a matching colored sealant to fill the crack and blend it with the sink's finish.
How can you hide a crack in a porcelain sink?
To hide a crack in a porcelain sink, you can try the following steps: 1. Use special epoxy glue to fill in the crack. 2. Sand down the edges of the crack to even it out and make it less visible. 3. Apply a thin layer of auto-body filler or putty over the crack and sand it down. 4. Paint a thin layer of matching porcelain sink paint over the crack. 5. Seal the paint with a clear glaze or sealant.
How do you touch-up a ceramic sink?
To touch up a ceramic sink, you can follow these steps: 1. Clean the sink surface with a soft cloth and mild soap to remove dirt and grime. 2. Sand the area to be touched up using fine-grit sandpaper. 3. Apply a ceramic sink repair kit to the area, following the instructions on the package. 4. Allow the repair kit to cure according to the package instructions. 5. Sand the area smooth with fine-grit sandpaper. 6. Apply a ceramic sink sealant to the area to protect it from future damage. 7. Allow the sealant to dry, then buff the surface with a soft cloth.
How do you fill cracks in porcelain?
Cracks in porcelain can be filled with a two-part epoxy adhesive. First, clean the area around the crack with isopropyl alcohol and a cotton swab. Then mix the epoxy according to the manufacturer’s instructions, and apply it to the crack with a putty knife. Allow it to dry before sanding it smooth and painting it with a porcelain-specific paint.