Whether you are remodeling your kitchen or designing it for the first time, installing a backsplash above the countertop may seem like a minor detail. On the contrary, it packs quite a visual punch in any kitchen. But what if the kitchen has a window in the backsplash zone? How should you handle that? We've looked into what the experts say on the matter and have answers for you.
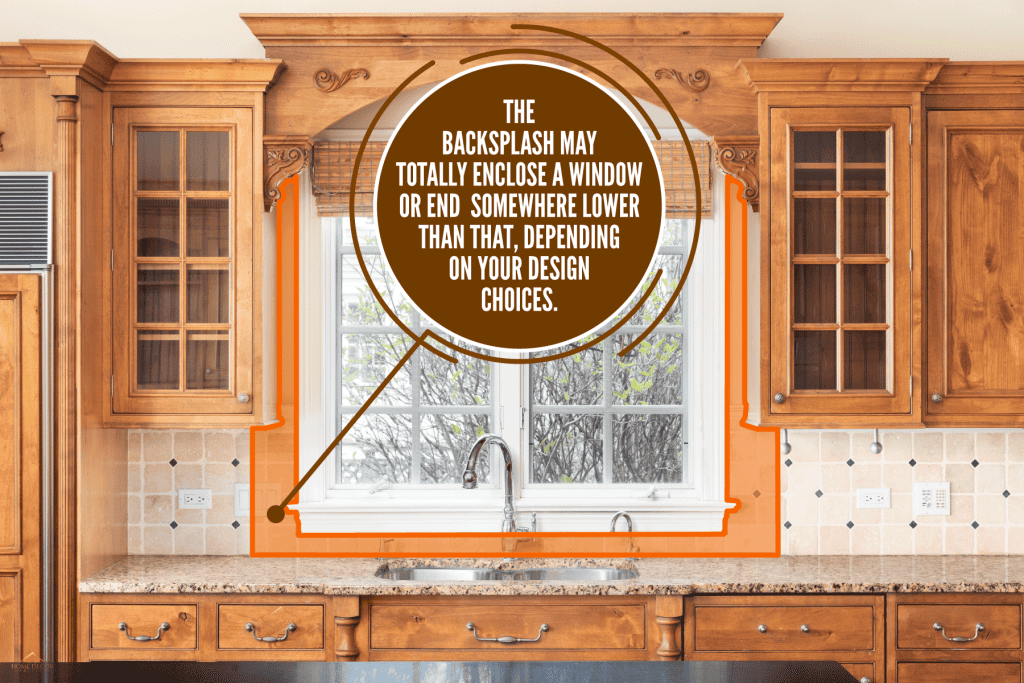
A backsplash is a wall covering that is typically installed in the space above your kitchen countertop. If your kitchen window is within the expanse of the backsplash area, installing a backsplash around it is a solid design choice. Not only will it make your space more visually cohesive, but it protects the surrounding wall. The backsplash may totally enclose a window or end somewhere lower than that, depending on your design choices.
As you can see, there is a lot of flexibility in the treatment of backsplash around windows. Below we'll discuss some of the options and tips for installing around a window, so keep reading! We'll also answer some other questions you may have about a kitchen backsplash.
Benefits of a Backsplash Around a Window
We sometimes add affiliate links and content that was curated and created by our team with the help of advanced ai tools to help showcase the best design styles.

Kitchens are unique spaces, each with its own quirks to deal with. Cabinet and window placement vary based on the space available. Very often, though, kitchen windows are positioned above the counter over the sink. That puts it right in the traditional backsplash zone. Using backsplash in the space between the window and the sink protects the otherwise exposed wall from water damage and other unpleasant kitchen messes.
Often the kitchen window is the focal point of the room. Continuing the backsplash in the window area connects it visually to the rest of the kitchen. You want your kitchen to feel unified and well-defined. Later in this article, we will take a look at the options for backsplash height and how to match it to your kitchen.
Tips for Tiling Around A Window
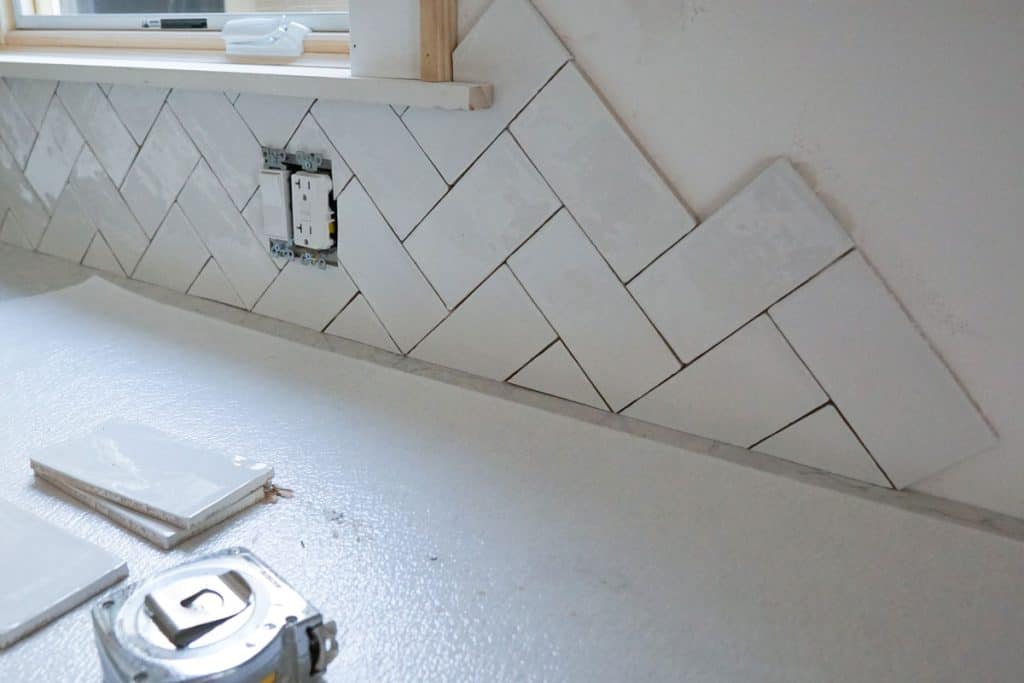
While a variety of materials can be installed as a backsplash, tile is a very popular choice today. Tiling around a window, however, can be the most difficult part of the backsplash installation process. We've gathered a few pro tips from tiling forums across the internet to help you out.
- Thoroughly think through your tile layout before you jump in. Choose a focal point to center the tile around. Your kitchen window is a good option. Lay out the tile pattern so it radiates from that center.
- If you are tiling completely around the window, begin at the bottom of the window. Then move up one side, across the top, and down the other side.
- If you are tiling partway up the window, begin at the bottom and work your way up on both sides.
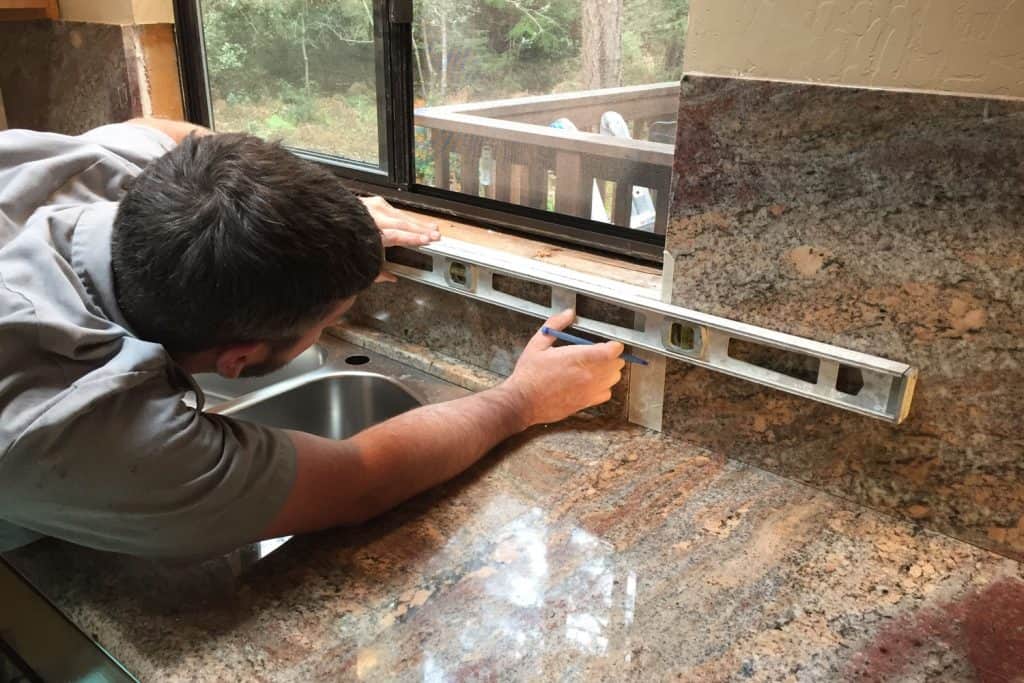
- Take your time measuring and making cuts in the tile that butts up to the window frame, especially around the window sill.
- Use spacers. Even if you are using tile attached to mesh backing, you will most likely have to remove some of the individual pieces to cut to fit around the window. Using spacers makes sure the space between the tiles stays uniform.
- Most of the time, it is fine to cut your tile to the window trim. If your window apron, the decorative piece on the wall under the window sill, is thin, you can remove and tile beneath it. Reattach the apron with silicone over the tile after the grout has set.
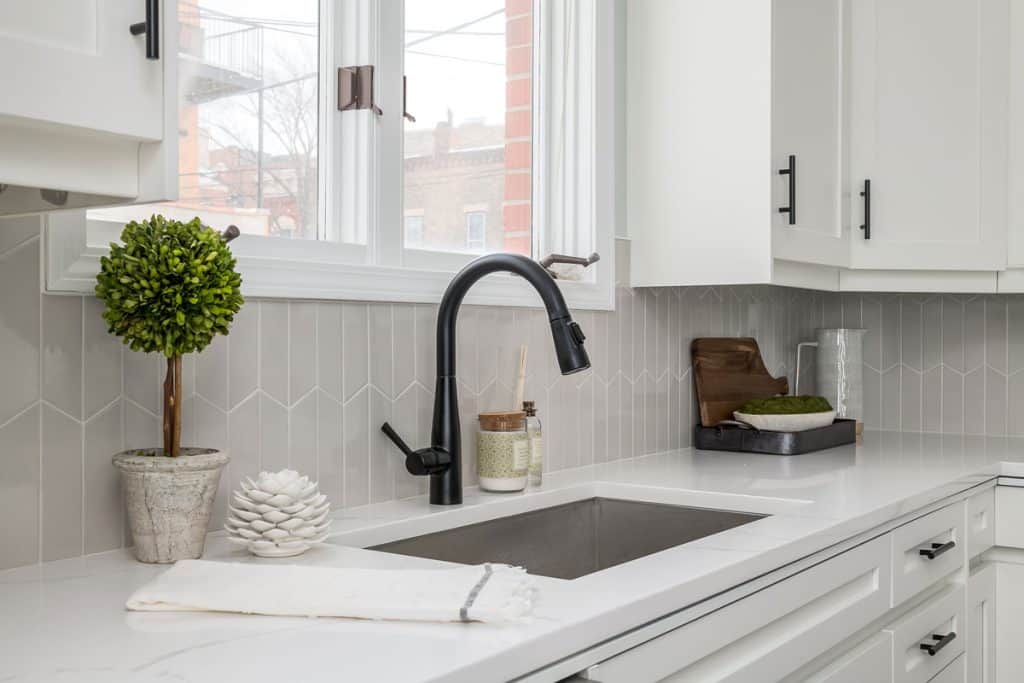
How Do You Finish Tile Around A Window?
After the tile is in place around your window, it is time to finish it off. Caulk, not grout, is the best material to use to finish the seam between the tile and the window. Grout is prone to cracking if used for that application. If you tiled part of the way up the window, use tile edging trim or bullnose tile to finish the raw upper edge of the tile.
How High Should A Backsplash Go?
The backsplash traditionally serves two purposes in a kitchen. First of all, it shields the wall space from cooking grease, food spatters, and water damage and makes for easy cleaning. Secondly, it serves an aesthetic purpose, unifying the space and letting your kitchen's personality shine. Both of these elements must be considered when choosing a backsplash height that is right for your kitchen. In designer lingo, there are two categories of backsplash height.
Standard Height
A standard height backsplash is four inches from the countertop and is often made of the same material as the countertop itself. While you won't see too many of these types of backsplashes on Pinterest inspiration boards, they do have a few benefits to consider.
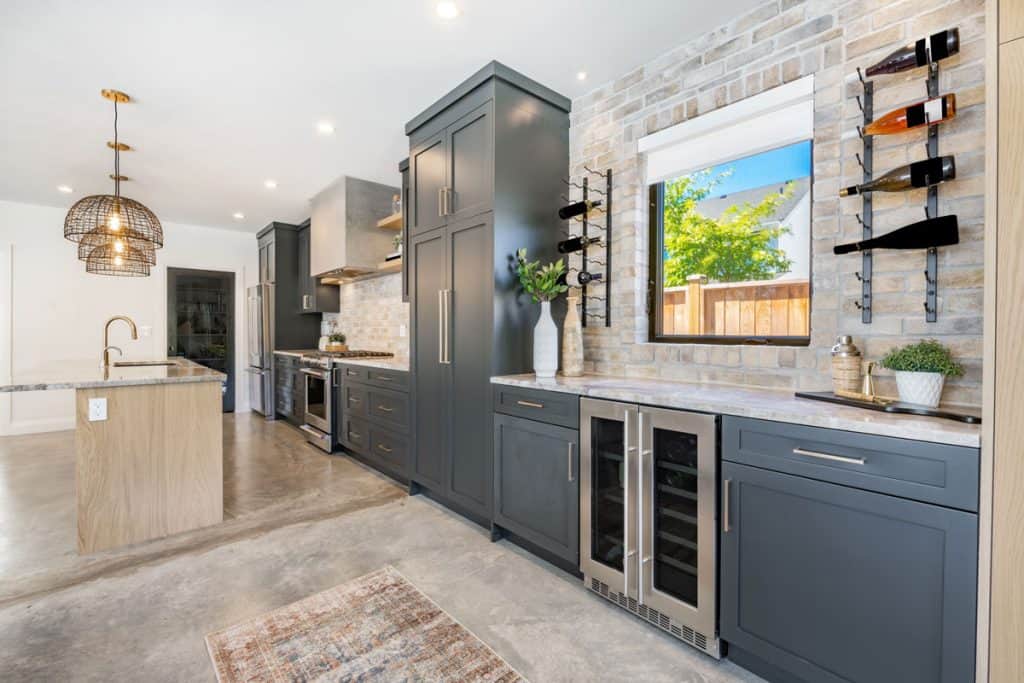
If cost is a constraint, this is a great option for you as it requires less material and labor. It also affords the ability to make big visual changes easily. Repainting or wallpapering between the standard backsplash and cabinets is an uncomplicated and inexpensive way to refresh a kitchen.
Full Height
Full height backsplash begins at the countertop and ends anywhere from the bottom of the upper cabinets to the ceiling. Clearly, that is quite a range! Look for a natural ending point, such as the bottom of the upper cabinets or the window ledge.
The three most common ending points are the bottom of the upper cabinets, several inches above the bottom of the upper cabinets, and the ceiling. This is where your aesthetic preference really comes into play. The visual effect of countertop-to-ceiling backsplash is particularly striking. Anything goes in today's modern kitchens. The ceiling's the limit!
What Should The Backsplash Match?
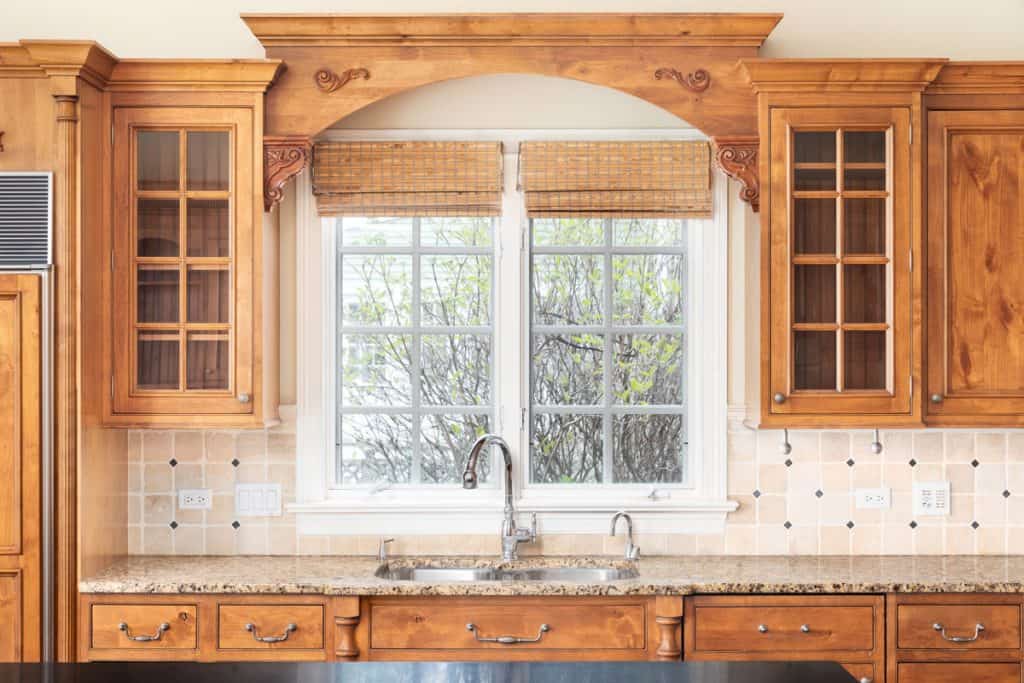
Now that you've considered backsplash height, how to match it is the next question to consider. If you are looking for guidance on how to choose a backsplash to match your kitchen, there are a couple of approaches you can take.
Conventional wisdom sees backsplash as an extension of the countertop, which you have no doubt chosen with great care and consideration. As such, it is important for the backsplash to coordinate with the countertop. Consider choosing a backsplash in similar color tones but playing with the texture or pattern to create visual cohesion and interest. Another popular choice is to use the backsplash as an accent piece in the kitchen, bringing in a fresh color that contrasts with the countertop.
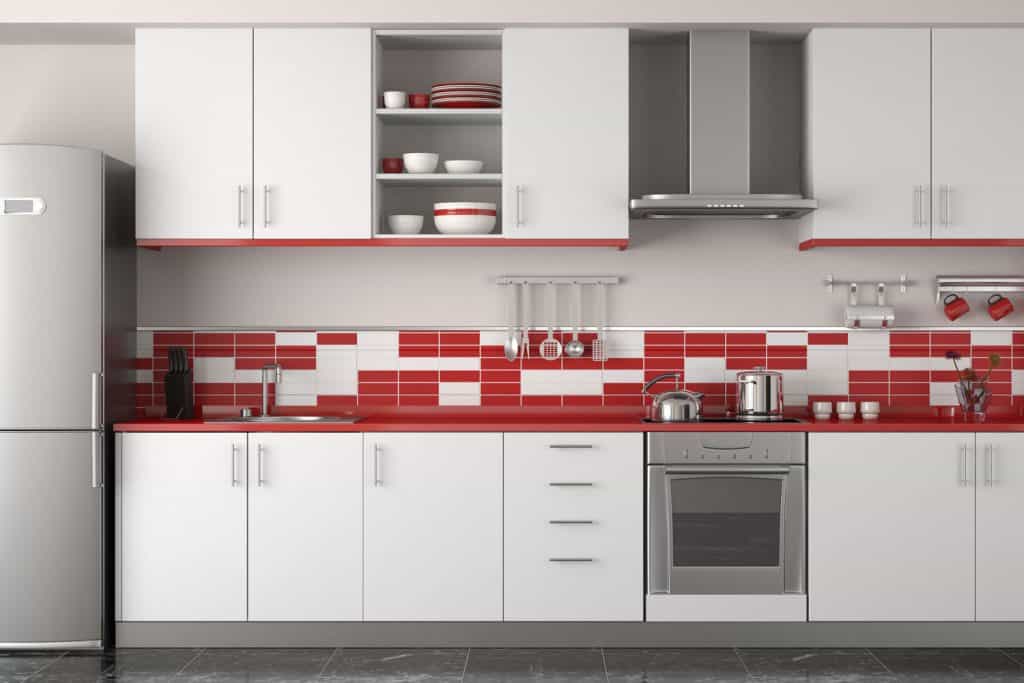
Don't forget to weigh other kitchen elements into the equation. While it is most closely related to the countertop, keep in mind the big-picture aesthetic you are aiming for and how all the pieces fit together. For example, if your appliances, flooring, and other décor elements give your space a busy feel, pick a simple backsplash to balance it out. Ultimately, it's largely about personal taste and preference here.
In Closing
The backsplash is an important visual and protective element of any kitchen. As we discussed above, with a little bit of know-how, it can easily be installed either partially or fully around a window in the backsplash zone.
For more inspiration for completing a kitchen makeover, check out our posts on these topics:
13 Backsplash Materials To Know
What Are The Best Blinds For A Kitchen Window
