
Does your shower have cracked, chipped, or broken tiles? If so, this is not only an aesthetic issue; imperfections in the tiles can allow moisture to penetrate, damaging the underlying walls and/or floor. But replacing tiles can be a hassle; and, if your shower tile is out of production, it may not be possible to find replacements that exactly match. So, what are the best ways to fix a damaged tile, and when is it best to replace rather than repairing it? We've done the research, and we have the answers for you!
The following materials are most commonly used to repair shower tiles:
- Epoxy filler - for cracks and chips in glass, porcelain, and ceramic
- Acrylic-silicone caulk - for cracks or holes in porcelain and ceramic
- Polyester resin - for holes in porcelain and ceramic
- Ceramic tile caulk - for cracks and chips in ceramic
- Porcelain glaze - for cracks and chips in porcelain tile
- Nail polish - for cracks and small chips in glazed tiles
In the remainder of this article, we'll discuss the types of tiles that are typically used in shower installations. We'll also describe the best way to fix cracks, chips, and holes in each type of tile and give you step-by-step directions for repairing and replacing shower tiles using each material. Keep reading to learn more!
![A tile setter placing patterned tiles on the wall of the bathroom, 6 Shower Tile Repair Solutions [Easily Fix Cracks, Chips, And Holes]](https://homedecorbliss.com/wp-content/uploads/2021/02/6-Shower-Tile-Repair-Solutions-Easily-Fix-Cracks-Chips-And-Holes-683x1024.png)
Types Of Tile Used In Showers
The most important feature of shower tile is, not surprisingly, its imperviousness to water. The need for moisture-resistance reduces the number of options to three: porcelain, ceramic, and glass.
Porcelain
Porcelain tile is made from a mixture composed primarily of feldspar, clay, silica, and kaolin. It is super-dried and kiln-fired at a temperature of 2,200 - 2,600 degrees. This process (called vitrification) makes porcelain tile hard, durable, and highly water-resistant. Porcelain tile is highly recommended for use on shower walls and is often also installed on shower floors.

Click here for porcelain mosaic shower tile on Amazon.
Ceramic
Ceramic tile is made from red or white clay. It is compressed to a lower density than porcelain during manufacturing and kiln-fired at a substantially lower temperature (1,650 degrees) for a shorter time. Ceramic tile comes in a wide variety of shapes and sizes; it can be glazed or unglazed. It can be used on shower walls and is highly recommended for shower floors.

Click here for white ceramic shower tile on Amazon.
Glass
Glass tiles are manufactured differently from porcelain or ceramic tiles. They consist of thin pieces of glass, each with a colored glaze applied to the back. The fused pieces of colored glass create a rich and beautiful translucent tile. Glass tiles can be applied to an entire shower wall and floor or used as a bright accent in combination with porcelain or ceramic tiles.

Click here for blue glass shower tile on Amazon.
Shower Tile Replacement
If one or more of your shower tiles breaks, this not only diminishes the appearance of your shower, but it may also allow moisture to penetrate through the opening and into the underlying wall or floor. So, it's important to replace broken tiles quickly.
How Do You Fix Broken Shower Tiles?
If porcelain or ceramic tile has a small chip, a crack, or even a hole drilled through it, it can usually be repaired. If, on the other hand, your shower has a broken tile, it will need to be replaced by following these steps:
- Using a grout saw or utility knife, cut through the grout on all sides of the broken tile. Be careful not to damage the surrounding tiles or the underlayment.
- Wearing thick gloves (tile shards can be sharp!), use a putty knife to pry the pieces of broken tile from the wall or floor.
- Remove any remaining adhesive from the underlayment using a putty knife.
- Examine the underlayment; if it is water-damaged, cut out the damaged area and patch it with identical material.
- Once the underlayment is dry, mix and apply thin-set adhesive to the area where the replacement tile will go. Apply about 3/8" thin-set, using a notched trowel.
- Set the new tile into the thin-set adhesive, being careful to place the entire tile onto the adhesive and press it in uniformly. (If you place a corner of the tile first and then press the rest of it into place, you will make the adhesive uneven.)
- Use tile spacers to ensure that the newly installed tile doesn't slip or sag.
- Once the adhesive is fully dry, grout the tile with a color identical to that of the rest of the shower's grouting.
Check out this detailed YouTube video on cracked tile replacement:
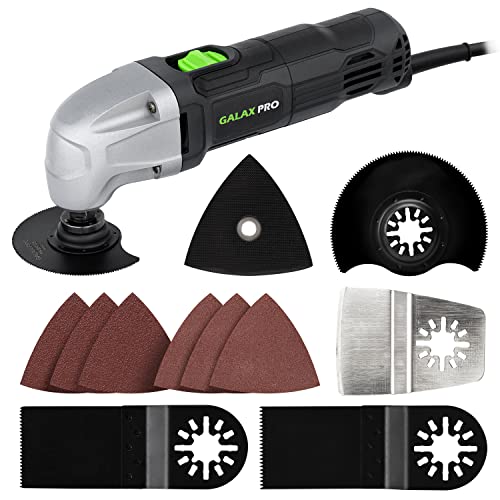
Click here for grout and tile cutting multi-tool on Amazon.
Shower Tile Repair Solutions
How Do You Fill Holes In Shower Tiles?
Glass tiles with holes must be replaced. However, if porcelain or ceramic tile has a hole in it -- where a soap dish was anchored, for example -- you may be able to fill and patch the hole. There are two options for fixing holes in porcelain or ceramic shower tiles: polyester resin and acrylic-silicone caulk.
Fill Holes Using Polyester Resin
- Clean the hole and the area around it thoroughly with a bristled brush, then wipe it with a moist rag. Allow it to completely dry.
- According to the resin bottle's directions, mix a small amount of resin and hardener -- enough to fill the hole in your tile.
- Using a putty knife, fill the hole with resin. Overfill it, and scrape the excess from multiple angles to ensure that the hole is fully packed.
- When the resin dries to a rubbery consistency, cut away the excess with a razor.
- When the resin is fully dry, sand it with 600-grit sandpaper.
- Using a color-matching kit, mix pigments until you achieve a color identical to your tile.
- Apply the pigment according to the instructions in the color-matching kit.
- If the tile has a glossy finish, apply a waterproof clear coat after the pigment has dried.
Watch how to fix a hole in ceramic tile using polyester resin on YouTube:
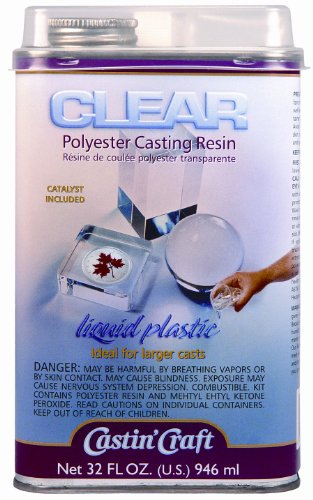
Click here for polyester resin on Amazon.
Fill Holes Using Acrylic-Silicone Caulk
Silicone bonds well with ceramic and porcelain tile, and the acrylic latex in this caulk allows for painting it after it dries. Because acrylic-silicone caulk is relatively thin, you should use it only in small holes (1/4" diameter or less). Always wear rubber gloves while using this product.
- Clean the hole and surrounding tile thoroughly; allow it to dry completely.
- Squeeze expanding foam sealant into the hole to fill it nearly to the top.
- Protect the tile around the hole by applying painter's tape, leaving a 1/4" rim.
- Squeeze the acrylic-silicone caulk into the remaining area of the hole.
- With a wet (gloved) fingertip, work the caulk into the hole until it is even with the remainder of the tile.
- After the caulk has fully dried, sand it with 600-grit sandpaper.
- White caulk on white tile does not require pigmentation; for any other combination, use a color-matching kit to mix a pigment identical to your tile color.
- Apply the pigment, following the directions in the color-matching kit. Allow drying completely.
- If your tile has a glossy finish, apply a waterproof clearcoat to the painted caulk patch.
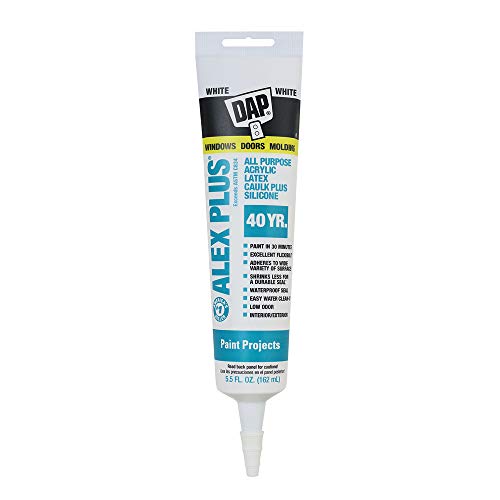
Click here for acrylic-silicone caulk on Amazon.
How Do You Fix Chips In Shower Tiles?
Small chips in glass tiles can be fixed with a clear epoxy filler. You have three options for chipped porcelain or ceramic tiles: epoxy, porcelain glaze, or ceramic tile caulk.
Fix Chips Using Epoxy Filler
Use clear epoxy to repair glass; for tile, use white.
- Thoroughly clean the chip and surrounding area of the tile. Allow drying completely.
- Following the directions on the epoxy packaging, mix a small amount of epoxy and hardening agent. (Epoxy sets quickly, so you will have only about 5 minutes to complete the repair.)
- With a gloved finger, apply the epoxy to the chip allowing it to fill the chipped area and spill over a little onto the tile around the chip.
- Using a flat-edged tool such as a putty knife, scrape off the excess epoxy.
- Use a damp rag to wipe the remnants of the epoxy off the tile around the chip.
- Allow drying completely, then sand with 600-grit sandpaper.
- If you need to match your porcelain or ceramic tile color, use a color-matching kit, mixing pigments until you achieve the desired color.
- Apply the pigment to the fully dry epoxy with a fingertip; feather it out over the area surrounding the chip.
- Use a damp rag to wipe the pigment off the surrounding tile.
- Allow pigment to dry completely. You may need to apply 2-3 coats to get the desired color.
- If your tile is shiny, apply a coat of urethane sealer over the patch.
View the YouTube video on repairing chipped glass tile with epoxy filler.
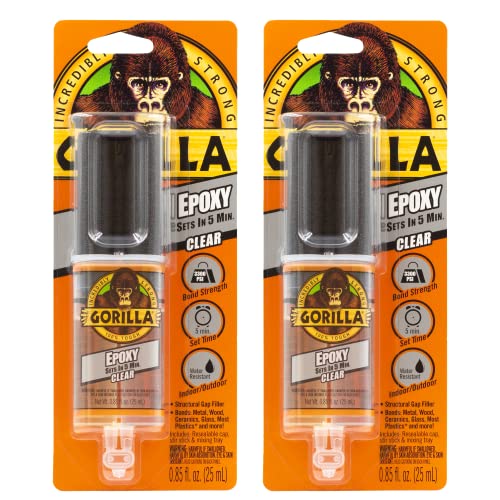
Click here for Gorilla Glue clear epoxy on Amazon.
Fix Chips Using Porcelain Glaze
This solution is suitable for shallow chips only, as the glaze takes the place of a more substantial filler.
- Thoroughly clean the chip and surrounding area of the tile. Allow drying completely.
- Mix glaze with pigments in your porcelain glaze repair kit to replicate the color of the tile.
- Using the kit's applicator stick, dab pigmented glaze into the chip.
- Use a putty knife or other straight-edge tool to remove any excess glaze.
- Buff the tile around the chip with a rag.
- You may need to apply multiple coats of the glaze to completely fill the chip. Let each coat dry fully before applying the next.
- After the last coat of glaze has dried, sand with 600-grit sandpaper.
Check out the YouTube video below to see how to fill chipped porcelain tile using porcelain glaze:
Click here for porcelain glaze tile repair kit on Amazon.
Fix Chips Using Ceramic Tile Caulk
- Clean the hole and surrounding tile thoroughly; allow it to dry completely.
- Squeeze ceramic tile caulk into the chip. Use enough to generously fill the chip.
- With a straight-edged tool such as a putty knife, scrape away the excess until the caulk in the chip is even with the surface of the tile.
- Use a damp rag to wipe away any caulk that has gotten on the surrounding tile.
- After the caulk has fully dried, sand it with 600-grit sandpaper.
- White caulk on white tile does not require pigmentation; for any other combination, use a color-matching kit to mix a pigment identical to your tile color.
- Apply the pigment, following the directions in the color-matching kit. Allow drying completely.
- If your tile has a glossy finish, apply a waterproof clearcoat to the painted caulk patch.

Click here for ceramic tile caulk on Amazon.
How Do You Fill Hairline Cracks In Shower Tiles?
You can fix hairline cracks in glass tiles with clear epoxy filler. For porcelain and ceramic tiles, you may use epoxy, ceramic tile caulk, or silicone caulk. On glazed porcelain and ceramic tiles, you may also use nail polish.
Fill Hairline Cracks In Glass Tile Using Epoxy Filler
To fix cracks in glass tile, use clear epoxy filler; for porcelain or ceramic tiles, use white epoxy and a color-matching kit. Follow the steps above by referring to "How to Fill Chips in Shower Tiles" for using epoxy filler.

Click here for Tile Fix kit on Amazon.
Fill Hairline Cracks Using Ceramic Tile Caulk
To fix cracks in ceramic tile, follow the steps in the above section of "How Do You Fill Chips In Shower Tiles" for using ceramic tile caulk.
Fill Hairline Cracks Using Acrylic-Silicone Caulk
Acrylic-silicone caulk is the best option for fixing cracks in porcelain tile. The silicone bonds well to porcelain, and the acrylic allows the caulk to be painted after it dries.
- Clean the hole and surrounding tile thoroughly; allow it to dry completely.
- With a wet (gloved) fingertip, spread the caulk over the crack, feathering it out over the surrounding tile area.
- Using a straight-edged tool such as a putty knife, scrape away the excess caulk.
- Rub the tile clean with a damp rag to remove any remnants of caulk from around the crack.
- After the caulk has fully dried, sand it with 600-grit sandpaper.
- White caulk on white tile does not require pigmentation; for any other combination, use a color-matching kit to mix a pigment identical to the color of your tile.
- Apply the pigment, following the directions in the color-matching kit. Allow drying completely.
- If your tile has a glossy finish, apply a waterproof clearcoat to the painted caulk patch.

Click here for the caulking tool kit on Amazon.
Fill Hairline Cracks Using Nail Polish
Because unglazed tiles are porous and absorb the nail polish, this solution should only be used on glazed, porcelain, or ceramic tiles.
- Clean the cracked area of the tile thoroughly; allow it to dry.
- On the undamaged tile area, mix nail polish colors until you achieve a match with the tile color.
- Using the nail polish brush, paint over the crack, making sure to get the nail polish deep into the crack. Feather the polish over the area around the crack to blend with the tile.
- You may need to adjust the nail polish mix or apply multiple coats to achieve a perfect blend with the tile.
- After you have the perfect color and the nail polish has completely dried, wipe gently with nail polish remover on a cotton swab.
See this method demonstrated in the YouTube video below:

Click here for a nail polish kit on Amazon.
What Is The Best Adhesive For Glass Tiles?
Glass tiles require different adhesive from porcelain or ceramic because glass is harder, slicker, and transparent. The best glass tile adhesives include a liquid latex additive, polymers for strong bonding, and antimicrobial components to protect against mildewing. The industry standard is Laticrete Glass Tile Adhesive.

Click here for Laticrete glass tile adhesive on Amazon.
In Conclusion
Keeping your shower tiles in good repair not only keeps your bathroom looking great but also keeps moisture from seeping through cracks or holes and into the underlayment. By following the simple fixes described above, you can maintain your shower tiles' appearance and function for years to come!
You may also enjoy: