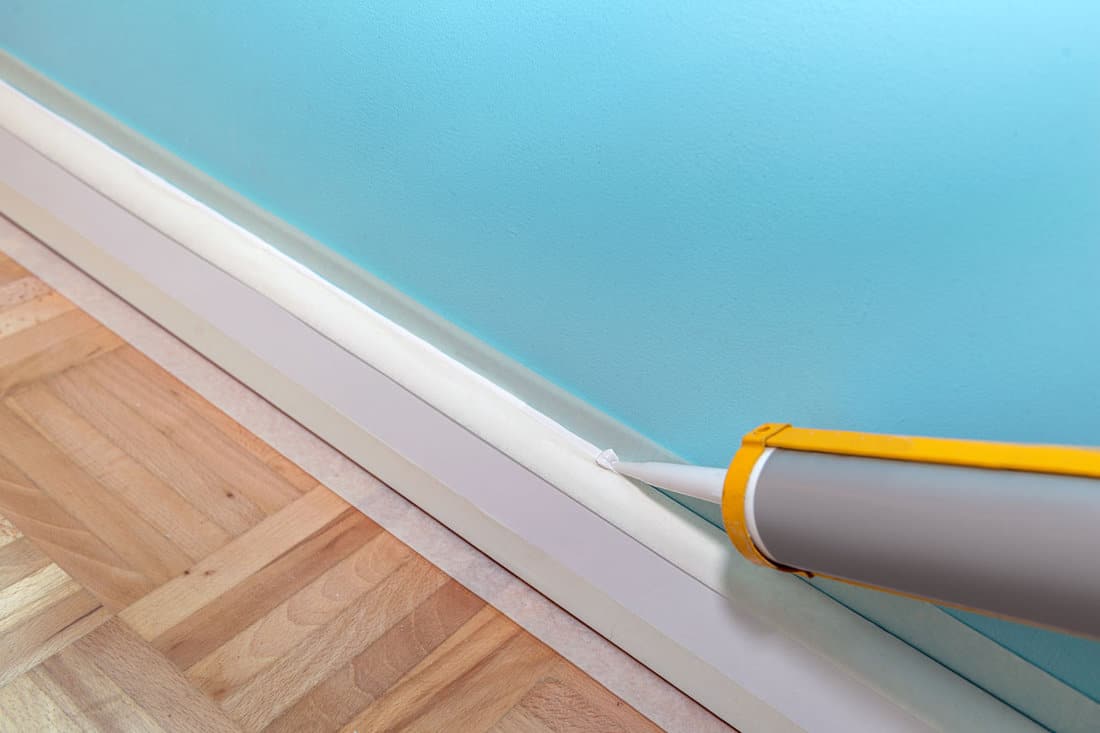
Taking on a DIY caulking project can sometimes mean getting messy. Do you constantly struggle to keep the caulk inside your tube/gun and don't know how to fix it? Is there an easy way to stop caulk from coming out of the gun? How do you keep the caulk from drying between uses?
Luckily, we've done plenty of research into these questions and have the answers below!
If you notice caulk coming out of your gun between or during uses, you want to first push the tiny release lever at the end of the gun/base of your tube and see if that helps.
If it doesn't, try these steps:
- Remove your caulk from the gun.
- Grab a knife and lay out your caulking tube.
- Cut off the top-end cover of your caulk and twist on the nozzle.
- Take your knife and pierce the bottom of your caulking tube 3-4 times.
- Fit the caulking tube back into the gun.
- Test your caulk, stop your gun, and the leaking should be fixed!
As we start this article, we will cover all things caulk and discuss how to stop your tube from leaking. Whether you're refinishing a bathroom, need help storing your caulk, or have additional questions, we're here to help. With that said, let's dive right into this topic and solve this common problem!
![Man holding a caulking gun with a black silicon, How To Stop Caulk From Coming Out Of The Gun [In 6 Easy Steps!]](https://homedecorbliss.com/wp-content/uploads/2022/11/How-To-Stop-Caulk-From-Coming-Out-Of-The-Gun-In-6-Easy-Steps.png)
What Causes Caulk To Leak From The Gun?
One of the main reasons caulk will leak from the gun is the pressure. Generally, if you forget to release the pressure nozzle after finishing your project: the caulk will continue oozing out.
Therefore, you always want to release the pressure lever when you're done using the gun. According to experts, simply pushing the locking plate lever releases the pressure on the plunger and instantly stops the caulk.
On top of forgetting to release the pressure, your caulk may be to blame. Sometimes, when your caulk is too watery/less thick, it can leak from the gun between applications.
Thicker material will drip and leak less, so purchasing a high-quality caulk is essential.
In addition, your product could have air bubbles, leading to leaking between uses. Luckily, some caulking guns have considered this and feature non-leak technology.
However, that won't always stop your product from spilling out, so you may need to get creative.
We may include affiliate links and curated AI content to highlight top design styles.
How Do I Stop My Caulking Gun From Leaking?
If you can't control the product in your caulking gun, there could be too much pressure inside the bottle. As we mentioned above, the caulk will leak from the gun if there are air bubbles, so you want to help expel that added air and pressure.
To get started:
Remove The Caulk From The Gun
First, you want to remove the tube of caulk from the gun. Before doing this, make sure to put the lid on your product or use something to cover the tiny release hole at the tip of your caulk.
Not doing this can waste product, which you want to avoid.
Grab A Knife
Once you remove the caulk from your gun, you need to find a sharp knife. Ideally, this will be a pocket knife or something similar in size.
You don't want to cut large holes into the bottom of your caulk, so the smaller the knife, the better.
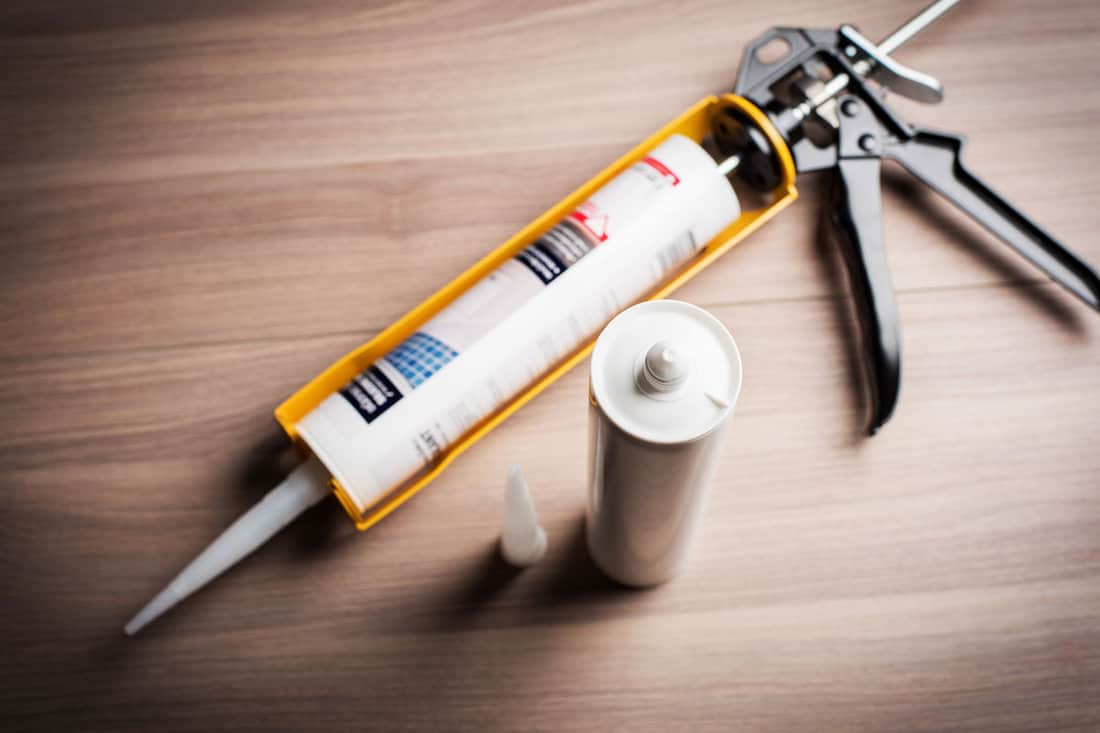
Cut Off The Tip Of Your Caulk (If Unopened) And Twist On The Nozzle
If your caulk is new, you'll need to grab scissors and cut the tip/top end of the bottle before getting started. Generally, caulk will have a removable nozzle, so make sure to remove this before cutting.
If you cut the nozzle of your bottle, you won't have something to cover it with between uses.
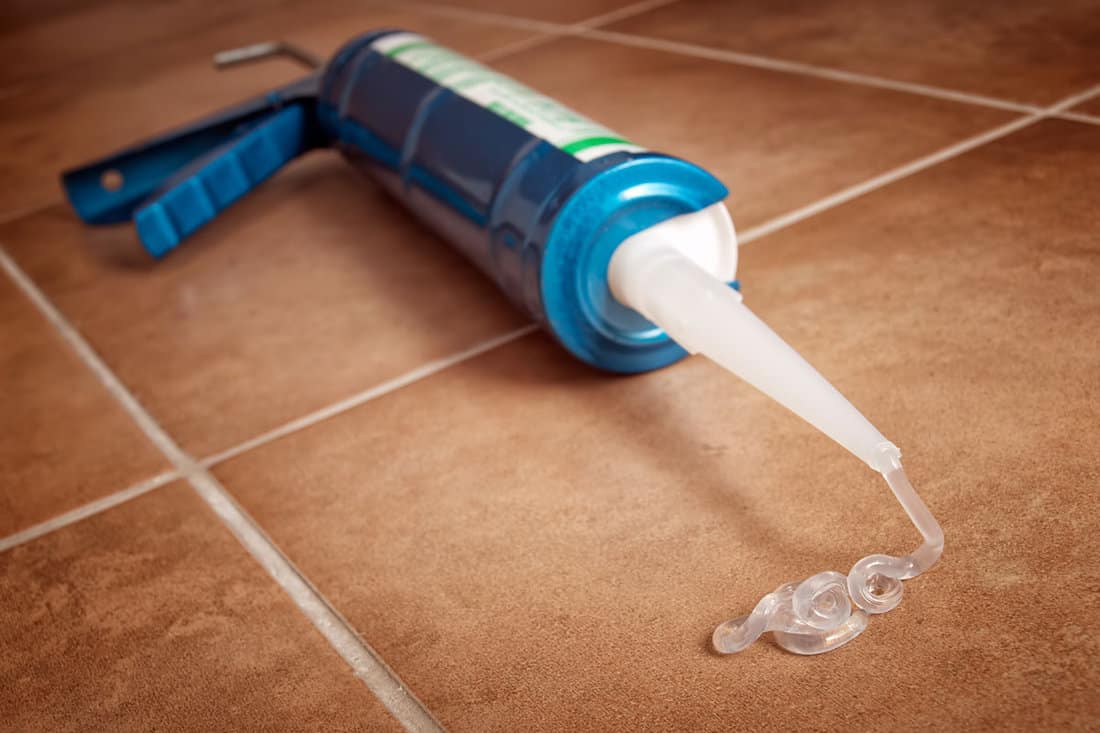
Take Your Knife And Pierce The Tube Of Caulk 3-4 Times
When you have the lid/nozzle on your caulk, and it's sealed, you can create tiny cuts at the bottom of your tube. Ideally, you will pierce the holes equally away from each other on the base of your tube.
You may notice slight leaking from these gashes, but this will stop when your caulk is back on the gun.
Fit The Caulking Tube Back Into The Gun
Once you create the tiny holes at the base of your caulk, you can place the tube back into the gun. As we said above, you might notice slight leaking from these new holes, which is normal.
Once your tube of caulk is in the gun, the leaking should stop from the base and top.
Test Your Caulk, Stop Your Gun, And Check For Leaks
After assembling your caulking gun, it's time to test it. All you need to do for this is remove the nozzle from your caulk, apply pressure as you normally would, and then stop the gun.
After that, release the pressure lever and wipe off the tip of the caulk. You should notice very minimal leaking, which will stop. If all goes well, you've successfully released that excess pressure!
If you notice a bit of leaking still, that could indicate your gun is faulty or your caulk is low-quality.
Here's a video tutorial of these steps from YouTube so you can double-check your progress:
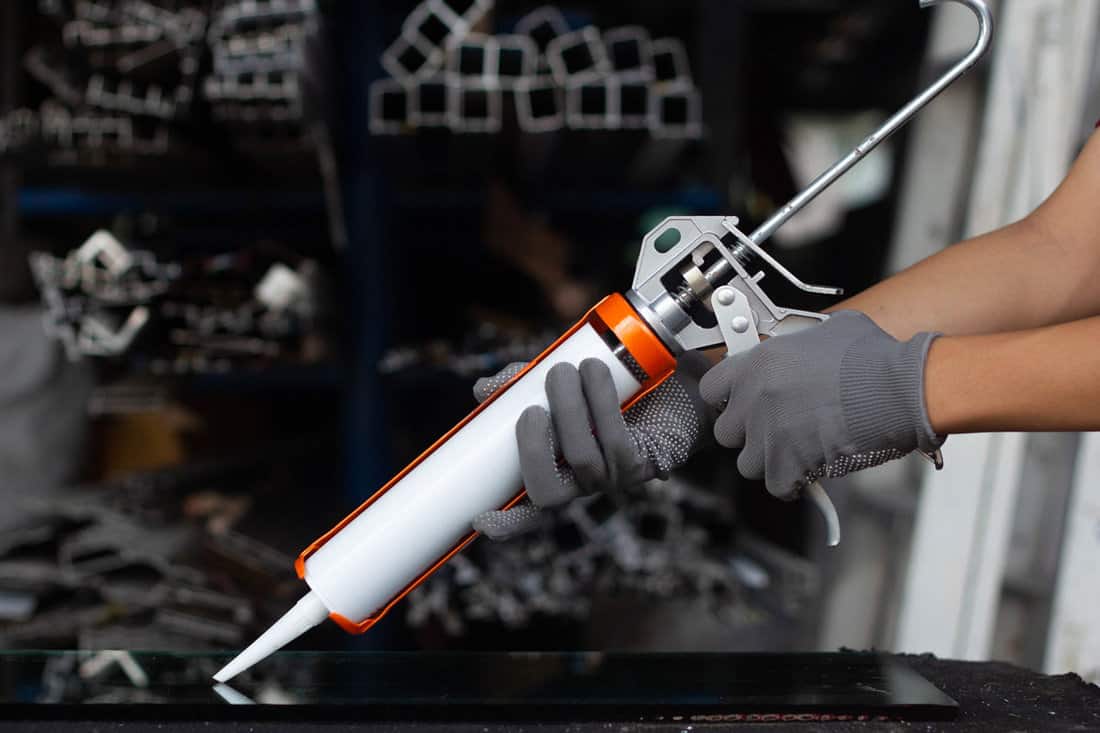
What Is The Correct Way To Use A Caulking Gun?
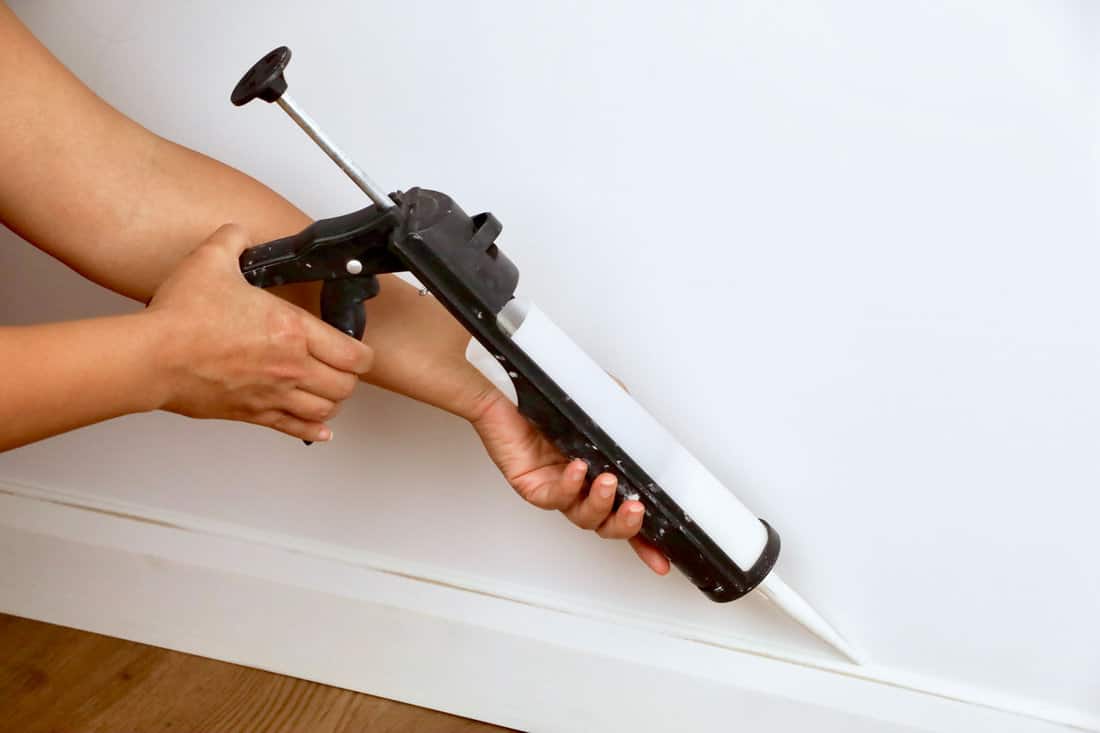
For those of you unfamiliar with using a caulking gun, this is much easier than you'd think. The first step to using your gun is properly loading your product.
To do this, press the release trigger on the back of your caulking gun. Doing this will loosen the long steel rod that runs through the entire frame. Pull this rod as far back as you can with your other hand.
Next, insert the caulking tube with its nozzle facing away from you. It's worth mentioning that some caulking tubes have a piercing rod and tip cutter, so in that case, make sure to remove those and open your tube before inserting it.
The next step is to pierce your tube of caulk with the metal rod on your gun. Once your caulk is in the proper place, this should be pretty easy, with the rod piercing through the bottom of your product.
When you finish, head back to the gun's tip, remove the cover, and cut the tip. This choice will be permanent as you can't cut any wider or smaller: so be cautious of that.
Finally, we recommend testing your caulking gun, which can be on a piece of scrap paper, cardboard, or any other surface you don't mind messing up.
Bates- Caulking Gun
This caulking gun features a 10:1 thrusting ratio, works for silicone, won't drip, has a smooth pressure rod, offers precise application, and has excellent online customer reviews.
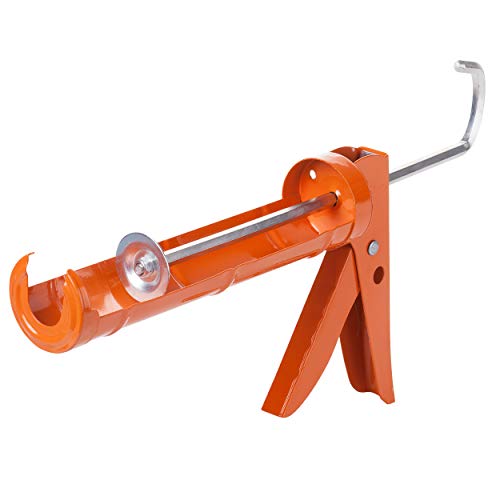
Follow this link to view it on Amazon.
What Is A Dripless Caulking Gun?
Sticking to the caulking gun theme, you may notice the term "dripless" when searching for your product. That means the caulking gun automatically releases pressure, so the gun doesn't squeeze out any excess caulk.
These dripless models can be easier to maneuver than traditional caulking guns. In addition, the dripless technology in these guns keeps your caulk from becoming too pressurized, which is what typically causes the leaking.
According to experts, traditional caulking guns tend to have lower thrust ratios, meaning you'll need to apply more force to get the caulk moving.
Furthermore, that can lead to sloppier releases, which isn't suitable for precision work. For example, a dripless caulking gun is perfect for tiny crevices and won't make a mess in the surrounding spaces.
A regular, drip-prone gun can release a sporadic, hard-to-control line of caulk, making your surface look lower quality and rushed. So, if you can spend a couple of dollars more on a dripless model: your surfaces will thank you.
Can Any Caulk Fit Into A Gun?
Although there seems to be a universal caulking tube and gun size, you should double-check the size of your gun before purchasing caulk or vice versa.
In general, caulking guns fit a standard 28-ounce tube of caulk, although smaller models may only fit a ten-ounce container. One of the more popular sizes for caulk guns is 28 ounces, so that's a great place to start your search.
In addition, you might find different caulking gun sizes, in which case, you will also need to purchase the coordinating caulk tube. A common mistake DIYers make during their caulking project is buying two different-sized products.
To avoid this, we recommend either shopping for your gun and caulk together or looking for a bundle pack containing the two. Sometimes it's better to work smarter, not harder!
Will Caulk Dry Out In A Gun?
Storage is one of the most frustrating parts of using a caulking gun. When you're done with the caulking gun, you need to find a cap for the caulk or use an alternative product.
Some professionals recommend dropping a nail in the nozzle of your tube, then sealing it with tape. Ideally, you will use electrical or masking tape, as they won't slide off.
As we said earlier, caulking tubes usually include a cap and a nozzle below. You cut the nozzle, keep the cap, and then place it back in your tube after you use it.
To Wrap It All Up
Whether you constantly struggle with using a caulking gun or have recently noticed dripping/leaking, it's always good to find a way to seal your bottle and stop the mess.
We found that you can cut tiny holes in the bottom of a caulking tube to release excess pressure. This same pressure is what causes your tube to leak between uses.
Remember to release the pressure lever on your gun when you're done: now, good luck!
Made it this far? Check out these helpful related home posts below!
Should You Caulk Around A Shower Base? [Inc. Inside The Enclosure]
Wood Filler Vs. Caulk Vs. Wood Putty Vs. Spackle - Which To Choose?