There's nothing like the beauty of hardwood floors. You've purchased new hardwood for your home but now need to know what type and size of nails are needed for installation. We've done the digging for answers and found the information to help you.
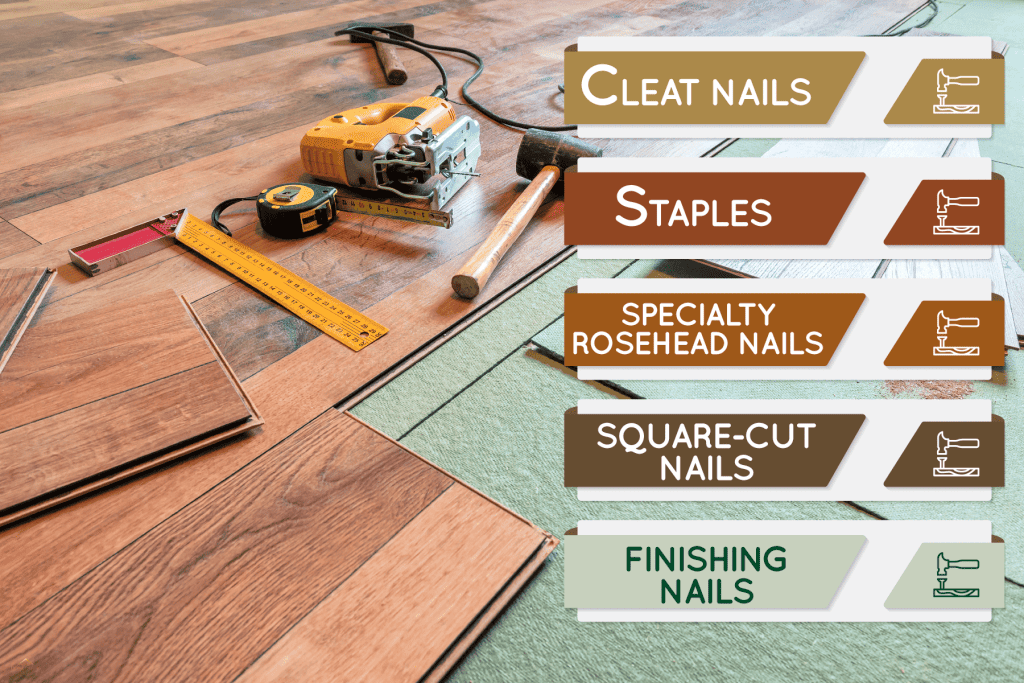
The size and type of nails can depend on the final look you want for your home, the thickness and type of your hardwood planks, and even the type of subfloor underneath the hardwood. Hardwood installation can use different types of fasteners, which include the following:
- Cleat nails
- Staples
- Specialty rosehead nails
- Square-cut nails
- Finishing nails
Keep reading to find out everything you need to know about nails for hardwood flooring.
Types of Nails for Use With Wood Floors
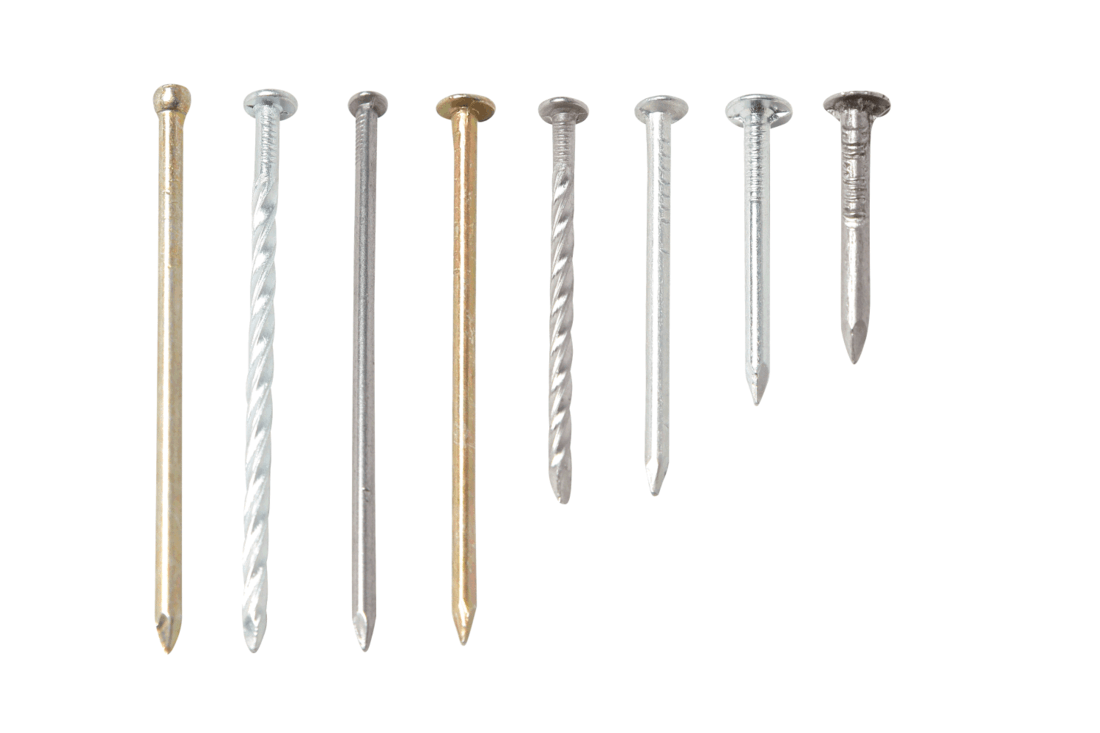
Most hardwood will have a recommended nail size and type for installation, and you should always stick with the manufacturer's recommendation. The recommended gauge size is determined by the hardness and thickness of the hardwood and whether it is real or engineered.
We may include affiliate links and curated AI content to highlight top design styles.
Using the wrong nail can cause damage. For example, using too large of a nail gauge can cause the hardwood planks to split. So you have a better understanding, let's take a look at a few of the options available for hardwood fastening.
Cleat Nails
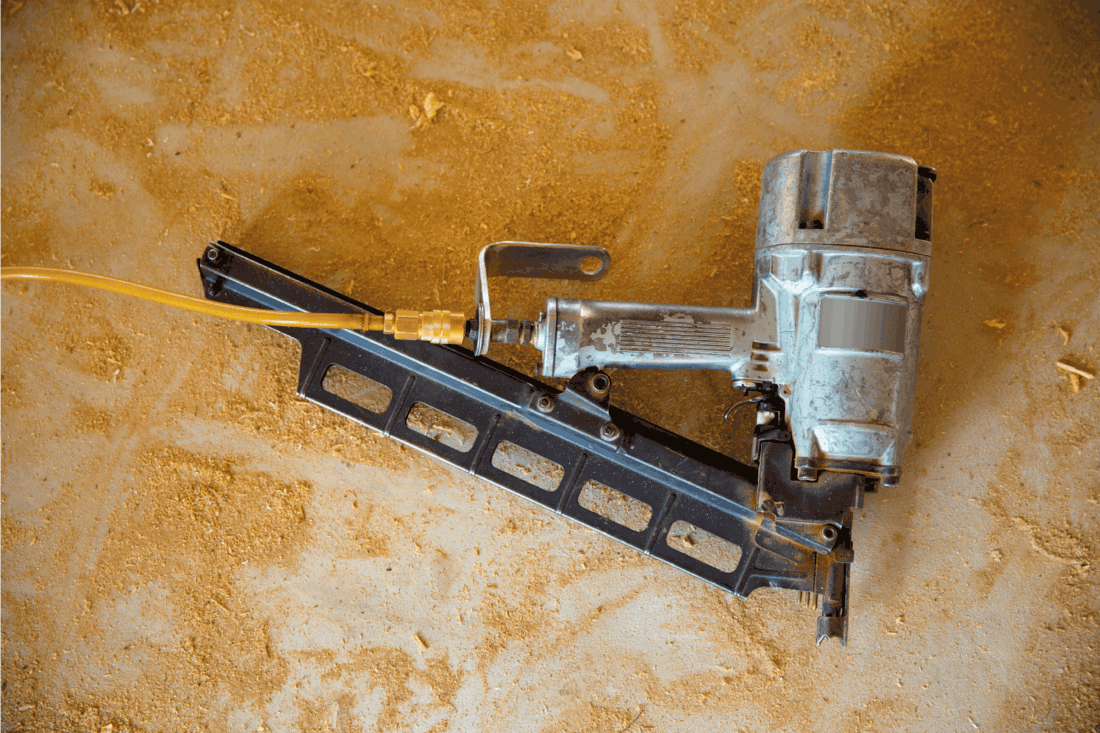
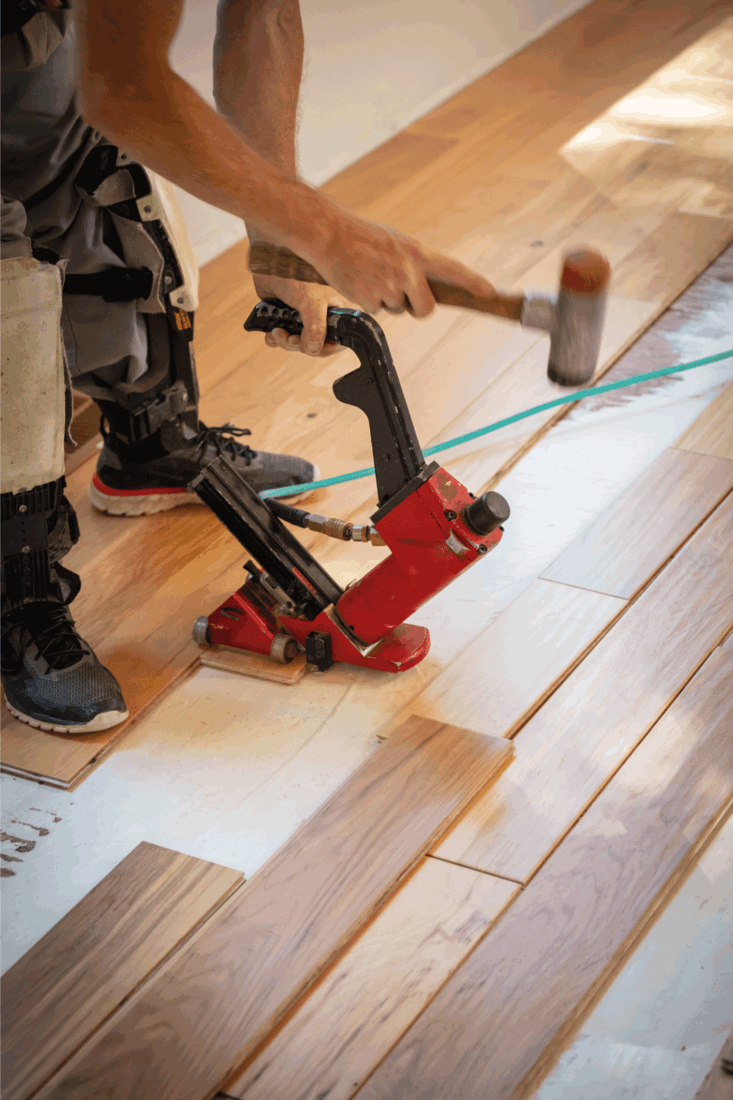
Hardwood nailers are often used to install hardwood. The nailers drive the nail into the flooring at an angle on the grooved side of the plank so that the nails are not seen. Nailers can be manual or use pneumatic pressure.
Nailers are favored because they are much more time-efficient, and the sudden force that causes the nail to penetrate the wood does not leave marks on the hardwood like handwork with a mallet or hammer.
The nails used in hardwood nailers are commonly referred to as cleat nails. Cleat nails can have an L-shaped or T-shaped head and barbed or ribbed edges that lock into the subfloors and keeps the nail in place once inside the hardwood.
When using cleat nails, you have 3 basic sizes; 1-1/2 inch, 1-3/4 inch, and 2 inches.
- You want to choose the 1-1/2 inch nails when your hardwood is 1/2-inch flooring.
- When your flooring is 3/4-inch but over a concrete subfloor, use 1-3/4 inch nails.
- Finally, use 2-inch nails when your flooring is 3/4-inch but over a wood subfloor with floor joists or is concrete with at least 2 layers of 1/2 inch plywood over it.
Staples
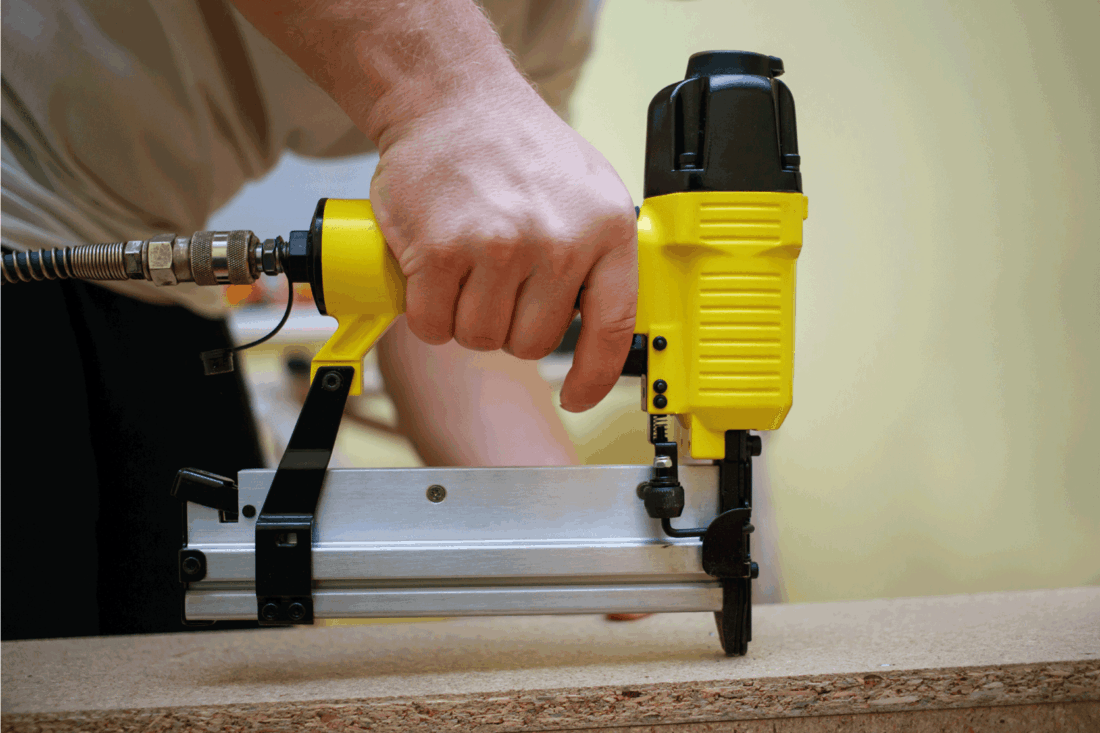
Staples are also used to install hardwood and are considerably less expensive than cleat nails. Staples are two-prong with a strong grip at first but are more prone to back out of the hardwood over time, especially in climates where the wood experiences seasonal movement through expansion and contraction.
Hardwood floors installed with staples are also more prone to squeak. There's also an increased risk of splitting the tongue on your hardwood planks with staples.
This doesn't mean staples are inferior. They're very commonly used, and even the experts can't settle the ongoing debate between staples and cleats. There are strong arguments for either one. The final decision may have more to do with availability and the installation tool you already have on hand.
Staples are installed with a pneumatic stapler. The sizing of staples is the same for cleats if the flooring is hardwood. If your flooring is engineered or thinner, then the staple size varies.
- For 1/4 to 5/16-inch flooring, use 1-1/4 inch staples.
- For 3/8 to 1/2-inch flooring, use 1-1/4 to 1-1/2 inch staples.
- For 5/8 inch flooring, use 1-1/2 inch staples.
Specialty Rosehead Nails
Rosehead nails are a specialty nail meant to replicate nails used hundreds of years ago. They're forged with a decorative head that is meant to be seen. They're more suited for use on wide boards of pine or other softwood floorings.
The replica nails give floors a vintage colonial or rustic look. The head design varies by manufacturer, but commons shapes include bevels, circles, dimples, and rings.
When using this type of nail, it's best to pre-drill your nail holes to avoid splitting the wood planks. This type of nail is favored for use when you plan to face nail the entire floor because the planks lack tongue and groove.
Square-cut Nails
Square-cut nails are hand-crafted or individually machine cut with a wedge shape. They must be manually driven into flooring by someone with skill in cut-nail installation. Pre-drilled holes must be used when using this type of nail.
Square-cut nails will be expensive and time-consuming for installation but will give your flooring durability that a mass production nail cannot match.
There's an authentic look that comes from square-cut nails that other nails cannot replicate. If you are looking for that distinct look of former times, this is the nail you need. For installation, use 1-1/2 inch nails for 1/2-inch flooring and 1-3/4 inch nails for 3/4-inch flooring.
Finishing Nails

Hardwood floors have to be face nailed on the outside perimeter near walls. For this job, 8D or 8 penny-hand finishing nails are needed.
The term penny-hand is a measurement term for nail length that dates back to when nails were all hand forged. There are multiple theories to the origin, but it is thought that the 'D' stands for one penny-head. Therefore, an 8D nail is 2-1/2 inches long.
Finishing nails are slender with a small head, making them perfect for the job because they're driven directly into the flooring and countersunk. The small head makes it easy to fill in the hole before sealing the floors.
You will face-nail the first row and last rows of flooring directly into the flooring using a pneumatic finish nailer or by drilling pilot holes into the flooring. The next two rows and the two rows before the last one to the wall need to be blind-side nailed.
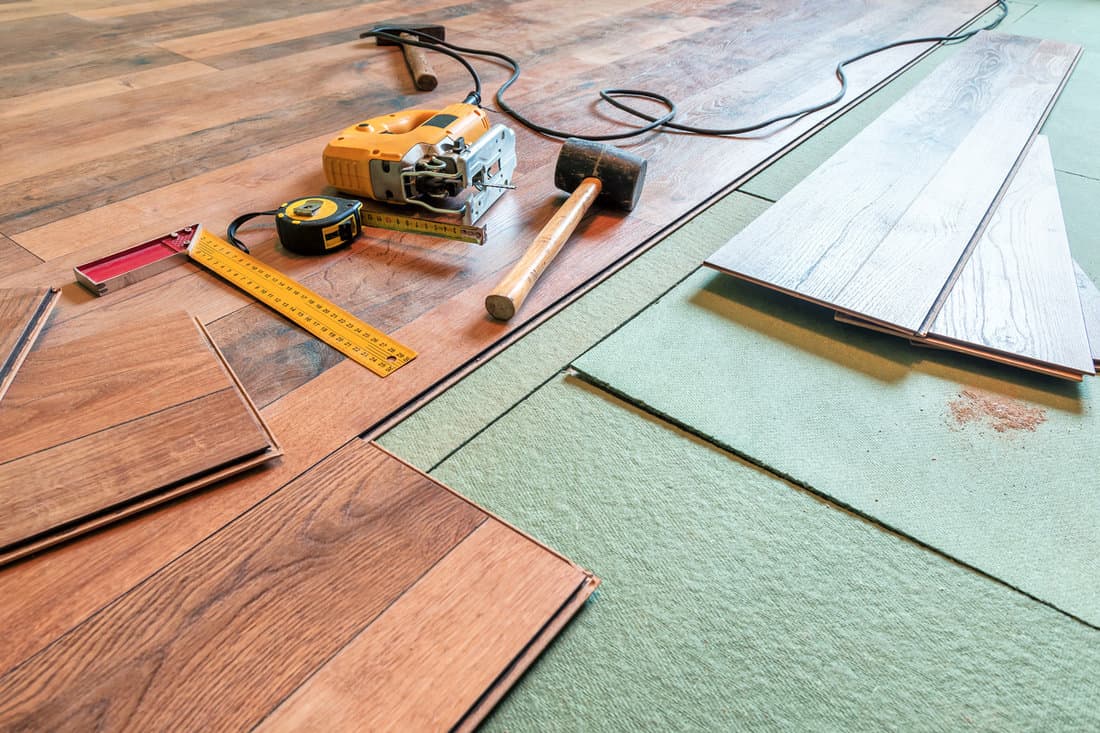
Then, you can finish the rest of the floor by sticking with finishing nails or switching to a pneumatic fastener machine once it has enough clearance to fit properly over the flooring.
Consider these 2-1/2 inch finishing nails by Hard-to-Find Fastener:
Click here to see it on Amazon.
How long should nails be for 3/4 hardwood flooring?
The general rule of thumb is 1-3/4 inch nails for 3/4-inch flooring. However, there are exceptions. If your subfloor is wood over floor joists or two layers of 1/2-inch plywood over concrete, then you need to use a 2-inch nail.
16 or 18 gauge nailer for a hardwood floor?
Trying to decide what gauge nailer to use on your hardwood? When it comes to nail gauge size, the larger the gauge number, the thinner the nail. The two most common sizes are the 16 gauge finish nailer and the 18 gauge brad nailer.
16 Gauge
The 16 gauge nailer is more versatile and the one recommended for flooring. The finish nail has a 0.0625-inch-thick shank and is available in 1 to 3-1/2 inch lengths. The larger nail has more holding power and is suitable for use with thick wood such as flooring.
This nailer is also suitable for many other jobs such a crown molding, cabinets, exterior trim, chair rails, to name only a few. Consider this NuMax 3-in-1 Pneumatic nailer:
Click here to see it on Amazon.
18 Gauge
The 18 gauge brad nailer is used with more fragile projects like decorative trim, paneling, or veneer. The brad nail is 0.0475 inches thick and typically comes in 1/2 to 2-1/2 inch lengths. The thinner nails are suited toward finish work which generally uses thinner wood, not flooring.
What size nails for 3/4 plywood subfloor?
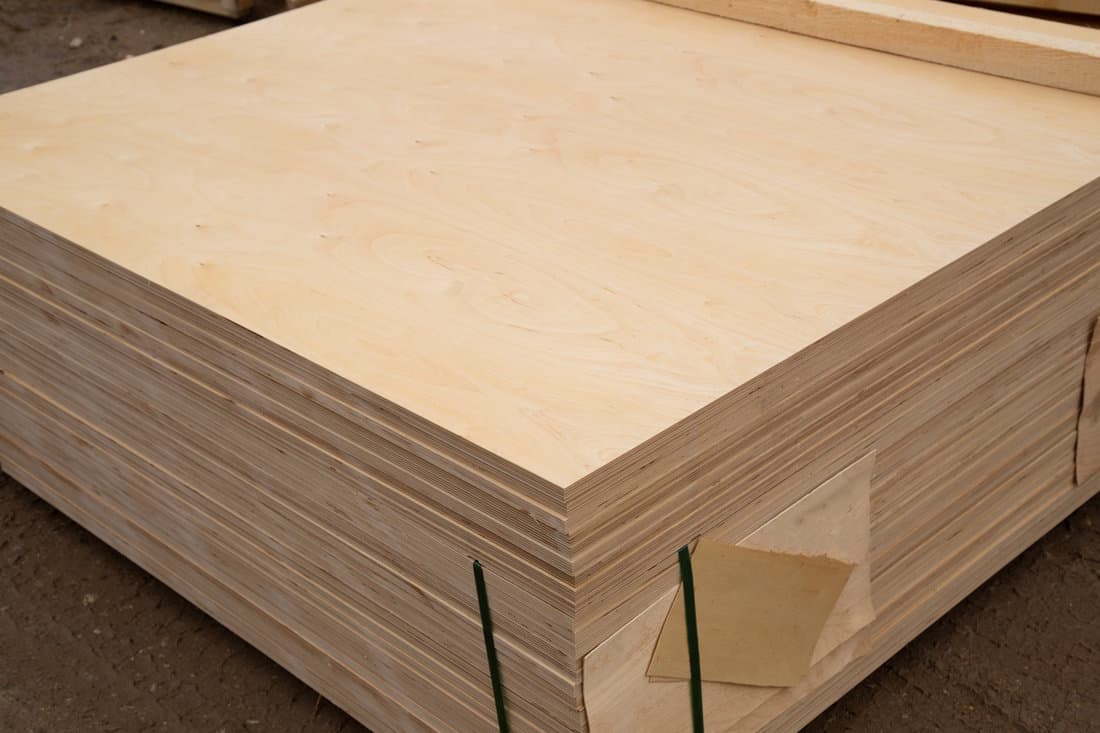
In the atypical situation that you have 3/4-inch plywood subfloors, you might want to consider a 1-5/8 inch nail, especially if there is concrete underneath the plywood. You don't want the nail to go through the subfloor into the concrete.
What size nails for face nailing hardwood floors?
You want to use 8D finishing nails for face nailing the outside perimeter rows of hardwood floors. If you plan to face nail the entire floor, then the same rule of thumb for nail size based on flooring thickness and subfloor type would still apply.
How far apart should nails be when installing a hardwood floor?
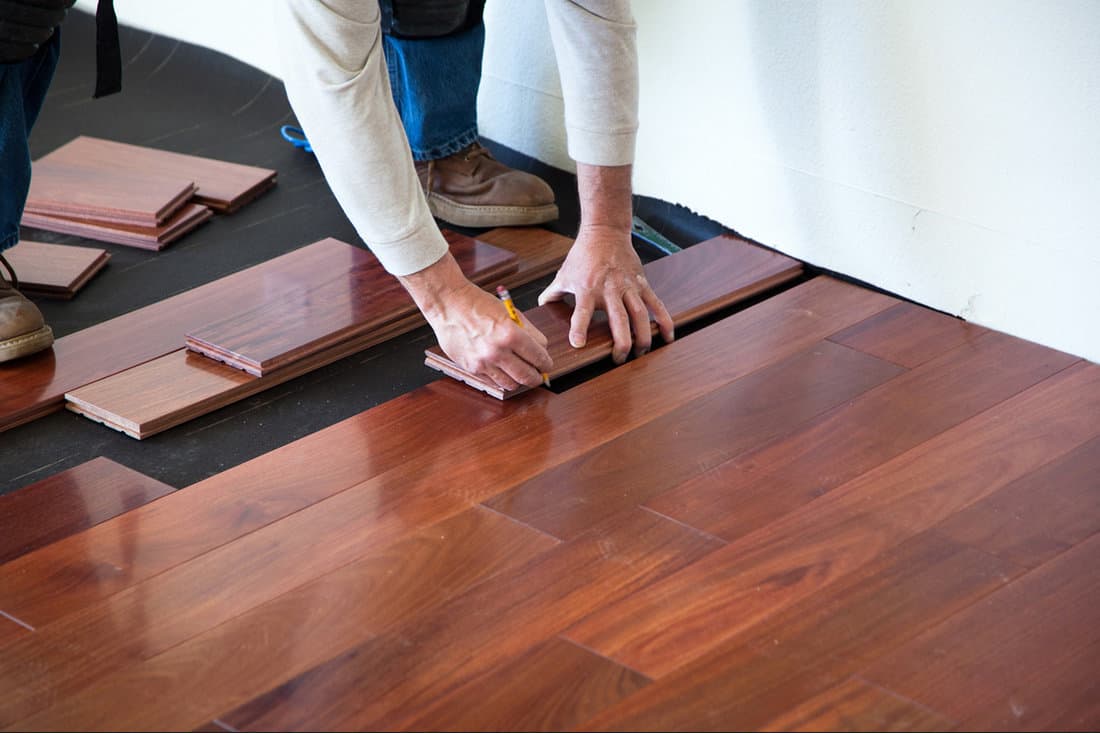
For standard installation with a nailer, it is recommended by the National Wood Floor Association that nails or staples in solid hardwood are placed 8 to 10 inches apart. With engineered flooring, nails or staples should be 4 tp 8 inches apart. Nails should be placed along the tongue side of the hardwood plank but staying a minimum of 4 inches from each end of the board.
If you're using wide boards and face nailing the entire floor, you will need to nail two, maybe three, times across the board, but there should never be more than 6 inches between nails. Boards that are 8 inches or less should be nailed two across, while 8 to 12-inch boards will need three nails across the board. Be sure to stay at least an inch from each board edge.
In Closing
Hardwood floors are a coveted touch in any home, but you want to ensure that installation is done with the correct type and size of nails. The wrong nail can damage the aesthetics of your hardwood and the integrity of the flooring. Hardwood is meant to last for many years but only with proper installation and maintenance.
If you are interested in more information about hardwood installation, check out: Should Hardwood Floors Change Direction?
Also, consider: Why Does My New Hardwood Floor Squeak? [With Tips On What To Do About It!]\
