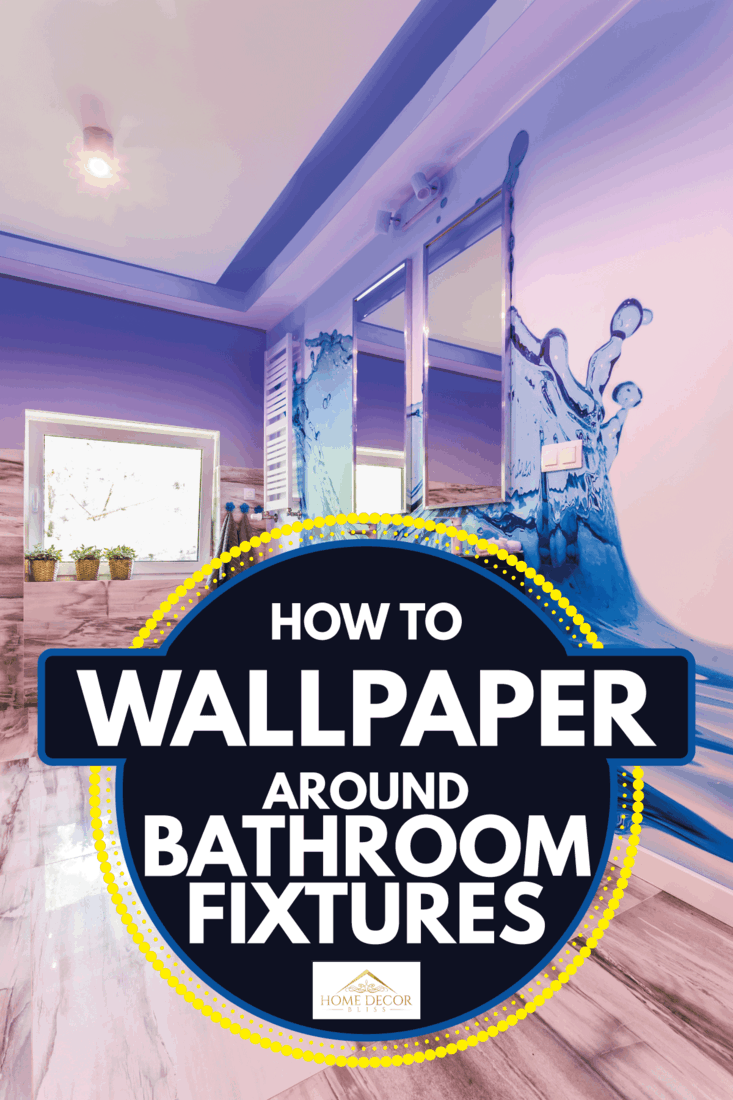
Wallpaper in bathrooms is one of the hottest new design trends. Wallpaper can add so much more personality to a room than just paint can. Bathrooms are smaller than most rooms, which makes them a great area to try something bold. But many people struggle with how to wallpaper around bathroom fixtures. We've researched how to do this to help get your walls papered with ease.
There are two main bathroom fixtures to wallpaper around: the sink and the toilet.
To wallpaper around a sink, follow these steps:
- Start at the ceiling.
- Smooth the strip.
- Drape over the sink.
- Make relief cuts.
- Cut holes for plumbing.
- Caulk the edges.
To wallpaper behind the toilet, follow these steps:
- Slide the paper behind the toilet.
- Start at the ceiling.
- Smooth the paper above the tank.
- Use a yardstick to smooth behind the toilet.
Applying wallpaper around bathroom fixtures is not a hard process, but it takes a lot of care to do it right. In the rest of the article, we'll look at each process in more detail, as well as the best type of wallpaper to use. Continue reading to learn more.
How To Wallpaper Around A Sink
We may include affiliate links and curated AI content to highlight top design styles.
There are two main styles of sinks found in bathrooms today: vanity and pedestal sinks. Vanity sinks are the kind that has a counter around them and cabinets and drawers underneath to hide the plumbing. Pedestal sinks are free-standing and have plumbing hidden by the pedestal but visible from the side.
With that being said, some of these steps may only apply to pedestal sinks, and we will note this. Before you can apply wallpaper, there are some tools you will need. They are:
- Wallpaper
- Pre-mixed wallpaper paste (if not peel and stick)
- Smoothing tool
- Tape measure
- Pencil
- Sharp blade/scissors
- Clean cloth
- Clear silicone caulk
You will need to measure your wallpaper to the length you will need and apply the paste so the wallpaper will stick to the wall. Once your wallpaper is prepared, you can begin applying it around the sink.
1. Start At The Ceiling
Before wallpapering any room, you always want to start at the ceiling. You want to make sure your wallpaper is straight, and starting at the ceiling gives you a straight edge to work with. It is also easier to smooth out air bubbles as you work your way down the wall.
2. Smooth The Strip
Once the wallpaper has been pasted near the ceiling, smooth the strip down the wall. Start near the ceiling and work your way down towards the top of the sink, smoothing out any air bubbles along the way. Make sure the paper does not stick to the wall right above the sink. Cut off any excess paper that extends above the top of the wall.
3. Drape Over The Sink
After smoothing out the wallpaper, drape the excess over the sink. Carefully smooth the paper into place around the edge of the sink.
If you have a vanity sink, you can use scissors to cut the excess paper off, but leave about an inch of loose paper at the base of where it attaches to the sink. Use a blade to cut off the rest so that you have a smooth, straight line, and you're done!
If you have a pedestal sink, you will need to make relief cuts to apply the wallpaper around the sink. Steps 4-6 will show you how to finish wallpapering around a pedestal sink.
4. Make Relief Cuts
Making relief cuts is necessary to wrap your paper around the sink so that it fits tightly around the sink and looks consistent with the rest of the wall. To make relief cuts, cut the paper horizontally about an inch out from where the paper meets the wall. Extend that cut to the edge of the sink, then make several smaller cuts around the sink's edge to wrap the paper around.
To help the paper fit more tightly around the edges, make more cuts along the loose paper end and use the smoothing tool and a putty knife to tuck the paper behind the sink. Trim the loose paper around the sink with a sharp blade.
The video below demonstrates how to make relief cuts and wrap the paper around the sink.
5. Cut Holes For Plumbing
After you've wrapped your paper around the edge of the sink and smoothed it down, you will want to make relief cuts for the pipes following the same process as above. Smooth the paper the rest of the way down the wall, then repeat the process on the other side of the sink.
6. Caulk The Edges
Give the wallpaper 24 hours to adhere to the wall and dry. Then, apply clear silicone caulk around the sink's edges to keep moisture from leaking behind the sink and keep dirt and grime from building up in the crack between the sink and the wall. It will also help to keep the wallpaper from peeling over time around the edges of the sink.
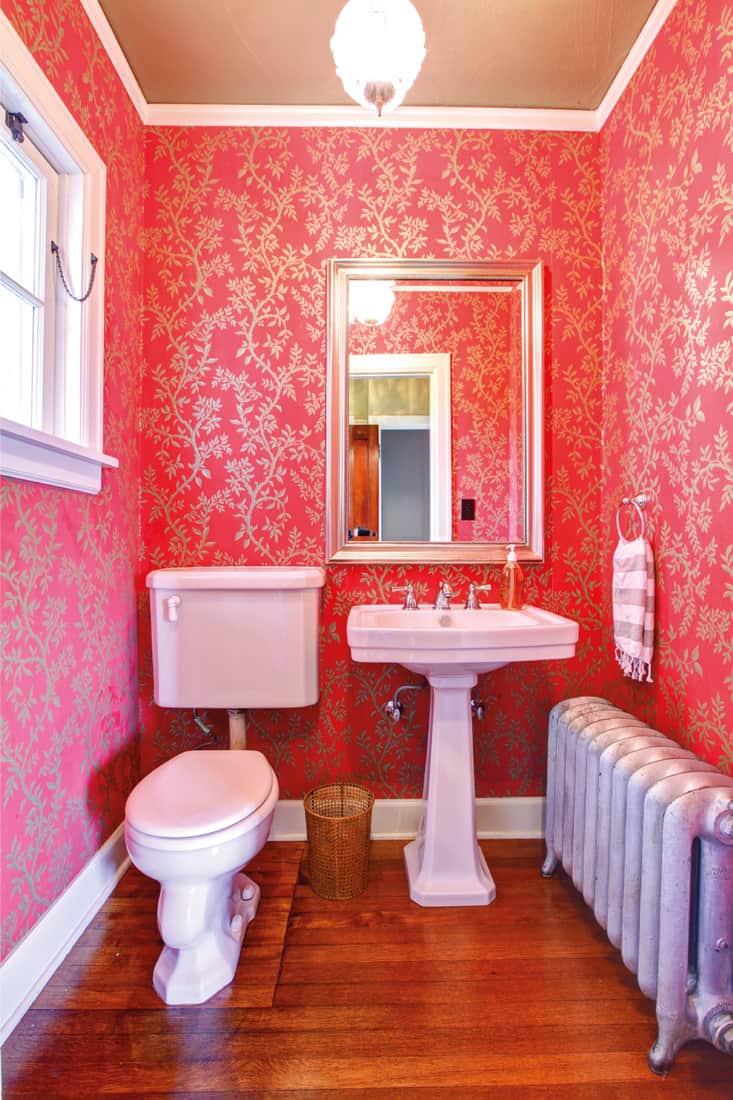
How To Wallpaper Around The Toilet
The process of applying wallpaper around the toilet is a little easier and less time-consuming than applying it around the sink. Still, many people struggle because of the closeness of the back of the toilet to the wall. Sometimes, there is only a one- to two-inch gap that you have to try to squeeze through to smooth out the paper. These steps will make it easier.
1. Slide The Paper Behind The Toilet
Unlike wallpapering the sink, where you start at the ceiling and drape the paper over the sink when wallpapering behind the toilet, you will want to slide the paper behind the toilet first. This will make it easier to smooth out later.
2. Start At The Ceiling
Just like the sink, you will want to start at the ceiling when adhering the paper to the wall. Line it up so that it is straight with the edge of the ceiling, and smooth it out starting from the top and working your way down the wall until you get to the top of the toilet. Trim off any excess at the top that is loose and extends beyond the top of the wall.
3. Smooth The Paper Above The Tank
Next, you will want to smooth the paper right above the tank and remove any air bubbles. Smooth as much as you can behind the tank, but don't worry if you can't reach all the way behind it.
4. Use A Yardstick To Smooth Behind The Toilet
The last step is to smooth the paper behind the toilet down to the bottom of the wall. The easiest way to do this is to attach your wallpaper smoother to the end of a wood or metal yardstick using tape or string. That way, you will be able to reach the yardstick behind the toilet to smooth the paper the rest of the way down. Trim off any excess at the bottom with a sharp blade.
What Is The Best Wallpaper For A Bathroom?
The best wallpaper to use in a bathroom is one that is made of vinyl or is vinyl-coated as these kinds of wallpapers can withstand high levels of moisture and won't get damaged, start peeling, or grow mold and mildew due to exposure to water. Wallpapers that are made of vinyl will usually be labeled, but wallpapers labeled as washable or wash-resistant will also work well.
See Also: "Top 50 Online Stores For Buying Wallpapers"
Does Peel And Stick Wallpaper Work In The Bathroom?
Also called removable wallpaper, peel and stick wallpaper is actually extremely durable and designed to last a long time. A lot of peel and stick wallpaper is made of vinyl, so yes, it can be used in a bathroom. It is actually a favored choice because it is easy to apply or reposition if you accidentally mess up.

This vinyl peel and stick wallpaper comes in two colors and works great in a bathroom. Click here to see it on Amazon.
See Also: "How To Choose The Right Wallpaper Pattern"
How Can You Make Wallpaper Waterproof?
If you have a wallpaper style or print that you love but it isn't well-suited for use in the bathroom, you can make it waterproof by painting a varnish over it. Painting varnish on top of wallpaper actually makes the walls easier to clean because they can be wiped down easily.
Like paint, varnish comes in different finishes, most commonly flat, satin, and gloss. Choose whichever you prefer, then clean the walls, floor, and windows thoroughly to remove dirt and dust before applying varnish. Apply only one coat, and then let it dry for 24 hours before touching the walls.
Is It Better To Paste The Wall Or Wallpaper?
Wallpaper used to be applied by pasting the paper and then trying to stick it to the wall. Still, many people think that pasting the wall instead is easier and cleaner, as it prevents the paste from getting on the front of the wallpaper or making thinner wallpaper too wet.
In addition to peel and stick, the two most common wallpaper types are paste-the-wall and paste-the-paper. They are designed to interact with the paste in different ways, so you should always apply the paste in the way that the type you have recommends.
In Closing
We hope that you found this guide helpful. When applying wallpaper around bathroom fixtures, remember to take your time and follow the steps carefully to ensure that your newly wallpapered bathroom looks good. Thanks for reading!
![Marble walled shower wall, 5 Best Types Of Shower Wall Panels To Consider For Your Bathroom Renovation [The Ultimate Guide]](https://homedecorbliss.com/wp-content/uploads/2023/07/shutterstock_2138160219-600x400.jpg)