The backsplash is an element of your kitchen's function and style; it protects your walls from inevitable kitchen messes and adds visual interest to your space. As you choose a look for your kitchen, you want to get the backsplash right. The backsplash always begins at the countertop, but where exactly should it end? How high should the backsplash go? And horizontally, should it stop at the cabinet or countertop? We've researched for you and compiled best practices on where to end backsplash.
While there is no hard and fast rule for where to end a backsplash, here are some best practices to help you decide what is right in your kitchen:
- Consider the unique dimensions and features of your kitchen.
- Horizontally, go as high as your budget will allow.
- Find a natural transition spot and stop backsplash there to create a clean and crisp look.
- Vertically, stop backsplash in an inside corner if possible.
- Do install backsplash on the main cabinet walls; do not extend to a side wall if you don't need to.
- Ideally, align the side edges of the countertop, cabinets, and backsplash.
There are many considerations to make when choosing where to end a backsplash. We will walk you through all of them in more detail below and answer some other common questions people ask about backsplash. By the end of the article, you will be ready to confidently determine where your backsplash should end.
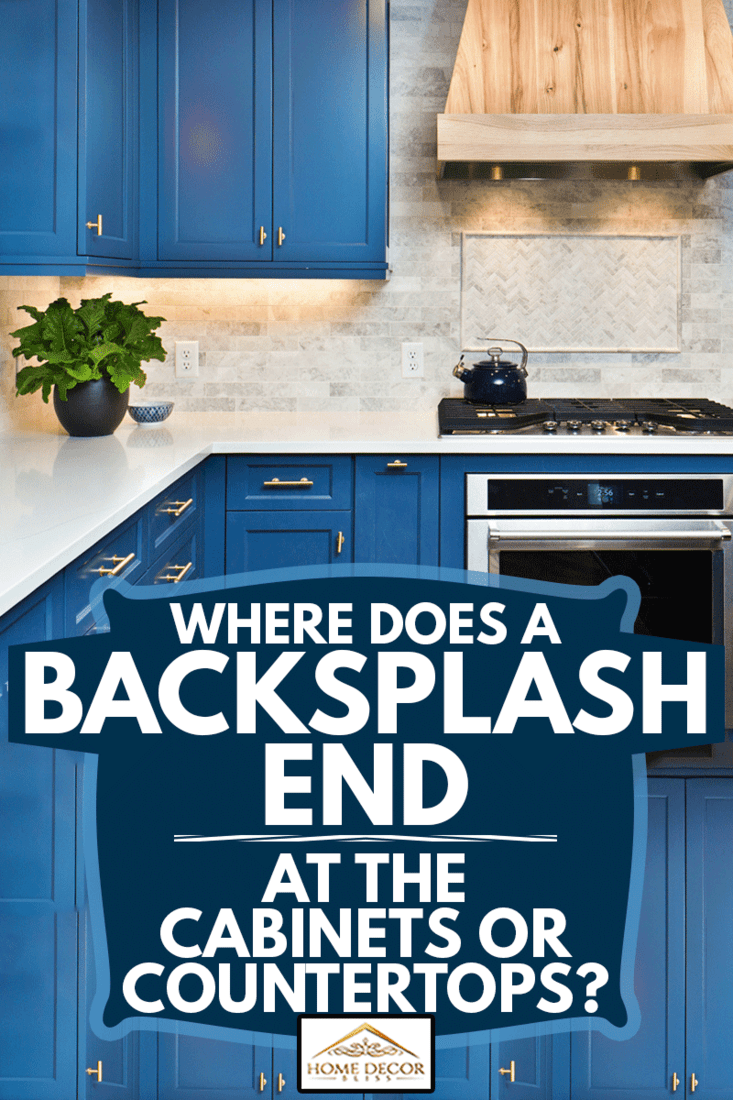
Best Practices for Backsplash Height and Width
Before we look at best practices for where to end backsplash, take a few minutes to think about the unique dimensions and features of your kitchen.
How much space is between your countertops and cabinets? How high are your ceilings? Is the space small and cozy or spacious and open? Is the kitchen clearly defined or part of an open concept? Once you have your bearings, identifying the best backsplash height and width will be a breeze.
Height
When it comes to backsplash height, you have many options that we will outline here:
- Standard height is 4 inches above the countertop.
- Full backsplash completely fills the space between countertops and upper cabinets, typically 18 inches.
- Countertop-to-ceiling.
- Anywhere in between!
While any of these are acceptable options, today's trends lean toward taking it all the way to the top. Both designers and homeowners alike are embracing the countertop-to-ceiling backsplash look. It makes small kitchens appear well-defined and gives large kitchens a dramatic flair. It also works well in kitchens with open shelving.
We sometimes add affiliate links and content that was curated and created by our team with the help of advanced ai tools to help showcase the best design styles.
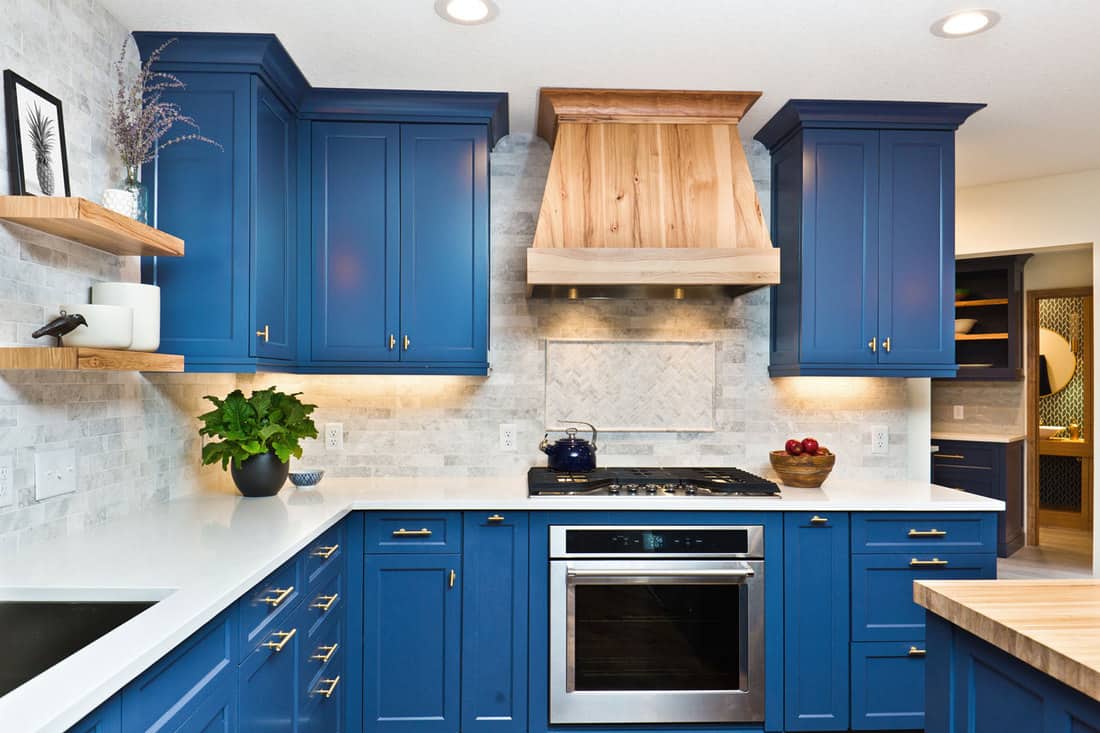
If you are trend-conscious but budget constraints are a concern, begin at the countertop and go as high as your budget will allow. Do the math. Continuing backsplash to the ceiling is likely less expensive than you might think. If it is truly out of your price range, never fear! You can still achieve a modern-looking kitchen with a lower backsplash height.
Find Natural Transitions
If you aren't ready to take it all the way to the top, identify a natural transition to serve as the ending point for your backsplash. Look for lines that already exist in the room and extend them with the top edge of your backsplash. The bottom of the upper cabinets, the bottom of a window, or the range hood are common lines to use as a guide for where to end your backsplash. Too many lines can make the room feel disjointed; continuing existing lines keeps the look unified and clean.
Stop in an Inside Corner
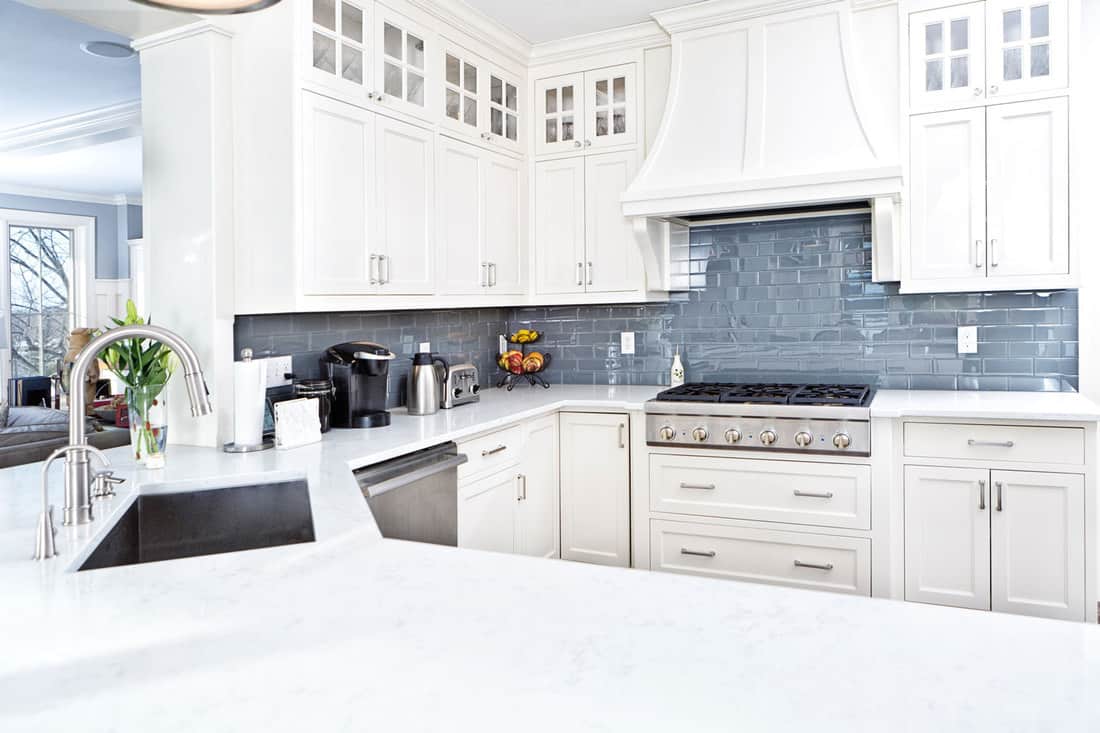
Now that you've established the height for your backsplash, let's consider how far to extend it vertically. Most design experts agree that an inside corner is an ideal place to transition from one material to another. If your kitchen countertop butts up against a side wall, you've got an inside corner.
Let your backsplash follow the countertop all the way to the corner and stop there. Don't be tempted to keep going to partially cover the side wall. If you don't have an inside corner, keep reading! We will deal with where to end backsplash on an open wall below.
Stick to Main Cabinet Walls Only
With backsplash, more is not necessarily better. Let's remember the function of the backsplash. Its purpose is to protect the walls above the countertop from food spatters, cooking grease, and water stains. While it is acceptable to play with its boundaries for aesthetic purposes, there's not really a functional reason to carry it all the way to the ceiling, but it does look fabulous.
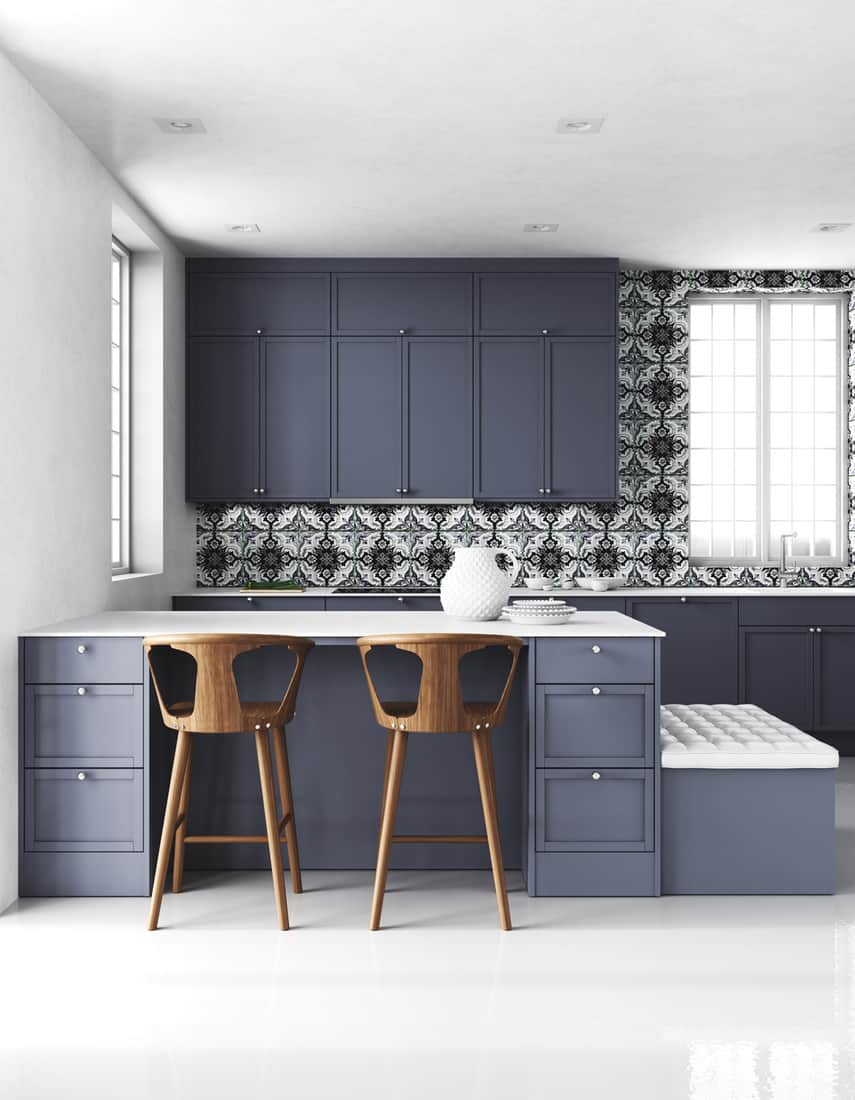
Don't get too carried away on the width of the backsplash expanse. The rule of thumb is to stick to the walls that hold the main cabinets. In most kitchens, this will encompass one or two walls.
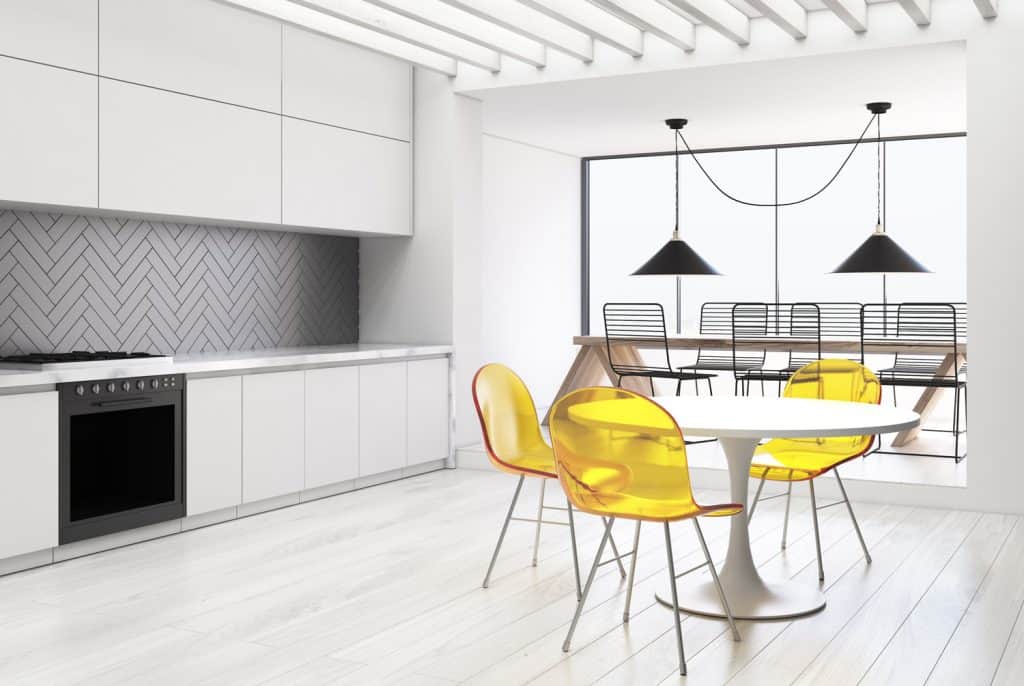
Align Countertop, Cabinets, and Backsplash
If you are designing a kitchen from scratch or doing a significant remodel, it is best to finish the countertop, upper cabinets, and backsplash in a straight vertical line. Keeping these edges lined up creates a crisp, clean look for the space. If your countertop and cabinets are already set in place and not in alignment, you'll have to get more creative. Don't worry! We've found some solutions that we discuss in the next section of this article.
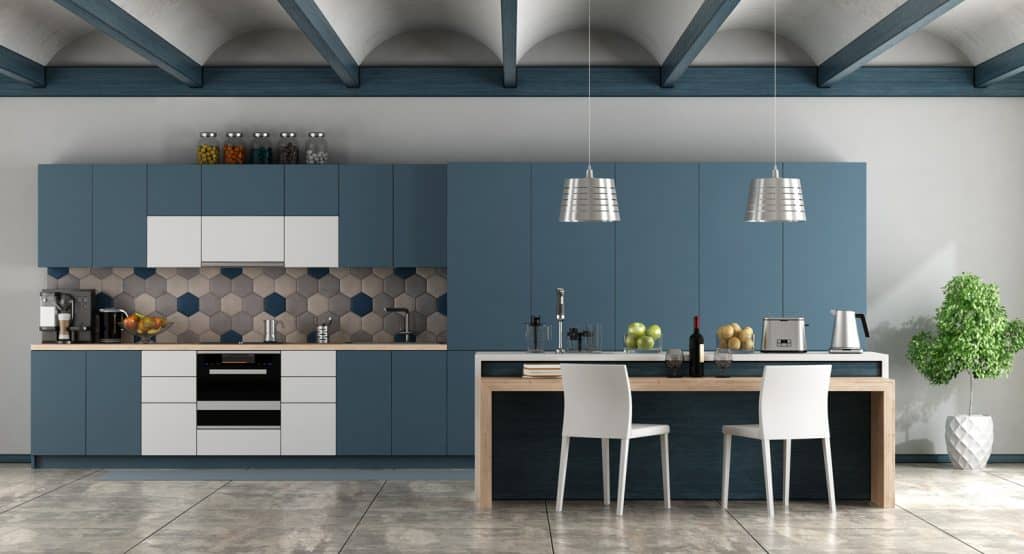
Where to end backsplash on an open wall?
Earlier, when we were looking at backsplash height, we talked about finding natural transition points to use as endpoints. Similarly, the principle also applies to side edges. Find an already established line and end there. Ideally, your countertop and cabinets end on the same vertical line. Simply carry the backsplash through to that point.
Unfortunately, though, this is not always the case. If your countertops and cabinets don't line up, where should you end the backsplash? At the edge of the cabinets or the countertop? Although most people think of backsplash as running the length of the countertop, many designers prefer to use the upper cabinets as the guide for where to end the backsplash on an open wall. This avoids awkward transitions and the visual dissonance of backsplash jutting needlessly into the empty wall space.
Another creative way of dealing with this conundrum is to choose backsplash tile that can taper off in a fun design. Hexagonal tiles are perfect for this, as shown in the photo below.
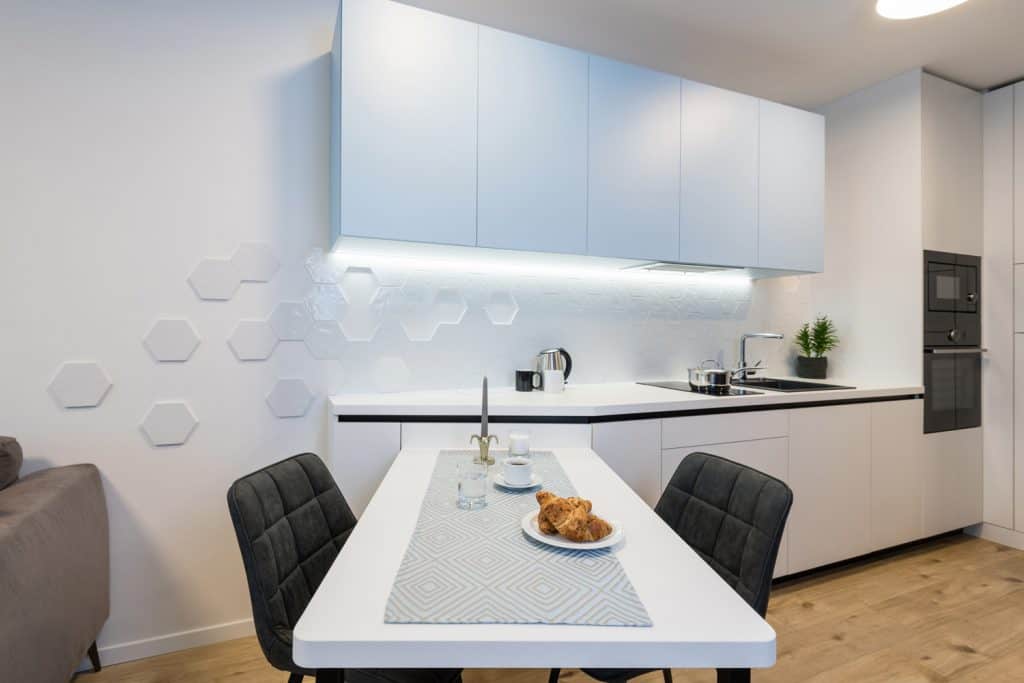
Hexagonal tiles come in many sizes and colors, many of them available for purchase on Amazon. Click here to see an example on Amazon.
How do you fill the gap between cabinets and backsplash?
Many older homes have standard height backsplash, typically four inches from the countertop. Often, it looks like an extension of the countertop and uses the same materials. That means you'll have a sizeable gap between the backslash and upper cabinets. There are many fun and creative ways to utilize that space to add some pizzazz to your kitchen.
- Paint the area an accent color using quality paint that wipes up easily.
- Hang waterproof wallpaper.
- Fill in the gap with peel and stick tiles. This easy-to-install product gives the appearance of tile at a fraction of the cost. One beautiful textured product is the DIH Peel and Stick Backsplash Tile. Click here to see this product on Amazon.
Should backsplash go behind range hood?
If you have a chimney-style wall-mount range hood, extending your backsplash behind it is a striking look for your kitchen. This works well if you have chosen countertop-to-ceiling backsplash. Another option would be to end at the bottom edge of the range hood. If you've got a range hood mounted beneath a cabinet, take the backsplash up to bottom edge of the hood. The space between the range and hood is a perfect spot to incorporate a decorative accent piece into the backsplash tiling.
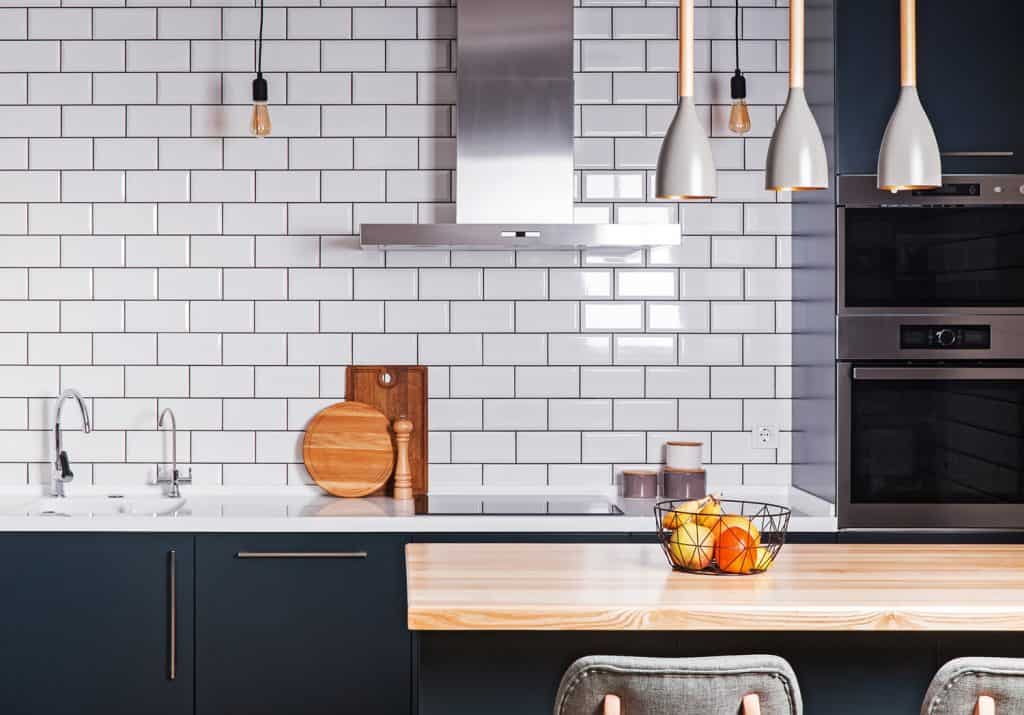
Chimney-style wall-mount range hoods are an excellent choice in a modern kitchen. We really like the Broan-NuTone Stainless Steel Chimney Range Hood offered at Amazon. Click here to see this product on Amazon.
In Closing
Each kitchen is unique and requires a unique approach to the backsplash. We've given you some best practices on where to end backsplash to help you maximize its function and visual impact. To sum it up once again, do go as high as you'd like. Don't extend to unnecessary side walls. If the counter and cabinets do not align, end at the cabinets.
Keep on reading to learn more about DIY backsplash installation:


Best information I’ve found yet to help me with knowing where to end tile backsplash under an awkward corner cabinet. Thanks!!