If you accidentally got paint on your vinyl flooring, you might wonder if you can use paint thinner to remove it. We have done the work to provide you with enough information regarding the safety of your vinyl flooring.
Paint thinner won’t directly damage your vinyl flooring, but it can cause degradation of the finish and wear down the layer, leading to discoloration. It can easily melt materials such as soft plastics.
Since vinyl flooring includes a plastic component, the damage could cause deformation, depending on the quality of the flooring and the excessive use of paint thinner.
So, due to its caustic nature, we do not recommend using it on vinyl flooring. In fact, you shouldn't use any similarly abrasive or caustic solvents on vinyl flooring at all.
If you're intent on using a substance to remove stains or paint off your vinyl flooring, we can provide you with alternatives. We've also provided additional information related to this topic below that may be of use to you, such as how to remove vinyl flooring. So continue reading to learn more.
What Is Vinyl Flooring Made Of?
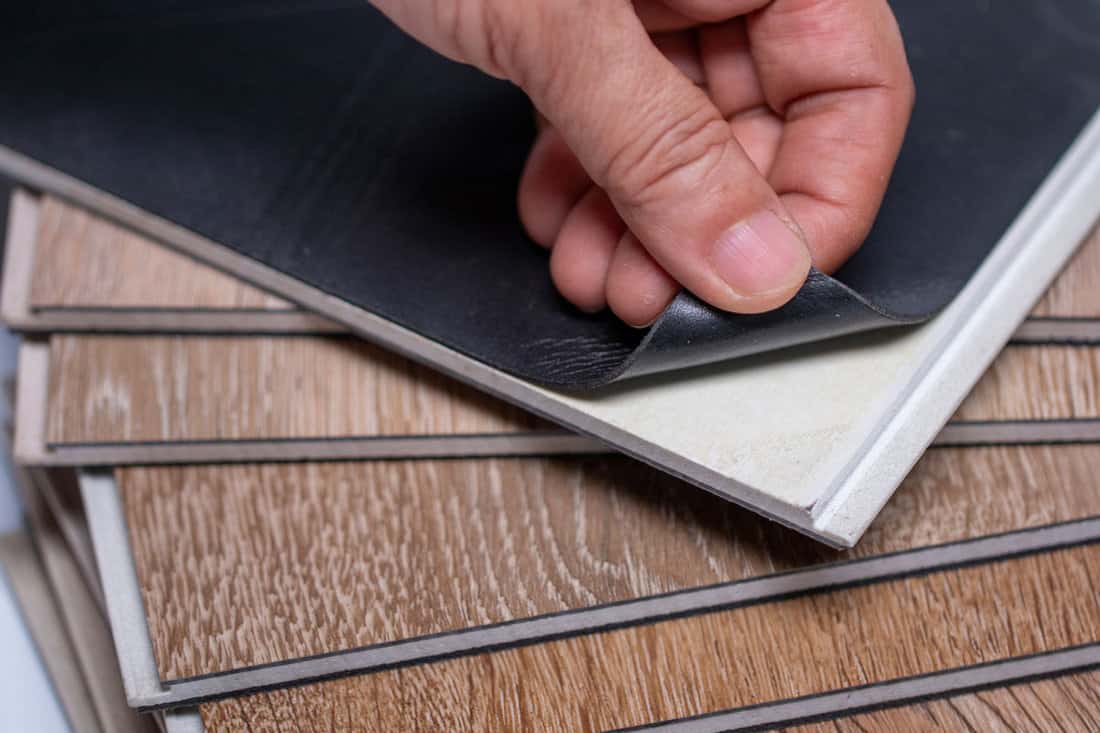
Vinyl flooring is synthetic flooring made from polyvinyl chloride plastic (PVC). Small pieces of PVC are colored, heated, and pressed into thin layers to form flexible vinyl sheets through adhesion. They can either be left as is or cut into tiles or planks to further resemble genuine wood flooring.
This product is composed of several layers of various materials. They include the wear layer, print layer, core, and underlayment. These are compressed together, which results in a highly durable and affordable flooring option.
Alternative Products You Can Use On Vinyl Flooring
We sometimes add affiliate links and content that was curated and created by our team with the help of advanced ai tools to help showcase the best design styles.
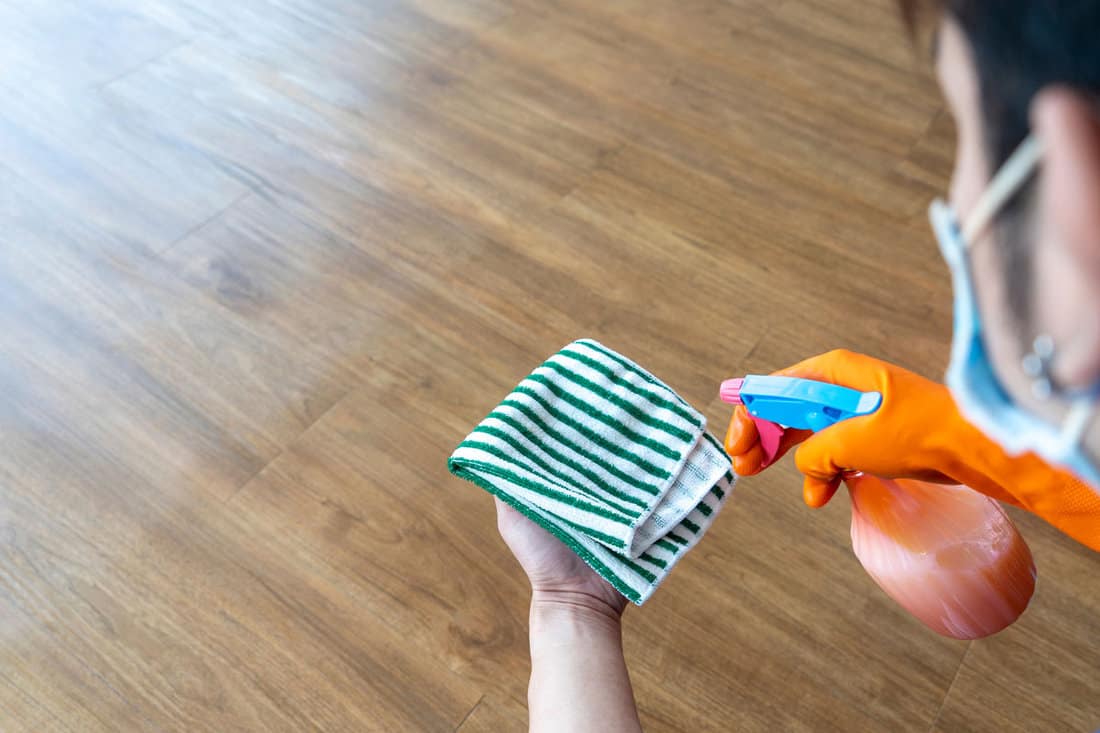
Below, we have listed the most suitable products you can use on your vinyl flooring. But before you apply any of these, be sure to test on a small part of the surface to see if there's any negative effect. Though these products are safe to use, it's also important to remember that you must be gentle when cleaning to avoid any accidental scratches.
WD-40
- For water-based paints and scuff marks
Apply some WD-40 onto a dry, soft cloth and gently rub it on the marks.
Check out these microfiber cloths on Amazon.
Lemon
- For soft stains and discoloration
Cut a lemon in half and gently rub it on the area. Top it off with some lemon juice and let it sit for about 2 to 3 minutes. Afterward, rinse the area with warm water and wipe it with a soft cloth.
Baking Soda
- For acidic stains
Mix 3 parts of baking soda with 1 part water in a bowl, creating a thick paste. Apply some of it to the area and rub it with a soft cloth. Afterward, wipe off the paste using a different, clean cloth.
Isopropyl Alcohol
- For dried-up paints and tougher stains
Apply some isopropyl alcohol (rubbing alcohol) to the stain and gently rub the stain with either a soft brush or cloth. Rinse the area with water and repeat if necessary.
You can use as much product as needed as long as you apply the proper procedures with caution.
How To Maintain Your Vinyl Flooring
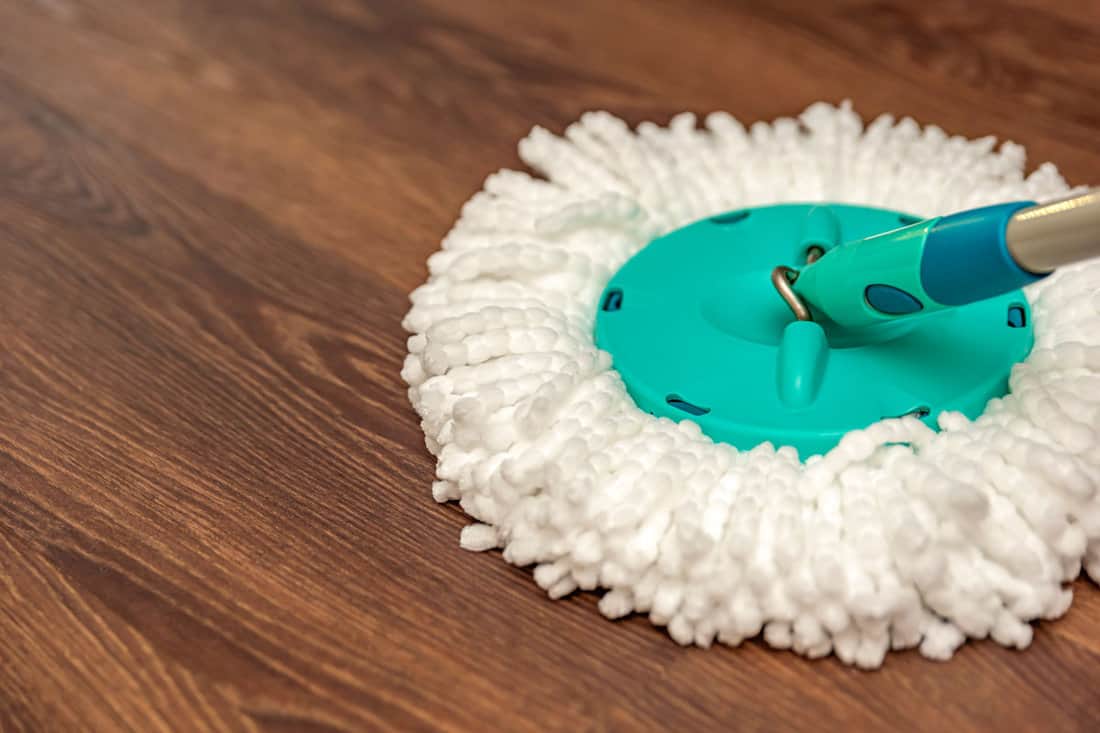
You can do simple things to keep your vinyl flooring well maintained. But this is exactly the reason why many people tend to forget or even overlook them.
Here are the most common maintenance tips:
- Immediately wipe off any spills on the floor before they sit and dry.
- Do not mop vinyl flooring with too much water.
- Do not use soaps or detergents.
- Do not use any form of steam cleaning on your vinyl floors.
- Only use soft cloths such as microfiber cleaning cloths.
- Remove or turn the vacuum's beater bar off before use.
- Don’t use any cleaning methods that are not mentioned on the manufacturer's label.
- Lift furniture across the room when moving it.
- Apply felt pads underneath heavy furniture to prevent scratches when moved.
How Do You Remove Vinyl Flooring?
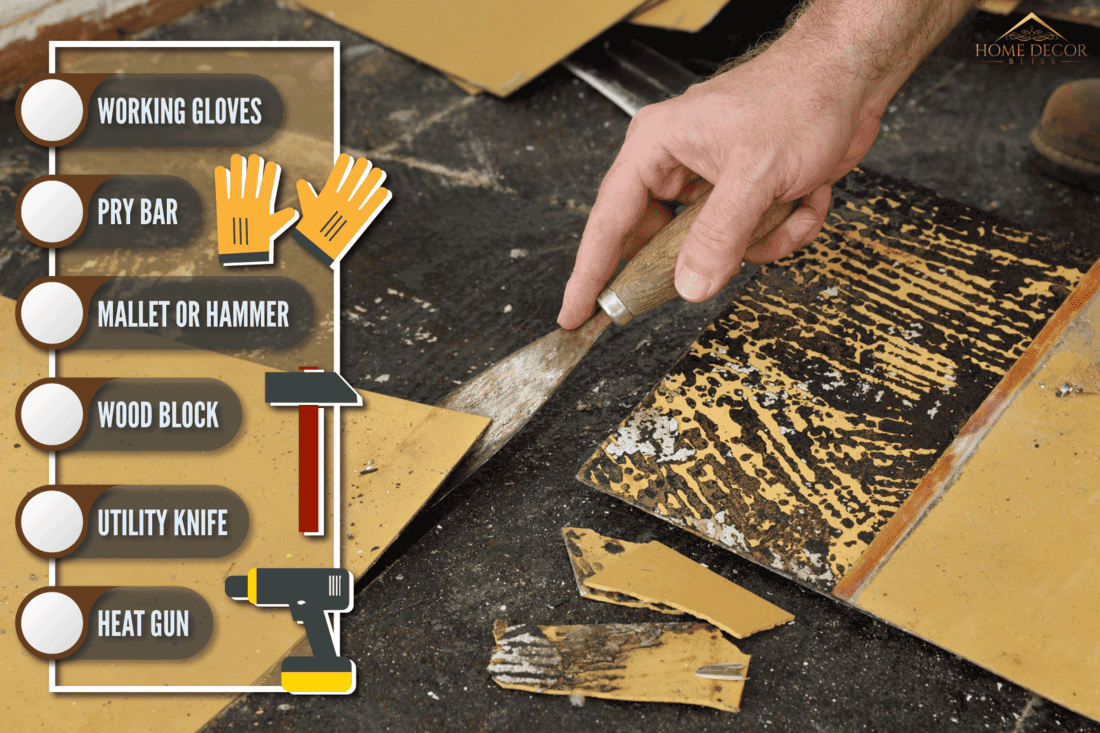
Considering how durable vinyl flooring can be, there may come a time when it's time for you to remove it, either because the damage is too great or you simply want to change things up.
Before you proceed, it's important to first determine if your vinyl flooring was installed sometime before 1989. If so, you'll need a professional to test it for asbestos and allow them to do the extraction as this product is extremely hazardous.
The tools you'll need for this are:
- Working gloves
- Pry bar
- Mallet or hammer
- Wood block
- Utility knife
- Heat gun
Below are the steps you can follow.
Step 1: Pry Off The Quarter-Round Trim
A quarter-round trim may sometimes be installed in front of the baseboards to cover the gap between the baseboards and the flooring. Remove this by gently prying it off using the flat end of a pry bar.
Step 2: Pry Off The Baseboard Trim
If the baseboard trim is installed over the top of the flooring, you'll need to remove it entirely. You can do so by first placing a wood block against the wall just a little above the baseboard, giving enough space to put the flat end of the pry bar on top of the baseboard.
Afterward, quickly and gently strike the top of the pry bar with your mallet or hammer to force the bar under the baseboard.
You can then gently pry the baseboard away in small stages. Go at it nice and easy to prevent snapping the baseboard. Removing it whole is a lot easier than doing so in shattered pieces.
Step 3: Remove The Center Section Of The Flooring
In some cases, vinyl flooring may be perimeter installed. This will make the removal process go much smoother. However, if you're not sure whether this is the case with yours or not, you can check by cutting through the flooring about 8 inches away from the wall. Maintain cutting parallel to the wall, then see if the center of the flooring pulls up with ease.
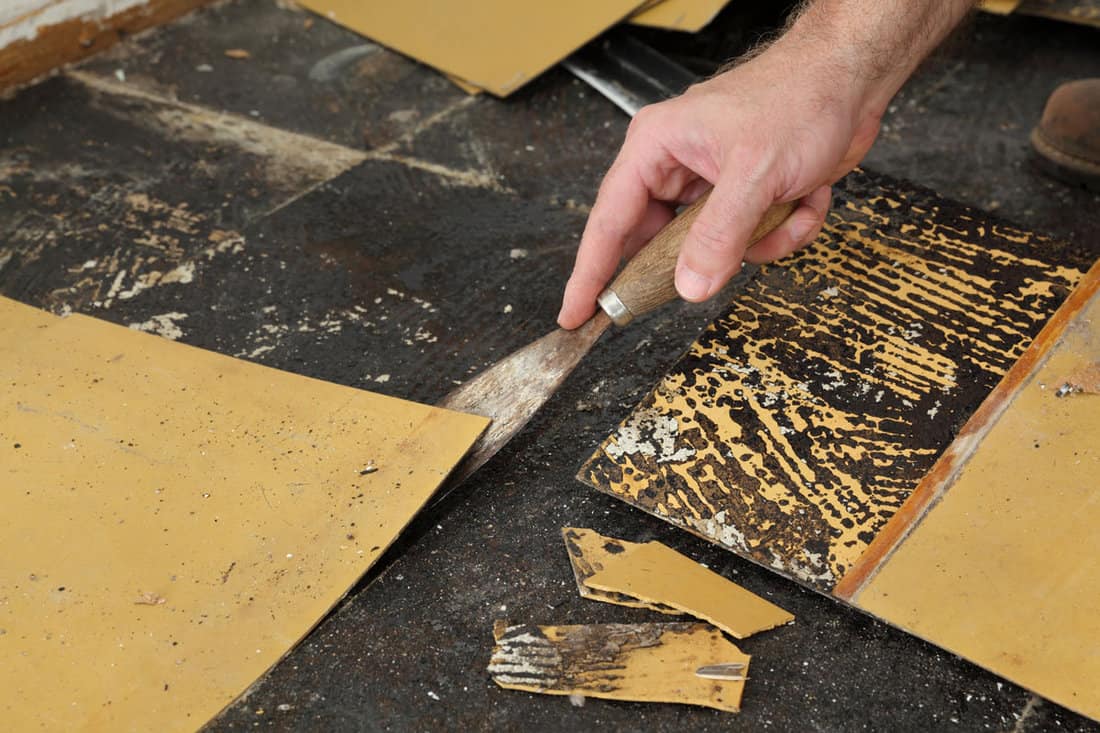
If the flooring is glued to the surface, you'll need to scrape it away by using the flat end of the pry bar.
However, if the glue has become too stuck and scraping isn't working, you can use a heat gun to loosen the hard adhesive. Turn the heat gun on low and let it heat up. Then wave it between the flooring and the underlayment. You can also try heating up a small section of the top side of the flooring, then pull that section out.
Check out this heat gun on Amazon.
Step 4: Cut The Flooring
While in the process of removing pieces of flooring, you can cut them into long and narrow strips using a utility knife or a similar tool. Keeping the strips narrow will make the disposal of flooring much easier.
In Closing
Never use any abrasive or caustic solvents such as paint thinners on vinyl flooring as they can damage them. Alternative products can be readily available from your home and are easy to use. Maintaining your flooring in good condition only requires minimal effort. When it comes to removing them, it's best to be cautious and inspect them first to prevent harm to yourself and others around you.
If you found this post helpful and educational, check out these related articles:
How To Seal Vinyl Flooring In A Bathroom [Tiles And Planks]


