Welcome to our guide on how to apply aluminum roof coating!
If you're tired of dealing with costly roof repairs due to harsh weather conditions, this guide is for you.
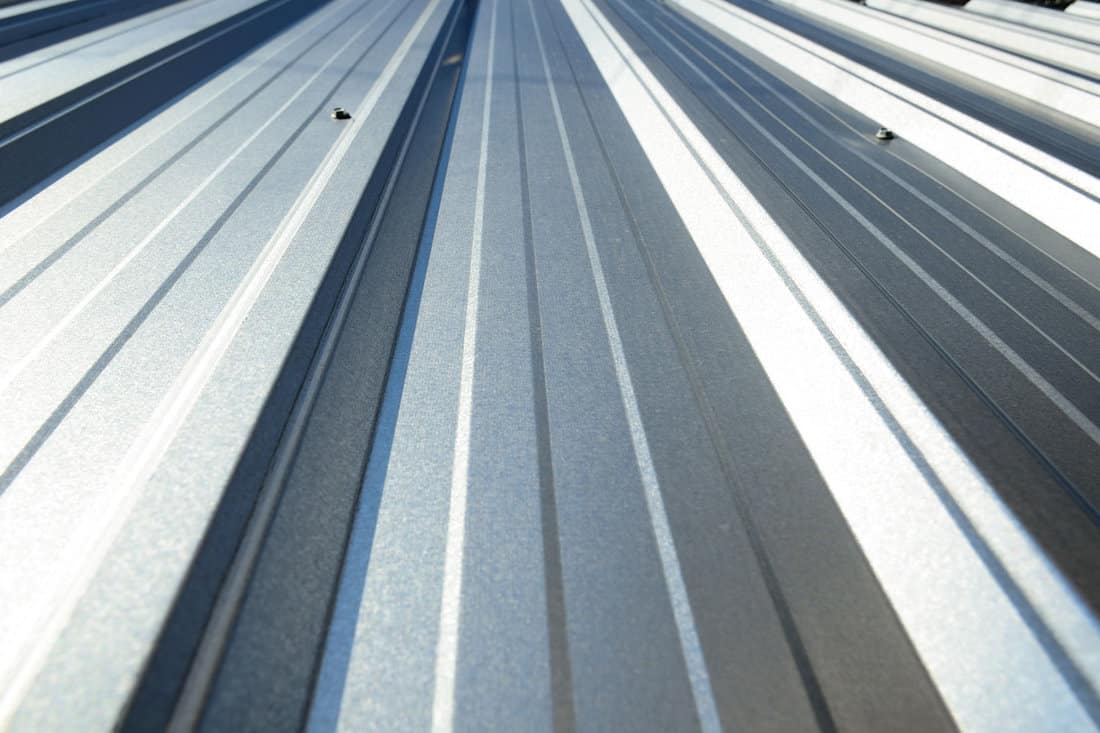
Applying an aluminum roof coating can be a cost-effective solution to prolong the life of your roof and prevent further damage.
Not only does it protect your roof from water damage, but it also reflects sunlight, reducing your energy bill.
The steps to apply aluminum roof coating are as follows:
- Clean the roof
- Repair the damaged areas
- Mix the aluminum coating
- Roll on the coating
With these steps, you can easily apply the coating yourself and save money on costly repairs. Let's start!
How to Apply Aluminum Roof Coating [Step by Step Guide]
Without further ado, here are the steps on how to apply aluminum roof coating:
Step 1: Clean the Roof
Before you can apply aluminum roof coating, you need to clean your roof thoroughly so the coating will adhere properly and last for a long time.
Here are the steps to follow:
Get on the Roof Safely
Safety should be your top priority when working on your roof. Here's what you'll need to keep in mind.
- Use a sturdy ladder that extends at least 3 feet above the roofline, and have an assistant to steady the ladder for you as you climb.
- Wear shoes with good traction once you're on the roof to prevent slipping.
- Watch out for any skylights, air vents, and rotten patches. These areas can be unstable and may cause you to fall through.
- If you're not confident working on your roof, contact a professional to ensure your safety and ensure the job is done correctly.
Remove Debris from the Roof
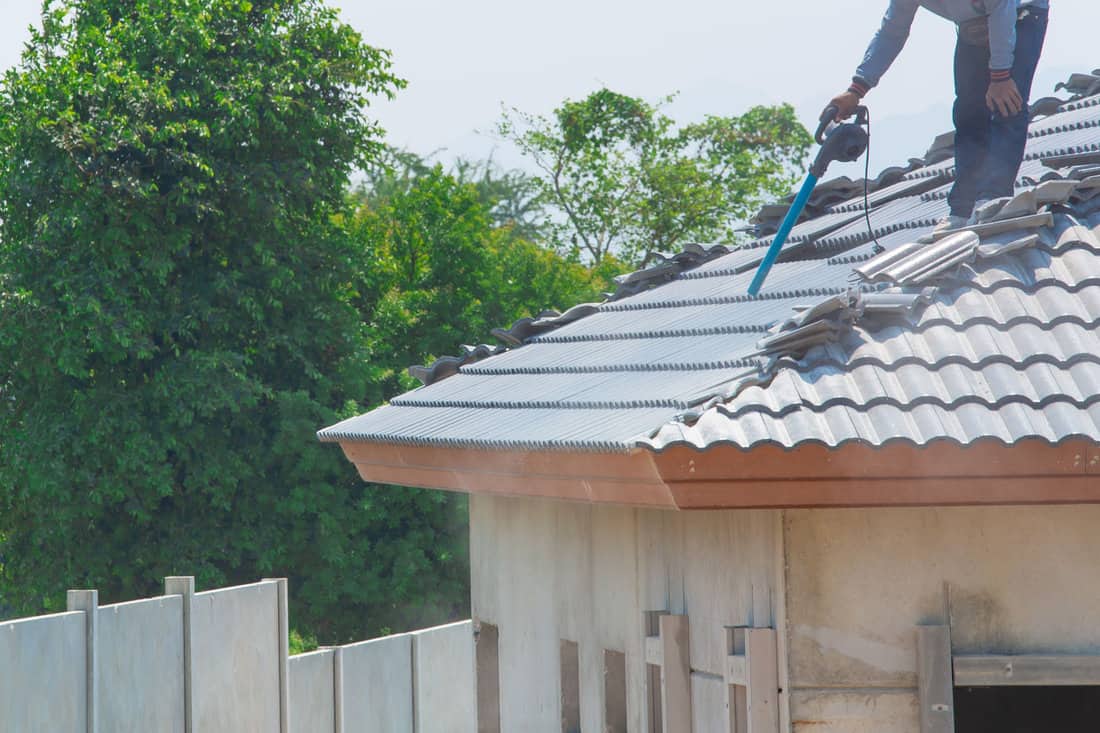
Remove any debris from the roof, including leaves, twigs, and branches.
Use a broom or leaf blower to sweep the debris off the roof.
Doing so will prevent the debris from getting trapped under the coating and causing damage to your roof.
Pressure Wash Heavier Buildup
If there is heavier buildup on your roof, use a pressure washer to remove it.
We may include affiliate links and curated AI content to highlight top design styles.
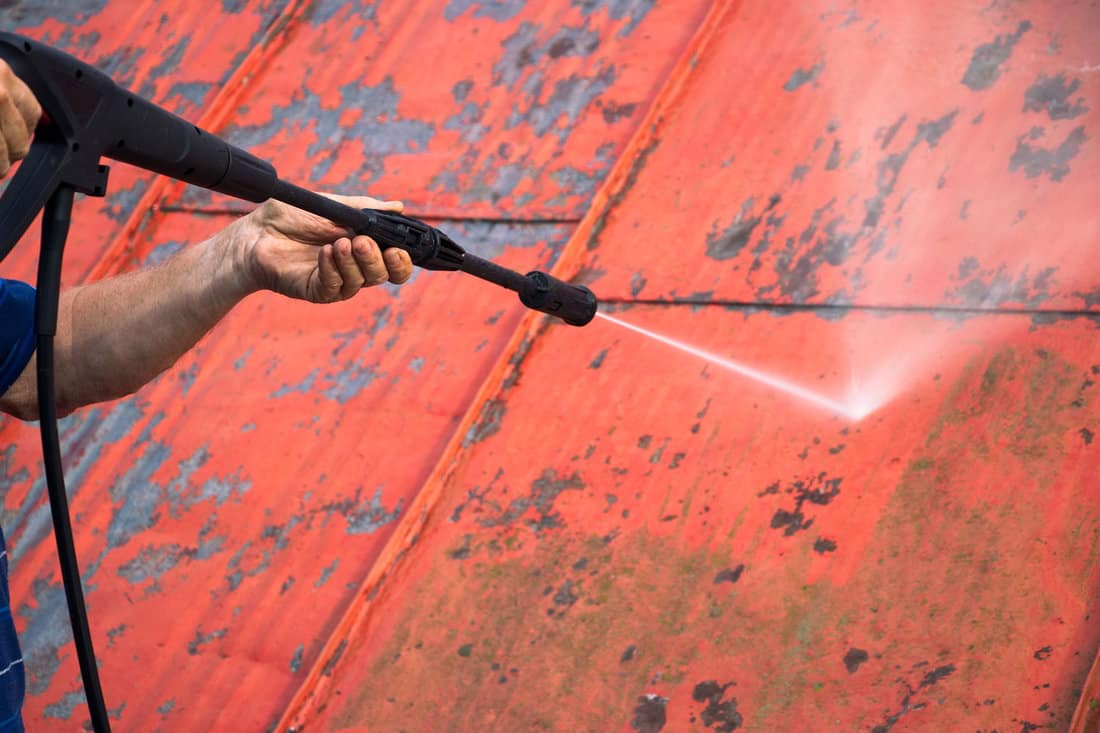
Carefully pressure wash the roof surface between 30 to 50 psi pressure to remove loose granules, debris, rust, scale, dirt, peeling, or flaking coatings.
Be sure to hold the pressure washer at a safe distance from the roof to avoid damaging the roof surface.
Let Your Roof Dry
After cleaning your roof, let it dry completely before applying the aluminum roof coating.
If you apply the coating to a wet roof, it won't stick properly and will peel off over time.
Give your roof at least 24 hours to dry completely before applying the coating.
Continue Reading: How To Clean a Metal Roof From the Ground
Step 2: Repair the Damaged Areas
If you notice any damage to your aluminum roof, it's important to repair it as soon as possible to prevent further damage.
Here's how to do it step by step.
Thoroughly Inspect for Roof Damage
Before you can start repairing your roof, you need to inspect it thoroughly to identify all the areas that need repair.
Look for cracks, holes, and any other signs of damage.
Use Roofing Cement to Patch Up Cracks and Holes
Once you've identified the damaged areas, you need to patch them up with roofing cement.
Use a putty knife to apply the roofing cement to the cracks and holes. Make sure the cement is spread evenly and covers the entire damaged area.
When working with certain types of epoxy, be sure to check the manufacturer's instructions for the specific product you are using.
For larger repair areas that are over 3 to 4 inches across, it's best to use high-strength roofing mesh for added resistance to wear and tear.
Let the Patch Compound Dry
After you've applied the roofing cement, you need to let it dry completely.
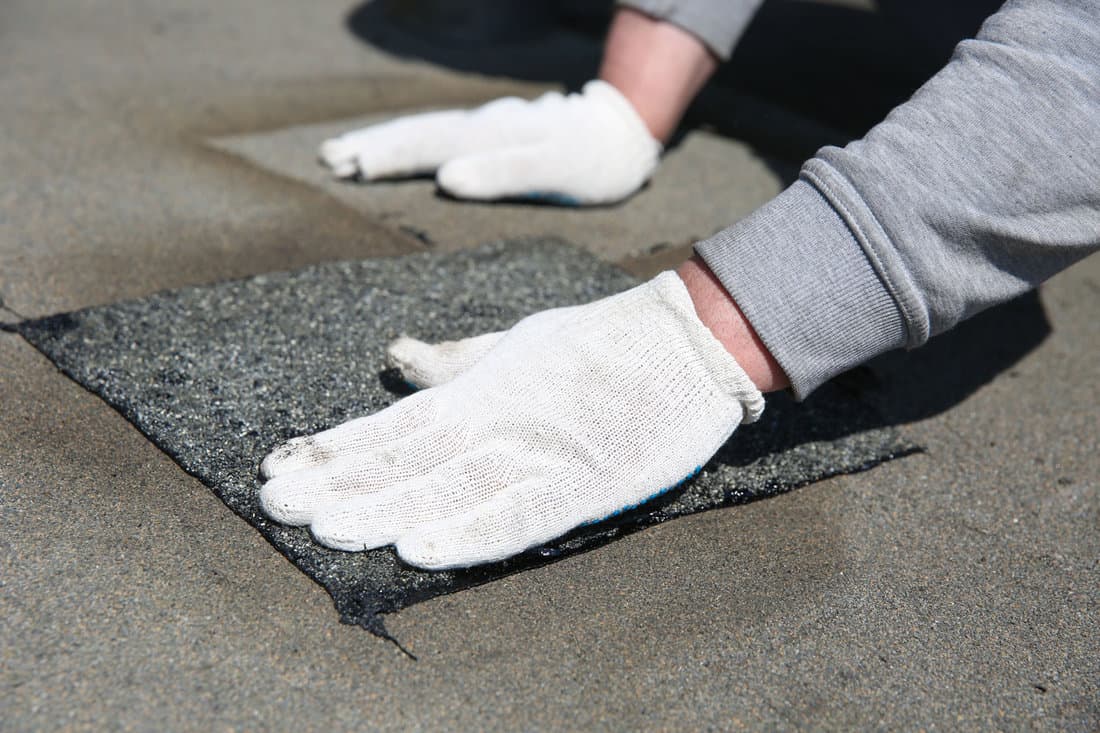
Depending on the temperature and humidity, this can take 60 to 90 minutes to set and three full days to dry.
Be patient and wait until the cement is completely dry before moving on to the next step.
You can make the most of your time by letting one spot dry as you patch up the other areas.
Sand the Patched Section
Once the patch compound is dry, use high-grit sandpaper, between 100 to 120 grit, to smooth out the patched section.
Be gentle when sanding to avoid damaging the patch.
You Might Also Like: What Grit Sandpaper For Aluminum?
Sweep the Roof Again
Sweep the roof again to remove any debris. This will help ensure that the roof is clean and ready for the next step.
You can also use a hose to rinse off the dirt. However, it's important to ensure that the roof has enough time to dry.
Step 3: Mix the Aluminum Coating
Wait for Optimal Conditions Before Applying
Before mixing the aluminum coating, you want to make sure you're working under optimal conditions.
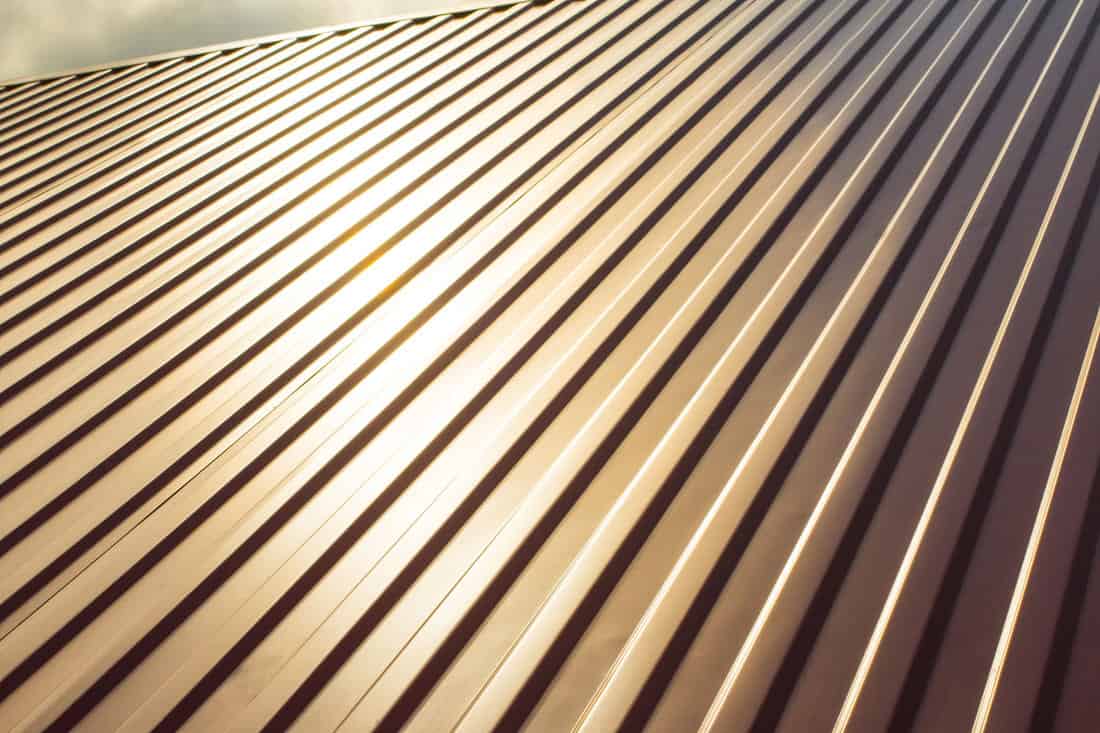
Check the weather forecast and ensure that the temperature is between 50 and 90 degrees Fahrenheit.
Also, ensure no rain is in the forecast for the next 24 or 36 hours after application.
Wear Protective Equipment
It's important to wear protective equipment while mixing and applying the aluminum coating.

Wear gloves, protective eyewear, and a respirator mask to prevent inhalation of fumes.
Open the Bucket and Mix the Coating
Open the bucket of aluminum coating and stir the contents thoroughly with a paint stick.
Make sure to scrape the bottom and sides of the bucket to ensure that the coating is mixed evenly.
If the coating is too thick, add a small amount of mineral spirits or water to thin it out.
Once the coating is mixed, you're ready to apply it to the roof.
Step 4: Roll on the Coating
Applying the aluminum roof coating is the most critical step in the process. Here are the steps to follow when rolling on the coating:
Start Over a Small Section
Start by applying the coating over a small section of the roof. To apply the coating, drizzle approximately 1 quart over 5 to 6 feet in length of the strip.
Doing so will allow you to control the thickness of the coating and ensure that it is evenly applied.
Roll the Coating Thinly and Evenly
Using a high-quality roller, roll the coating thinly and evenly over the section you have chosen.
Be careful not to apply too much pressure, as this can cause the coating to become uneven.
Continue Coating and Rolling
Continue coating and rolling over small sections of the roof until the entire roof is covered.
Let the Coating Dry
Allow the coating to dry for at least 5 to 8 hours.
The drying time may vary depending on the weather conditions, so be sure to check the manufacturer's instructions for specific drying times.
Be Sure to Check Out: What is the Best Roof Coating for a Metal Roof?
Touch Up Less Accessible Areas By Hand
If any areas are difficult to reach with a roller, use a brush to apply the coating by hand. This will ensure that these areas are coated evenly and thinly.
Let the Coating Cure Completely
Allow the coating to cure completely before exposing it to any foot traffic or weather conditions.
It may take several days, so be sure to check the manufacturer's instructions for specific curing times.
Tips on Applying Aluminum Roof Coating
When it comes to applying aluminum roof coating, there are a few tips you should keep in mind to ensure a successful application.
We've compiled some tips to help you get the best results.
1. Clean the Roof Surface Thoroughly
As explained earlier, it's essential to ensure the roof surface is clean and free of debris or dirt before applying the coat.
Use a broom and pressure washer to remove any dirt, leaves, or other debris from the roof surface. Alternatively, you can also use a blower.
2. Apply the Coating in the Right Weather Conditions
Applying the aluminum roof coating in the right weather conditions is essential.
Choose a day when the temperature is between 50°F and 90°F and the humidity is below 50%.
Avoid applying the coating on a windy or rainy day.
3. Use the Right Tools and Equipment
You'll need the right tools and equipment to apply the aluminum roof coating.
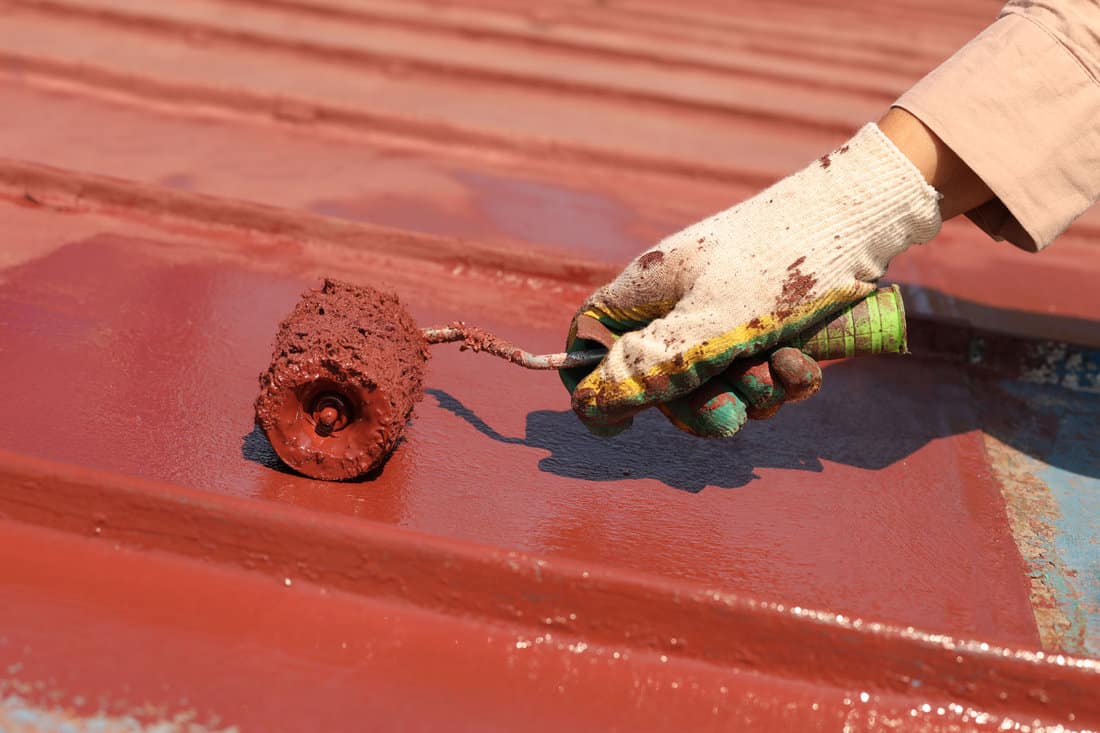
Make sure you have a paint roller, a paintbrush, a paint tray, and a stirring stick.
You may also need a pressure washer, a scraper, and a wire brush to clean the roof surface thoroughly.
4. Apply Two Coats of the Coating
To ensure maximum protection, applying two coats of aluminum roof coating is recommended.
Apply the first coat and let it dry for at least 24 hours before applying the second coat.
5. Be Safe
When applying the aluminum roof coating, safety should be a top priority.
Wear protective clothing, including gloves, safety glasses, and a respirator mask.
Ensure you have a stable and secure ladder to access the roof surface. If you're uncomfortable working on the roof, consider hiring a professional.
Also Read: How Long Does Metal Roof Paint Last?
Wrapping Up
Congratulations, you've successfully applied aluminum roof coating to your roof!
You've taken an important step in protecting your roof from the elements and extending its lifespan.
If you have any questions or concerns about the process, don't hesitate to contact a professional roofing contractor.
They can offer expert advice and guidance to help you maximize your roof coating.
By taking the time to apply aluminum roof coating, you're investing in the long-term health of your property.
So sit back, relax, and enjoy the peace of mind of knowing your roof is well-protected!


![Asphalt shingle installed on a roof, How Do You Add a Second Layer of Asphalt Shingles? [Step By Step Guide]](https://homedecorbliss.com/wp-content/uploads/2023/08/shutterstock_440349283-600x400.jpg)