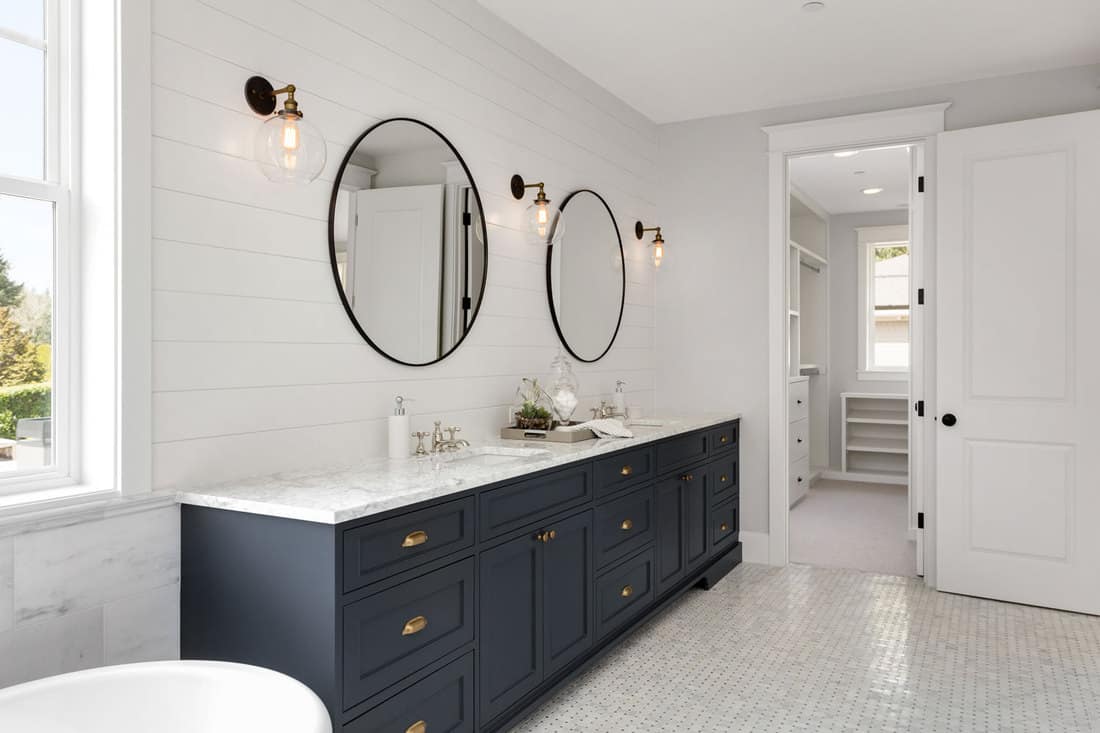
Sometimes when you're installing a vanity in your bathroom, you may notice that there is a gap between it and the wall. This space can be caused by extended legs on the vanity if it's an antique or longer edge on the top of the vanity. In any event, it is possible to fill this space using a couple of methods. We've researched these methods for you, and in this post, we'll discuss them.
Ultimately, the amount of space needed to fill and your decorative preference will determine the best method to use. Here are the most common ways to fill a gap between a vanity top and a wall:
- Method 1. Add caulk to fill the space
- Method 2. Add trim to the gap
There are several reasons why there may be a gap between your vanity top and your wall. Consider the gap size and the vanity and wall colors when deciding how to fill the gap. This is especially true if you're considering adding trim molding to the area. Let's dive deeper into the options available.
Methods to Fill The Gap Between Vanity Top And Wall
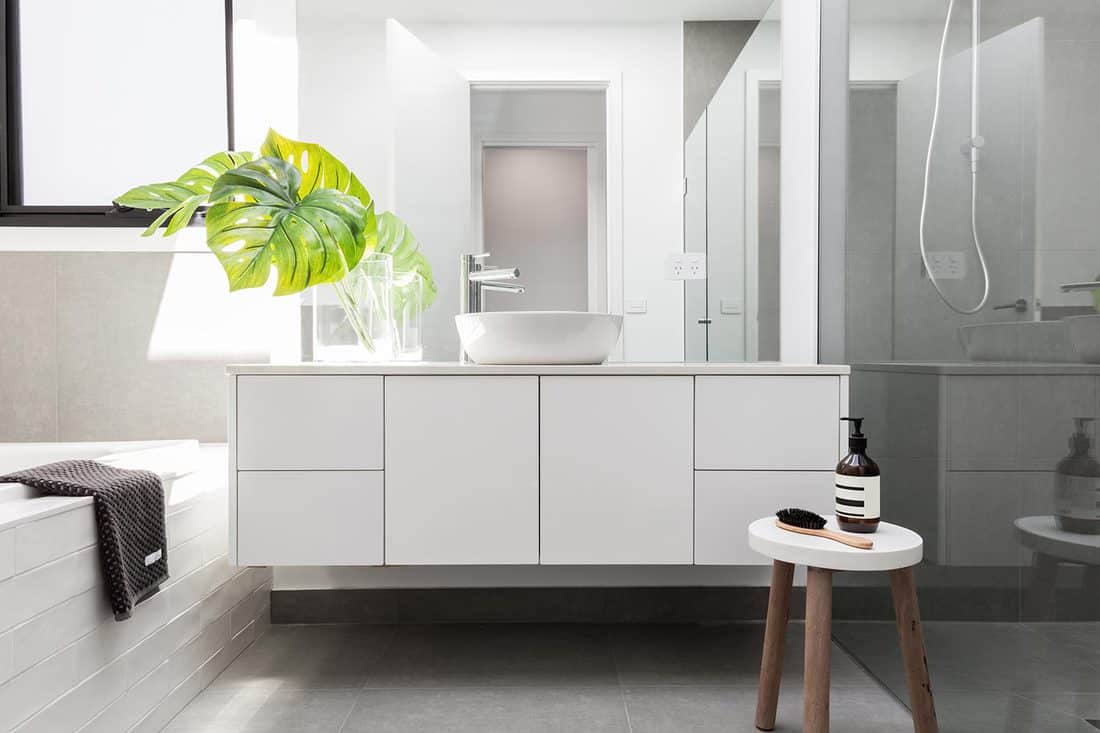
Even if you manage to get your vanity closing up against the bathroom wall, the smallest gap can be noticeable. And sometimes, the gap will occur after the vanity has already been installed due to loose wall studs or foundational shifts.
Method 1 - Caulk the Gap
If the gap is relatively narrow, such as half an inch thick or less, you can use a latex or silicone caulk to fill it. If the gap is wider, it's best to include a backer rod. This is a thin foam-based tube that'll help support the caulk so that it won't form any holes.
If you're going to install a backer rod, be sure to place it inside the gap before you cover it with caulk. To do this, you may need to unscrew the vanity if it is already attached to the wall.
When applying the caulk, be sure to cover the top edge of the vanity and the wall with painter's tape so the caulk will only cover the gap and not spill onto the surfaces. Also, be sure to note the color of the caulk that you want to use. It's best if you either match the countertop or go with a colorless caulk.
We may include affiliate links and curated AI content to highlight top design styles.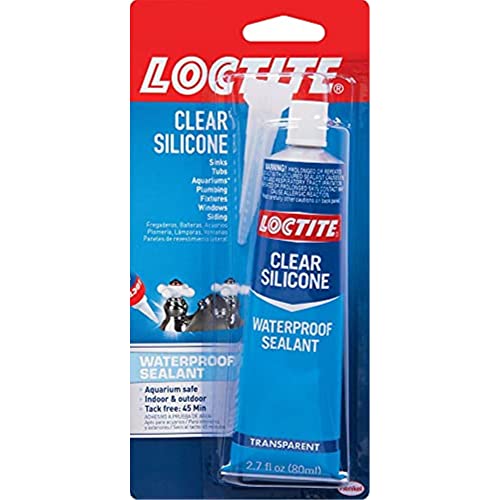
Find this silicone caulk on Amazon.
When spreading the caulk in the gap, be sure to use a thin bead spread as evenly as possible so that there are no voids in the line. You can use a caulk gun or a putty knife to apply the caulk over the rod and inside the gap. Lastly, be sure to wait for the caulk to dry before applying any paint or primer.
Method 2 - Trim the Gap
If you have a larger gap or want to add more of a decorative touch to the space, you can also install trim over the gap. There are several different trims to choose from if you decide to use this option.
However, the most commonly used one is either rectangular molding and quarter-round trim. This method is also relatively inexpensive, as trim will typically cost anywhere from $0.50 to $0.75 per foot.
Before installing the trim, be sure to measure the width and length of the gap. It's better to use construction glue to attach the trim instead of nails, as they may damage the top of the vanity. And if you plan on painting the trim, be sure to prime and paint the trim beforehand for a clean and smooth finish.
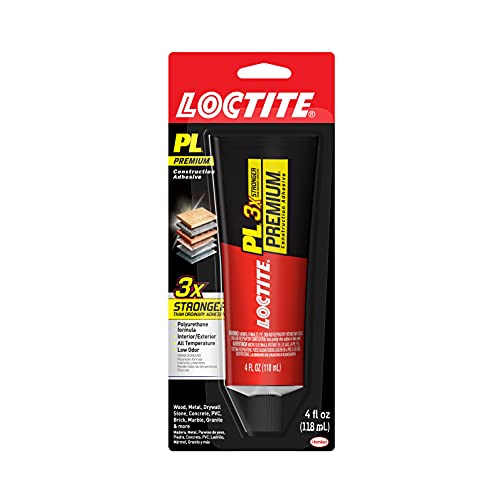
Find this construction glue on Amazon.
How do you fix a gap between a wall and a cabinet?

For the most part, you can use the same techniques to fill the gap between a wall and a cabinet as you can with a vanity and a wall. However, in addition to caulk and trim, you can also install cabinet filler strips or scribe molding.
Scribe molding is a small thin strip of molding that covers inconsistencies in walls or ceilings. It's often used when smaller pieces of trim are needed, and it is less expensive. Cabinet filler strips are small pieces of wood that are inserted between two cabinets that allow them to fit flush against a wall.
Does a vanity have to be flush with the wall?
Yes. In most cases, the vanity will be designed so that it lays flush against the wall. However, if you have a customized, free-standing, or specialty vanity, it will not need to be positioned directly against it. Let's discuss a couple of reasons why it's best to position the vanity directly against the wall.
Proper water drainage
It's best that the vanity lay flush to the wall as it will make for less hassle when it comes to connecting any plumbing pipes behind it. It simply makes the transition of the water going in and out of the plumbing pipes much easier.
Makes repairs easier
When it comes time to do any repair work or new installations around the vanity, you'll find it's much easier when the vanity is flush against the wall. And even if you decide to relocate the vanity, it's easier to remove it when it's against the wall instead of attached in some complex way.
How much space should be between the side wall and vanity?
Many contractors and interior home designers will recommend a wall clearance of anywhere from 21-30 inches from the vanity. Often, a clearance of 21 inches is mandated by local building codes for safety reasons.
How do you fix a vanity unit to the wall?
Each vanity will have its own set of instructions on how to attach it to the wall. However, here is an overview of the general process that you can apply to most vanities.
Things you'll need:
- Stud finder
- Tape measure
- Cordless drill
- Electric saw
- Drywall knife
- Pen or pencil
- Leveler
1. Mark the vanity location
Start by measuring the vanity and then transferring those measurements to its location on the wall.
2. Mark the location of the wall studs
Next, take your stud finder and find the two studs that will anchor the vanity. If there are no studs within reach of the edges of the vanity, you'll need to create a couple.

Read more details about the stud finder on Amazon.
To do this, mark the stud positions on the wall. Next, cut out four pieces of 4x4 to make your studs. Then open up the drywall using your drywall saw or a jigsaw and attach the studs to the inside of the drywall. When doing so, make sure that the cutouts are at least 6 inches thick.
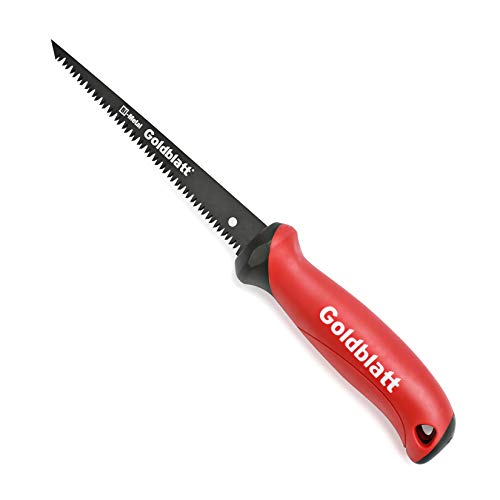
Find this drywall knife on Amazon.
Be sure to drill pilot holes into new studs before you attach them to the wall's interior. When it comes to creating building frames, it's best to use nails at least 3-1/2 inches long.
These nails are long enough to go through the stud and drywall. They'll also help provide the vanity with extra support so that it doesn't fall off the wall due to its weight. Use your leveler to make sure that the locations that you mark are level and not crooked.
3. Attach the brackets and vanity
After securing the stud positions, take the brackets in the vanity's hardware kit and drill them onto the vanity. The kit should come with a set of instructions on how to do this. After the brackets are attached, mount the vanity on the wall and attach the included fasteners.
Wrapping Things Up
We hope this post has helped illustrate how to fill the space between a vanity top and the wall. Before deciding on the best method to fill the space, remember to consider the size of the gap. For example, if the gap is more than 1/2-inch thick, it's best to fill the space with trim or cabinet filler, as caulk may eventually sink into the opening. However, if you decide to use caulk, it's best to use a backer rod to avoid this.
Before you go, be sure to check out some of our other posts:
How To Fill The Gap Between Garage Door And Floor
How Much Is A Gallon Of Benjamin Moore Paint? [A Cost Breakdown By Type Of Paint]